Video Options
The Video Options is similar to the RepVideo setup which you can change depending on the company’s branding.
Getting Started
This is where you can upload a screenshot of yours together with your video. This section also lets you put in the basic information about you and your business.
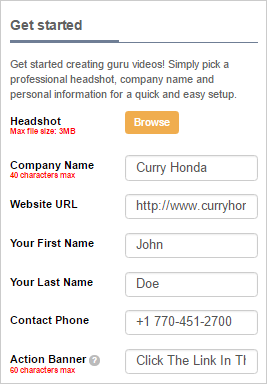
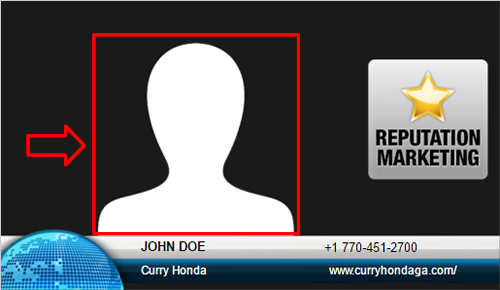
Headshot
This is where you can upload a screenshot of yourself. To start uploading your screenshot, click Browse.

Company Name
This is where you can type the name of the company you’re setting up.


Website URL
This is where you can enter the business’s Website URL. If you ever want to change it, you can go back to your video options and edit the URL or change directly here.


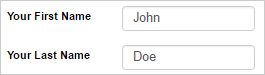
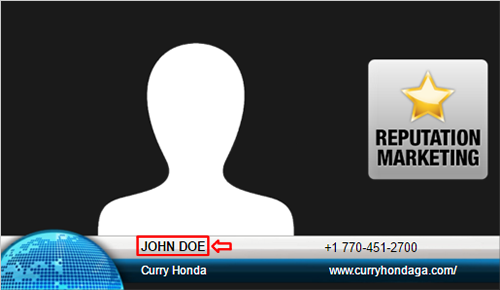
Name
This is where you can type the First Name and Last Name of the video.
Contact Phone
This is where you can enter your business’s contact number details.


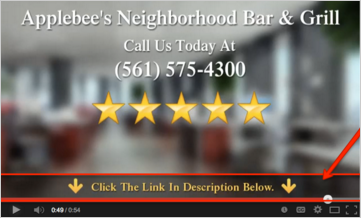
Action Banner
This is the actual link from the Company Info where you can customize its description. In this example, you can change from our default Click The Link In Description Below” text into a more catchy phrase like “Call Us For A Free Quote” and add up the company’s contact number.

YouTube Options
This let you publish your YouTube Video to either Public or Unlisted. Since we want users to see this video, we will pick Public.
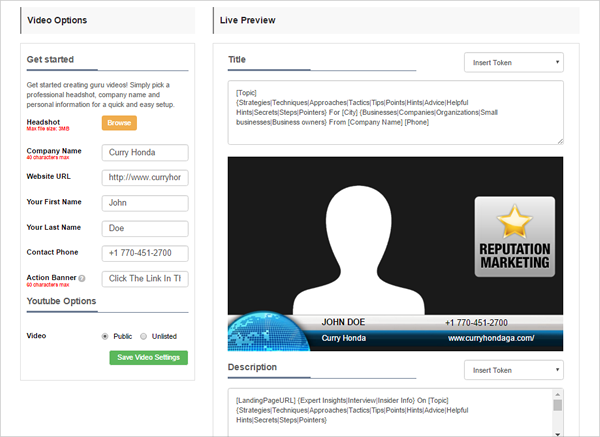
Live Preview
The Live Preview displays the actual design in real time that you are editing from the Video Options. In here, basic details about the business you’ve set up and the screenshot of yourself is seen. This section also gives you the ability to change the video’s Title and Description.
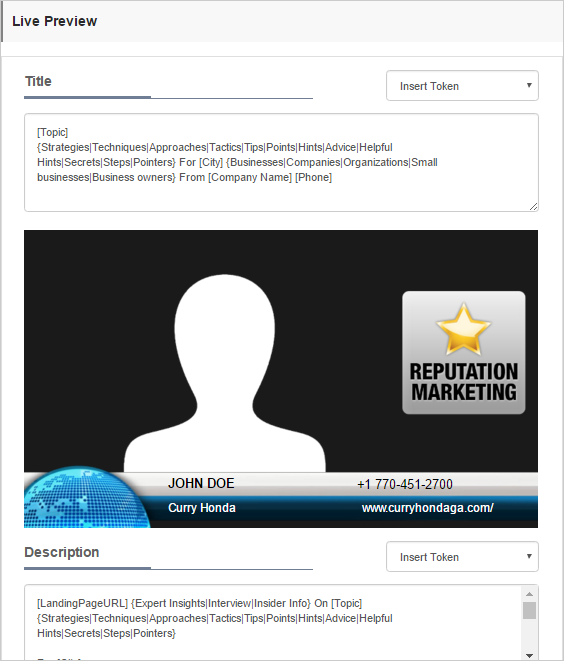
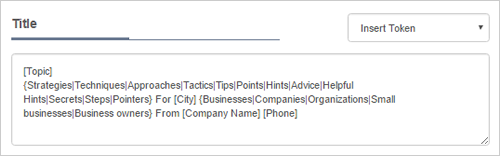
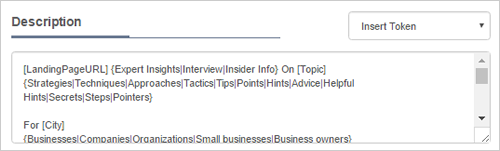
Title and Description
This gives you the ability to edit the Title and Description. You can insert Tokens to apply your Search Engine Optimization (SEO) strategies. You want to use keywords that are very searchable on YouTube in your Title and Description.