
The Training Center lets you create a Custom Training Center to customize the lessons and quiz questions for a company and its locations.
The Default Training Center will appear for all companies and their locations. The training is already in there, everything is custom branded for them, and they will want their staff to go through this. They can send this out through email. So basically, the Training Center is designed to coach, walk them through a series of video training, and then offer them a short quiz at the end.
*It is important that the staff understand the importance of Reputation Marketing and that you are only one customer away from a negative Online Reputation.
**Training Centers are at the company level and cannot be customized at the location level.
To edit the default Training Center for all companies, follow these steps:
Step 1. Click Training Center located on the top navigation pane.
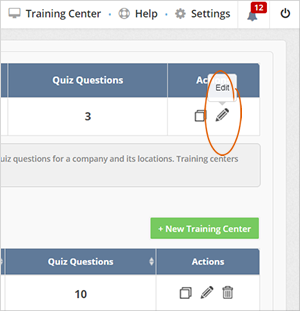
Step 2. Click the Edit icon.
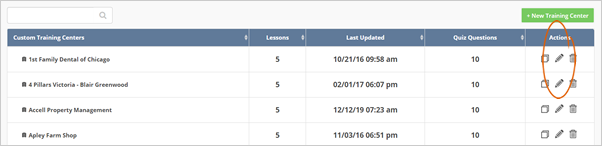
By default, all training centers for all of these companies are set into the Default Training Center.
Step 3. You can do the same steps here when you are trying to edit a specific merchant of your choice.
You need to click the edit icon on the corresponding merchant that you want to set up.
When you try to create a new training center, it will replace your default training center for a specific company that you are going to set up. This means that you need to delete the new training center that you have for the default center to be used again by a company.
Setting Up Training Center Using Wizard
You need to go to these four sections of the wizard and complete them to customize your Training Center successfully:
Setup
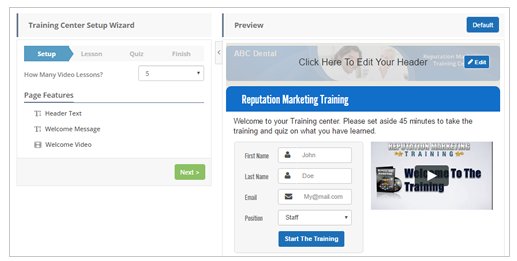
The Setup section is the first section of the wizard that gives you the ability to set how many video lessons you would like to appear in your Training Center. This also lets you set up how your page will look, using the controls found in the Page Features area.
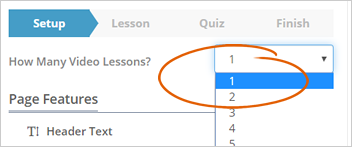
Step 1. The first thing you need to do is to set how many video lessons you want for this training center. You can set this from 1 - 20 videos.
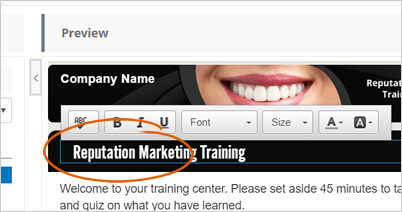
Step 2. Click the Header Text on the Preview window and type the header that you want for this page. Use the built-in text editor to format your text.
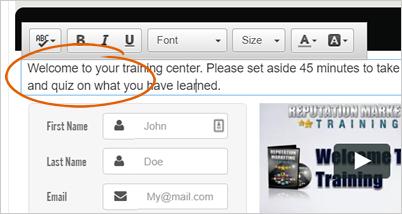
Step 3. Click the Welcome Message area on the Preview window and type your message.
Step 4. To change your Welcome Video, hover your mouse on the video, and once the Customize button appears, click it.
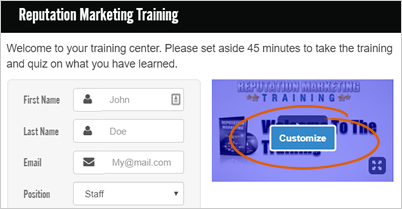
This step will let you select default videos that we have. If you want to use your video, you can click either YouTube or Vimeo and paste the video link of your video. Do not forget to click Save to apply changes.
Step 5. Click Next to proceed to the next section.
Lesson
The lesson wizard steps let you label your video's title and description. This section allows you to upload your videos or use videos from video sharing sites for your lessons.
Your lesson depends on the number of videos you have selected in your Setup section. If you have chosen five videos, then you are going to have five lessons.
Follow the instructions below to learn how you can customize each lesson for your staff.
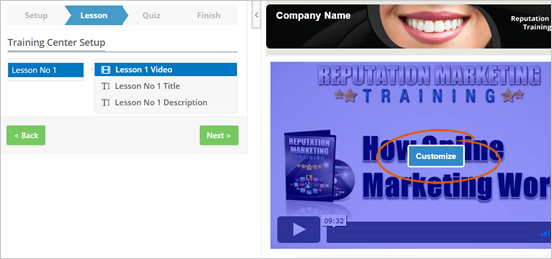
Step 1. To change Lesson 1 Video, hover your mouse over the video and click the Customize button. This action will let you select default videos that we have. If you want to use your video, you can click YouTube or Vimeo and paste the video link of your video.
Click Save to apply the changes you have made.
Step 2. This area is your actual Lesson Title. Click this field so you can type your new Lesson Title. Use the built-in text editor to format your text.
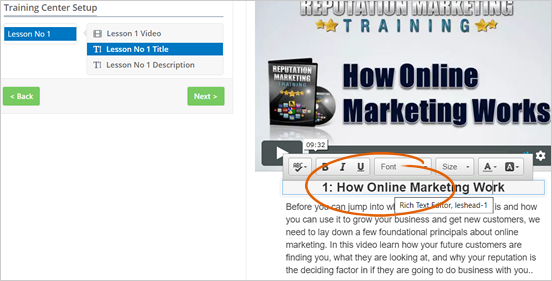
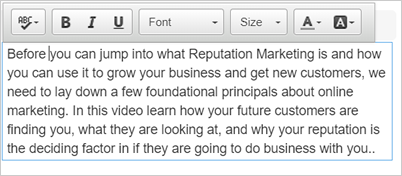
Step 3. Once you have typed your lesson's title, the next field that you need to edit is the Lesson Description.
In this field, you can describe your video and the benefits that they can get when they watch it and how it will help them handle a customer.
Step 4. Repeat steps 1,2, and 3 until you are done with all of your lessons. Click Next to proceed to the next section.
Quiz
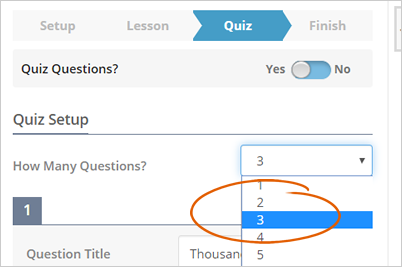
The Quiz section will be testing your staff's understanding of the video lessons they have watched. Quizzes are a great way to assess them on the level of their knowledge about Reputation Marketing and how it can affect a business.
By default, you are given ten questions that you can use, and if you want to add more, a maximum of fifteen questions that your staff can answer. They will be given multiple choice type questions and an optional Feedback Question. If you think you do not need this, you can disable this by turning off the Quiz Questions.
To set up your Quiz Questions, follow these steps:
Step 1. Determine how many questions you need for your quiz. By default, this is set to ten questions and a maximum of fifteen.
Step 2. Once you have determined how many questions that you need, you must edit each item and set the right answer for that particular question.
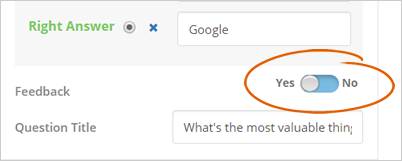
Change your Question Title by typing directly into the field and set what the Right Answer will be by clicking the Right Answer on the corresponding answer. In this example, the right answer is "True."
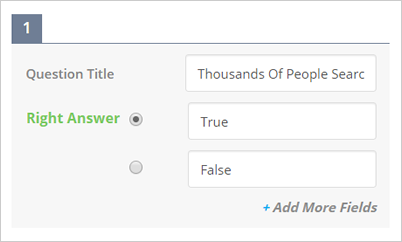
You can also click Add More Fields to add more answers to this question.
Step 3. Repeat step 2 until you complete all your questions.
Step 4. Your feedback question allows you to ask your staff's opinion of the quiz they just took. This field is optional and can be disabled.
Click Next to finalize your Quiz.
Make sure you are setting the correct answer for each question that you have.
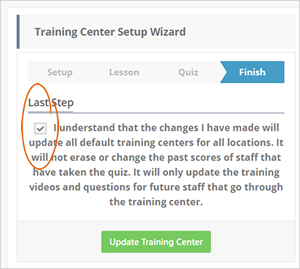
Step 5. Click the Update Training Center button to finalize your Training Center Setup.
Once you mark the Last Step checkbox, you confirm that the changes that you have made will update all default training centers for all your locations.
Related Articles:
Agency Profile Settings
Setting Up Your Subdomain and White Label
Agency Twilio Setup
White Label Overview
White Label A-Record Setup: Registrar Requires IP Address
Agency Support Setup