You can add contacts in Rep Kahuna through the Sign In Form. Your clients and customers can sign-in a device, either a phone or tablet. They can sign-in either for their appointment or walking in and signing in for the service. Next, they will be followed up through an email and SMS asking for feedback about the service that has been provided. You can edit the sign-in form and fully customize it for your clients.
There are four areas that we want to cover here:
Setting Up Your Sign In Form
To start setting up your Sign In Form, follow these steps:
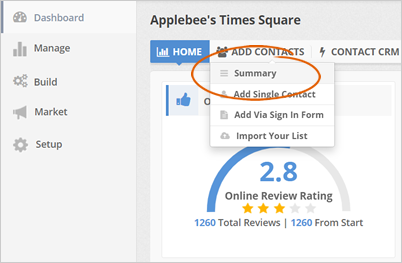
Step 1. From the company's dashboard, hover your mouse over the Add Contacts tab and select Summary.
Step 2. Click the Edit Form button.

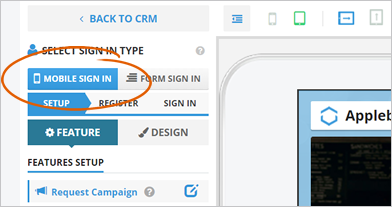
Step 3. Select if you want to use a Mobile Sign In or a Form Sign In.
The difference between these two is that with the Mobile Sign In, the users will be able to look up their phone number and sign-in with the existing information. In a Form Sign In, each time they sign-in to the system, they will have to provide their information from scratch.
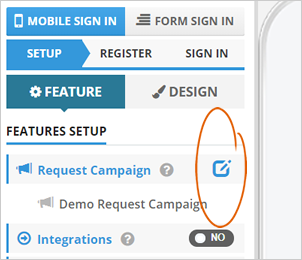
Step 4. Selecting Mobile Sign In will let you choose first the campaign which this sign-in form is going to lead them to. If you have set up multiple campaigns, you can select a campaign of your choice.
Step 5. Click the edit icon and select a campaign from the list.
Step 6. You can also set up Integrations which will let you choose an email marketing campaign that will follow a user once they have signed in.
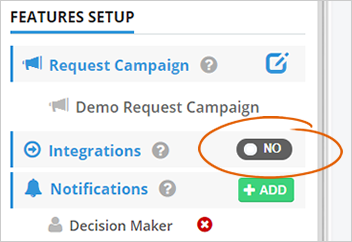
We allow autoresponders like Prospect Rocket, InfusionSoft, and MailChimp. Here, it will let you set up a follow-up sequence for any of the listed autoresponders.
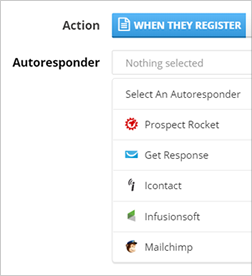
Step 7. Select the autoresponder that you want to use and log in to your account.
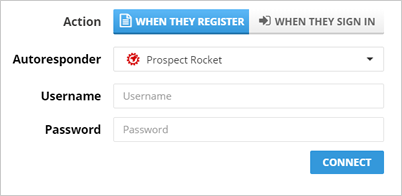
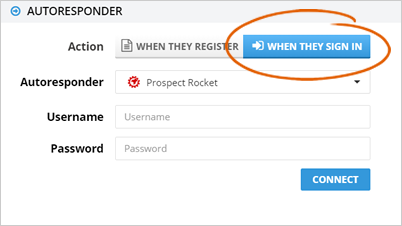
Step 8. You can either send them to a third party campaign when they register or when they sign-in. Signing in means they are already in the system, and it's a repetitive sign in. You might consider sending them to a different campaign of your choice.
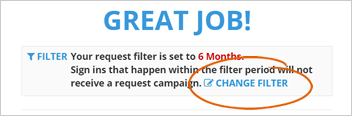
Contacts are only sent to third party integrations one time. Multiple sign-ins will not send the contact into your campaign multiple times. Unlike the sign-ins for the request campaigns where if you have the campaign filter set up for 30 days, your signed in customers will receive the email and text sequence once every 30 days.
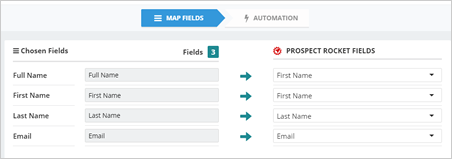
Step 9. Once you are connected to the autoresponder of your choice, you will be prompted to map the fields with the autoresponder and Rep Kahuna.
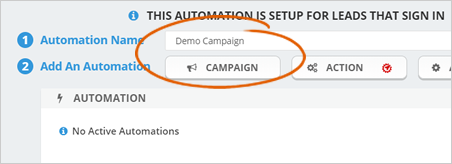
Step 10. Next, set up your automation by typing in the Automation Name and select the campaign where you want to send a user.
Step 11. You can also set up Actions if you are using Prospect Rocket for that user.

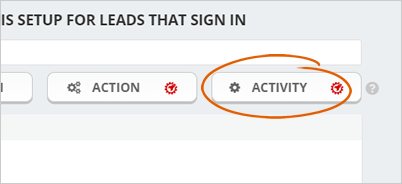
Step 12. Set up an Activity to set up a meeting or task for your VA.
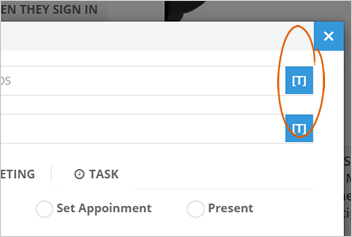
Step 13. Select the tokens that you want to show in Prospect Rocket once the task is created and click Save.
Step 14. Save your Integrations.
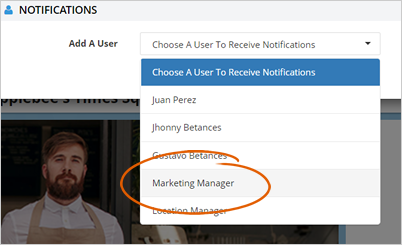
Step 15. Update your Notifications by clicking the Add button.
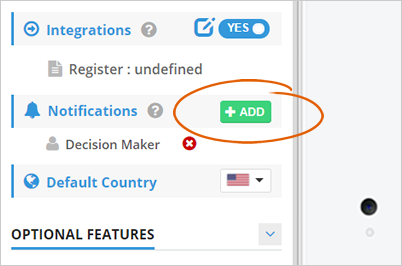
Step 16. Select the user that you want to send the notification to.
Step 17. Select the default country.
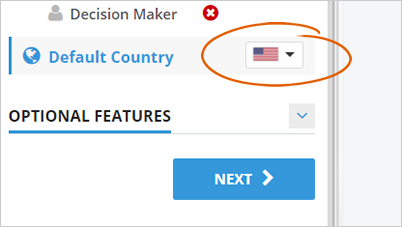
This option will allow you to manage the expectation of the user for which phone number they will have to enter.
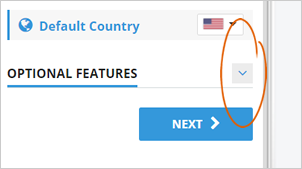
Step 18. Expand the Optional Features section, which will provide you a few advanced strategies.
Step 19. If you like to use the Sign In form as the Sign Out form, you will be able to update the Sign In Out Confirmation Page popup with your details.

Step 20. You can also enable Waiting List if you want to make sure that the contacts that come through the Sign In form are notified.
They will be told if the service is ready for them by sending a text message from the receptionist or hostess desk.

Step 21. Update the Confirmation Popup if you need to.
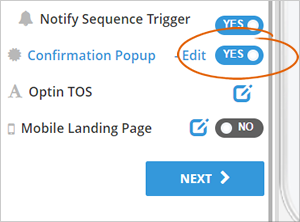
Step 22. If you want to update your TOS (Terms Of Service), click the edit button.
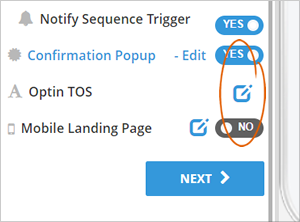
Step 23. You can also set up a Mobile Landing Page.

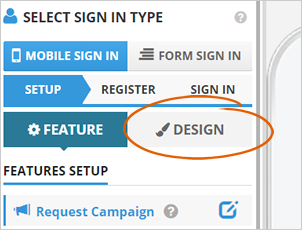
Updating the Design of Your Sign In Form
To start updating the design of your Sign In Form, follow these steps:
Step 1. Click the Design tab to start designing your sign-in form.
Step 2. In this section, you can edit the following elements of your sign-in page:

Step 3. The Advanced Features lets you edit the following:

Step 4. Once you are done, click the Next button to update the Register Form. This form is where the contact will be entering their information for the first time.
Setting Up the Register Page
On this page, we will let the user know that the first time they are signing in to the system.
To set up your Register Page, follow these steps:
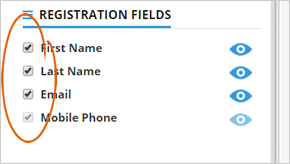
Step 1. Select the checkbox that you want to set as a mandatory field.
Step 2. If you want to remove a particular field on this page, click the eyeball icon.
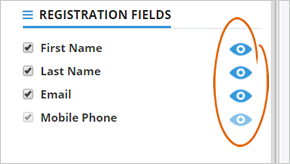
Step 3. Once you are done setting up your Register Page, click Next.
Finalizing Your Sign In Form
On the last step of the sign-in process, your clients or customers can already sign-in or answer some of the additional questions.
Follow these steps to finalize your Sign In Form:
Step 1. To add a question, click the Add button.
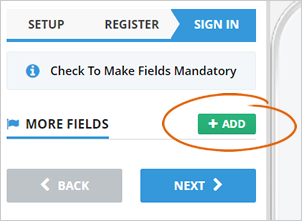
Step 2. Type the name of the field.

Step 3. Select a field type. Add the placeholder text if needed.
By adding more fields, you can replace the clipboard that is typically found in some offices.

Step 4. Click the Next button to complete the setup of your Sign-In Form. This form is ready to be used.
Once the sign-in form is updated, you will be able to implement a few more things on the last step:

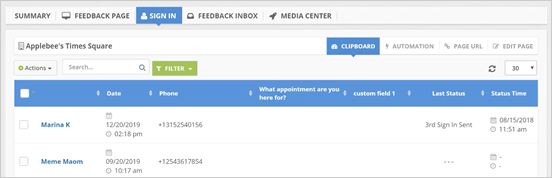
Once you are done updating the form, click Finish, and you will be redirected to the Sign In the dashboard.
The Sign In Dashboard displays all the details about each sign-in. It includes the times of when the sign-in happened, what phone number and email they provided. Any additional fields will be filled out and the step in the process of where they sent.
Related Articles:
Rep Kahuna 101: Steps to Success
Email Script 1
Email Script 2
Email Script 3
Email Script 4
Email Script 5