Sending a Request Campaign to an individual lets you enter that person’s information and get a review from him right away. After filling out the required information, your customer will be added to the Single Contact Request Campaign.
Follow the steps below on how to send a Request Campaign to your client or customer:
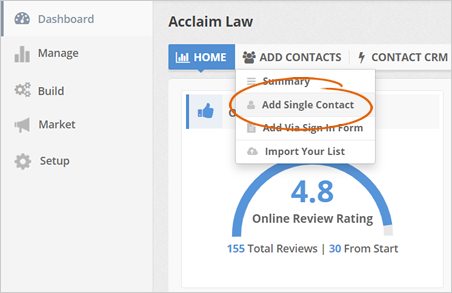
Step 1. From the merchant’s dashboard, hover your mouse over the Add Contacts tab and select Add Single Contact.
Step 2. Type the individual’s Contact Information.

Step 3. By default, all added individual contacts will be added in the Single Contact Campaign. Still, you have the option to select what campaign the contact will be added.

Step 4. Toggle the campaign that you want to use for this contact to ON.
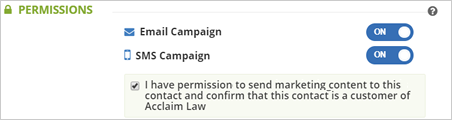
Be sure to tick the permission checkbox, which indicates that you have permission to send marketing content to the contact that you are adding.
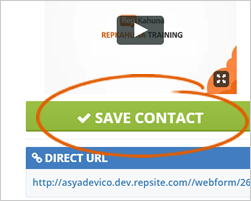
Step 5. Click the Save Contact button to add the contact to your chosen campaign.
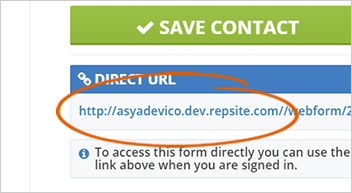
Step 6. If you are not available to do this process, you can send the direct URL to your assistant or secretary. This direct URL will let them add contacts in the CRM without having to log in to the system.
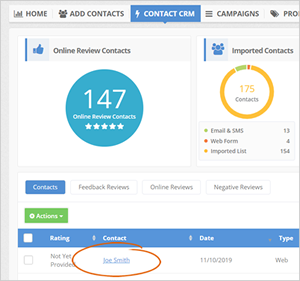
Step 7. You can go to the Contact CRM tab if you want to check the contact that you just added.
Related Articles:
Sending a Request Campaign: Multiple Contacts
How to Export a Contact From the Sign in Campaign
New Campaign Set up: How to Send a Campaign to SMS Contacts Only
New Campaign Set up: How to Send a Campaign to Email Contacts Only
How to Set up and Send an Apology Campaign
Setting up and Sending a Thank You Campaign