An On Page Widget is an ad that sits on a website which can be found on the side panel, somewhere within the content, or anywhere you want to put it. You also have control of swapping the ads in and out once you install the widget code using Widget Automation.
To start creating an On Page Widget, follow these steps:
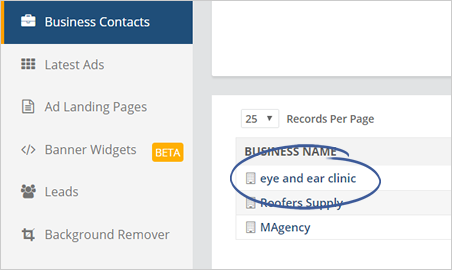
1. Select a business whom you want to create the On Page Widget for.

2. Go to the Banner Widgets tab.

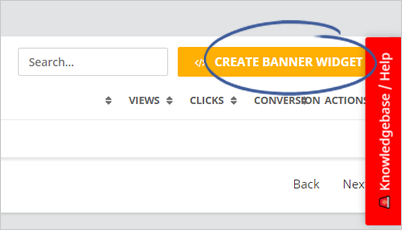
3. Click Create Banner Widget.
4. Select On Page as your widget type.

5. Type in the Widget Campaign Name.

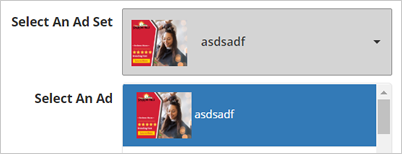
6. Select an Ad Set that you want to use.
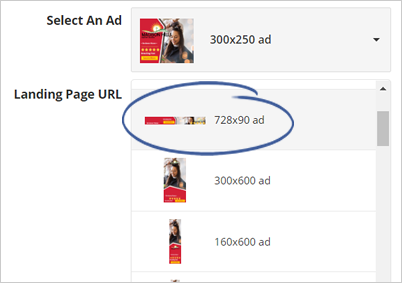
7. Select an Ad Size.
8. Type in the Landing Page URL.

9. Click Next Step.
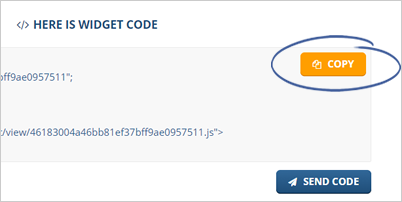
10. You will now see your widget code. Click Copy to copy the code to your clipboard
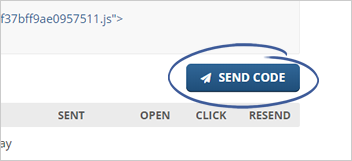
11. If you don’t have access to your website, you can click the Send Code button to send the code to your webmaster.
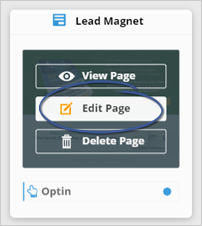
12. Go over your page.
In this example, we are using Hyper Funnels for our web page.
13. Add a block.
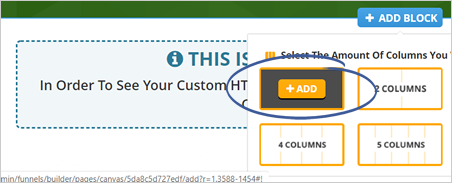
14. Insert a Custom HTML element.
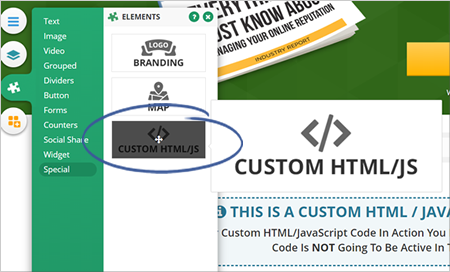
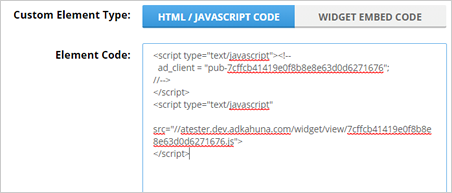
15. On the HTML/Javascript code tab Paste the widget code you copied earlier and click Save.
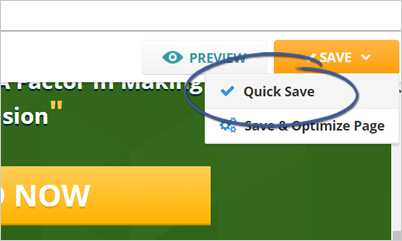
16. Save your page.
17. Once you refresh your page, you will now see the ad that you just inserted.

Adding a Widget Automation
Now that you created your widget. You can rotate the ads using the Widget Automation.
To create a Widget Automation, follow these steps:
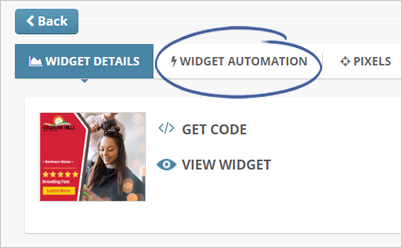
1. Go back to your Widget Dashboard and click the Widget Automation tab.
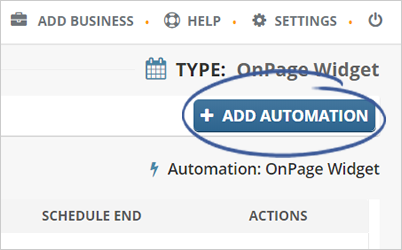
2. Click Add Automation.
3. Select an Ad Set.
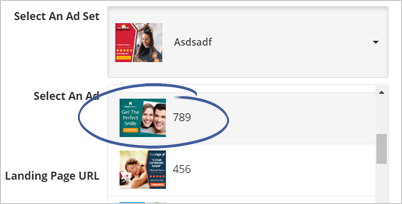
4. Select an Ad Size.
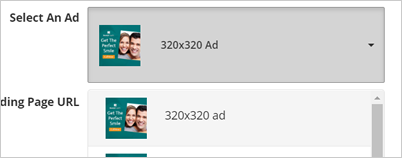
5. Type in the Landing Page URL.

6. Schedule the date and time that you want this ad to start.

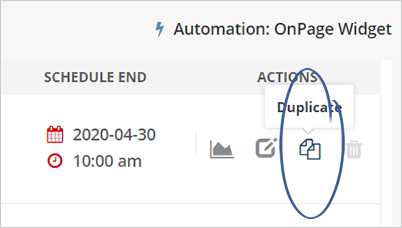
7. If you wish a particular ad to come back in a couple of days, you can click Duplicate.
8. Set the Start Time and click Save.
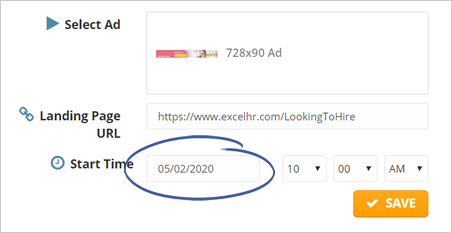
9. You can add more ads as many as you want by clicking the Add Automation button again and setting up the automation once more.
10. Once your ads start publishing, you will be able to see them in the Posted Widgets tab.
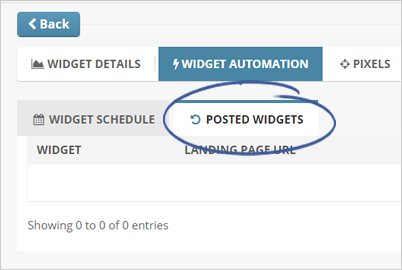
Your posted widgets will display the history of your ads, including your analytics.