to actually see the details on a form.
Managing Your Lead Capture Forms
This article will walk you through the different areas of your Lead Capture Form and at the same time how you can manage these forms once they are already active.
Once your form is active and leads starts filling up your form, you will start to see data and analytics come back to your form. In order to see how each of your campaign is working, click the Campaign Details button to actually see the details on a form.
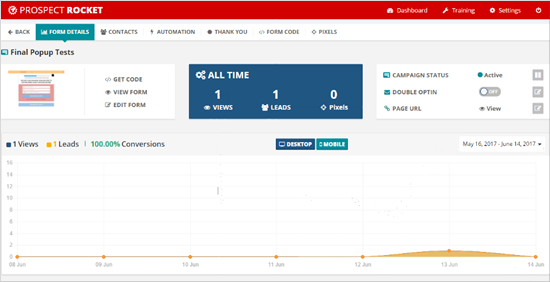
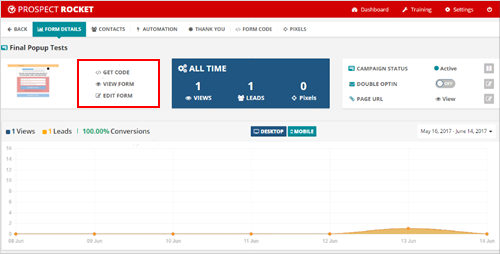
1. Form Details
🛈 Click Get Code if you need to get the code and paste it on a new page. If you want to see your actual form, click View Form and this will show you how your form looks like that will be opened in a new tab. To edit a form, click Edit Form to change how it looks or add additional fields.
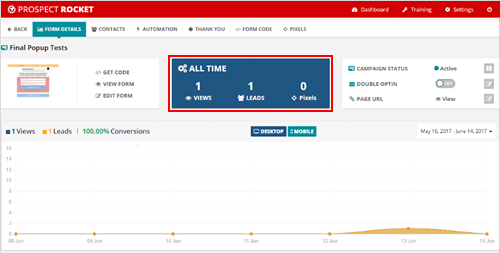
🛈 This shows the all time Views, Leads as the number of people that have filled out and the total Pixels that you have attached to a form.
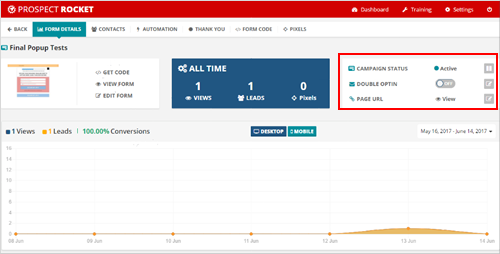
🛈 This panel displays the current status of your campaign, if your Double Optin Email is enabled and the Page URL of your form which you can also View.
To pause a campaign, click the Pause button  . If you want to enable your Double Optin Email, click
  to toggle it On. You can also click on the Edit button
  if you want to edit this email. Lastly, if you want to see your form, click the View button
  and if you want to update your existing URL, click the Edit button .
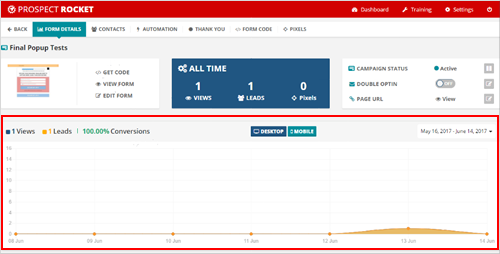
🛈 This graph will show you the total Views vs Leads and its corresponding Conversion. If you want to sort the graph into either Desktop, Mobile or both, click  . You can also click on your Date Range if you want to see your campaign’s performance for a certain amount of time.
2. Contacts
If someone filled up your form, you will have the contact information show up under the Contacts tab. In here, you can see the contact that was created for filling up the form. This will show their Name, the Email that they used to fill out and then their Mobile Number. You can also see the Date and Time that they have subscribed which is the date and time they have actually filled out the form.

3. Automation
If you have created any Automations in the wizard, you can come here to edit them. You can also add automations later if you want to add an Automation for an action or creating and activity after you have gone through the wizard.

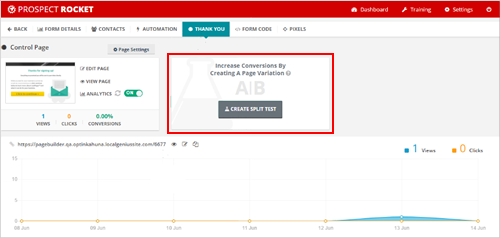
4. Thank You Page
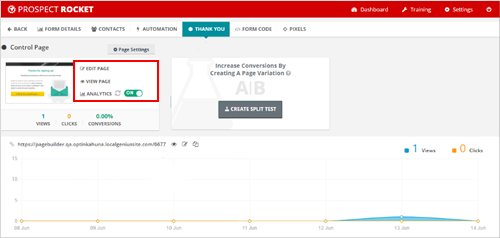
The Thank You Page lets you see the Analytics for your Thank You Page. This should match the amount of people that went through and filled out your form.

🛈 In this Panel, you can edit your Thank You Page by clicking the Edit Page. If you want to see the actual page, click View Page. You can also Turn Off your analytics or Reset them if you need to.
🛈 You can create a Split Test on your Thank You Page if you would like to send them to a separate Thank You Page that has some alternative offer on it. By creating a Split Test, this will send you to the wizard to create a new Thank You Page.
5. Form Code
If you need to get your code, you can go to this tab. To copy the code of your Optin Form, click Copy and paste it on the page where you want to put it.
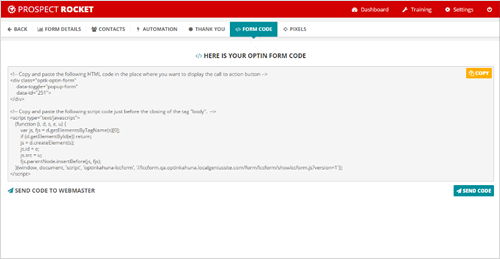
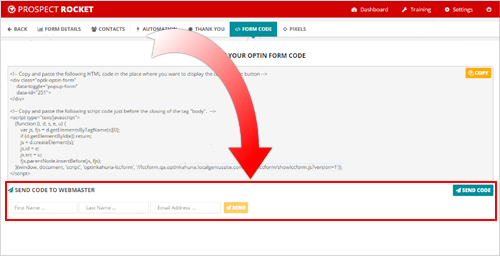
🛈 If you have someone that is working with your website that you don't want to give access to your Prospect Rocket account, you can use the Send Code feature to list their Name and Email Address and it will send a copy of the code to their email from your contact email.
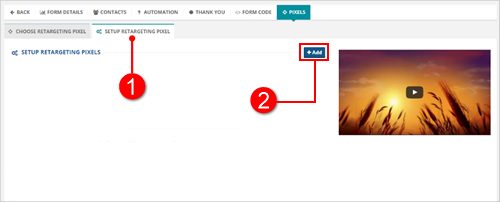
6. Pixels
If you are using Retargeting or Audience Creation Pixels then you can go to this tab. From here, you can add Pixels of what you are choosing to all the of your Pages which is your Form and all your Thank Your Pages. You can also add Pixels to a separate page like your Form Page or just the Thank you Page if you want add different Pixels or audience Pixels based on the actions that they take.
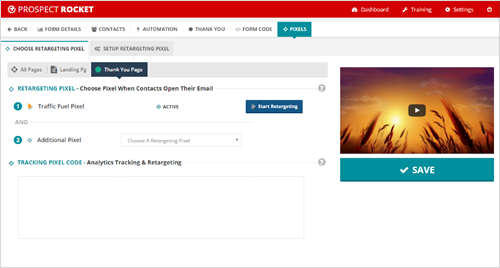
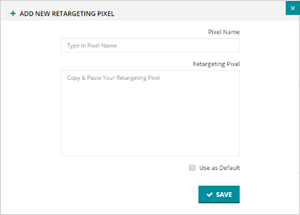
🛈 If you need to create a Pixel, you can go to Setup Retargeting Pixel tab (1), hit Add (2) and paste your Pixel from whatever provider that you are using on the Add Retargeting Pixel window. Once done, click Save.