Anyone worth their salt when it comes to Online Marketing can tell you two important things: one is that if you want more conversions with your online marketing, then you need to implement scarcity. Number two is scarcity is almost a powerful psychology that online businesses never use in their marketing.
We developed a proprietary strategy called Limited Spots. This feature does not only give you one strategy when it comes to scarcity but gives you two strategies, and they can work simultaneously to double your conversions.
We have broken down this article into different sections. If you want to jump over a topic, click on a link below:
Setting Up Limited Time (Countdown Timer)
Combining Limited Spots And Limited Time Features
Checking Your Leads Tab That Came From The Limited Spots
Limited Offer Setup
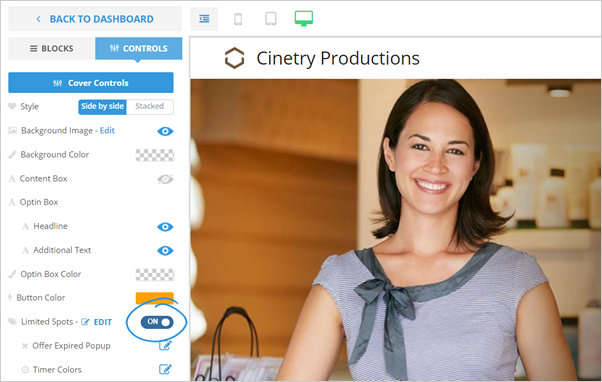
First, is to make sure that the Limited Spots control is enabled on your page. The first setup that you will have is the Limited Spots Setup.
You can find your Limited Spots element by going to your Cover's Controls.

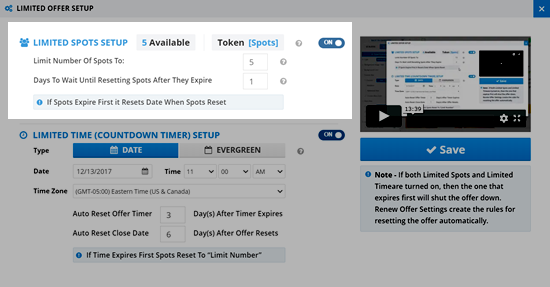
This section is where you give the number of spots that are available at a specific time to take advantage of your offer.
The second one is the Limited Time Setup. This section lets you create a Countdown Timer, and when that timer expires, your entire offer is gone.
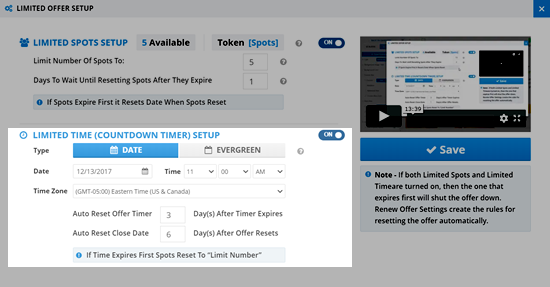
To set up your Limited Spots, follow these steps:
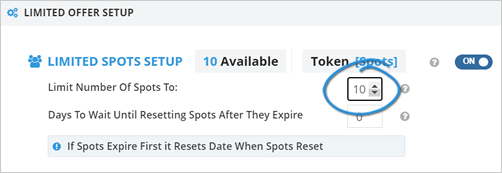
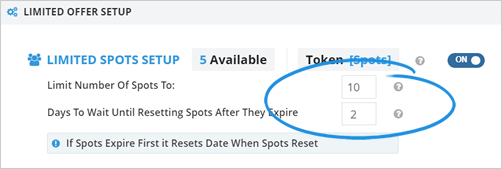
1. Set the number of spots that you want.
The Spots Token can be placed anywhere on your Landing Page. What this does is that instead of showing the Token, we replace this with the number of Spots available.
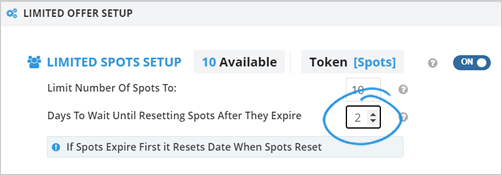
2. This next feature is the Days To Wait Until Resetting Spots After They Expire.
What it does is that if someone takes all your spots up or asks you how many days you want to shut down the actual offer, then reset it again. This process saves you the time when the offer shuts down.
3. Once you are done, click Save.
Limited Time (Countdown Timer) Setup
By default, this feature is disabled. To enable this feature, you need to toggle this feature to ON.
To set up your Limited Time or the Countdown Timer, follow these steps:
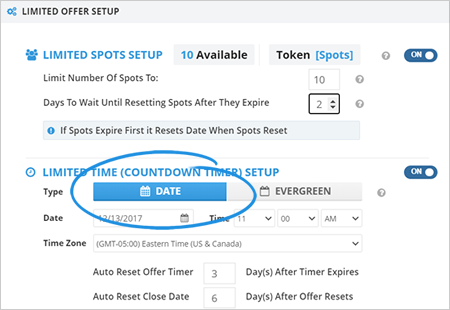
1. You have two types of Countdown Timer: Date and Evergreen.
If you select Date, you choose the time, date, and timezone, and the offer will count down until that time ends. Once the time ends, the offer is shut down.
2. Evergreen, on the other hand, is the same thing except for instead of a date, it gives the amount of time when someone goes to the page for the first time once the connection is established, we then set a cookie* on their browser.
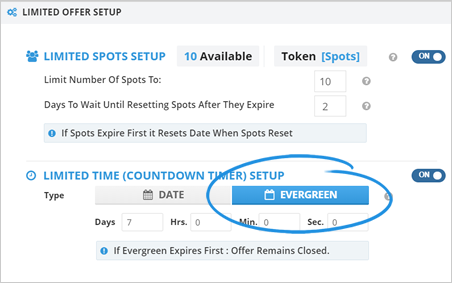
* A browser cookie is a small piece of data sent from a website and stored on the user's computer by the user's web browser while the user is browsing.
3. In this example, we have set the Evergreen Countdown Timer to 0 Days, 4 Hours, 12 Minutes, and 14 Seconds.
Once someone goes to the page, it will start counting down from 4 hours, 12 minutes, and 14 seconds (4:12:14). That will be all the time they have before the offer expires. When the offer expires, we go to the Limited Spots Pop up where they can no longer get the offer anymore.

4. Once you are done, click Save.
Combining Limited Spots And Limited Time Features
You can use both Limited Spots and Limited Time features at the same time to maximize your conversion. You need to take note of some additional rules that you need to set when using both.
Note: Remember, if both of these features are enabled, the one that expires first will shut the offer down. Renew Offer Settings create the rules for resetting the offer automatically.
Scenario 1
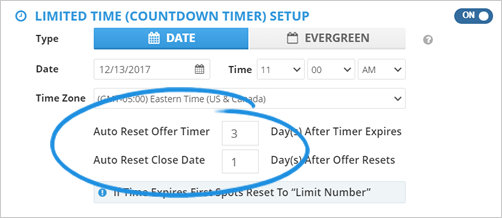
The example below has the Auto Reset Offer Timer set to three days after the timer expires. The Auto Reset Close Date is set to one Day After Offers Resets. In this setup, let us say today is Monday, and we are going to close this down on Friday. If our Spot is six and no one takes advantage of the offer, and it comes to Friday at 1 o'clock, that means that this offer will shut down, but it will auto-reset three days later.
So if it shuts down on Friday, then it will reset on Monday. If it is going to renew on Monday, it will be set on Tuesday at the exact same time you have set up.
Scenario 2
Let's have the same scenario, but this time, the Limited Spots go first. We open it up on Monday, and the countdown will shut down on Friday, but on Monday, everyone takes advantage of the ten spots. Remember that if the Spots expire first, then it resets the date when the spots reset.
So that means if we set the expiration date from 48 hours from now, then 48 hours from now, the Limited Countdown Timer resets too, and it also Auto Resets. On Monday, we put the offer out, and all ten spots got taken up on Monday, which means that on Thursday, the offer comes back online and then sets the timer for 24 hours from when it came back online.
The Offer Expired Popup
The Offer Expired Popup is the popup that your viewers can see whenever you offer shuts down.

You have two tabs that you can use:
First is the Design Tab, which lets you change the fonts and colors into whatever design that you are looking for.
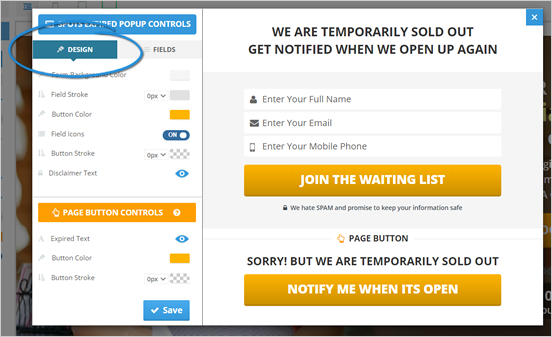
The second tab is the Fields tab, which allows you to control the fields inside the popup.
Tick the fields you want to be mandatory, and click if you want to disable a field. Once you are all set, click Save.
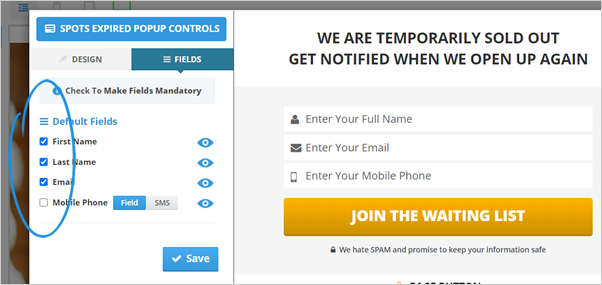
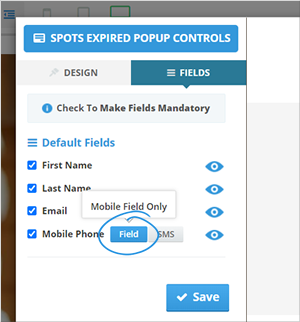
Select Field if you are asking for the viewer's Phone Number. Select SMS if you want to send them a text message and, at the same time, ask their permission to send them a text message. You can change the default option text here if you want to use your own.
Checking Your Leads Tab That Came From The Limited Spots
The last important feature of the Limited Spots is when a lead comes in and how it looks like.
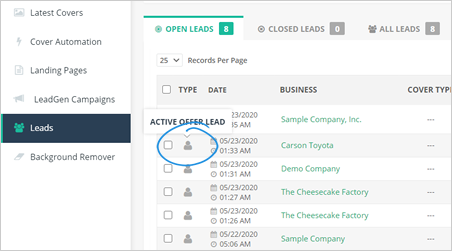
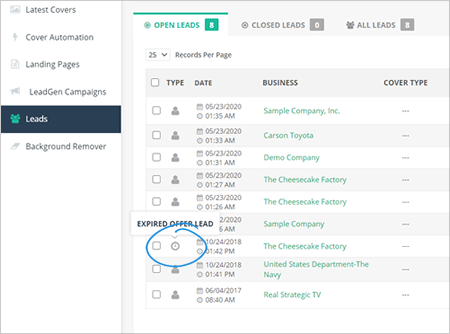
In this example, we are showing our Social Cover system. This example is also applicable to anything Limited Spots has, whether it is Local Analyzer, Ad Kahuna, or any other software. The leads below will help you determine which leads came in when the offer is still open and those leads that went in and listed because the offer is already expired.
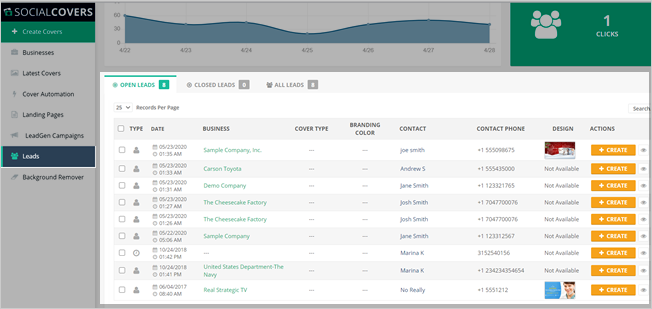
You have two types of leads, which are viewable from the Leads tab in the sidebar or in the Latest Leads box on your Social Covers Dashboard:
