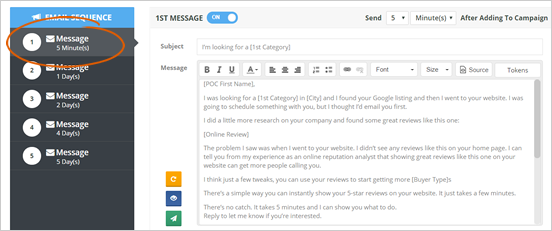
On the last step of the wizard, you will be represented with the five-day email sequence that will explain your proposition to your prospect. You can customize each of these emails to be more personalized.
In the first email, you will describe your experience with the company, and explain why you are reaching out to them. You will explain the importance of reputation online and how to build their 5-star reputation.
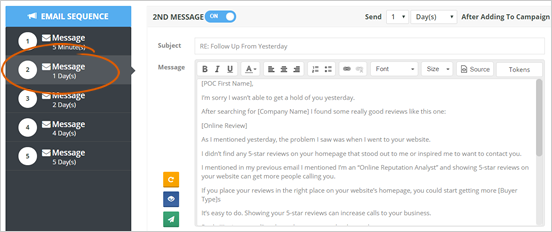
In the second email, you will state the problems you see with their online reputation. It also indicates how you can help them grow their 5-star reviews online and increase the call to their business.
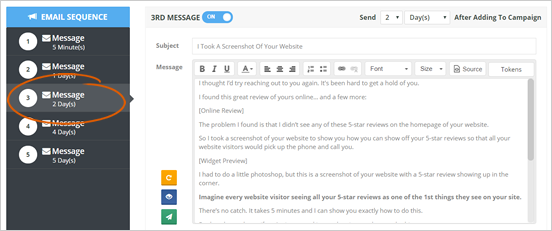
The third email will reiterate the importance of their online reputation to be outstanding, how it is impacting their business, and how you can help them to get more 5 star reviews.
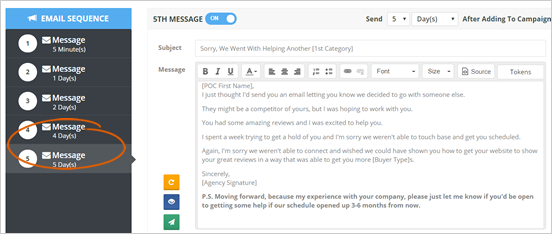
The last two emails will remind them that their deadline’s setup, and you will be able to only work with the business that will get to you before the deadline.
The last email will state that they missed the opportunity to jump off the offer right away, and you select a different business. However, they have other options to connect with you in the future.
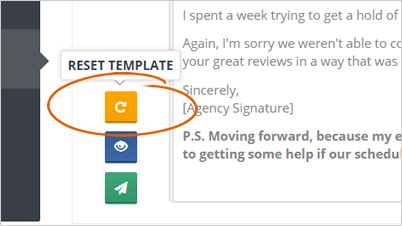
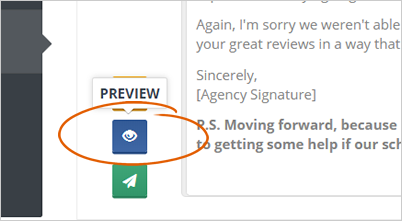
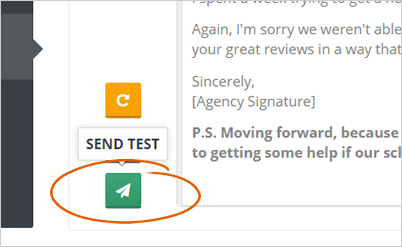
There are also different actions that you can use for your emails:
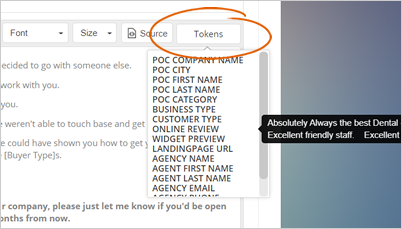
Insert tokens to personalize your email entirely. You can insert an online review that has been used or a widget preview that you would like to feature as your offer.
Once you are done customizing each email, click the Finish button.
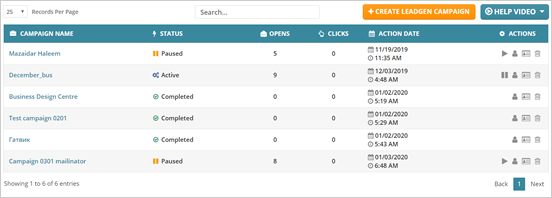
If your campaign was set up successfully, you could now review your campaigns on your Lead Gen Dashboard. This dashboard will display the current status and different stats of your various campaigns.
Related Articles:
Lead Gen Campaign Step 1
Lead Gen Campaign Step 2
Lead Gen Campaign Step 3
Lead Gen Campaigns Dashboard Overview