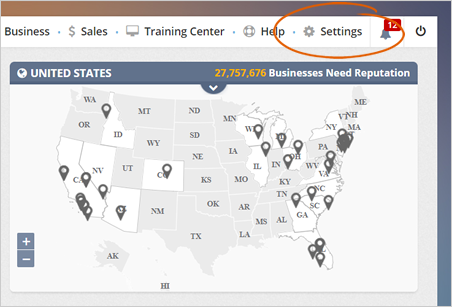
Step 1. Click Settings from the top navigation pane.
RepKahuna gives you the power to customize your agency branding fully. In this article, we will demonstrate how to customize your default agency banner.
To access your Agency Branding, follow these steps:
Step 1. Click Settings from the top navigation pane.
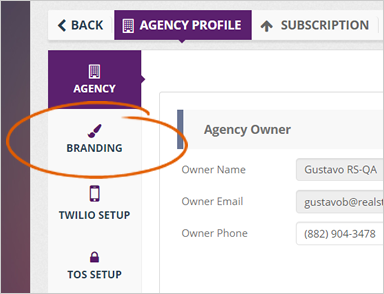
Step 2. Click Branding.
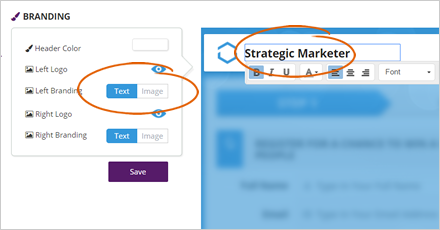
Step 3. If you want to change your Branding Name, type in this field.
Depending on the branding option you have chosen (text or image), you can either directly type the branding name on the preview window or upload your branding image.
Step 4. To change your Agency Logo, hover your mouse over the branding logo. Click the Update button and select an image from the gallery.
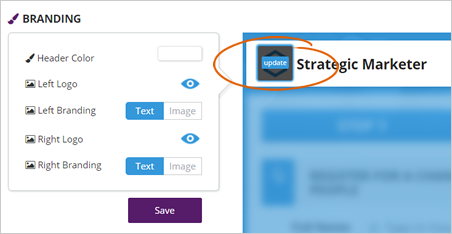
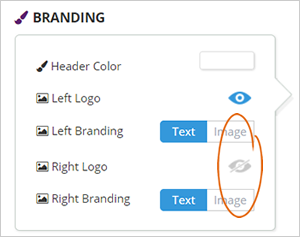
Step 5. You can also set your logo to appear on either left or right by hiding them.
E.g., If you only want to use your left logo, click the Right Logo eye icon to disable it.
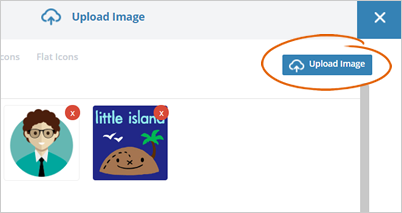
Step 6. If you want to use your company's image, once the image uploader appears, click Upload Image. This action will let you upload your custom image and, at the same time, apply the necessary adjustments.
If there is no Agency Logo added, we will display the Agency Name in text format on the merchant’s top navigation bar. The background for this bar will always be white.
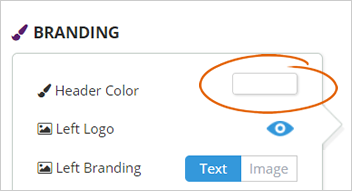
Step 7. To change the Header Color, click the Header Color tile and select a color from the color picker.
Step 8. Once you are all done customizing your Agency Branding, click Save.
Related Articles:
Setting Up Your Subdomain and White Label
Agency Twilio Setup
Agency Information
White Label Overview
White Label A-Record Setup: Registrar Requires IP Address
Agency Support Setup