The page details in Ad Kahuna are easy to understand.
The next sections will explain the different panels inside the Landing Page Dashboard in Ad Kahuna. Each panel will help you quickly see the performance of your Landing Page.
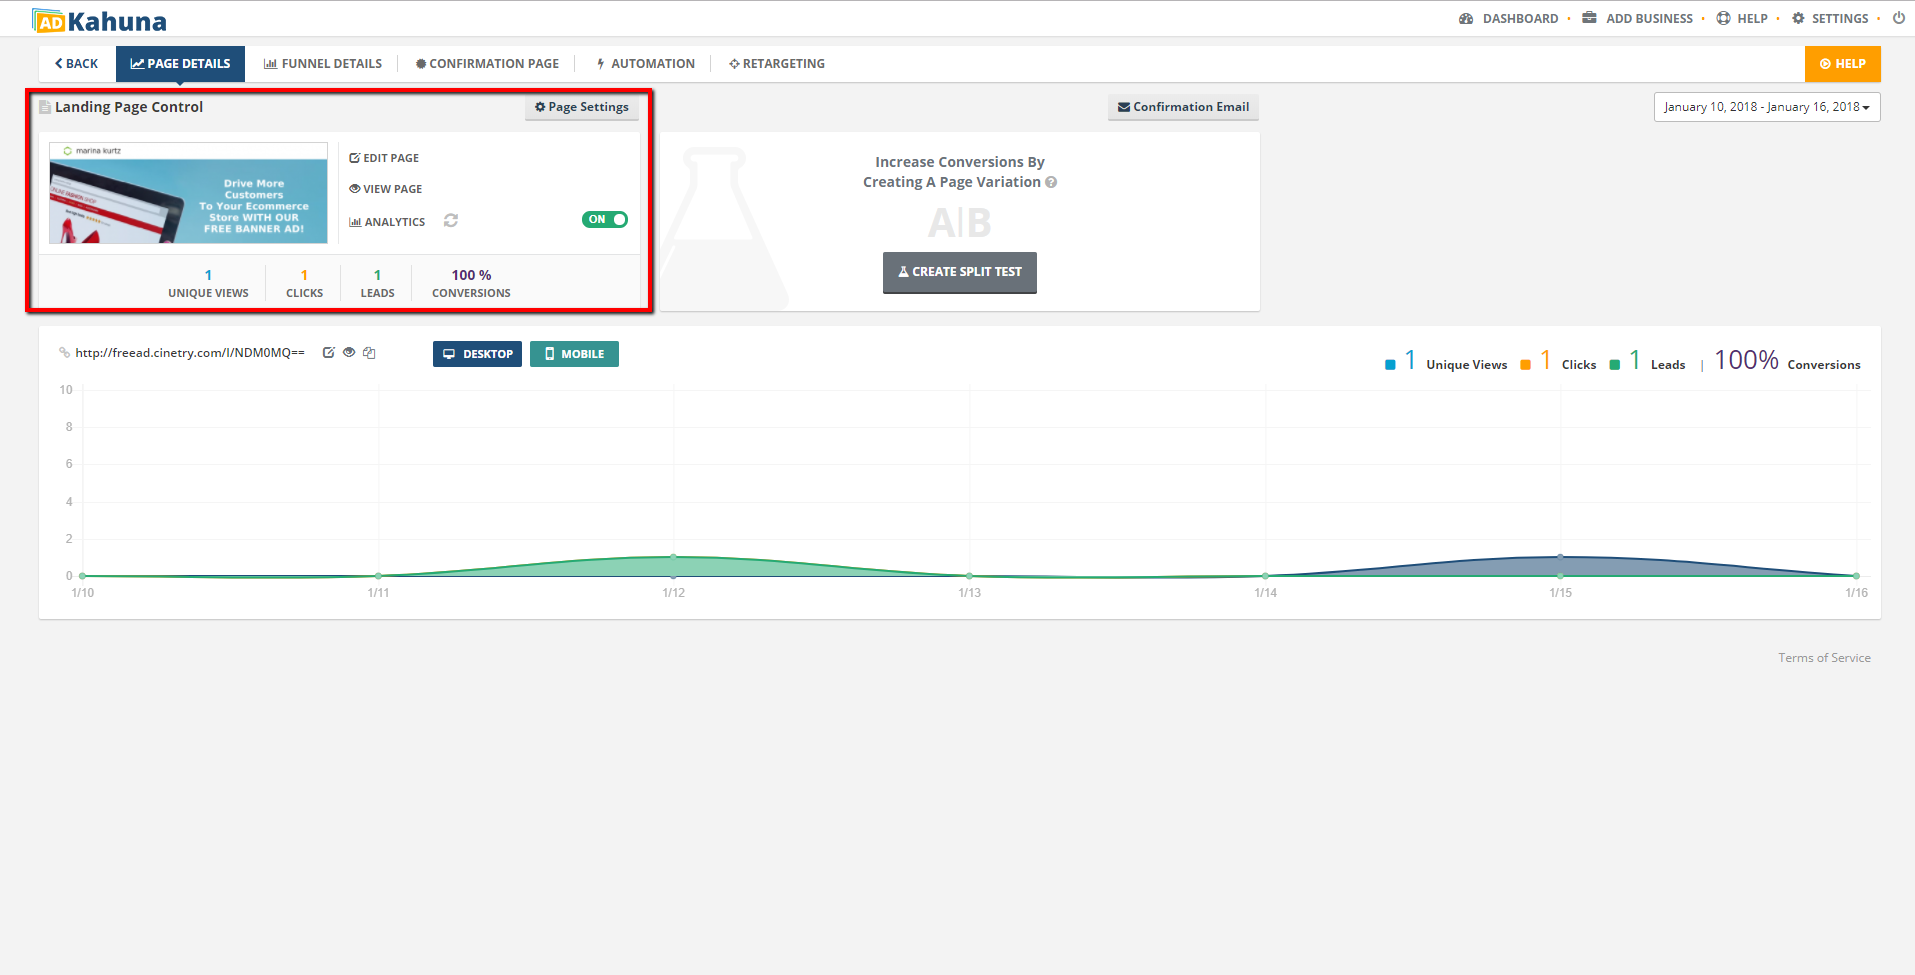
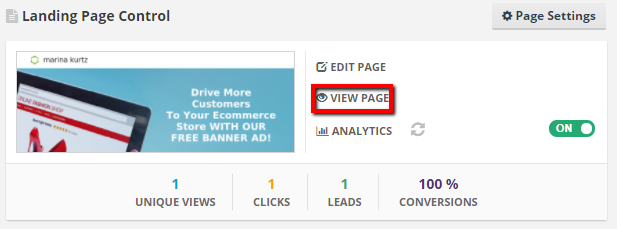
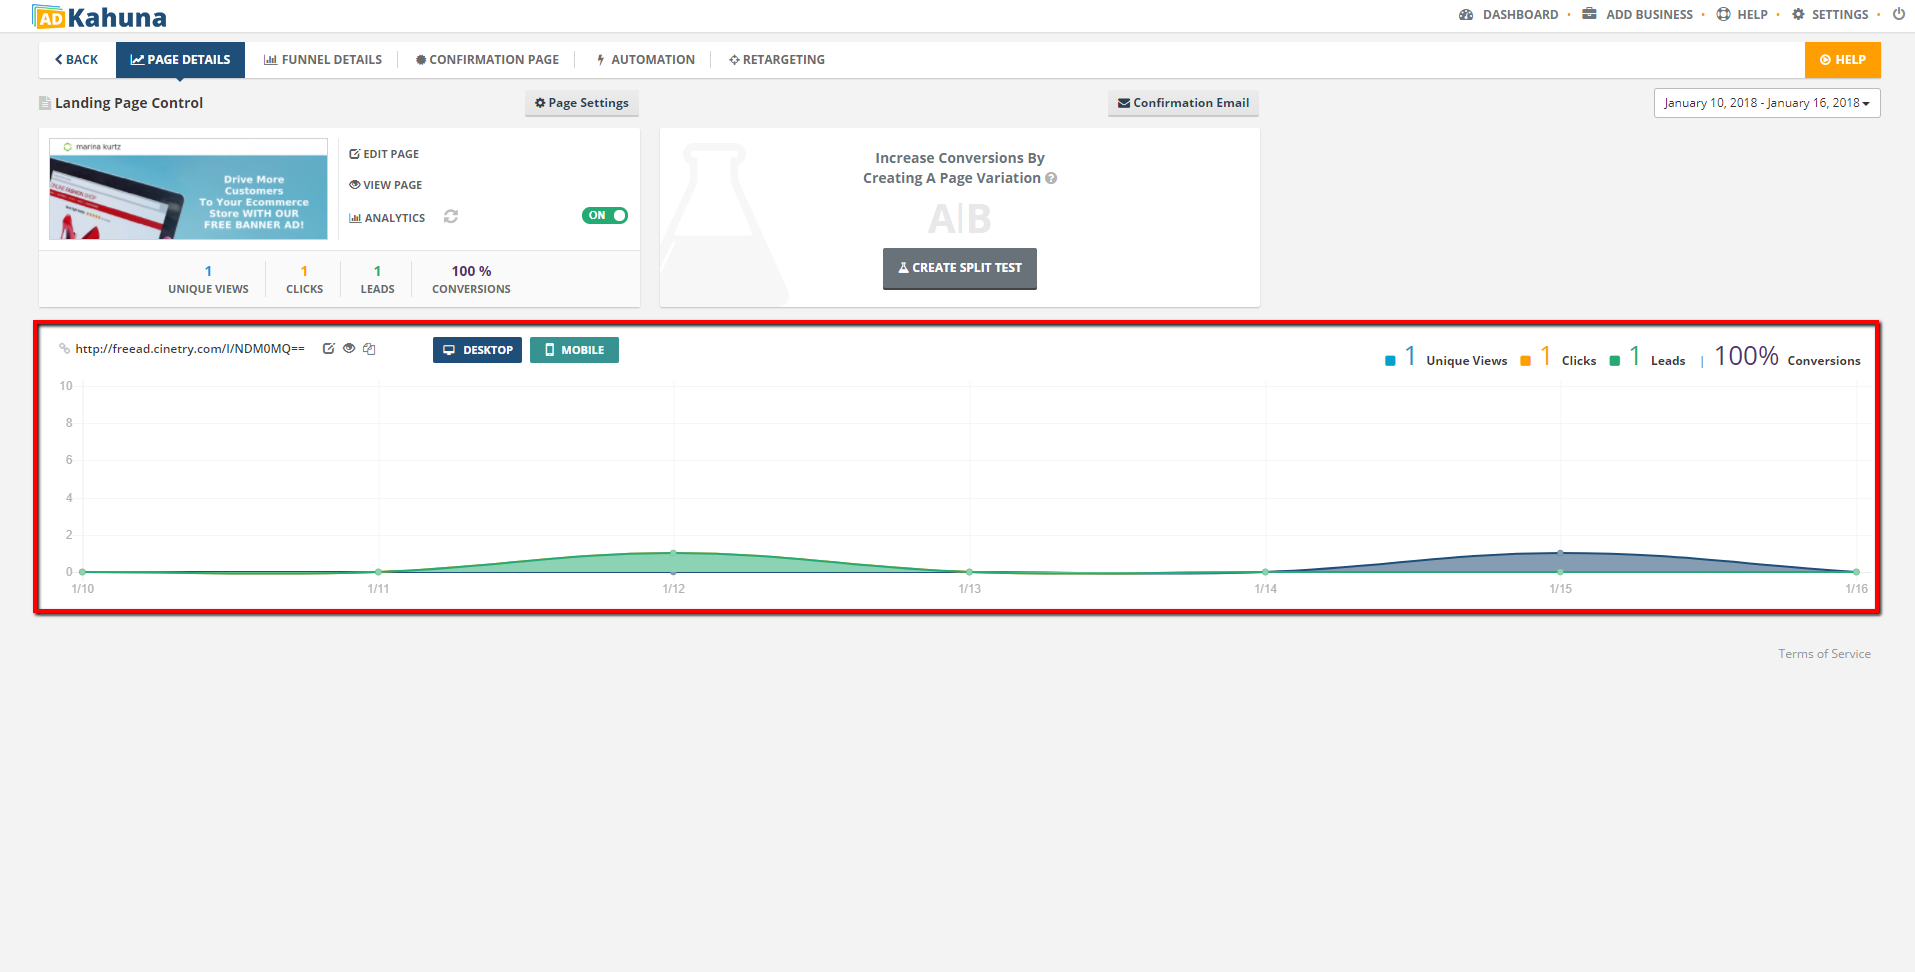
This panel displays the preview of the current Landing Page and the statistics of its performance. You can see how many views, scans, Leads and conversions this page had.
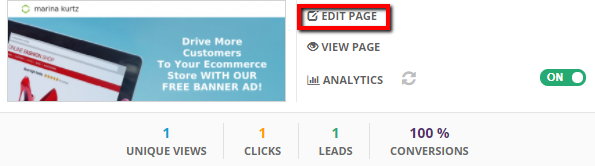
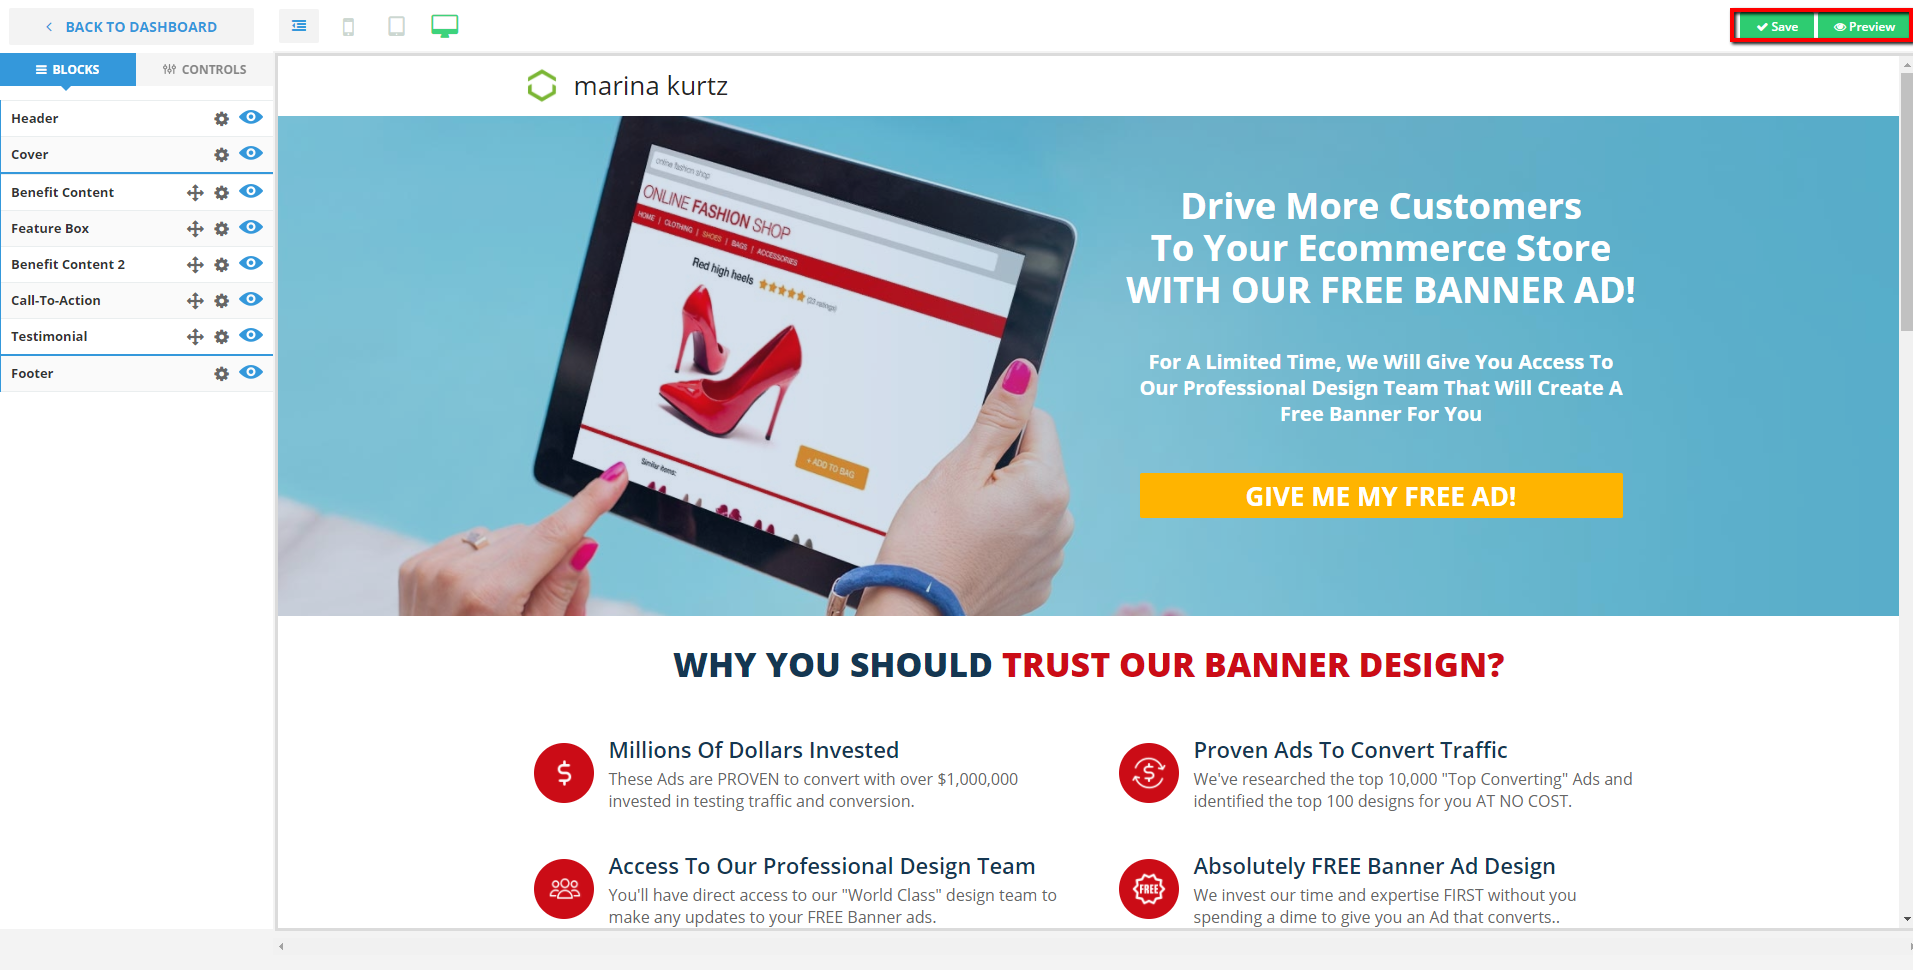
To edit your Landing Page, complete the following steps:
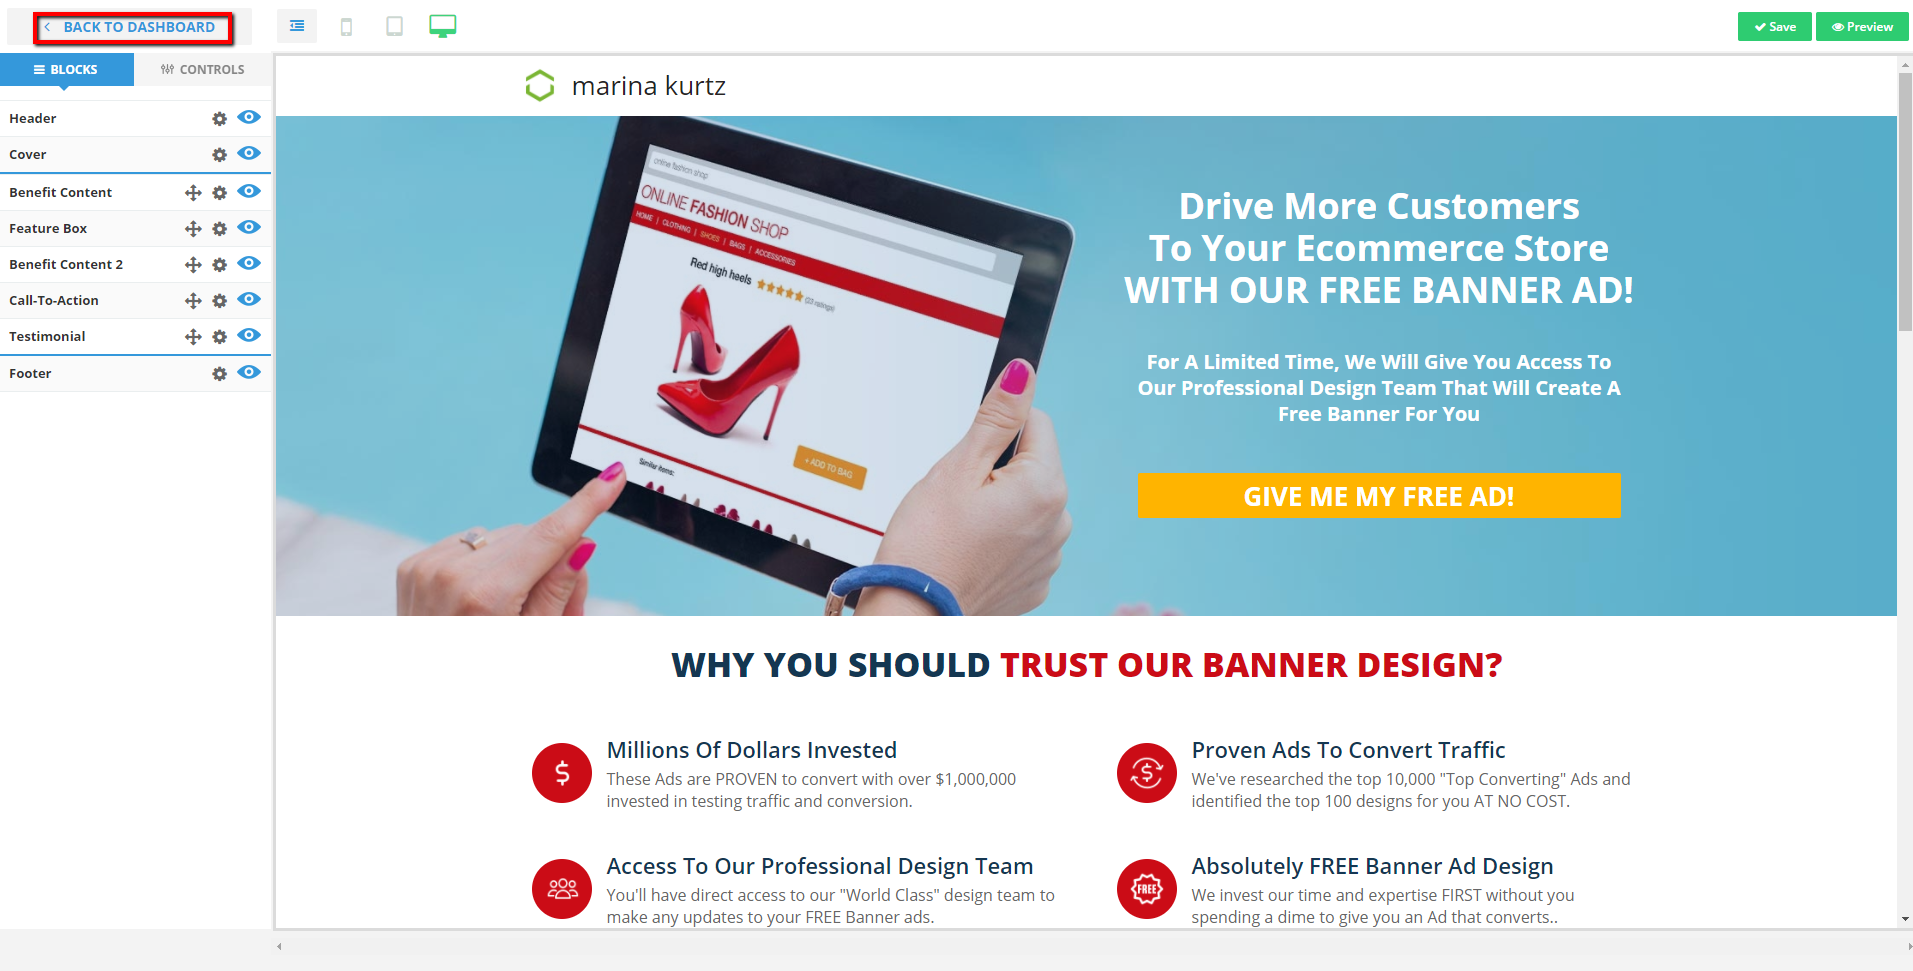
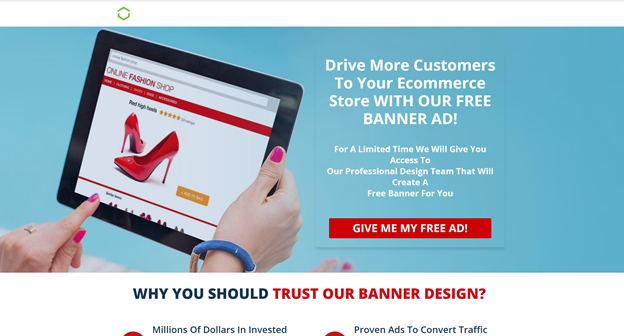
To view your Landing Page, complete the following steps:
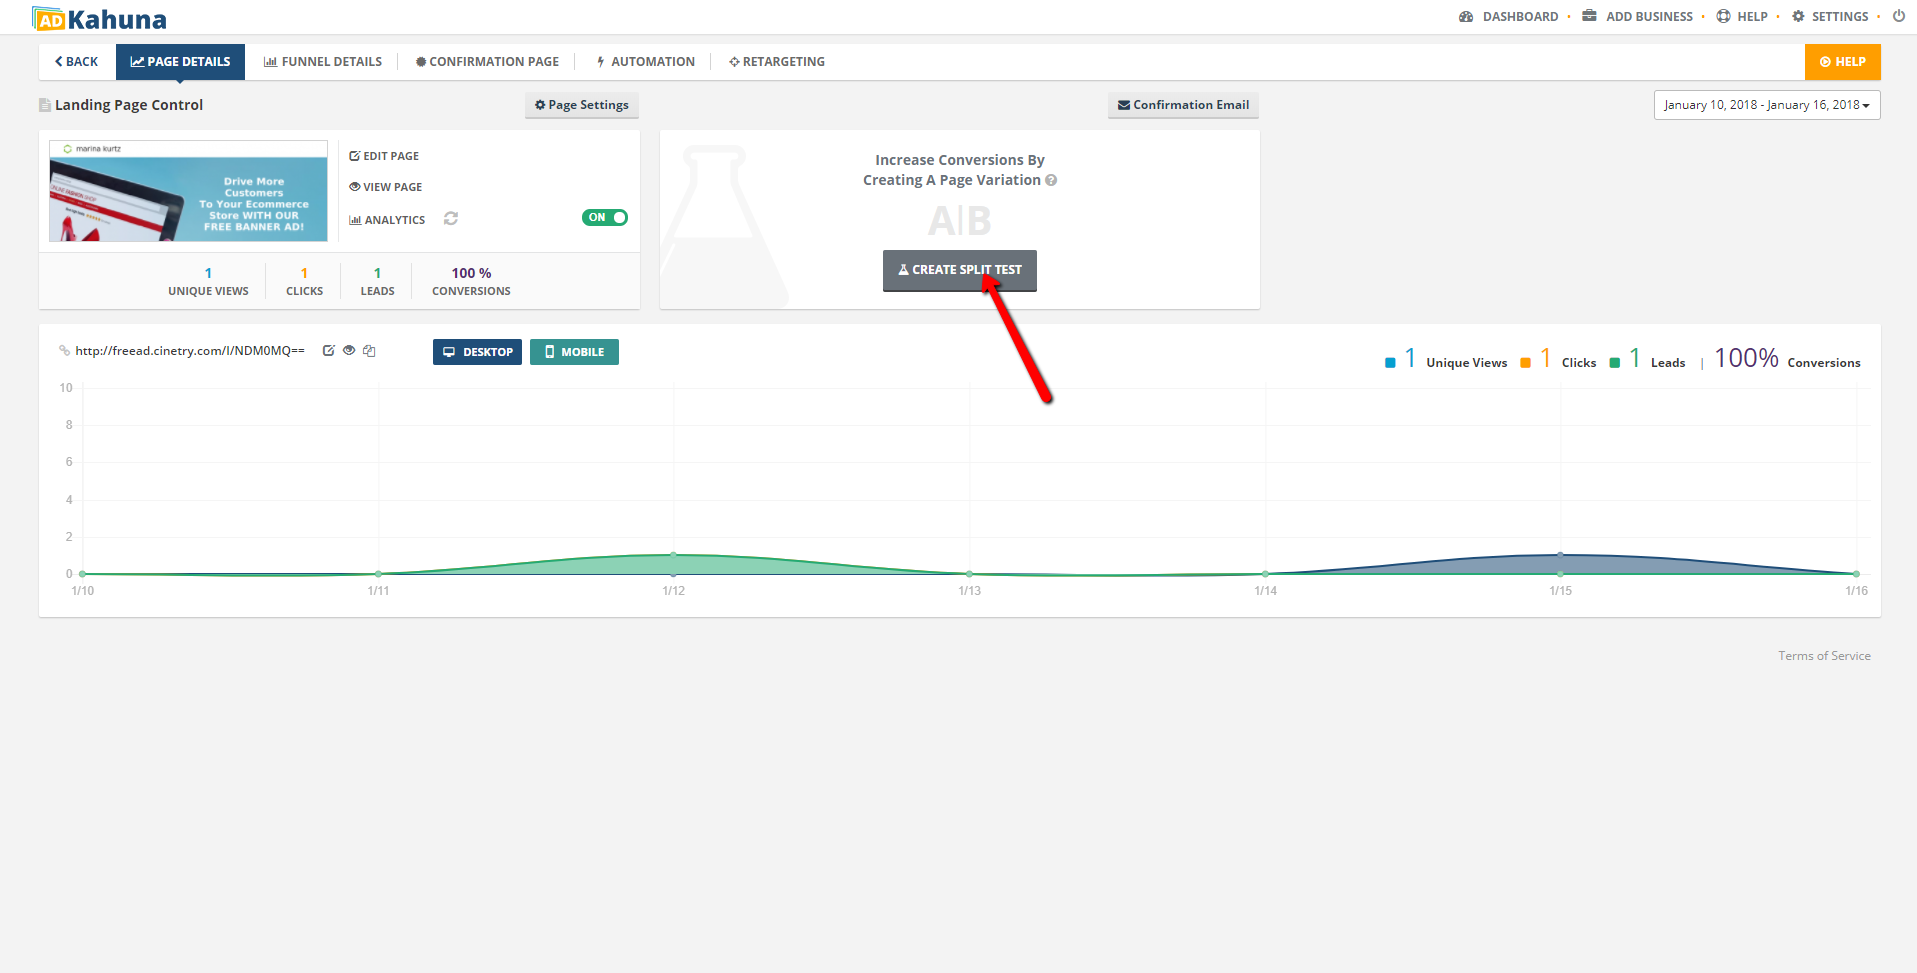
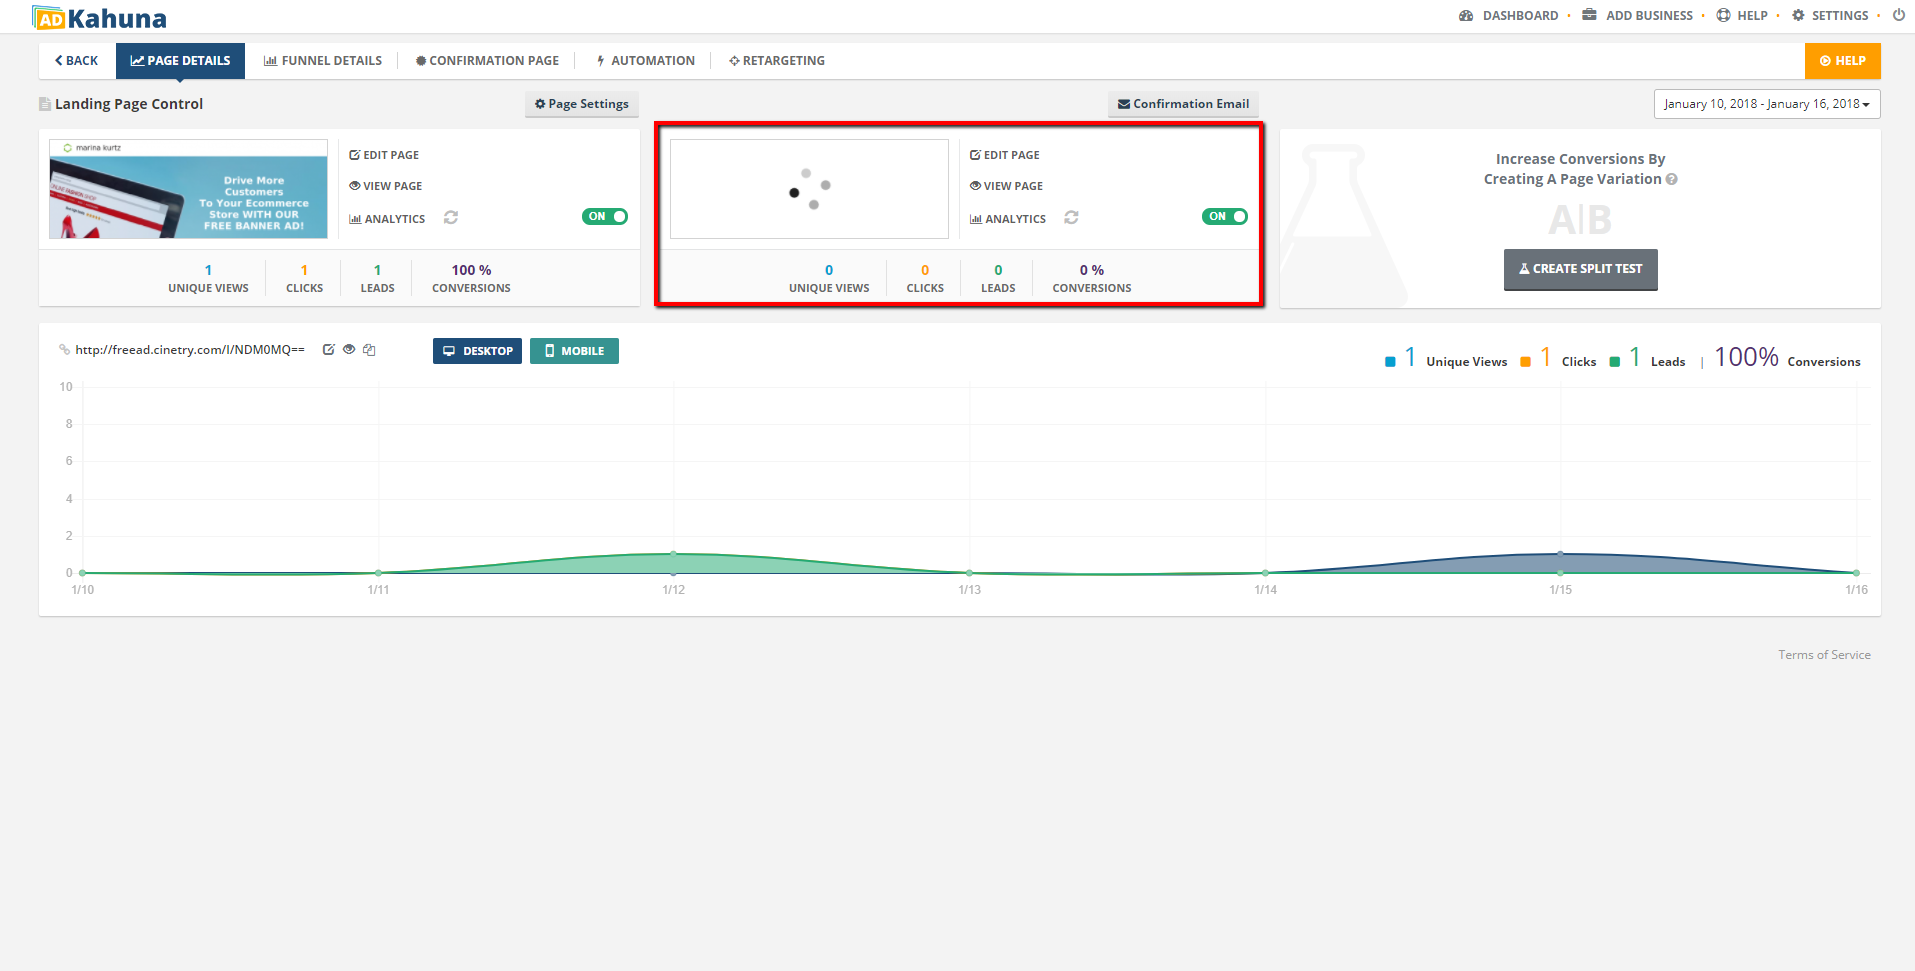
The Split Test Panel lets you setup a Split Test and see which version of the Landing Page performs better.
To create a Split Test, complete the following steps:

🛈 You can setup the Split Test once again for the same Landing Page.

You can also see the statistics in graphs, which let you see the direct link of the page. These graphs display the total: views, scans, leads and conversion percentage of the page.
🛈 You can toggle the graph between the Desktop View and the Mobile View. When the Desktop is turned off ![]() , this means that the only graph that is visible is Mobile.
, this means that the only graph that is visible is Mobile.
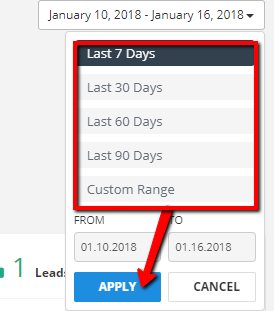
💡 You can select your custom range to show the data for that page or filter the data from the last 7 to 90 days. Click Apply to enable your filter.
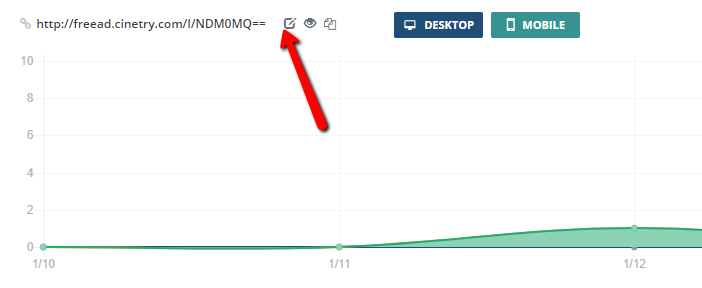
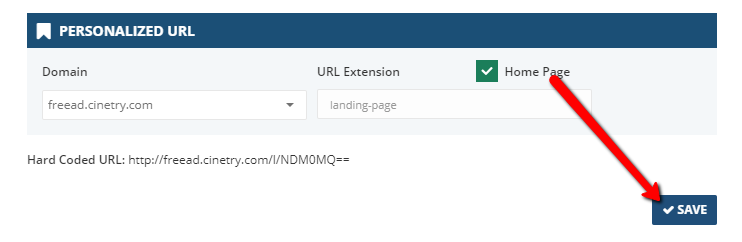
💡 To edit the page’s link, click the Edit Page button. The personalized URL section is where you can select your Domain. You can also setup your URL extension that will define that page.
🛈 If you have your White Label Domain setup, you can select your White Label Domain from the domain drop-down menu. Ensure you make your White Label Domain the Home Page. This will avoid future “Error 404” on your browser. Click Save.
 |  |
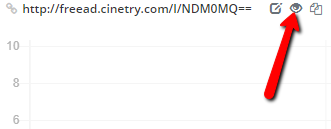
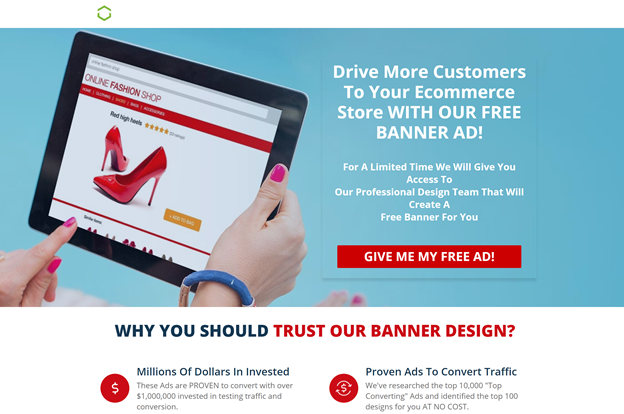
💡 To view the page, click the View Page button and you will be redirected to the page to a new tab.
 |  |
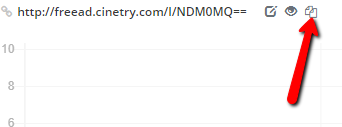
💡 To copy your page’s link, click the Copy Page Link button and paste it on a separate window.
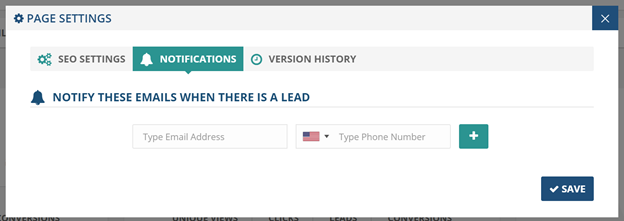
This lets you update the Page Settings, which include the page’s SEO settings, notifications, and version history.

The SEO Settings lets you update your page's: name, SEO title, and description.

You can have as many representatives to receive the notifications for this page as you need. If you have a Salesperson that you would like to add to the list of the people who will receive the notification, just type their email and mobile phone number, click Add, and you will see them on the list.
If you made updates to the page and you need to return to a saved update, you can restore the previous version. Click View  to see the page. To restore the page, click the Restore button
  .
.
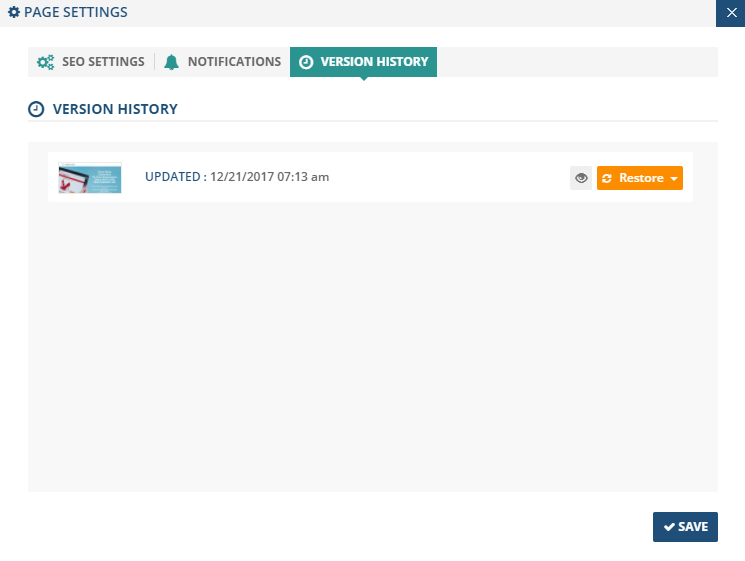
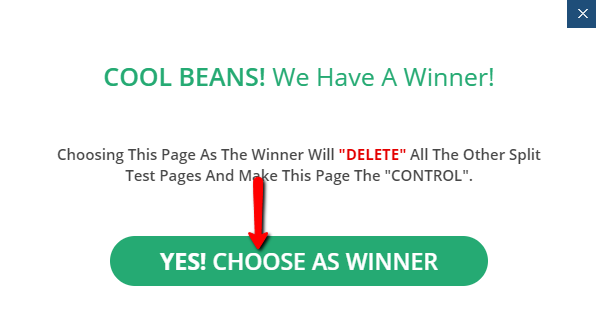
🛈 You select two options: As Control or As Variation. Restore it as a Control for the Landing Page to be the main page. If you selected the Variation, it will create a Split Test automatically.