After sending a Request Campaign, then getting one-star or three-star feedback from a customer, that is the time that we send an Apology Campaign and follow up with them.
In this article, we are going to walk you through on how you can set up an Apology Campaign and send the campaign to your customers who provided poor feedback.
To start setting up and sending an Apology Campaign, follow these steps:
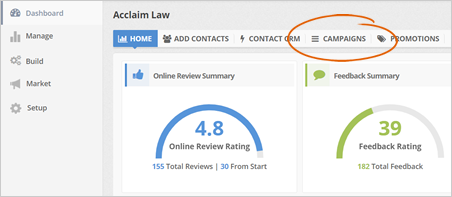
Step 1. From the merchant’s dashboard, click the Campaigns tab.
Step 2. Click the Apology tab.

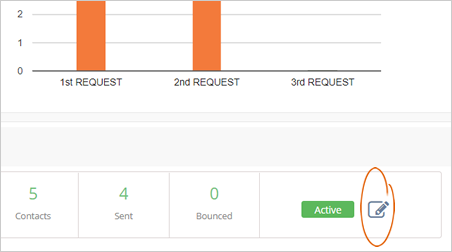
Step 3. Click the pencil icon.
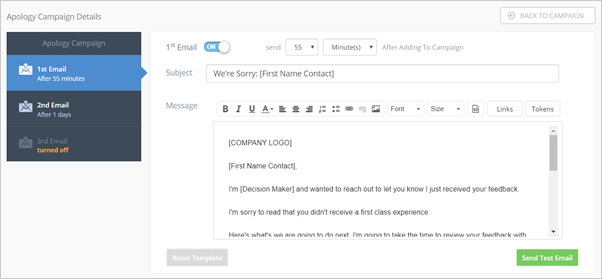
Step 4. In this section, you can view the sequence of your emails and directly edit each email template.
1st Email
This Email is set into a delay of 55 minutes because it is coming from the owner. Keep in mind that the number one thing that a contact wants to know is that they have been heard by someone very important in the business.
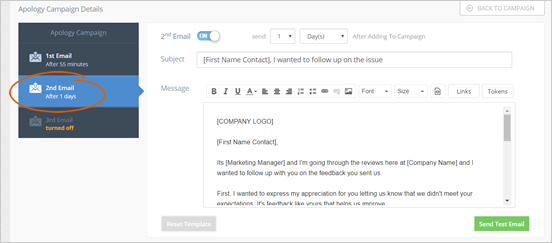
2nd Email
On the 2nd email, we follow up exactly one day later. We let them know that either the Project Manager or yourself is going to the reviews again and want to express our appreciation for letting them know that you did not meet their expectations.
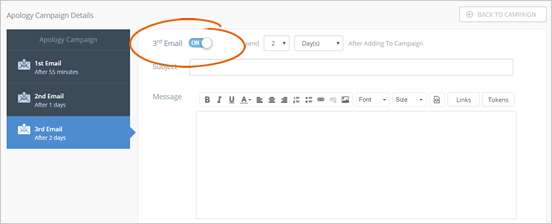
3rd Email (Optional)
This section enables you to create your personalized email letter, which you can send two days or even a week later. Toggle this to ON and start setting it up.
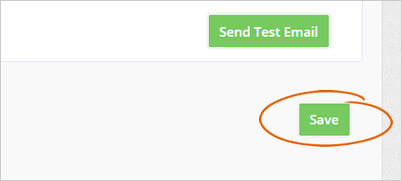
Step 5. If you are done setting up all your apology email campaigns, click Save.
Related Articles:
Apology Emails
How to Ensure Email Deliverability in Emails From Rep Kahuna's CRM
Sending a Request Campaign: Multiple Contacts
New Campaign Set up: How to Send a Campaign to Email Contacts Only
Tour of Your Request Campaign Dashboard
Sending a Request Campaign: Individual Contact