Changing your Reputation Report allows you to alter the appearance of your reputation report and add custom pixels for each page. You can add both retargeting and analytics tracking pixels to each page in your Reputation Report.
To change your Reputation Report's settings and controls, follow these steps:
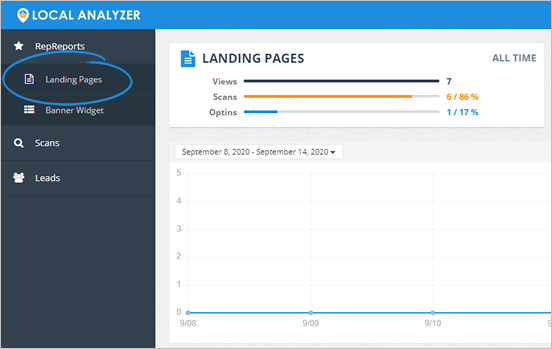
1. From the main dashboard, click Landing Pages.
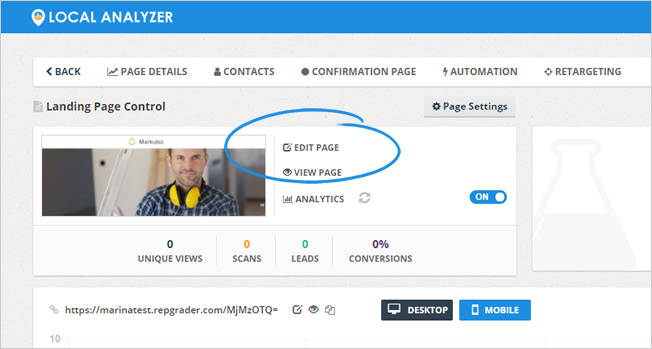
2. Select a landing page.

3. Click Edit Page.
4. Click Report.
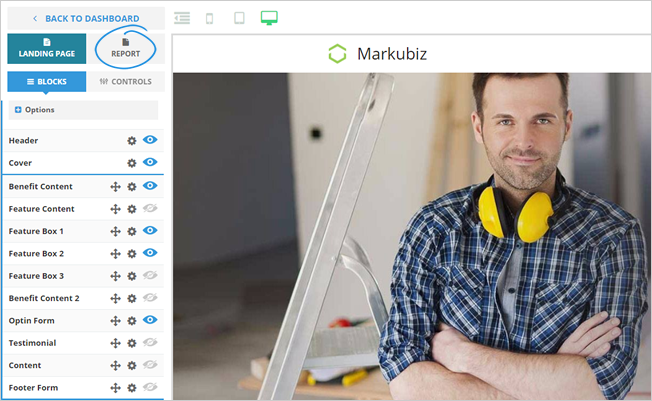
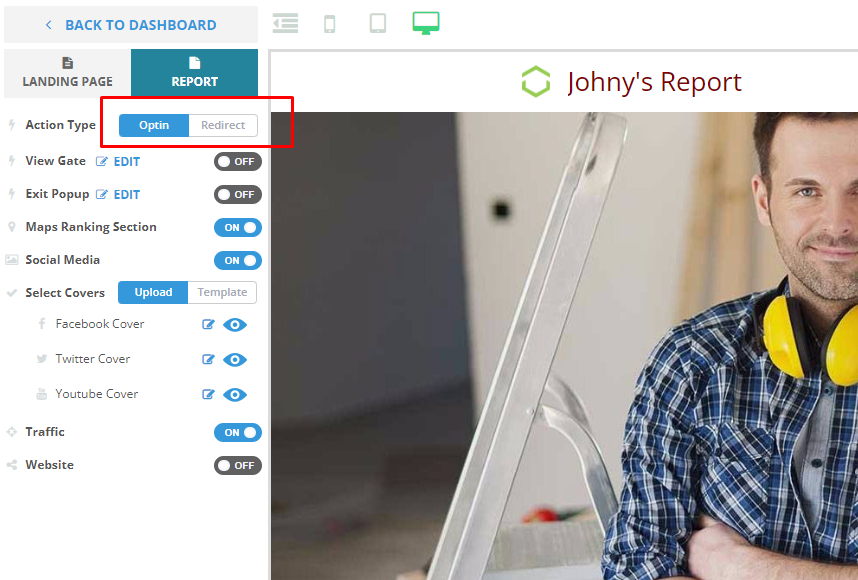
5. Decide and implement what you need to happen when a user takes action.
You can choose between opt-in and redirect. If you decide to opt in, you can customize the opt-in text for every opt-in button.
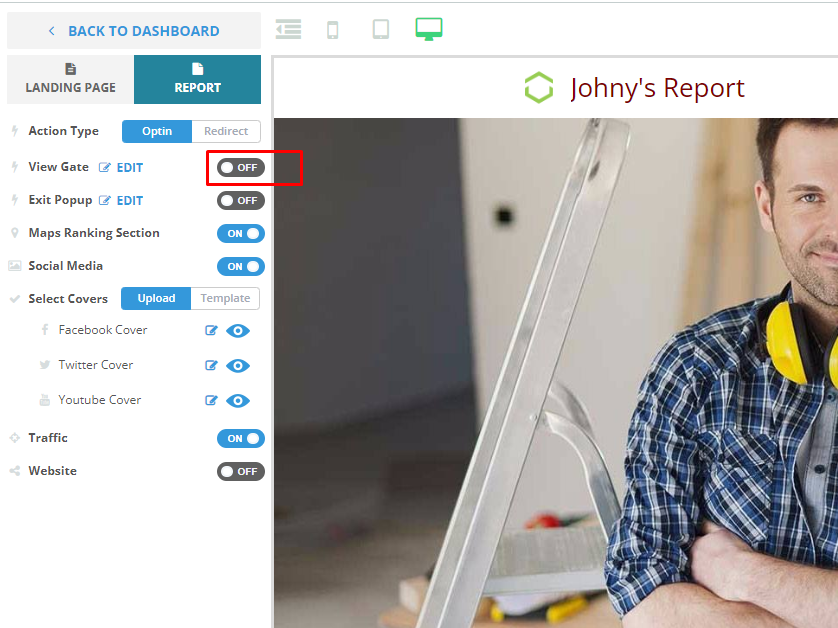
6. Decide and implement what you need to happen regarding the View Gate.
When turned ON, the view date requires users to enter their personal information before viewing their report.
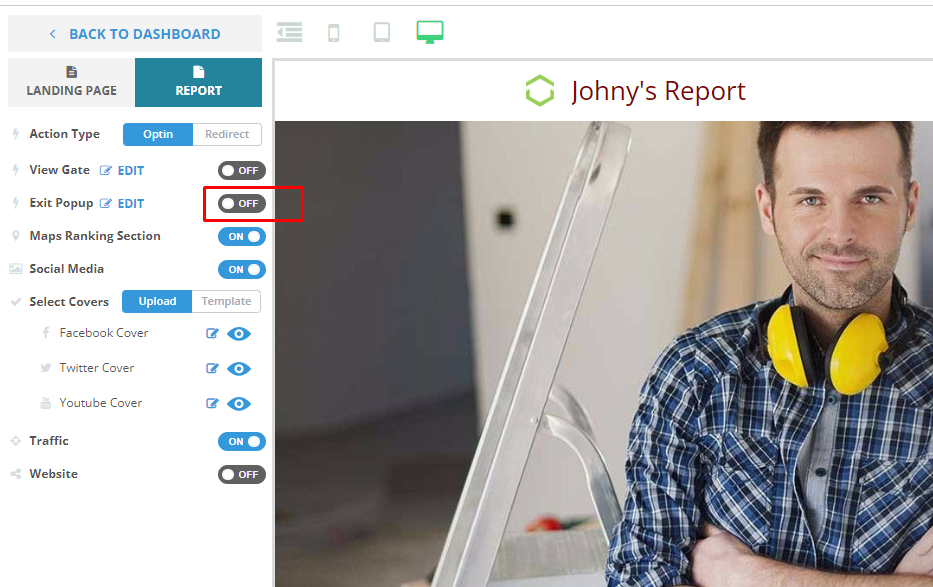
7. Decide and implement what you need to happen about the exit pop-up.
When turned ON, the exit pop-up appears if users attempt to close their report.
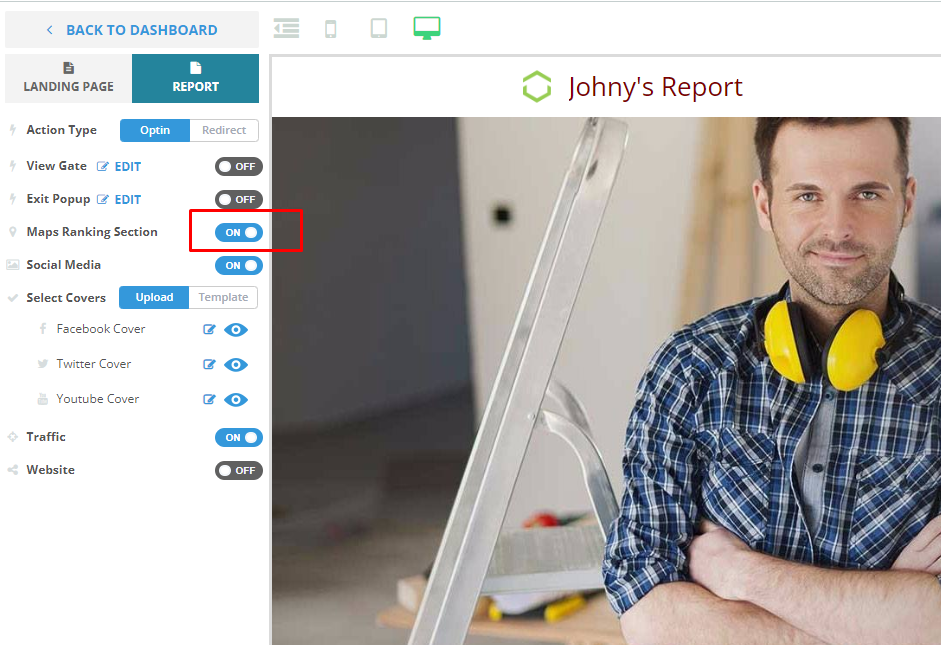
8. Decide and implement what you need to happen about the maps ranking section.
Want to learn more about the Maps Ranking feature? Go to this link.
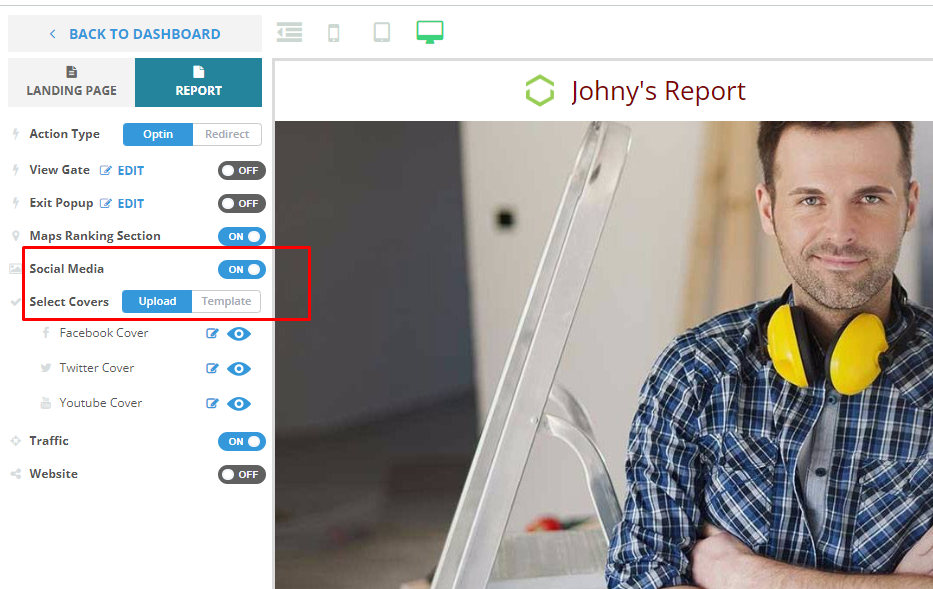
9. If you are enabling Social Engagment or Social Covers in your report, choose if you want to use your social cover or use our existing templates. You also have the option to hide or show the Social Covers for Facebook, Twitter, and YouTube.
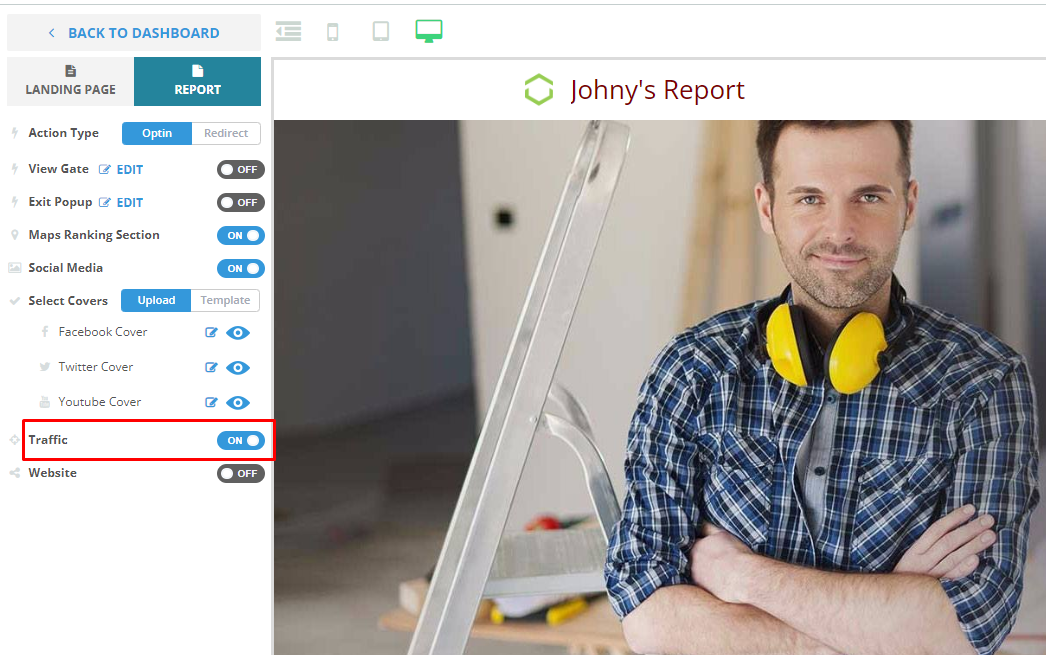
10. If you want to enable Retargeting for your Reports, turn this element ON.
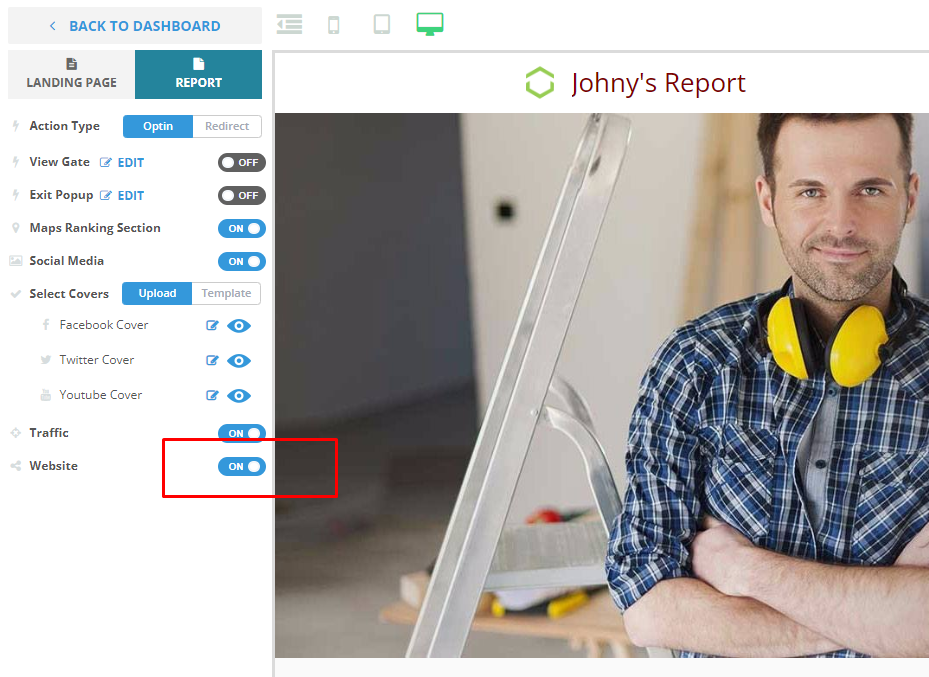
11. If you want to add a Website Review and SEO Audit in your report, enable this element.
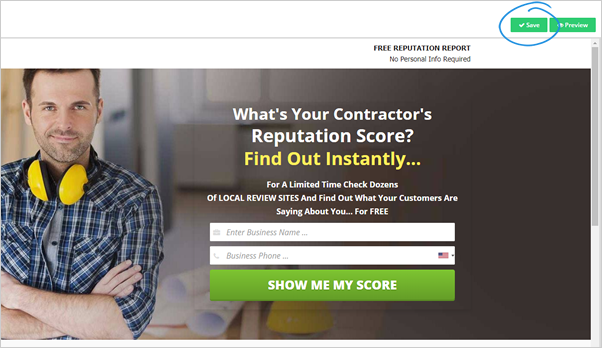
12. Once you are done, click Save.