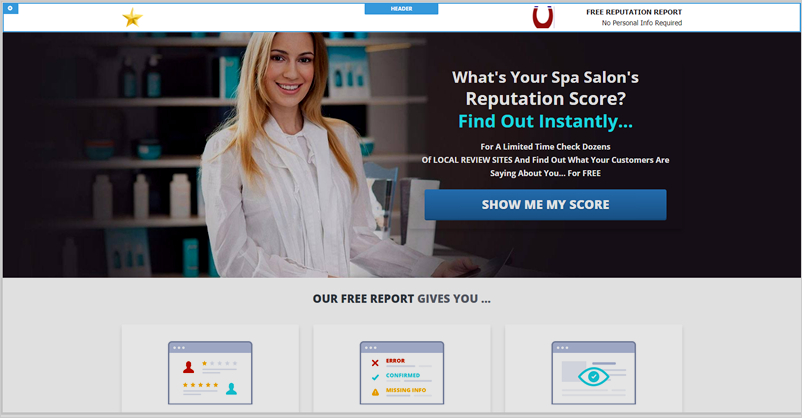
The Landing Page Header has five elements that you can customize:

To access the different elements mentioned above, you must first click the Header block's cogwheel icon.

Header Color
To edit the Header Color, follow these steps:
1. Click the color tile.
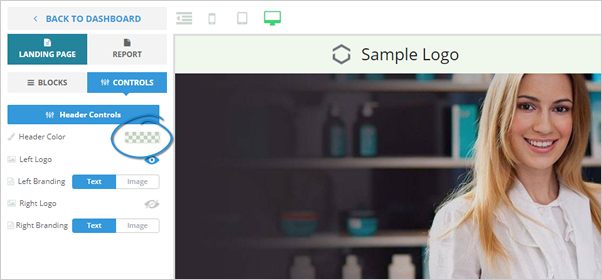
2. Select a color
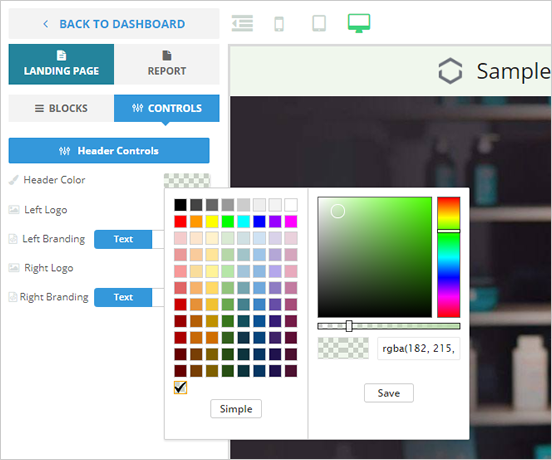
3. Once you are done, click Save.
Left Logo
This logo is located on the left side of your header.
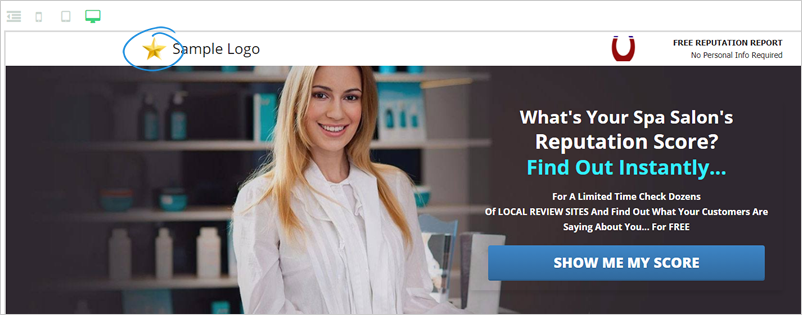
To edit this element, follow these steps:
1. Be sure that this element is enabled.
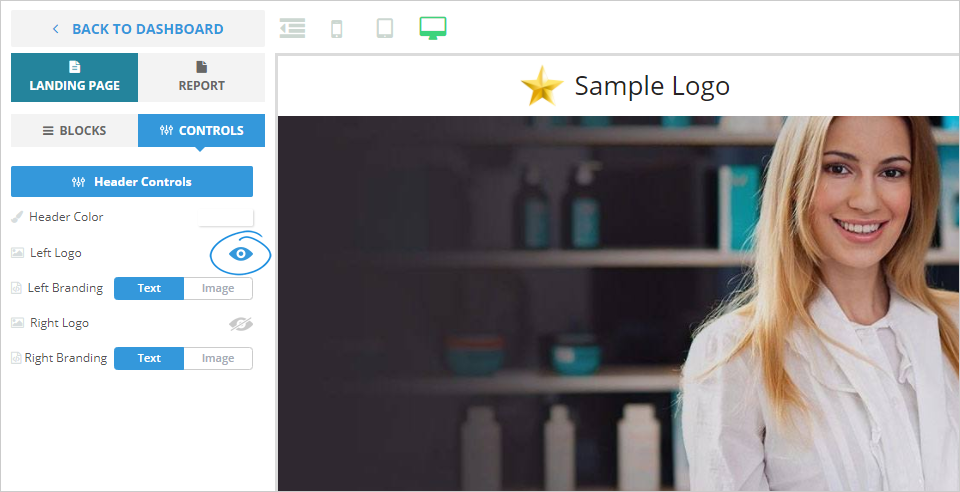
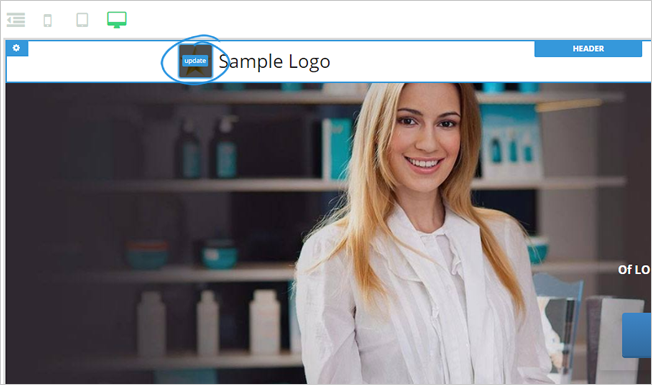
2. Hover your mouse over the left logo element and click the Update button.
3. You can either use the available images in the gallery or click the Upload Image button to use your image.
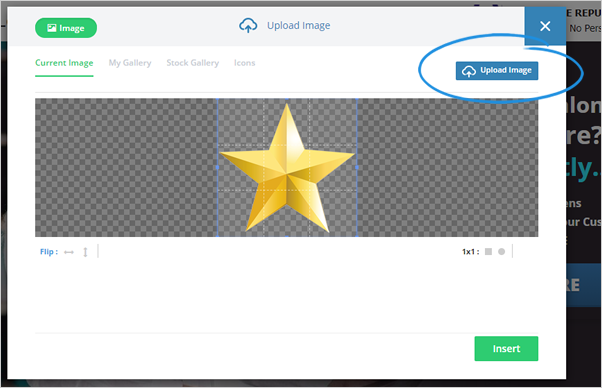
4. Once you have uploaded your logo, crop the image, and click Insert.
Left Branding
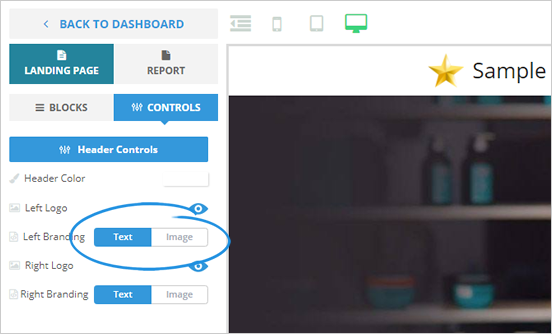
You can either use a text-based branding or use an image for your Left Branding.
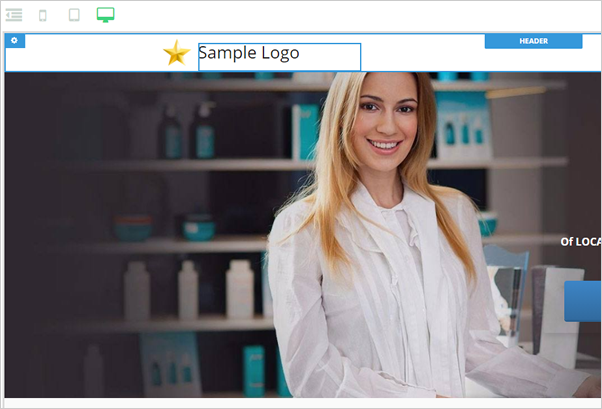
Here are the different steps on how you can modify this element:
1. Select Text as your Left Branding. If you chose Image, proceed to step 3.
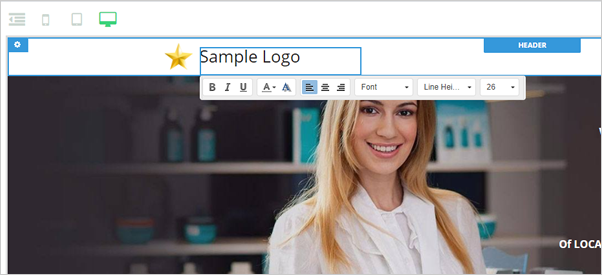
2. Click the left branding element and type in your new branding text.
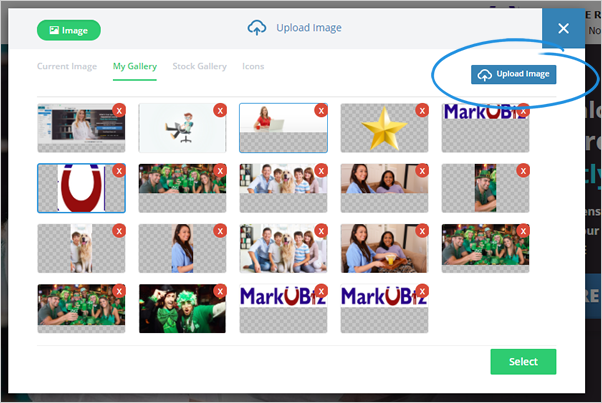
3. Use the available images in the gallery or click the Upload Image button to use your image.
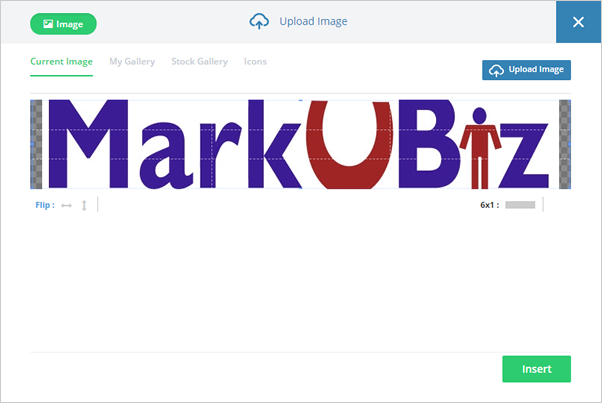
4. Once your image is uploaded, crop the image and click Insert.
Right Logo
This logo is located on the right side of your header.

To edit this element, follow these steps:
1. Be sure that this element is enabled.
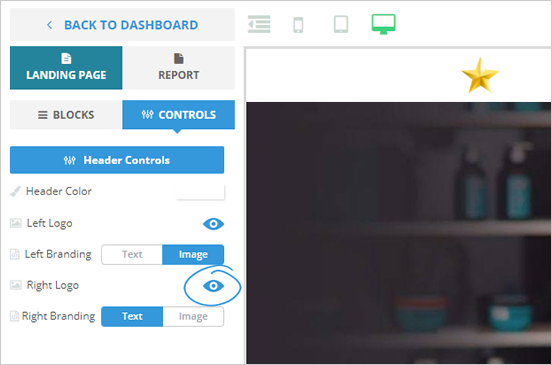
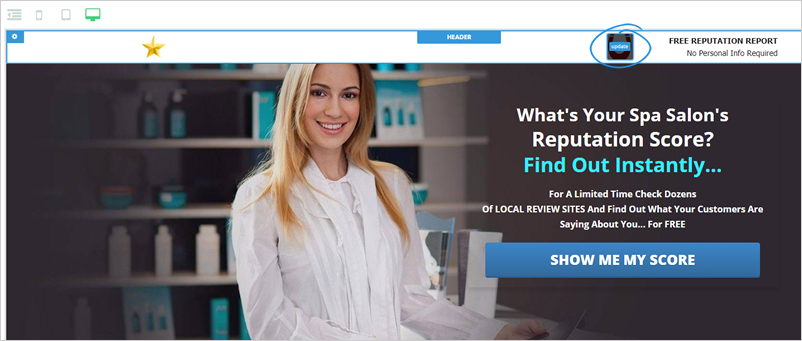
2. Hover your mouse over the Right Logo element and click the Update button.
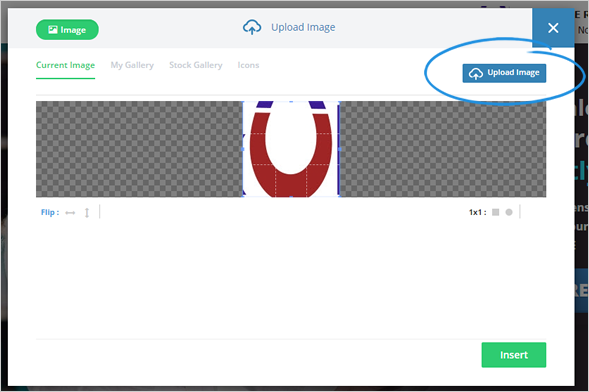
3. You can either use the available images in the gallery or click the Upload Image button to use your image.
Right Branding
You either use a text-based branding or use an image for your Right Branding.

Here are the different steps on how you can modify this element:
1. Select Text as your Right Branding. If you chose Image, proceed to step 3.
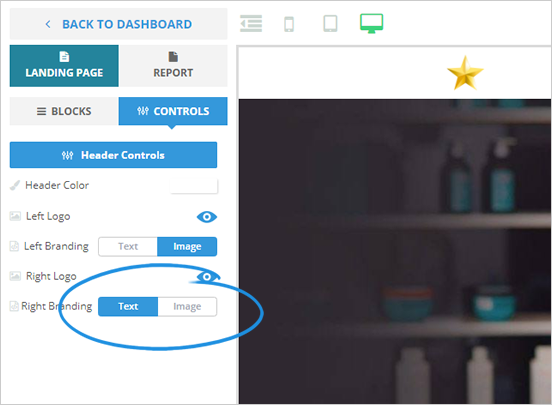
2. Click the Right Branding element and type in your new branding text.

3. Use the available images in the gallery or click the Upload Image button to use your image.
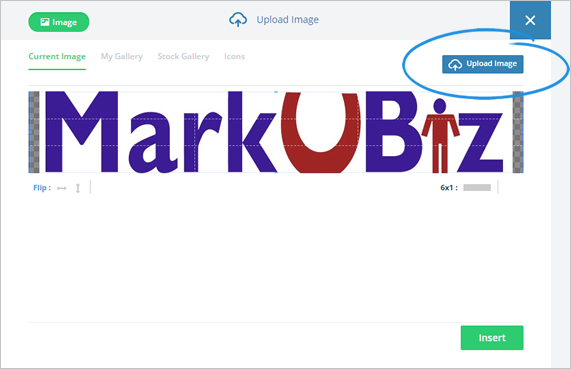
4. Once your image is uploaded, crop the image and click Insert.