
In this article, we will walk through a step - by -step process of creating a single post for one or multiple businesses.
A single post is a quick way to add an announcement to the schedule, a holiday greeting, a question or an interesting topic of discussion quickly and effectively.
When scheduling a one-off post for a business you manage, consider using the Single Post feature inside BrightSocial. You can schedule a Single Post for one business, multiple businesses, or a pre-created Group of businesses that you manage.
Complete the following steps to add groups to schedule posts:
Step 1. From the sidebar, click Single Post.
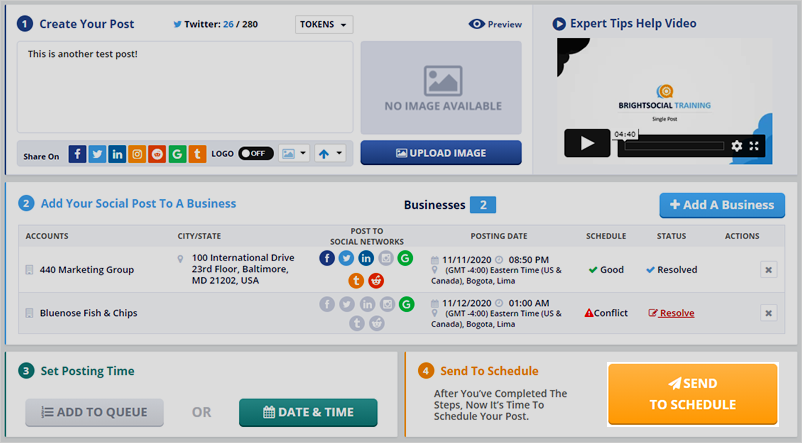
Step 2. In the window on the top left type your post, message or copy - paste the link to the content you want to share.
If you add a Uniform Resource Locator (URL) to your post, we will automatically shorten it to a URLbit when you paste the URL and press Space twice.
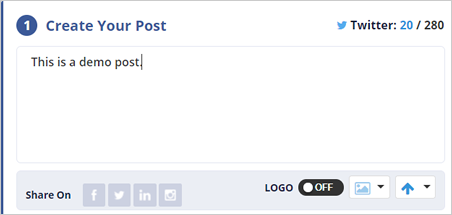
If your post is longer than 140 characters, the blue Twitter icon will appear in your post, and the first 140 characters of your course will be light blue. The result means that only the blue text will be posted to Twitter.

Step 3. In case of pasting a URL, we will bring the images from the website into the Image block. Click the arrows to scroll through the images that we scraped from the URL in your post. You can upload your image by clicking Upload Image. Stop scrolling to select an image. 
Step 4. Preview your post by clicking Preview. 
Step 5. Select which social media networks your post will be shared. By default, social media channels are not going to be selected and will be grayed out. Click on each icon to choose the social media of choice.
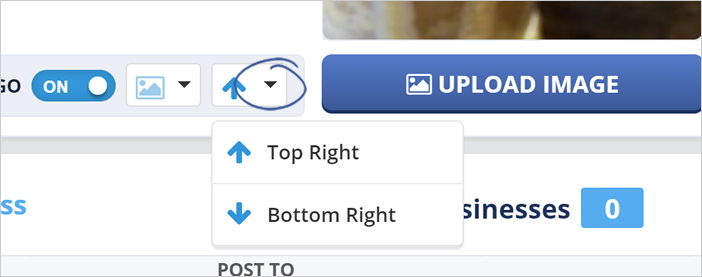
Step 6. Enable the logo on the post image for branding. Select the logo type (Original Logo, Bright Logo, Dark Logo), and the position (Top Right or Bottom Right).
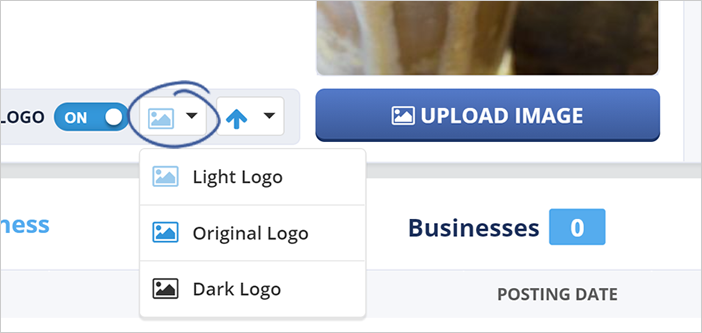
Note: The logo will only be applied if it is uploaded to the business account. Learn how to Add A Logo to a Business
Step 7. Click Add a Business. 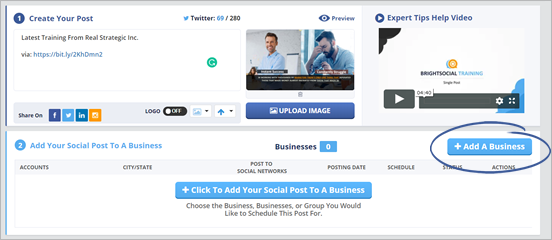
Note: If you already created Groups of businesses, you can Click a Group and search and select as many groups as necessary.

Once you are done, click Save.
Step 8. Schedule your post by clicking Add to Queue. 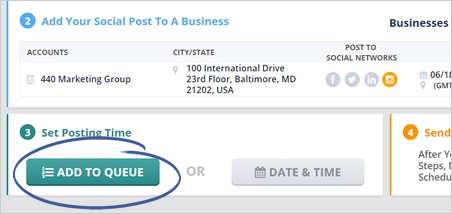
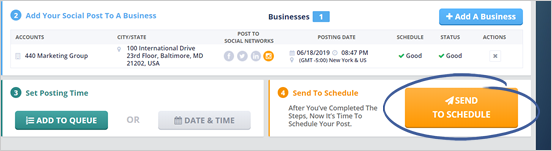
Step 9. Click Send to Schedule.
If you select the Date & Time for a custom schedule, you will be able to select your new time in a pop up:
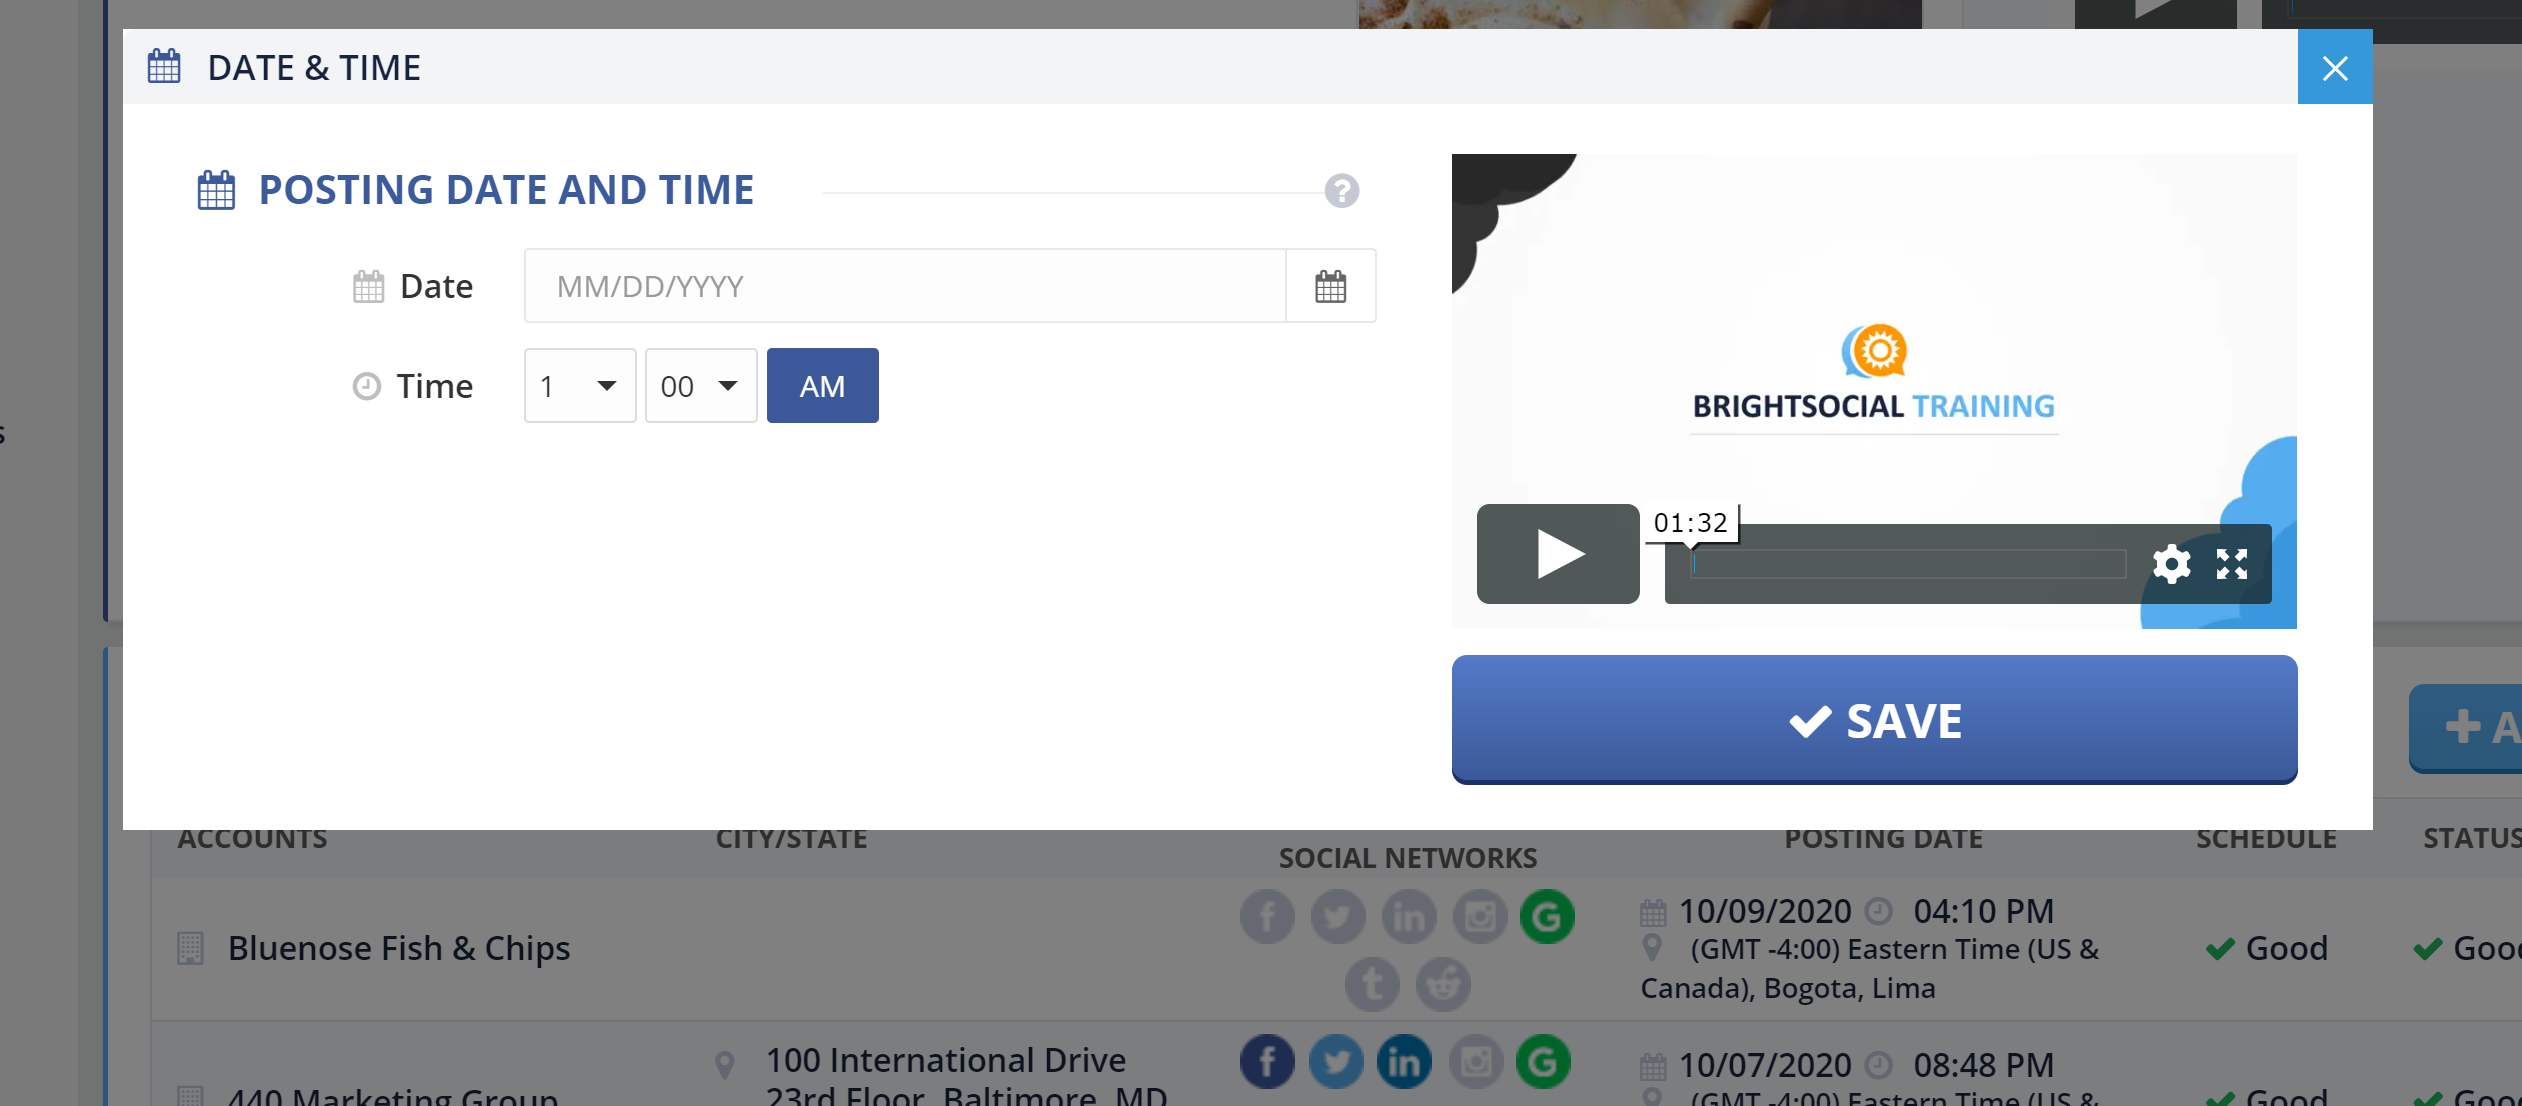
Step 10. Select the Date and the Time and click Save.
If the Time and Date you selected is within the Autoschedule options you had set up at the time of creating the business, then you will be able to easily continue by clicking the Send to Schedule button.

If the red warning icon appears, this means that your post is scheduled to post outside of a business’s scheduled times.
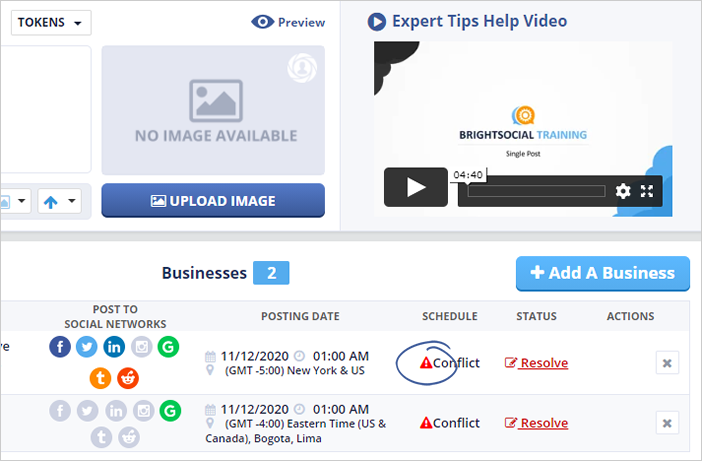
To resolve the conflict, click the Resolve button for each business to update the time. You will see a Pop up come up with the details of your Autoschedule and your Date and Time selection.
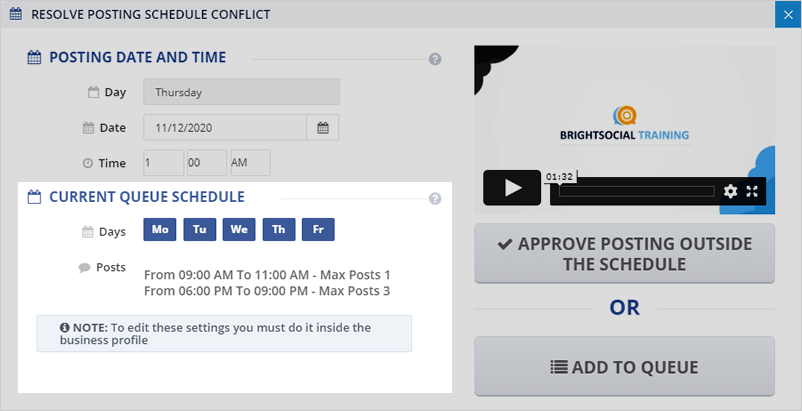
If you are comfortable with your time selection, click the Approve Posting Outside the Schedule button.

If not, review your time and day for the post and either change it or Add to Queue so the post can be automatically scheduled at the time within the Autoschedule presets.
You will see the final options that your schedule is resolved and ready to be added to the schedule:
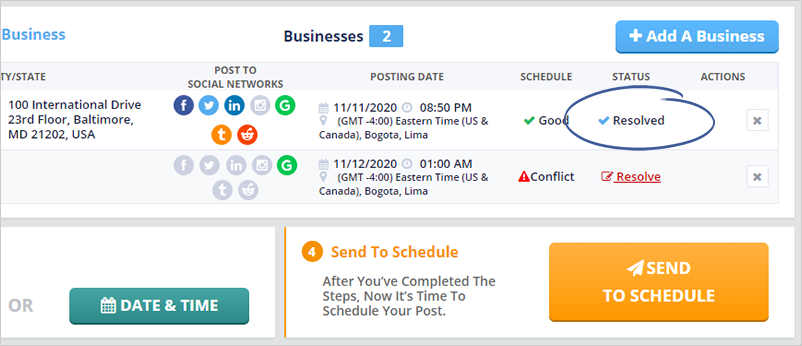
Step 11. Click Send to Schedule to complete the setup.
Related Articles:
How to Schedule Multi-post
How to Create a Package
How to View and Track Scheduled Posts
How Do I Delete a Post From the Posting Schedule
How to Edit a Scheduled Post