While the Review Pops Demo Widget can be added directly to your main agency page, it can also be housed on its own landing page.
Prospects can navigate to the landing page and opt-in for your Review Pops offer via the Demo Widget. A Landing Page helps you gain more leads that you can convert into clients.
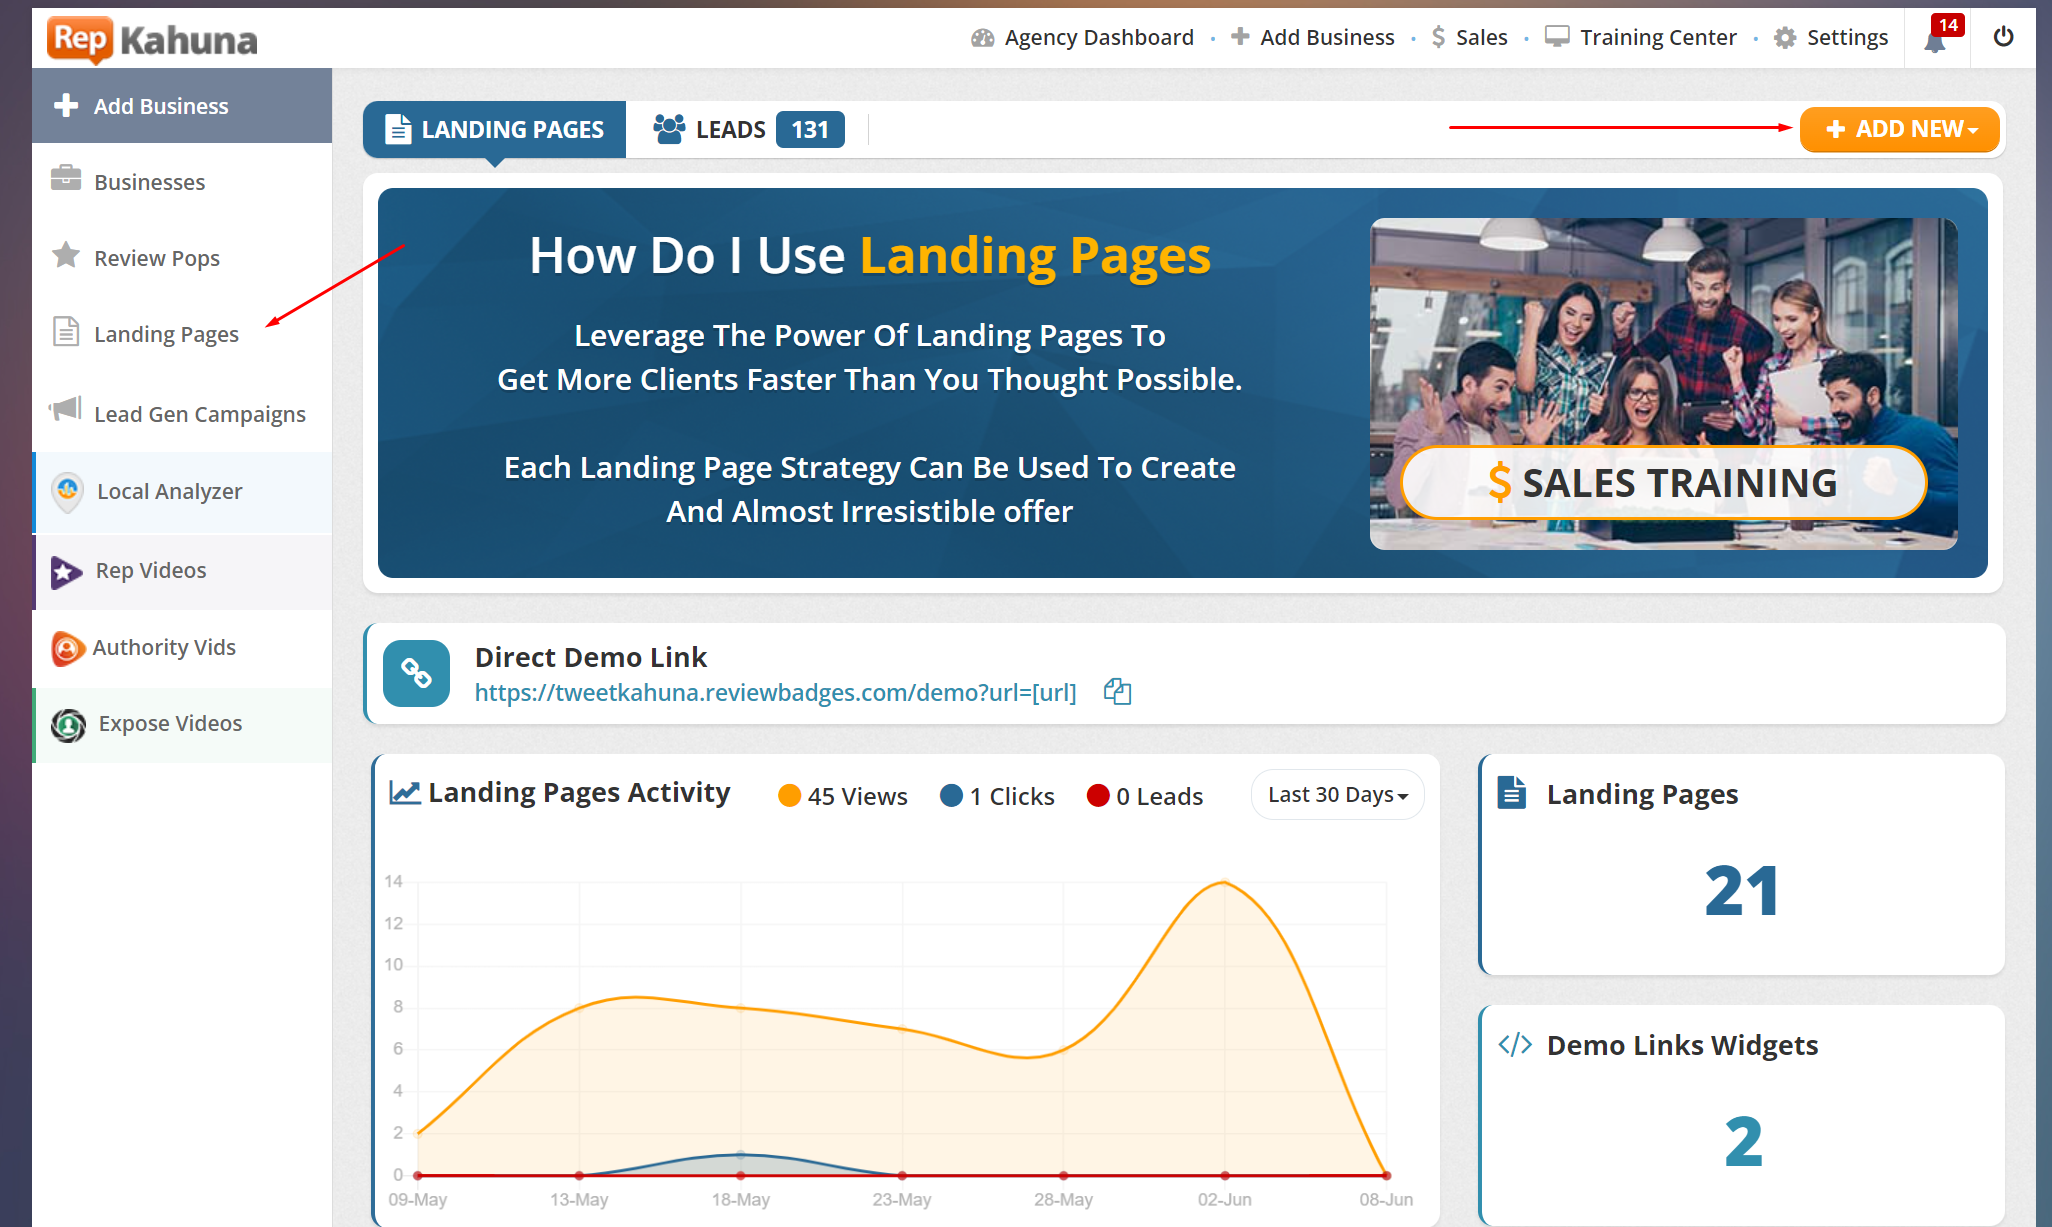
Click Landing Pages from the main dashboard, then click Add New.
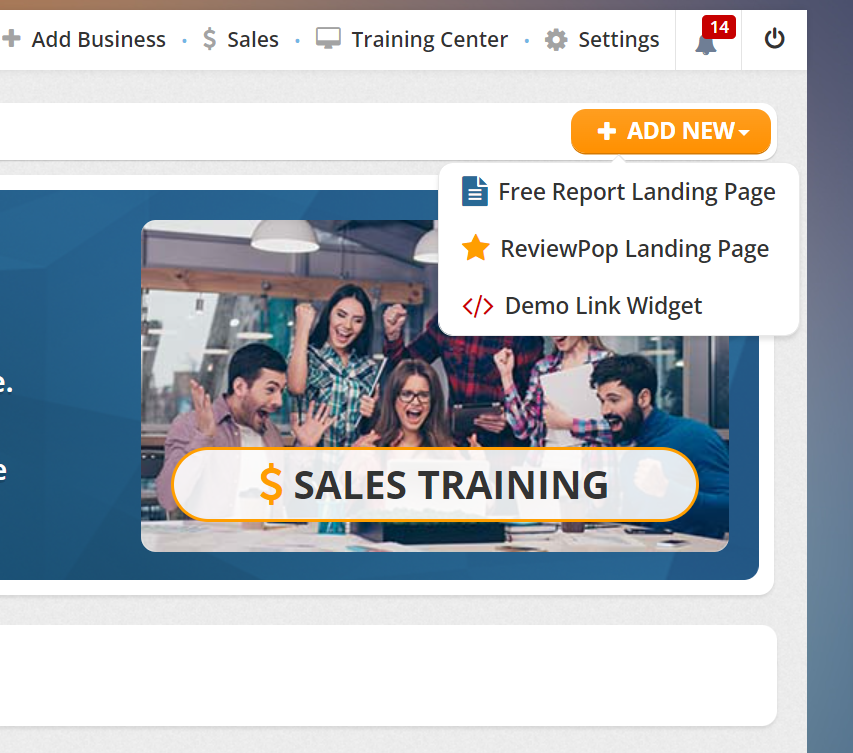
Select the landing page type (for this article's purpose, select Demo Link Widget).
Name your Landing Page.
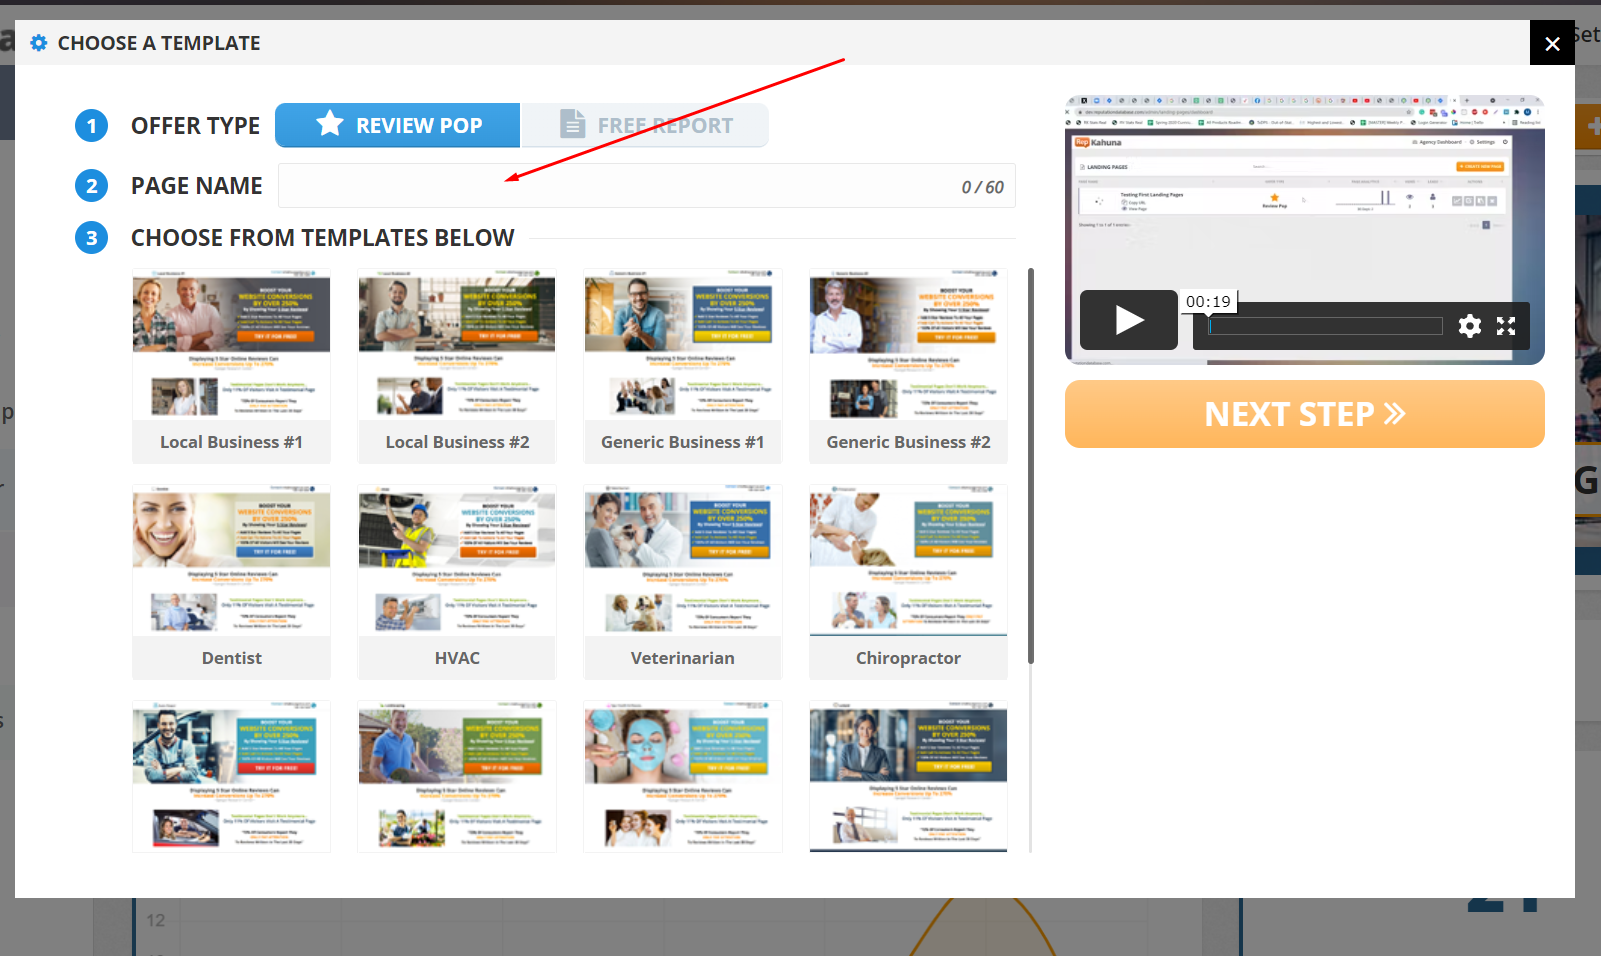
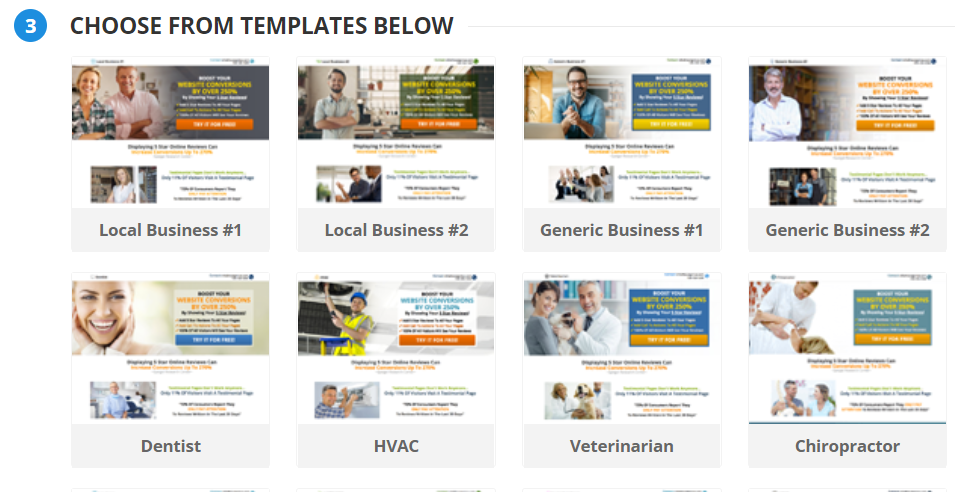
Choose your template.
If you would like more template options, contact us to upgrade your subscription.
Click Preview to get an idea of what the Landing Page will look like.
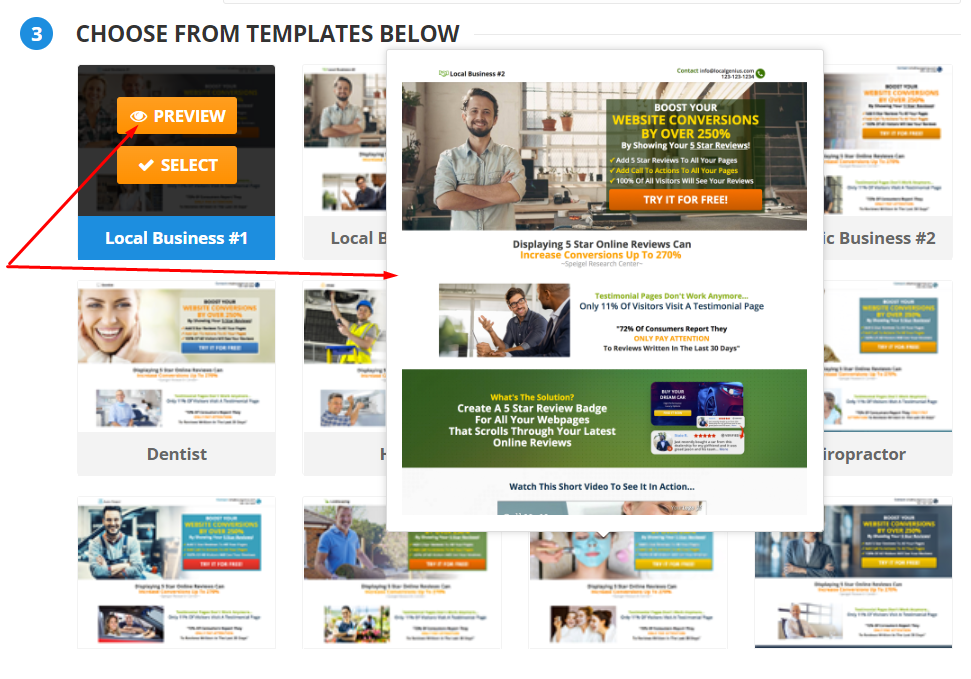
Select the template of your choice.

Click Finish.
From the Page Builder, you can arrange the blocks of your page and edit each block through its controls.

To move a block, use the Order Blocks tool.

Edit a block by clicking the Controls icon.

To see how your Landing Page will look, click Preview.

Click Save to apply your changes.

Navigate back to the Landing Page Dashboard and you will see your new Landing Page.

Related Articles:
Landing Page Dashboard