1. Click Add a Business

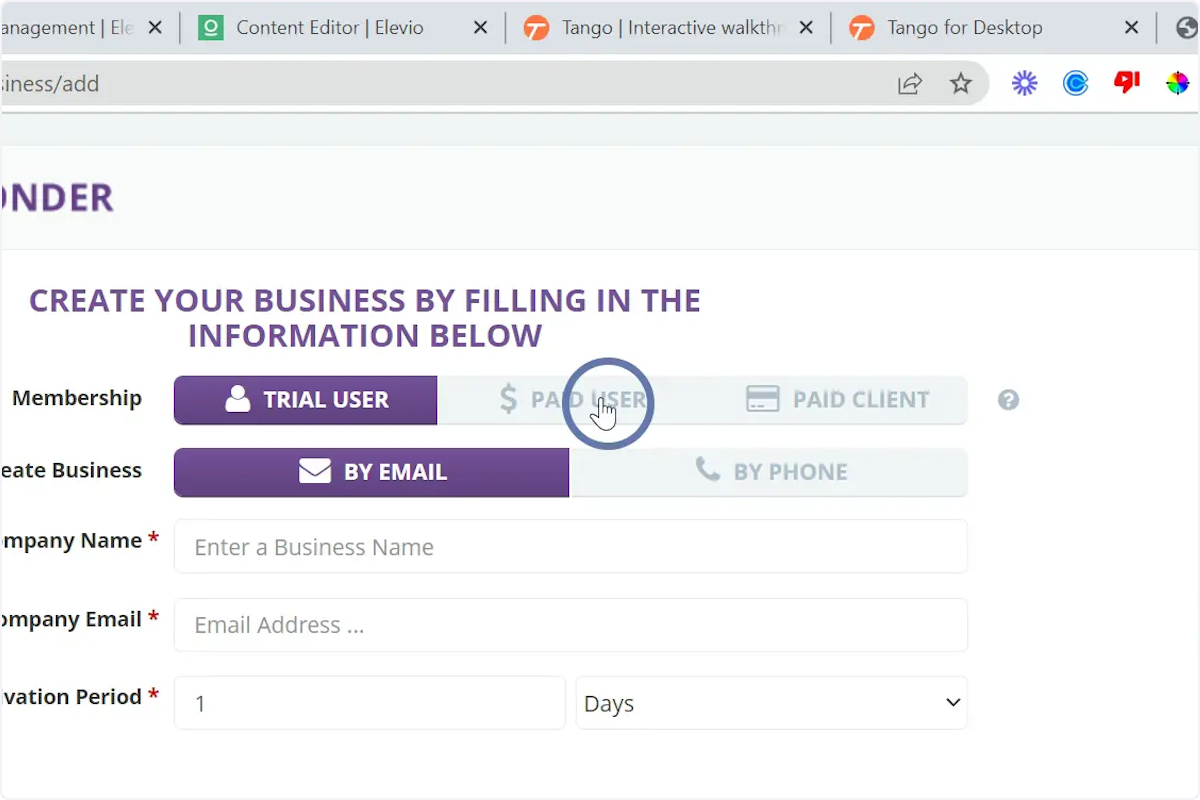
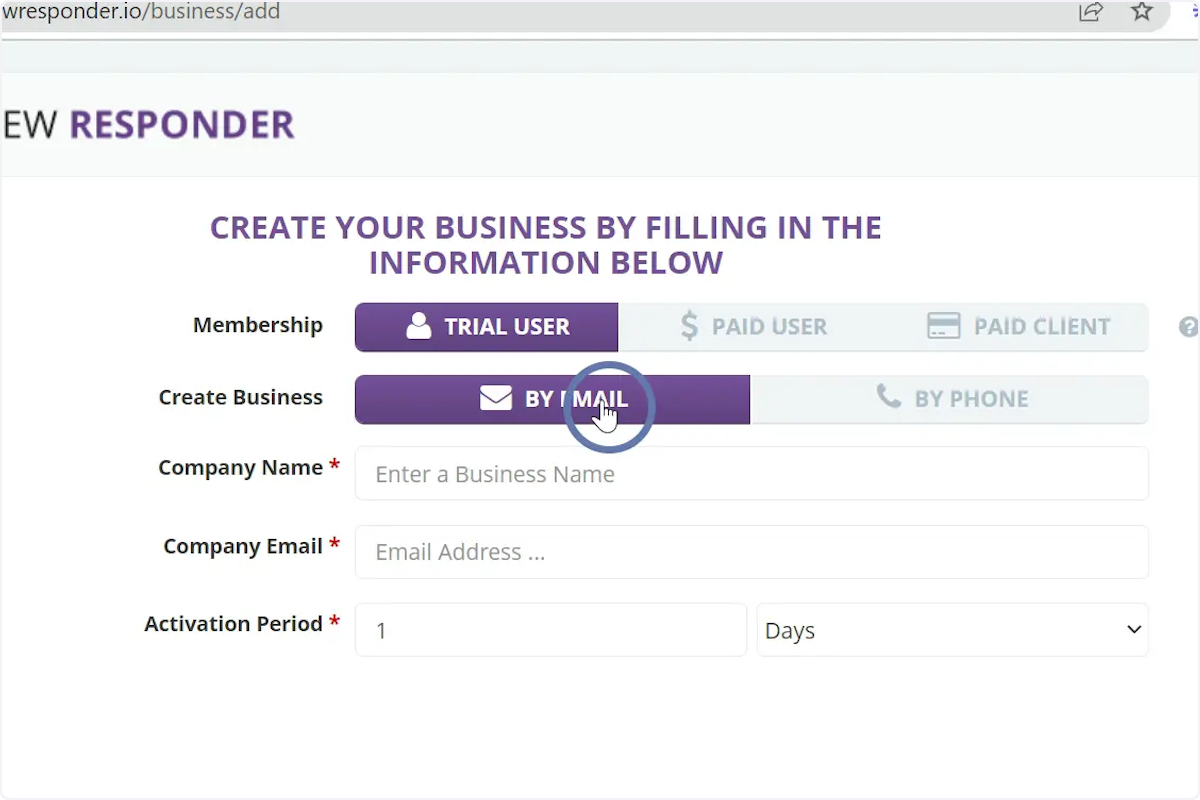
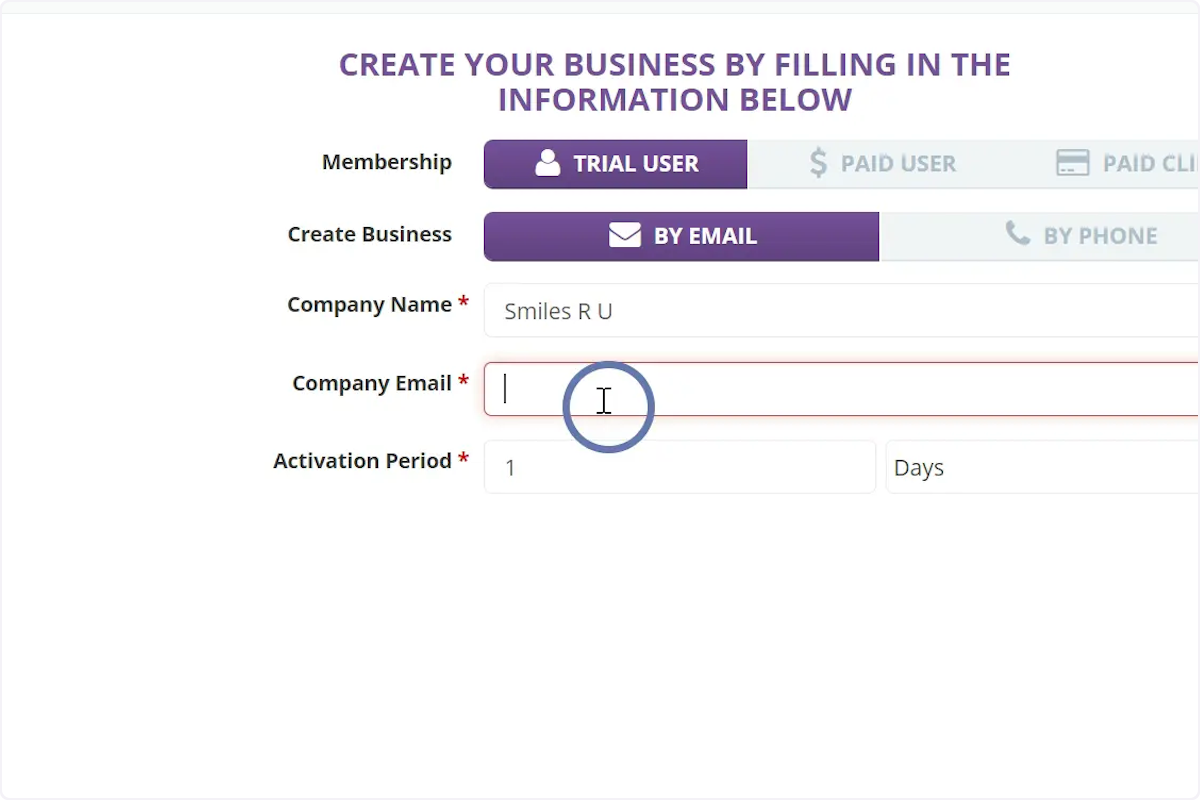
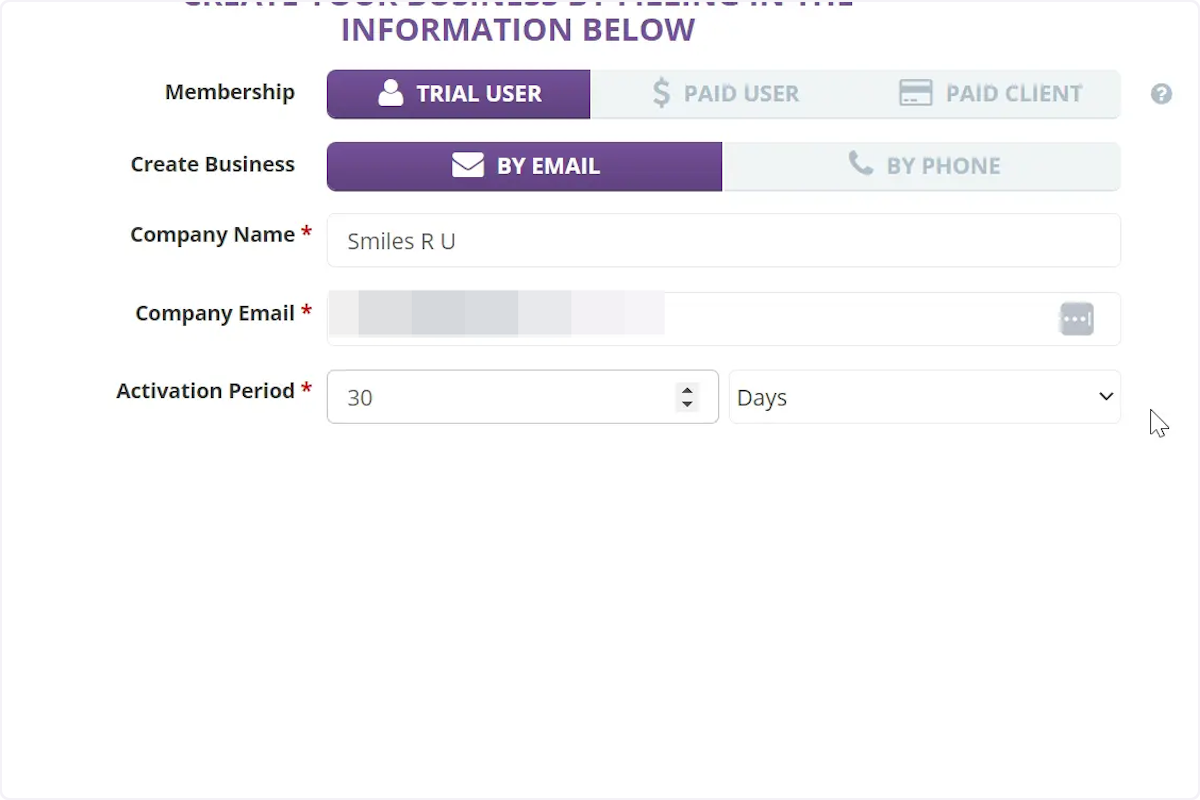
The difference between the trial user, paid user and paid client is in the way you deliver the service. The trial user will have access to the Review Responder plugin to send responses to reviews for a trial period. The paid user will have acces to the Review Responder plugin to send responses to reviews for the period the client paid for. And the paid client will not have the access to the Review Responder but you will be providing the service of responding to reviews on their behalf.

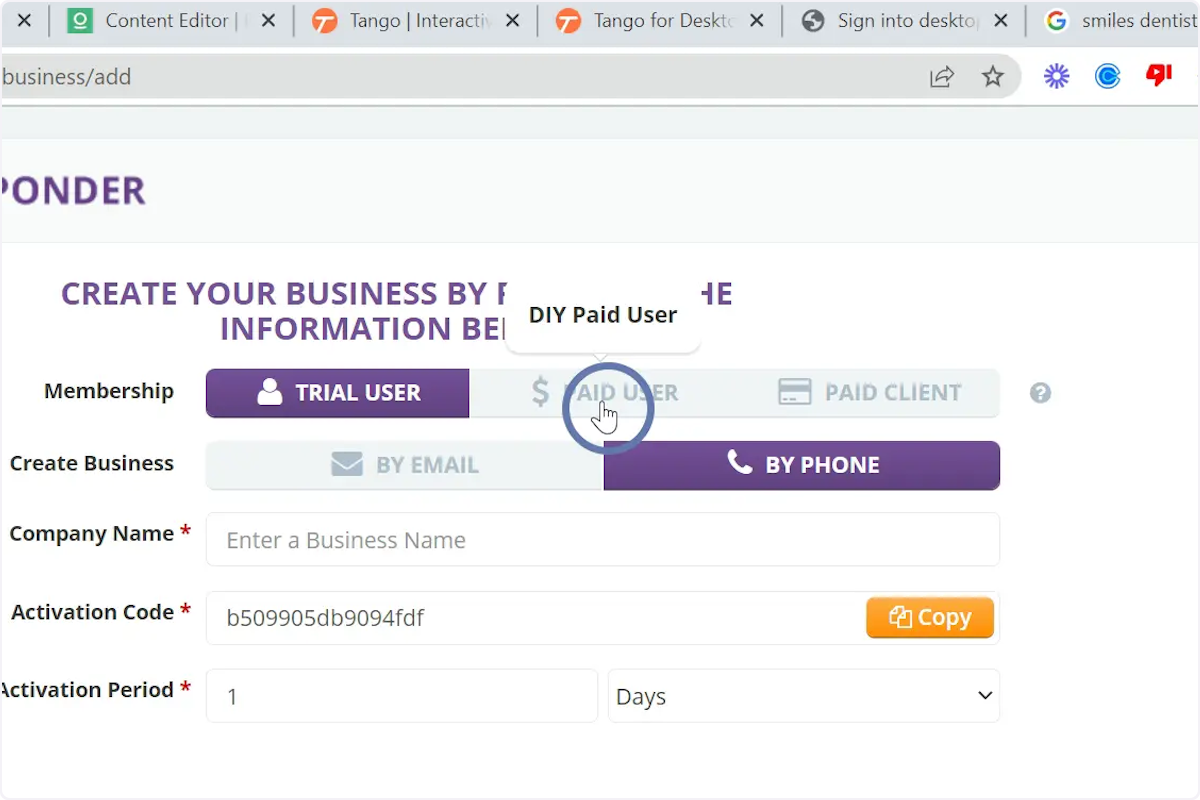
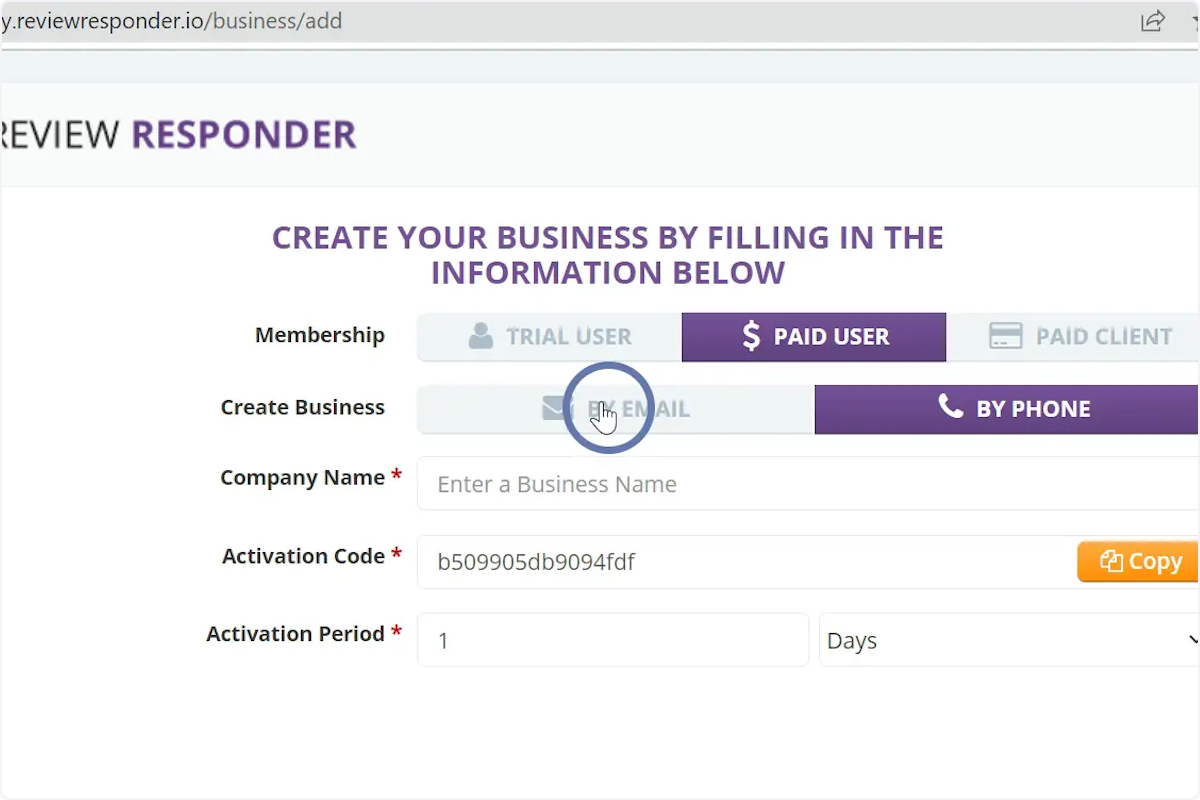
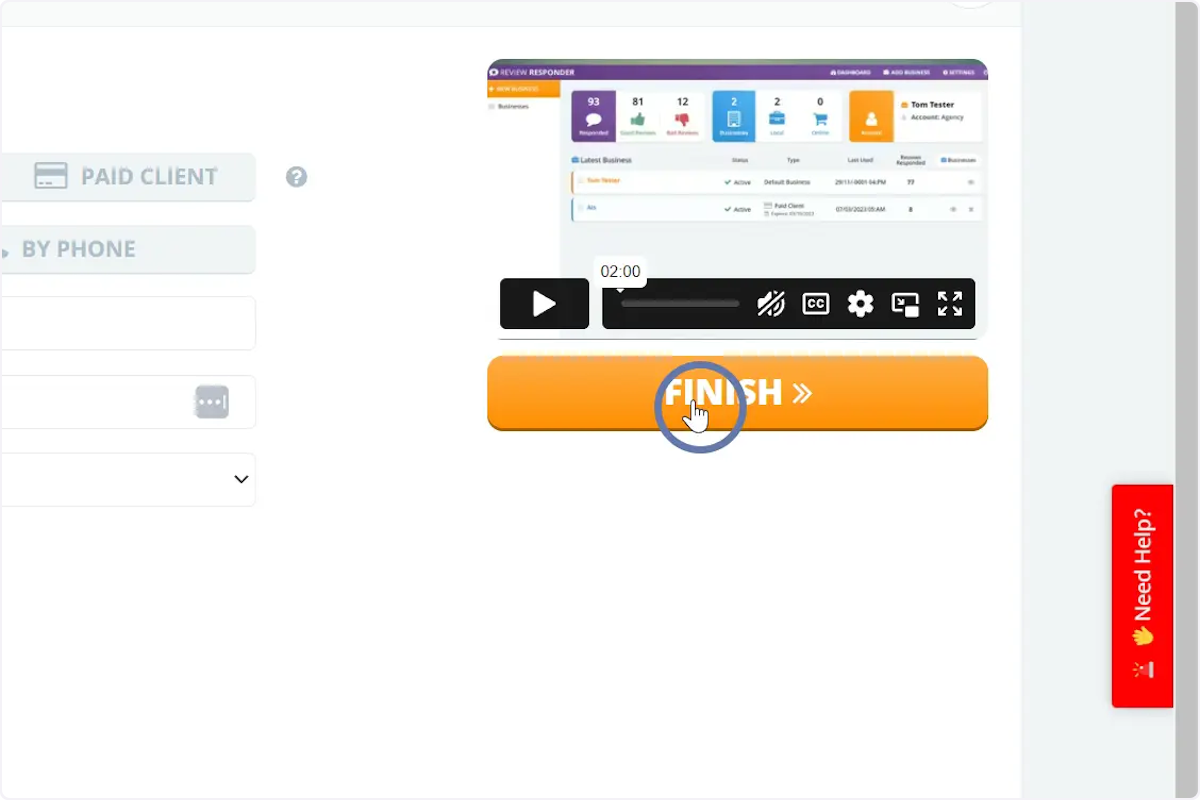
And then copy the activation code to pass on to your client.

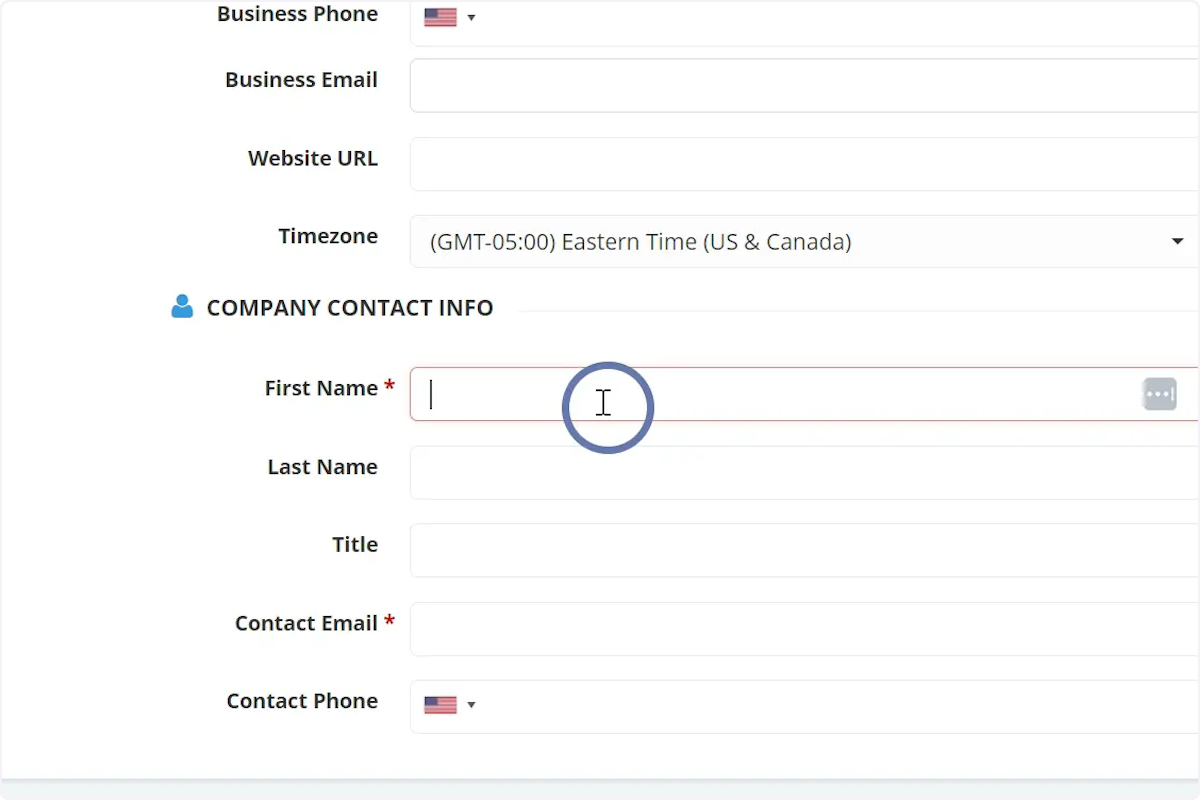
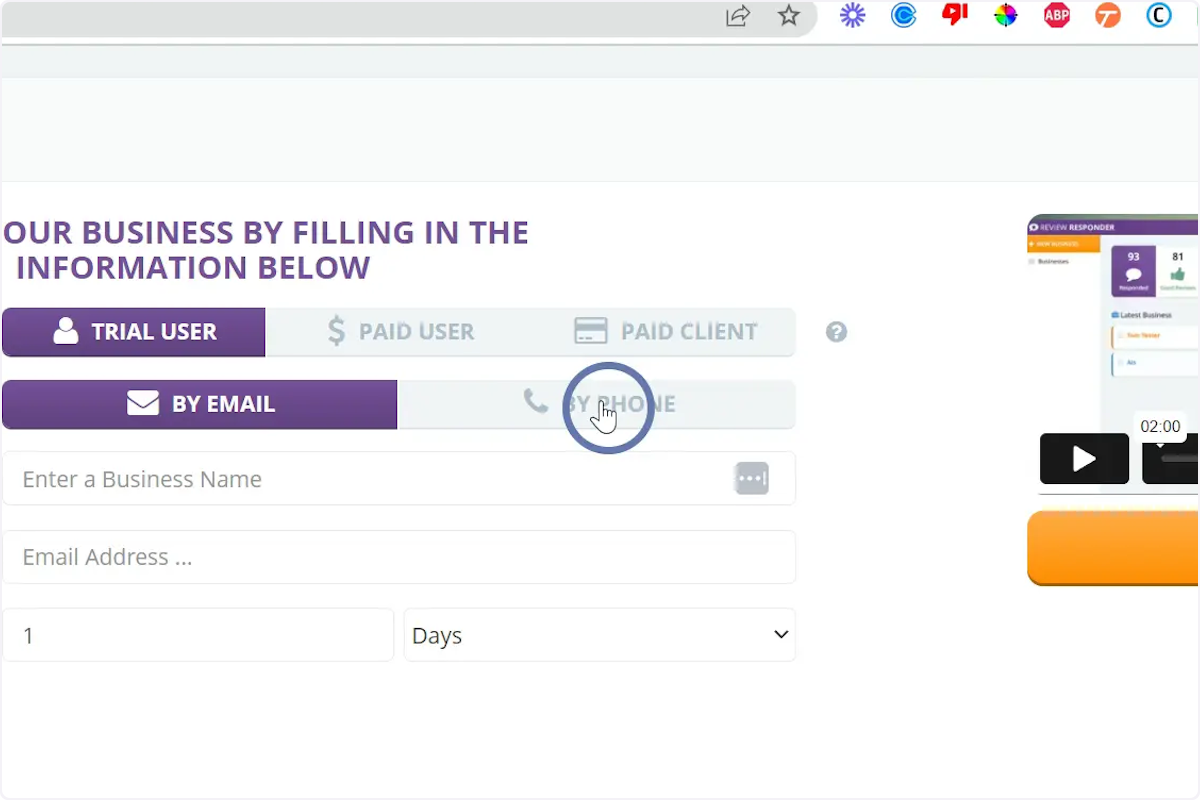
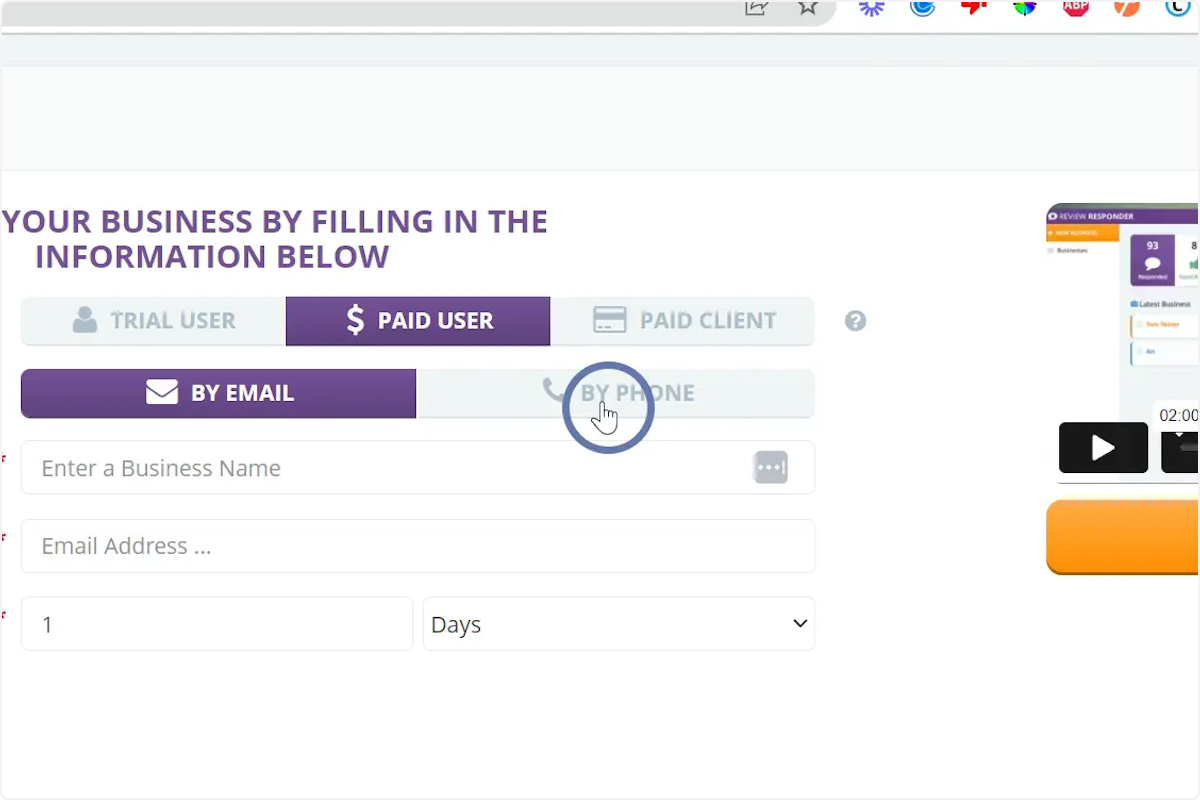
For the paid client you would be able to also select a way to send the activation code by email or by phone but also will have to fill out the details for that business like Contact Info, Business Category, Address, etc
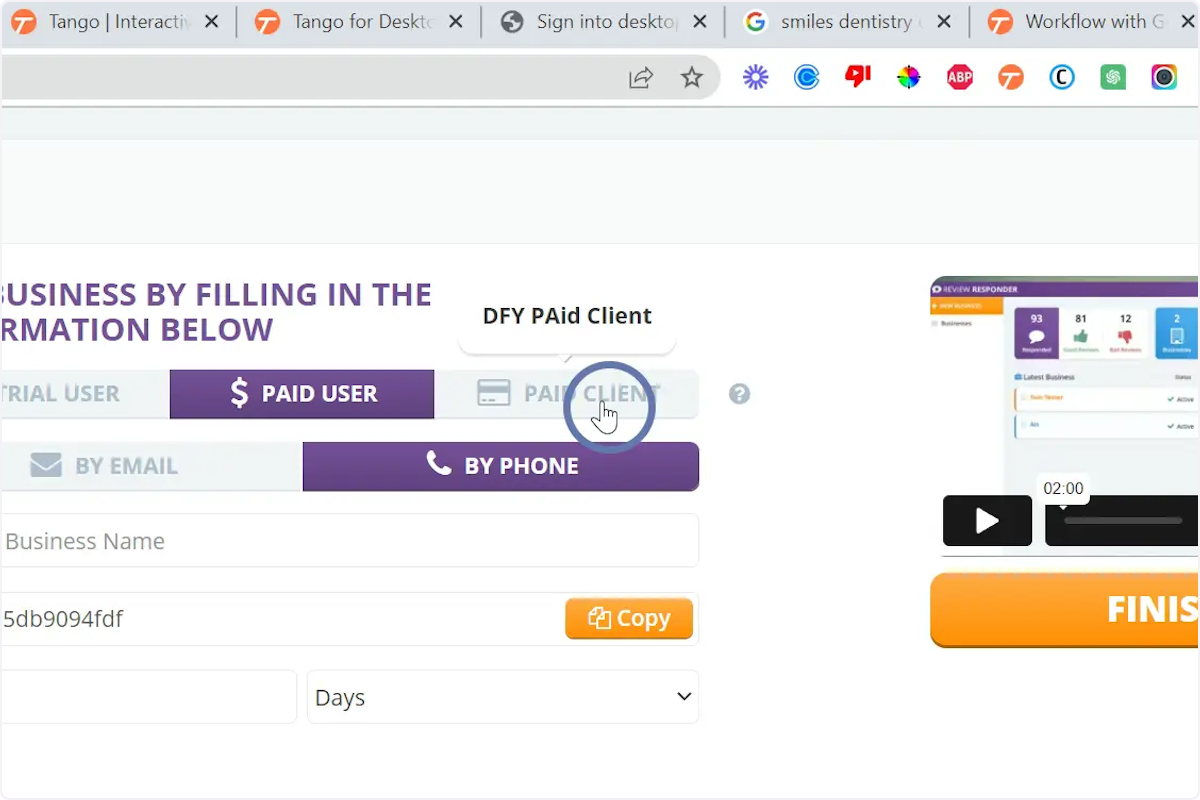
Select the category, add an address, business phone, business email, website url