
Successfully setting up your Campaign Setup will lead you to the next wizard, which is the Offer Posts setup. This next step of the wizard lets you edit the posts that are going out for the posting offers.
Complete the following steps to set up an offer page:
Step 1. Depending on how many posts you have selected to be featured, you will have these posts in this area.
The posts will be already written for you whether you selected to create the offer from scratch or chosen a template.
Step 2. To edit a post, click on the edit icon.

Step 3. You can also use more tokens to update your post.

Enable the Preview Token toggle to view how it will look like when the tokens are added.
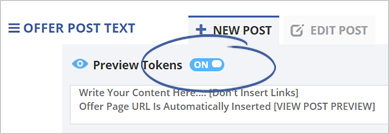
Step 4. If you want to add more posts, make sure that you are in the New Post tab.
Note: The max amount of posts you can have is 12.

Step 5. Type the content of your post and click Add.

Step 6. You can also edit the times on when you want to post on the social media.
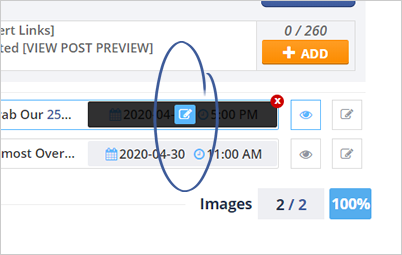
Step 7. Next, match each post with the Post Image.
Note: If you are working with a template, the images are already going to be uploaded. If not, you would have to upload your own images.
Hover your mouse over the image thumbnail and click the edit icon.

Step 8. Go to the My Gallery tab and select the image that you want to share.

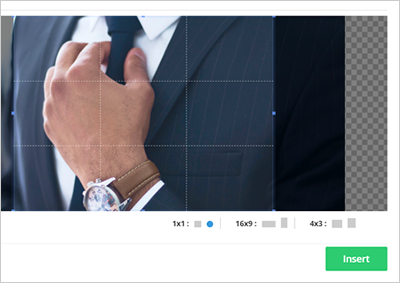
Step 9. If you wish to upload your image, click the Upload Image button.

Step 10. Once it is uploaded, adjust your desired aspect ratio and click Insert.
Note: It is important to update each post's image because it is the only way the posting is going out.
Step 11. Once you have updated the images, you can preview the post by clicking the view icon.

Viewing the post will let you see the actual post from the preview window.

Step 12. To preview all posts, click the Preview All Post button.

Step 13. Once you are done updating your posts, click Next Step.
This last step of the wizard lets you add links in your buttons to either claim your offer or redirect them to a site. Aside from setting up your buttons, you can also redirect your customer to your Thank You page.
If you want to learn the steps of adding links to your buttons or creating a redirect to your customers, read this article.
Related Articles:
How to Update the Posting Offer Opt-in Page
How to Update the Posting Offer Thank You Page
How To Update the Posting Offer Redemption Page (Coupon)
How to Update the Posting Offers Confirmation Emails And SMSes
How to Set up Automations for Posting Offer Campaigns