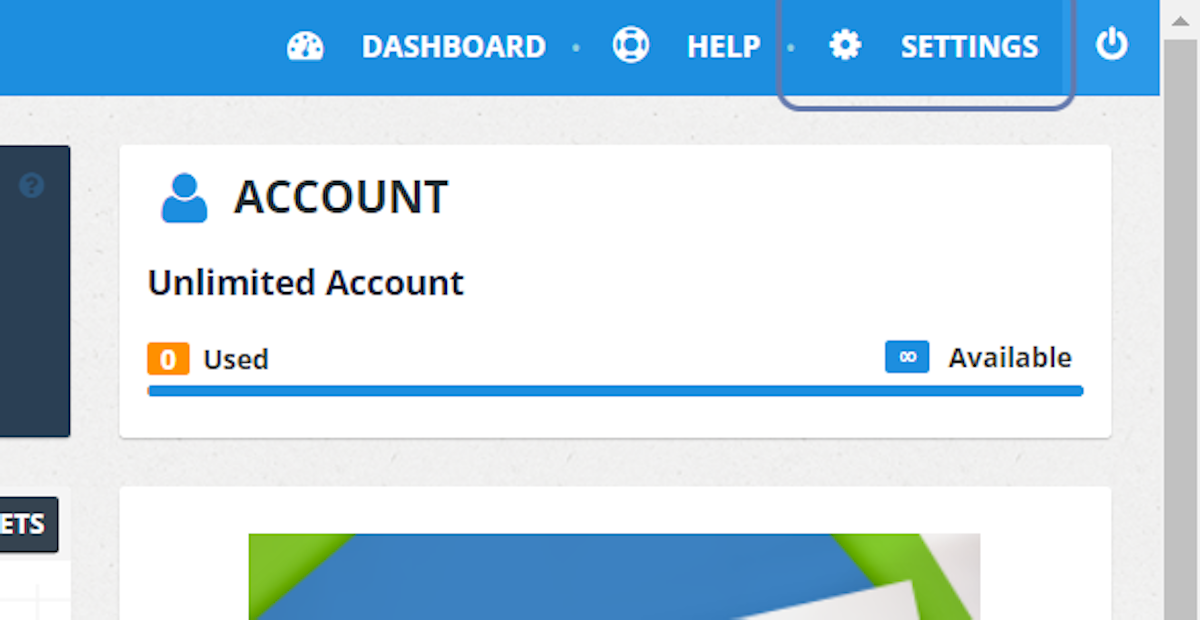
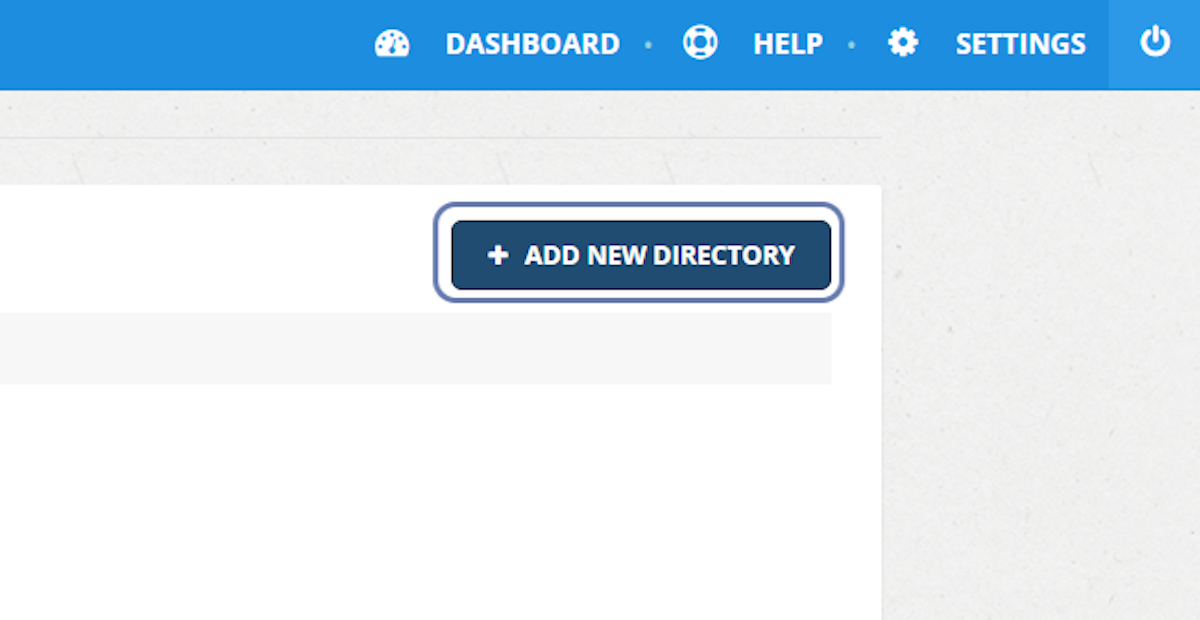
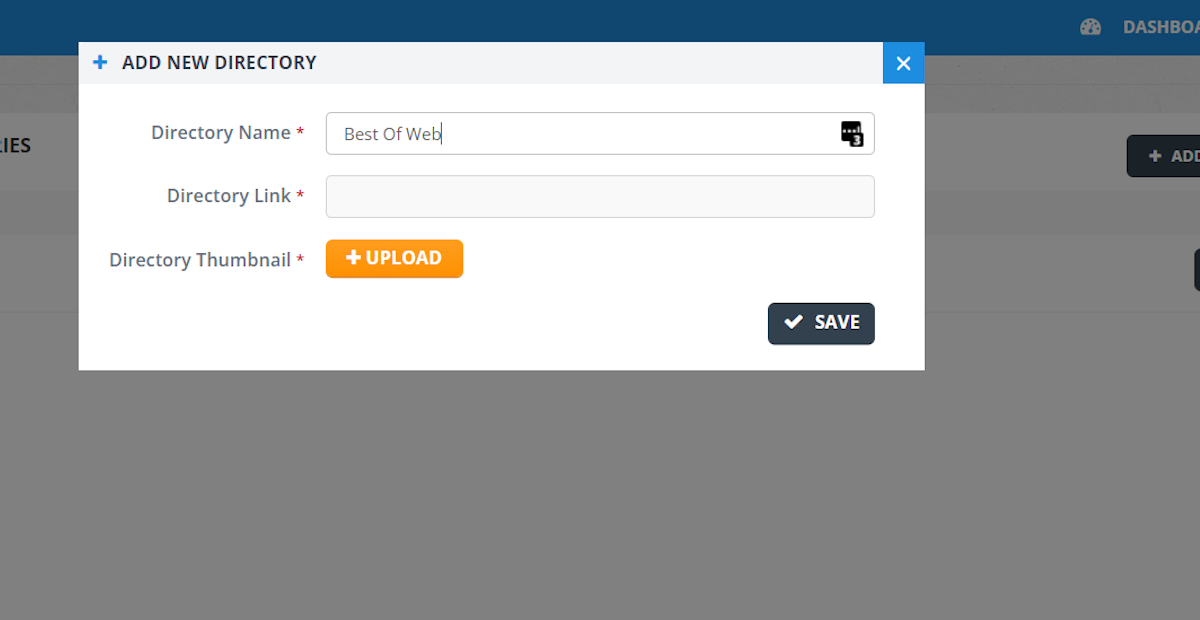
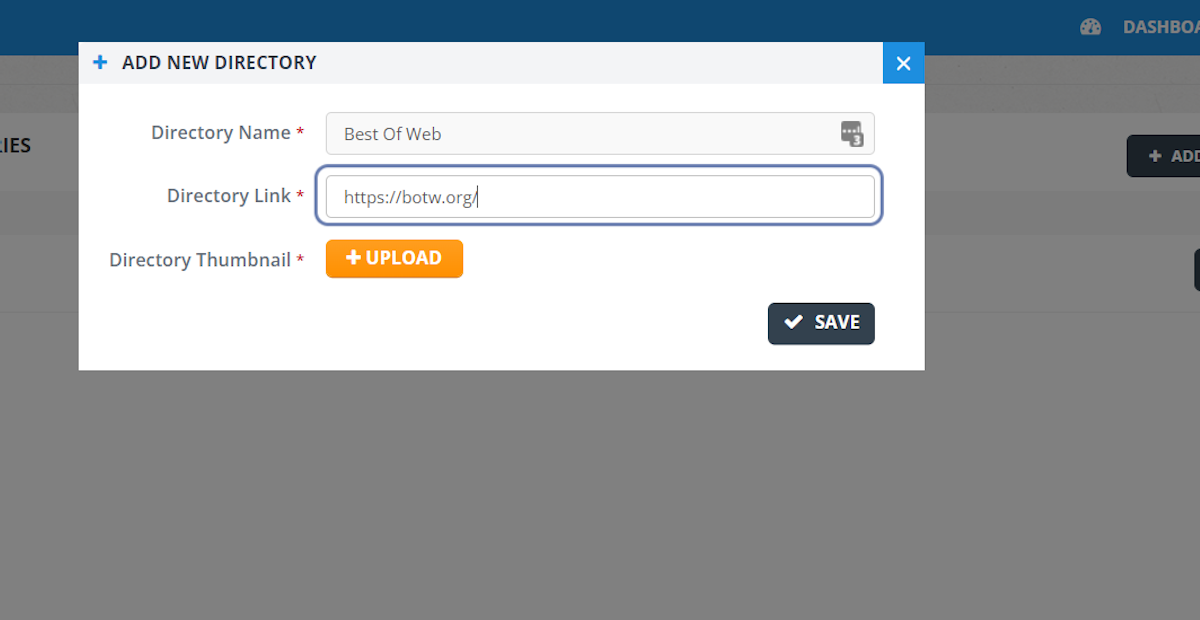
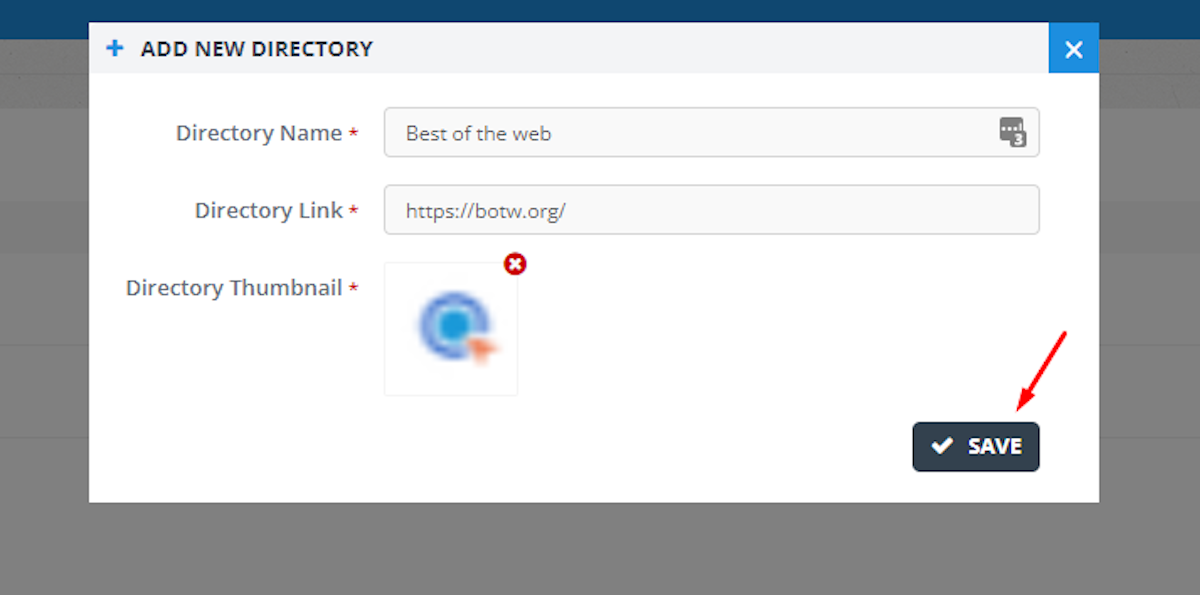
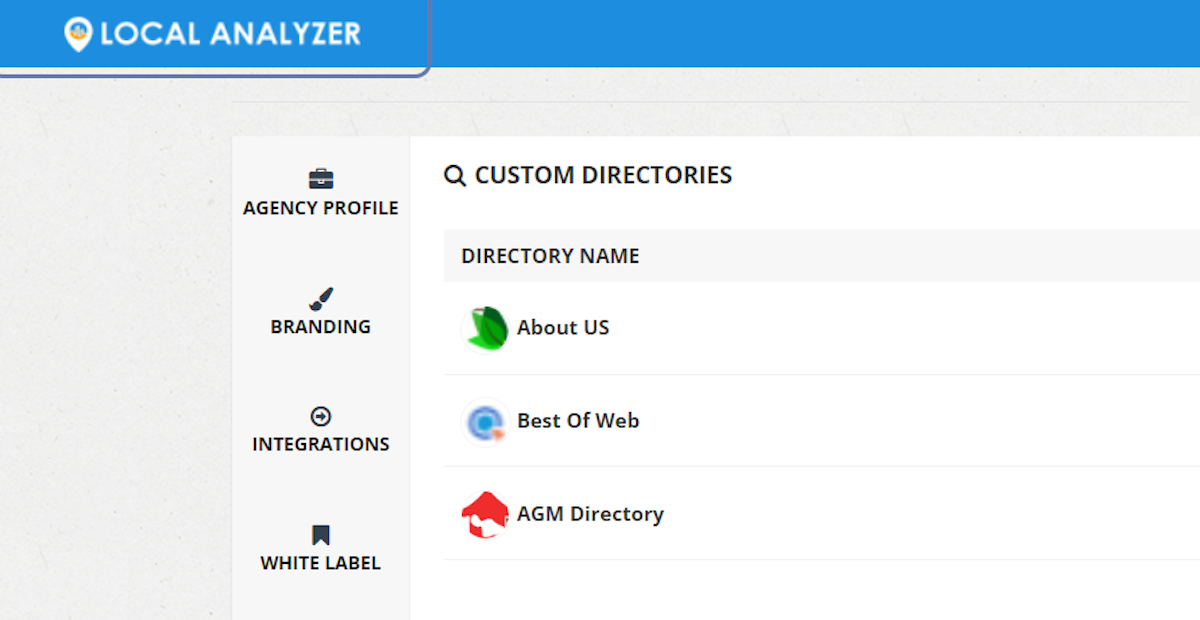
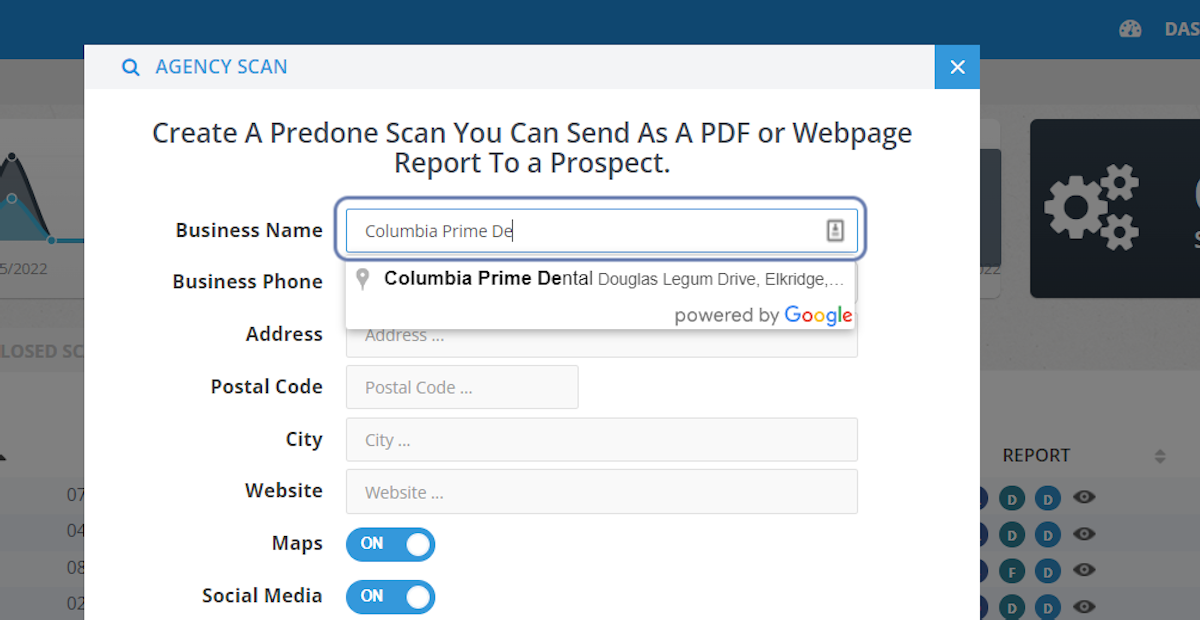
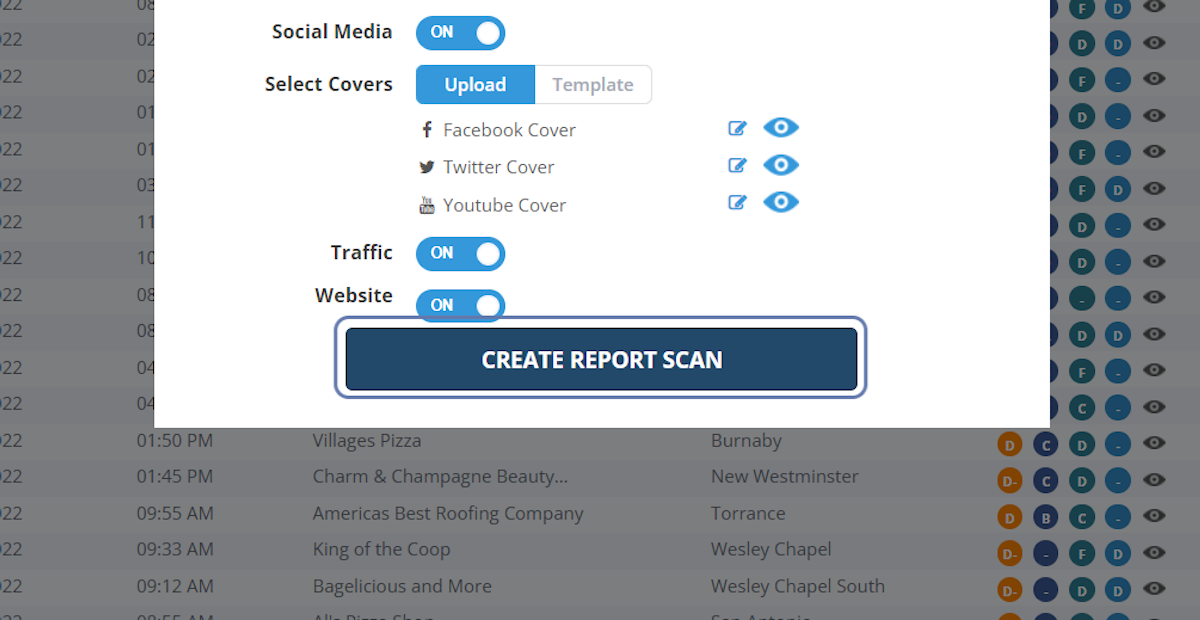
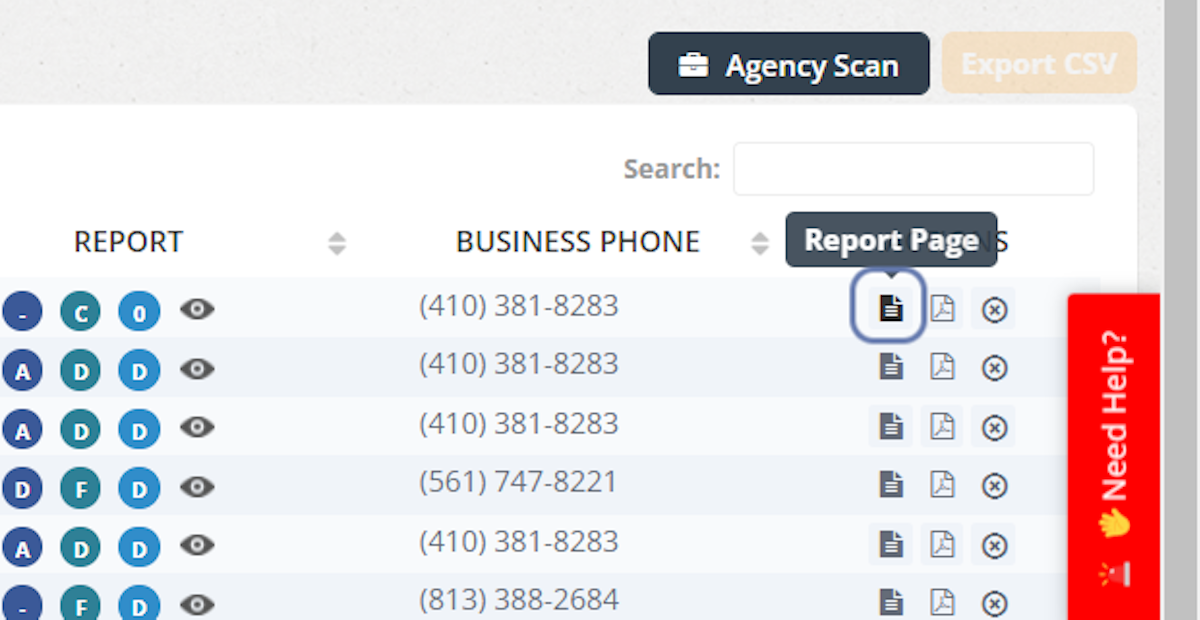
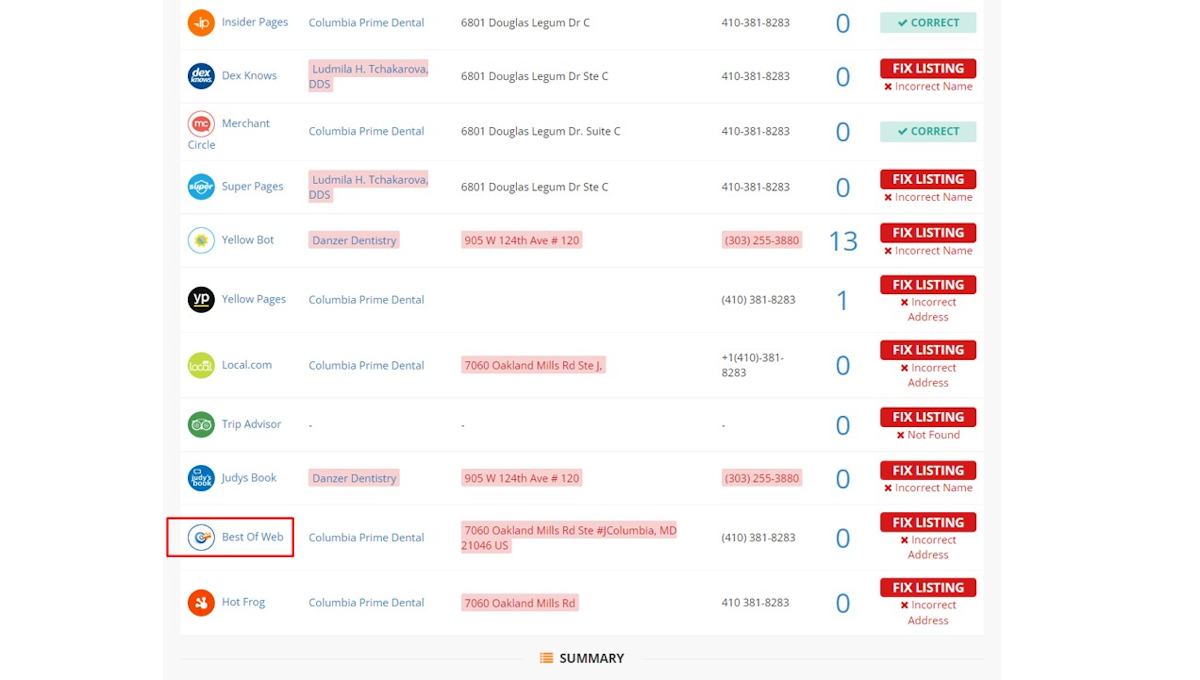
A local business directory lists vital information about a business including hours, location, and contact information, along with pictures and other relevant information. You are able to add custom directories to the Local Analyzer with a few simple steps.


Here is a video tutorial:


STEP by STEP:

1. Go to Local Analyzer

Go to Local Analyzer


2. Click on SETTINGS

Click on SETTINGS


3. Navigate to Custom Directories

Navigate to Custom Directories


4. Click on ADD NEW DIRECTORY

Click on  ADD NEW DIRECTORY


5. Type the name of the directory (Example: "Best Of Web")

Type the name of the directory (Example: "Best Of Web")


6. Add the link for the Directory

Add the link for the Directory


7. Upload the logo for the directory

Upload the logo for the directory


8. Save your directory

Save your directory


9. To review the details on the new directory navigate back to the dashboard

To review the details on the new directory navigate back to the dashboard


10. Click on Scans

Click on  Scans


11. Type the name of the Business which you'd like to pull a report for

Type the name of the Business which you'd like to pull a report for


12. Click on CREATE REPORT SCAN

Click on CREATE REPORT SCAN


13. Click to view the report

Click to view the report


14. Scroll to the Visibility Report to find the newly added directory

Scroll to the Visibility Report to find the newly added directory