To make adjustments to various opt-ins on the Local Analyzer Report, start with the Landing page setup.
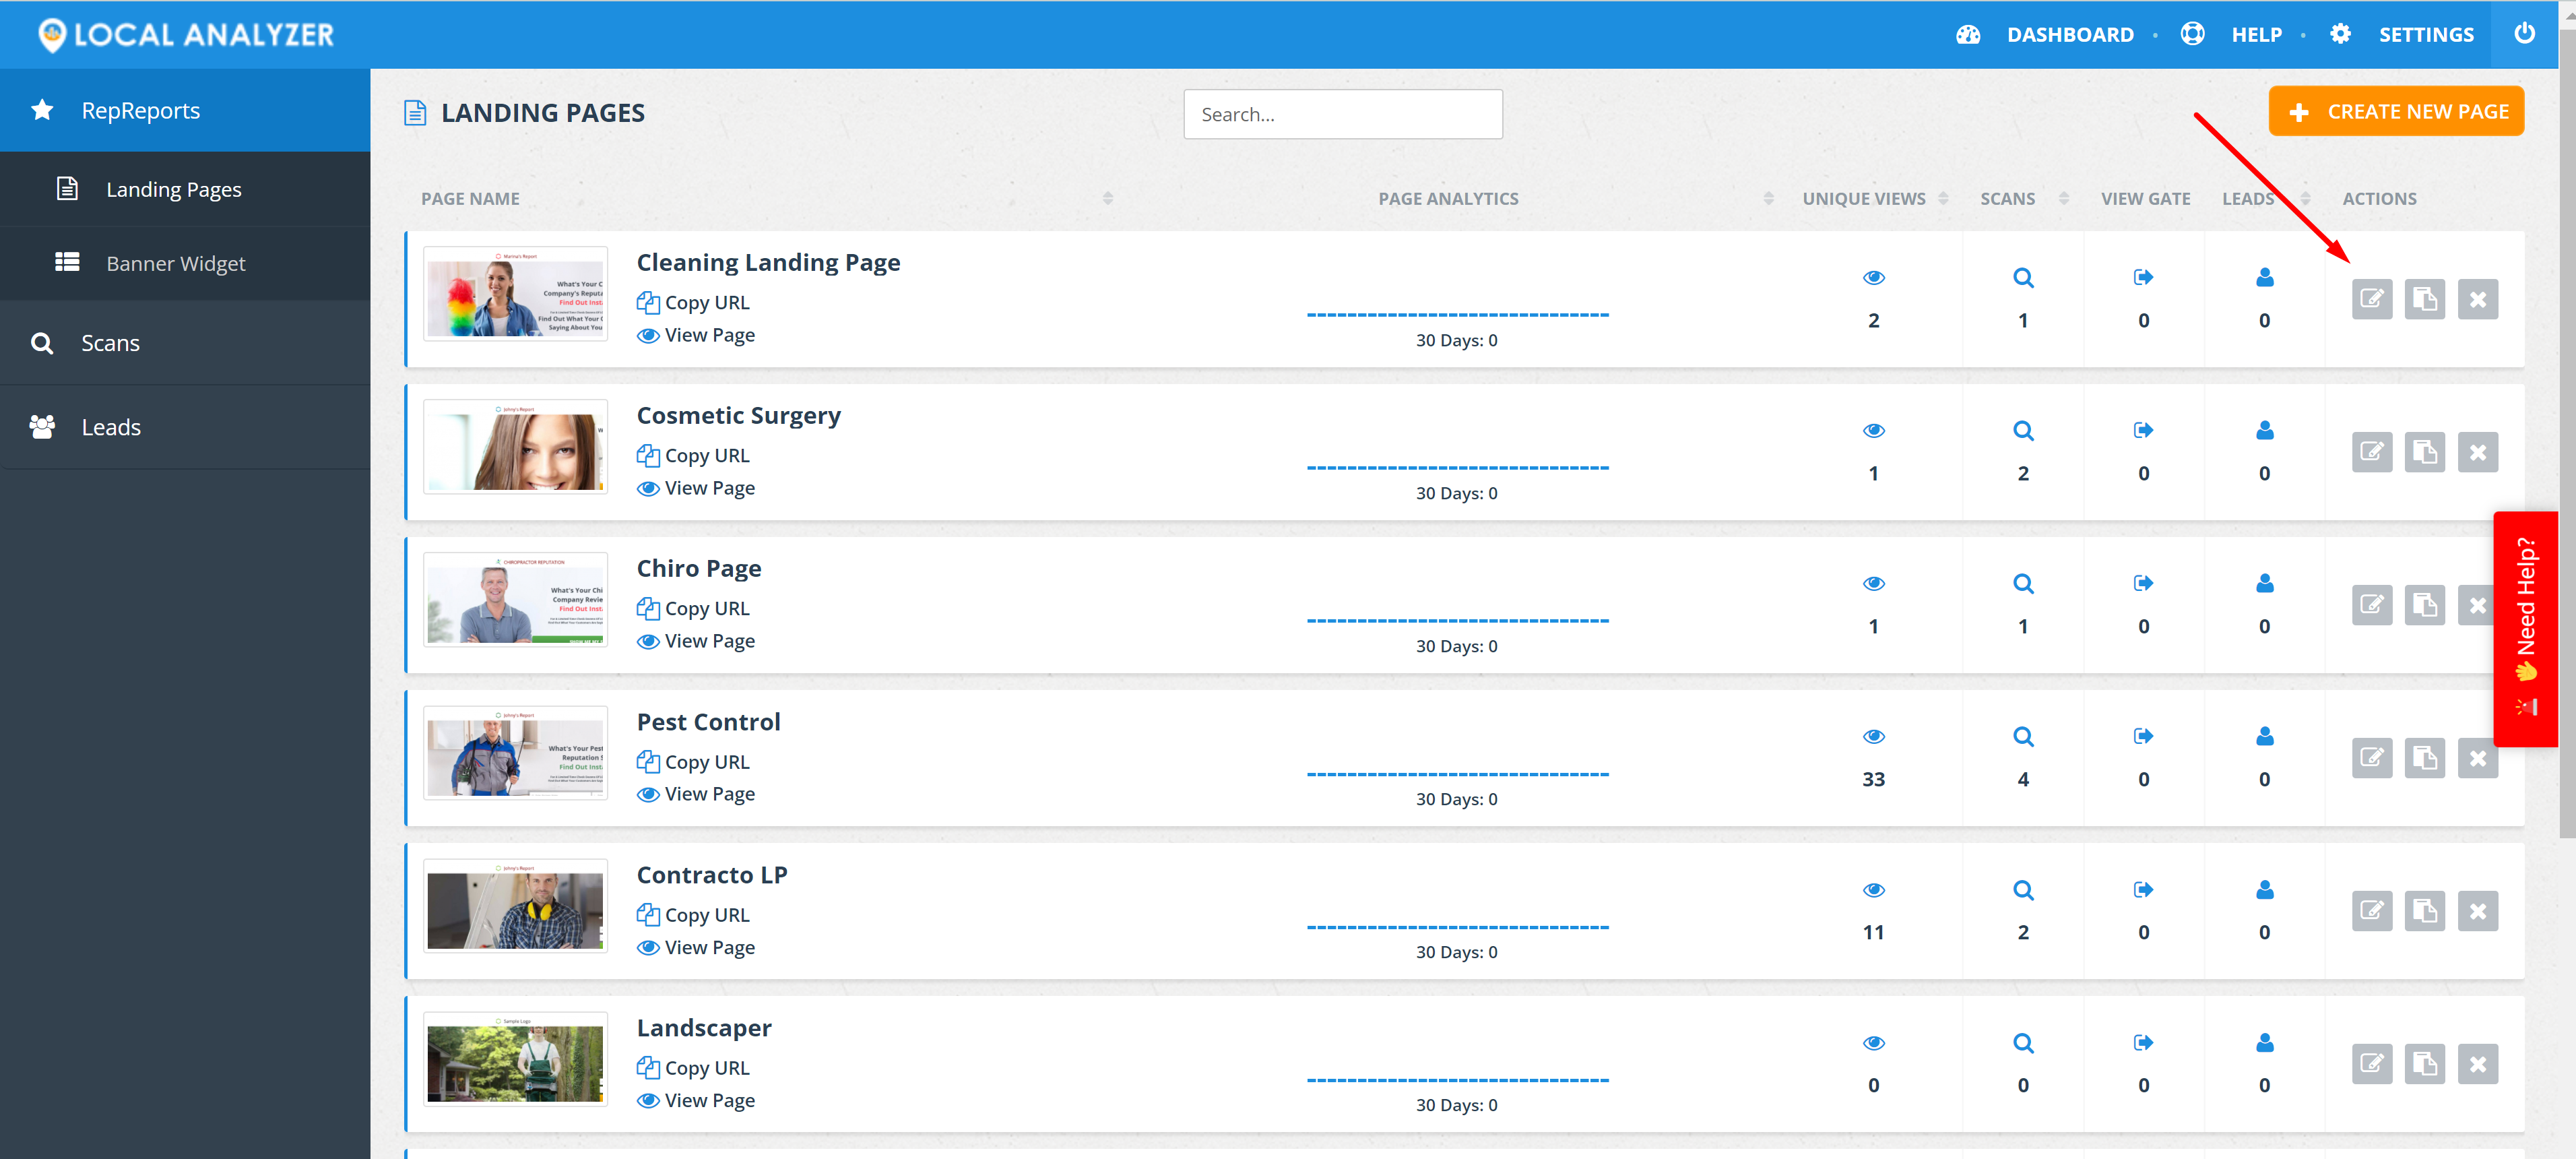
Step 1:
Navigate to the Landing page of your choice which will drive the report creation.
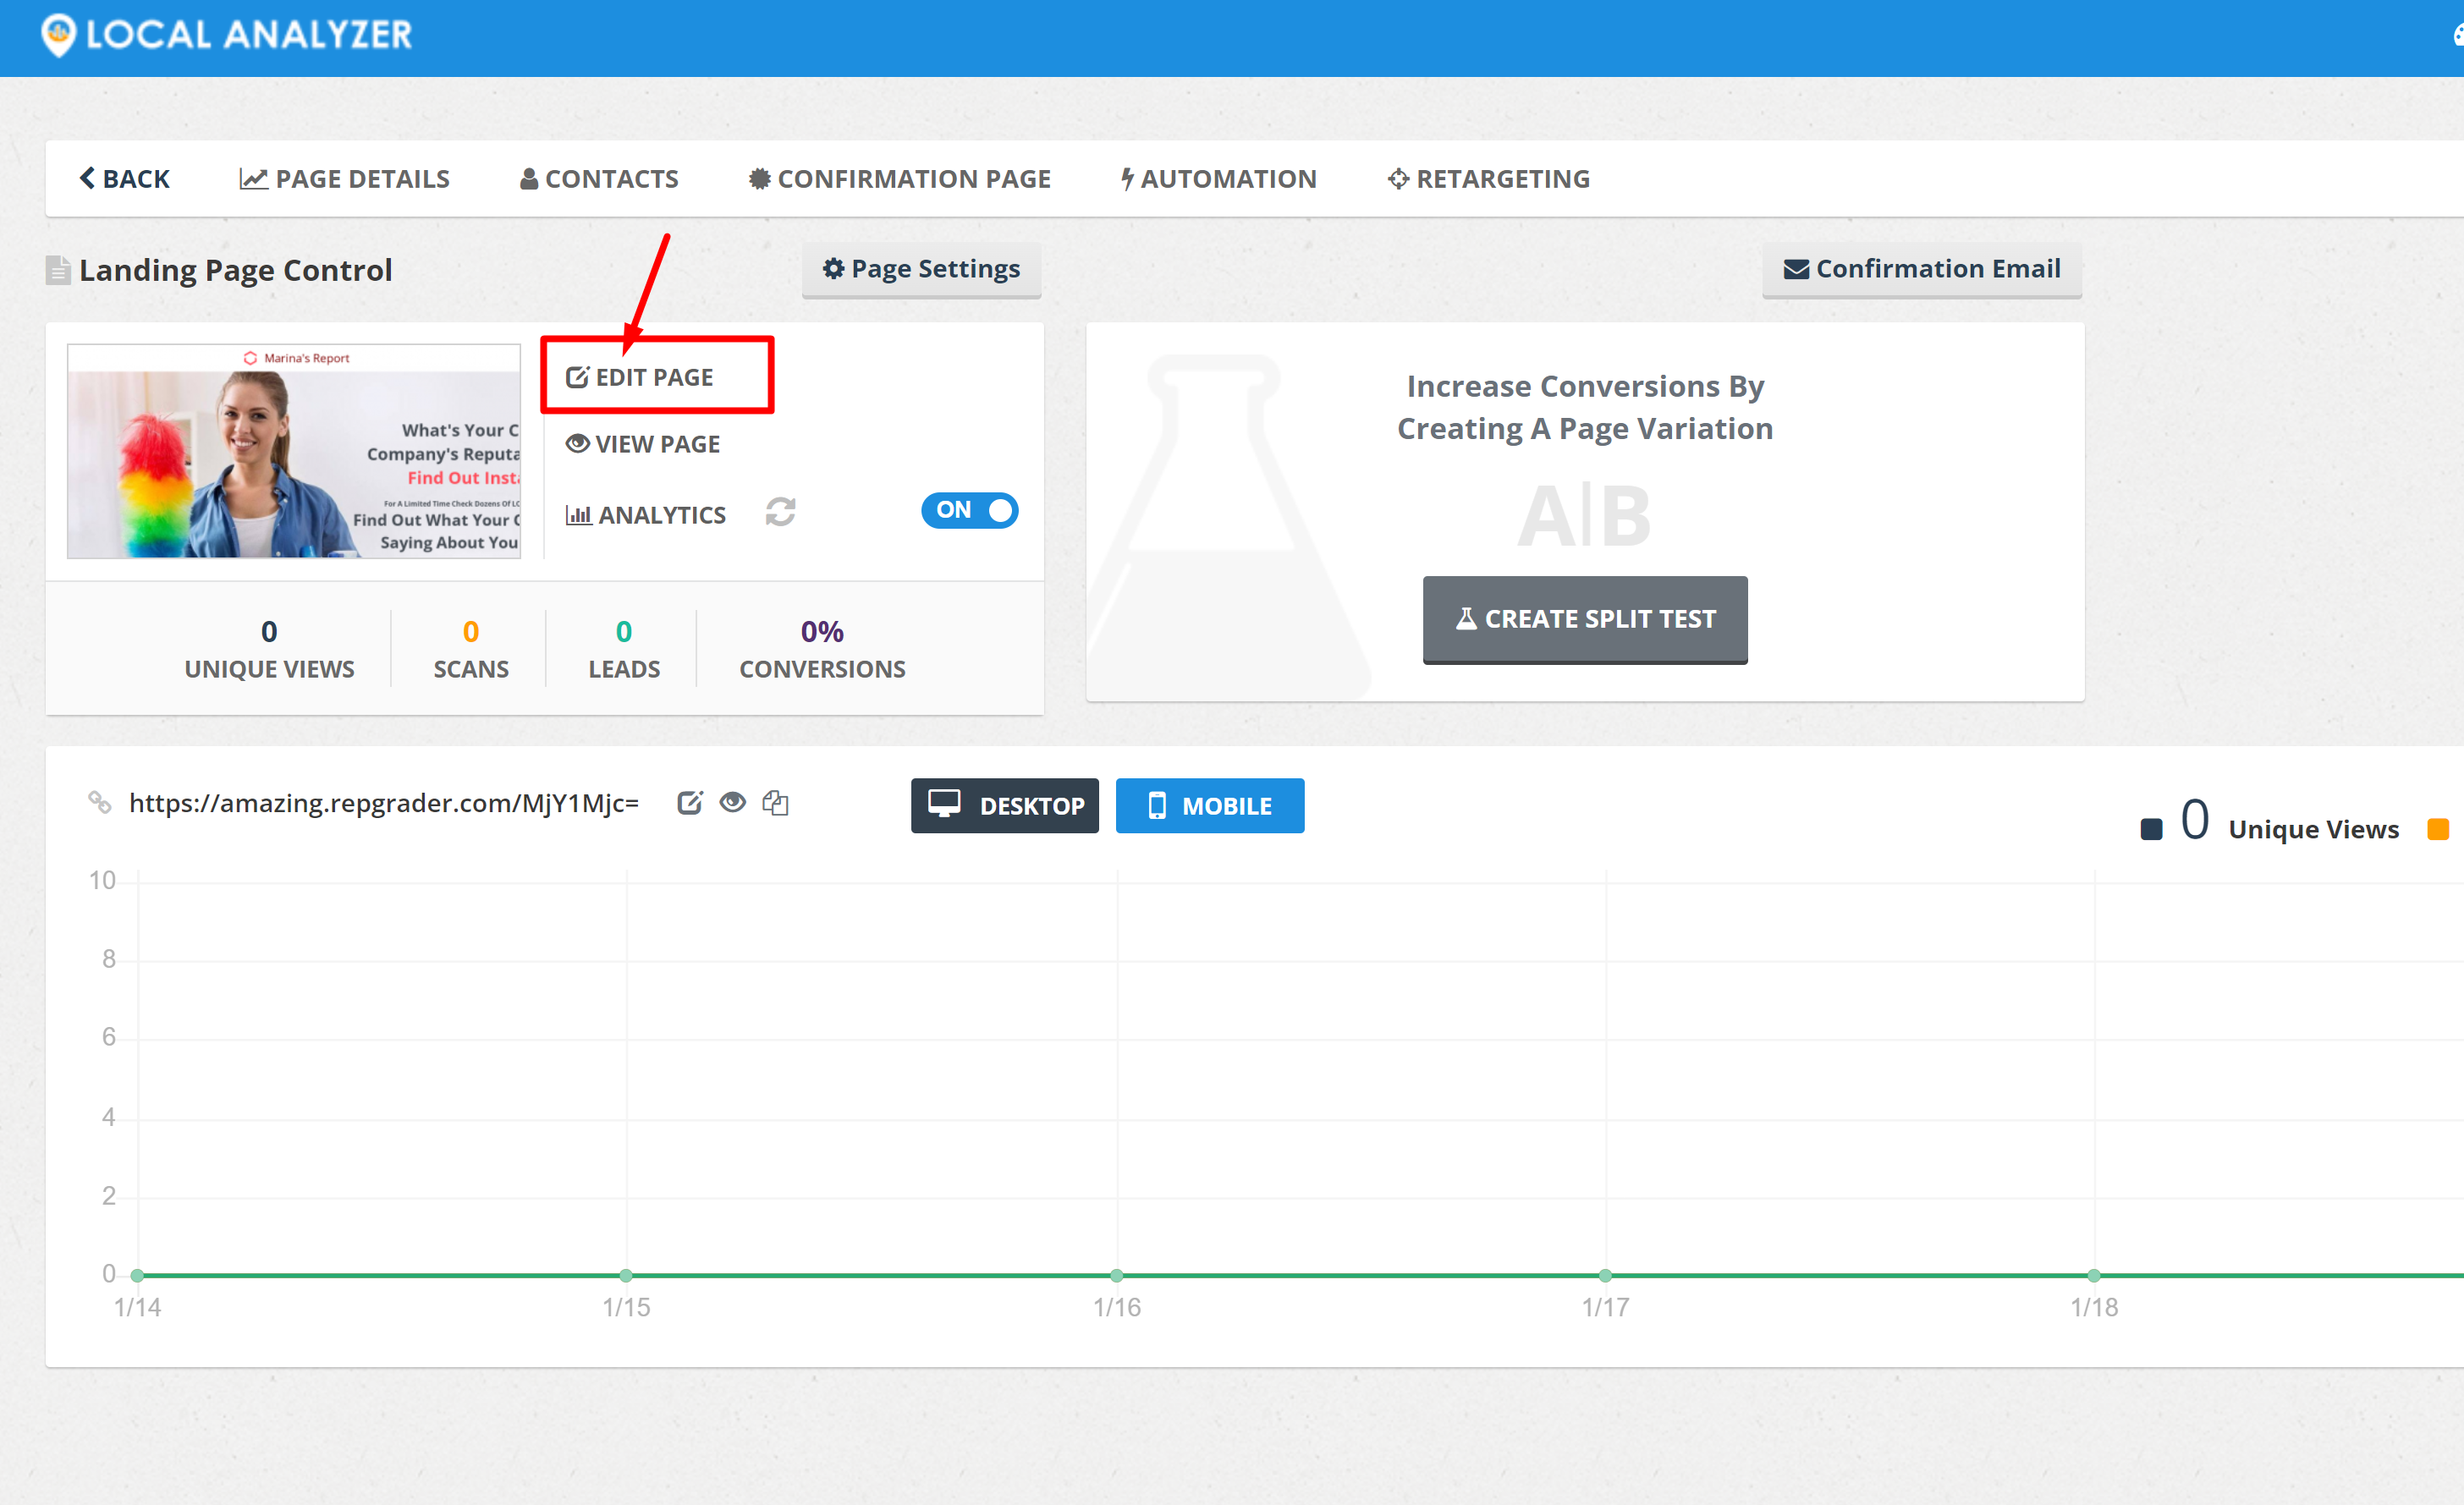
Step 2:
Edit the Landing page
Step 3:
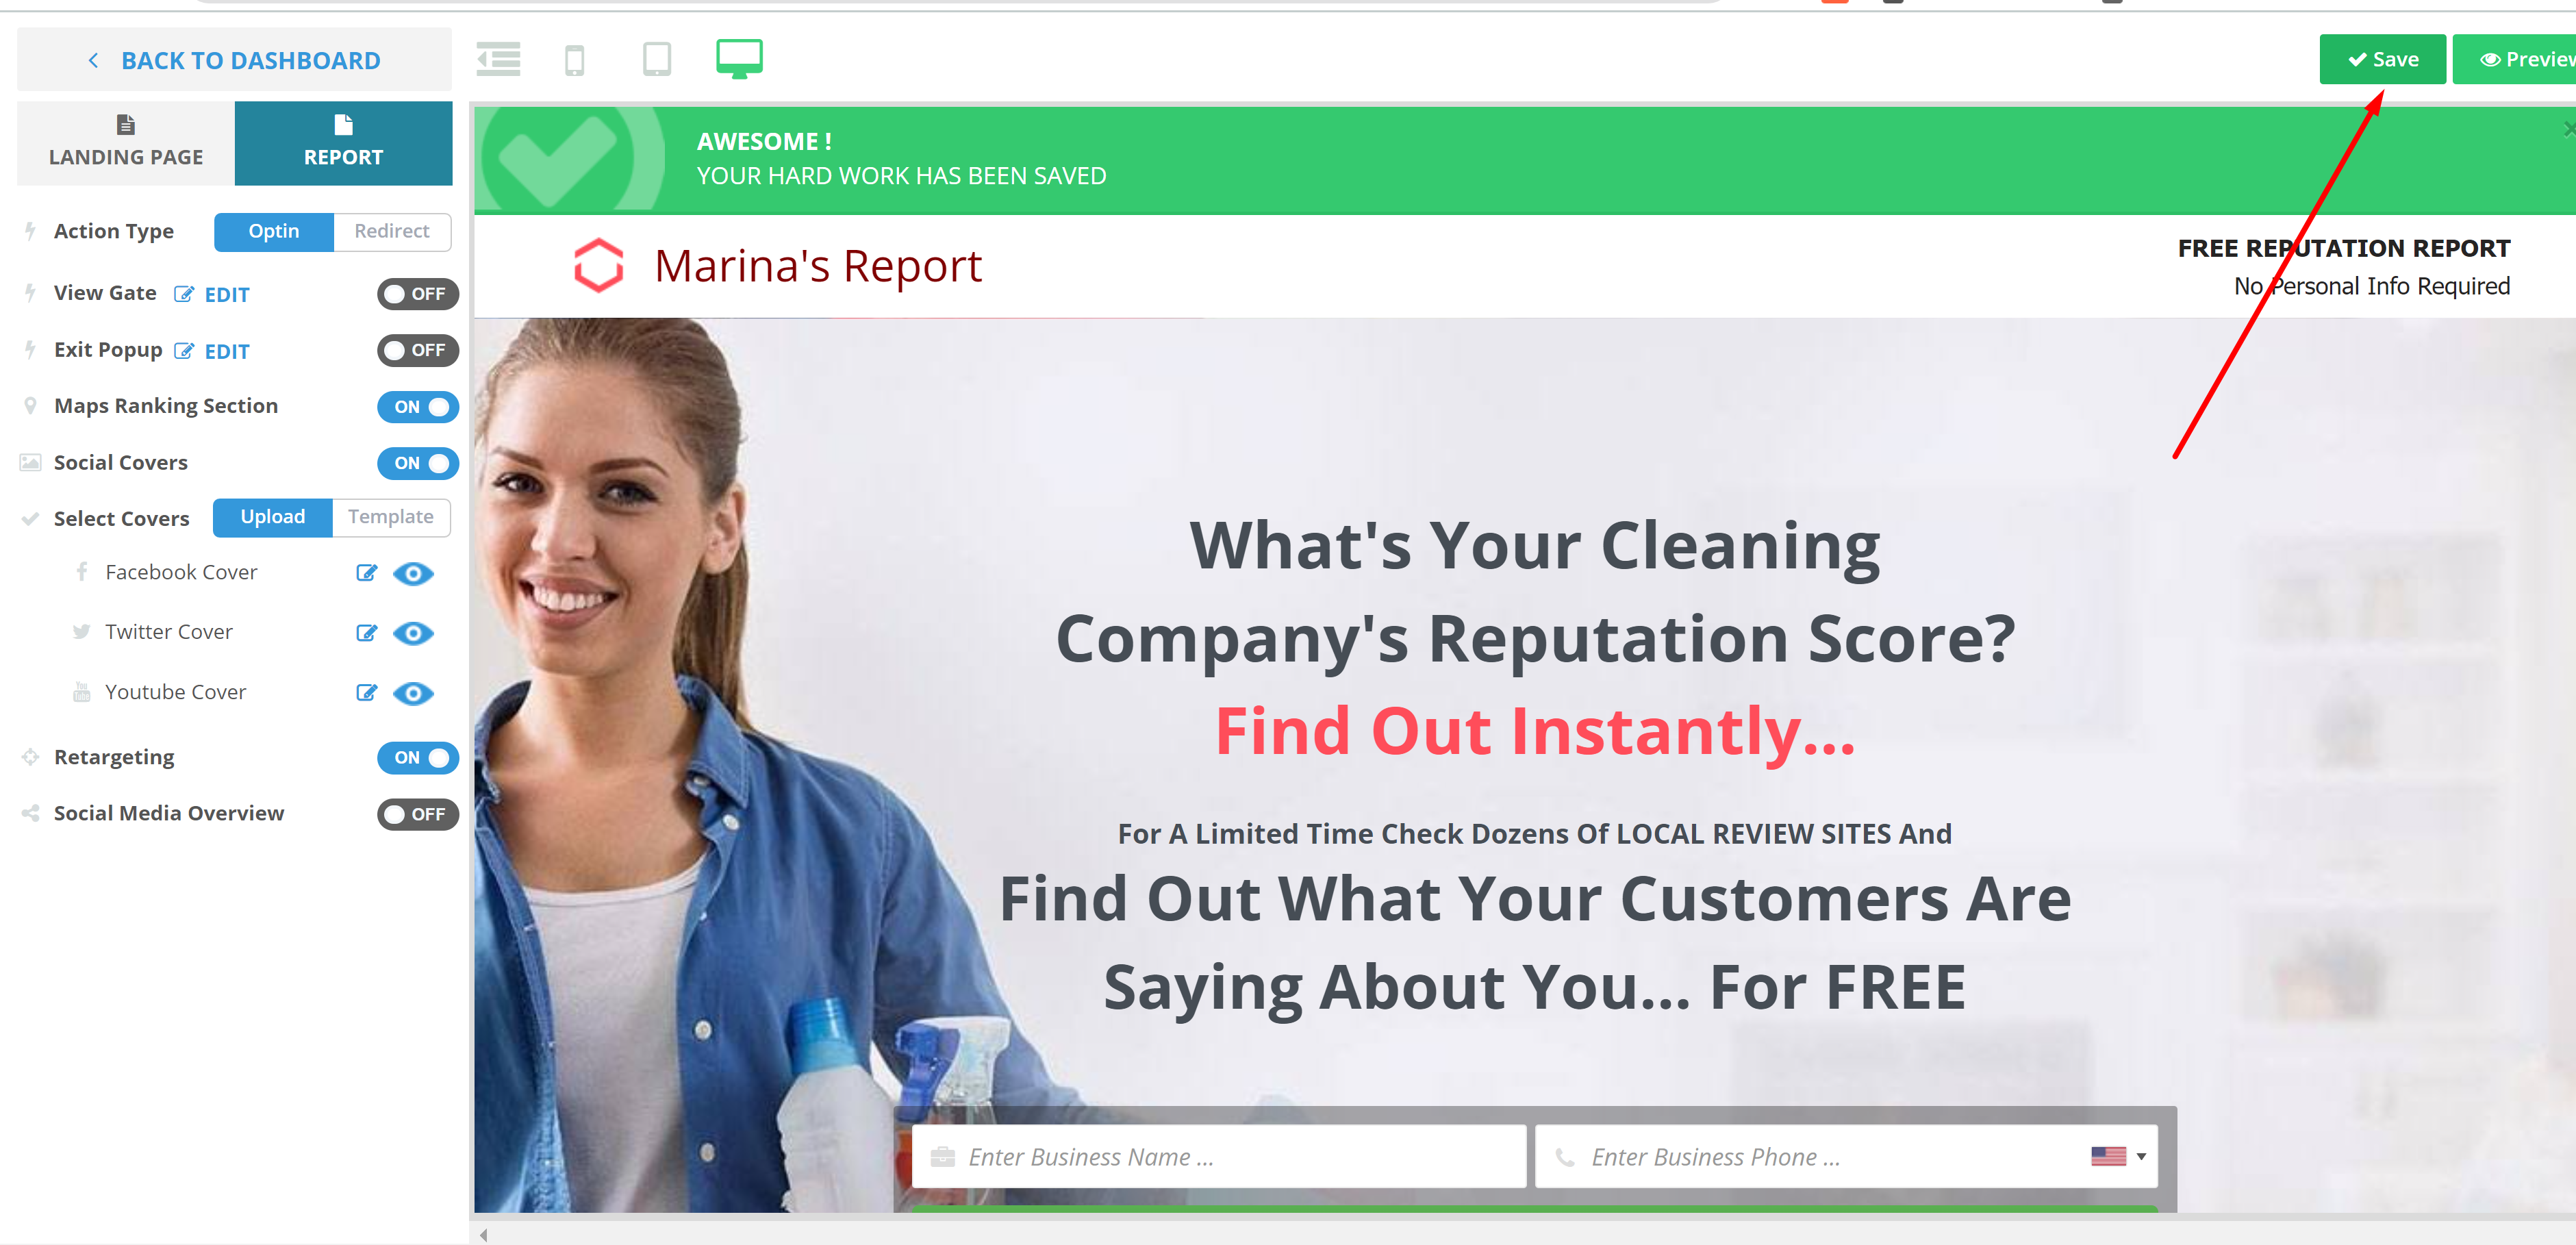
Navigate to the Report Section
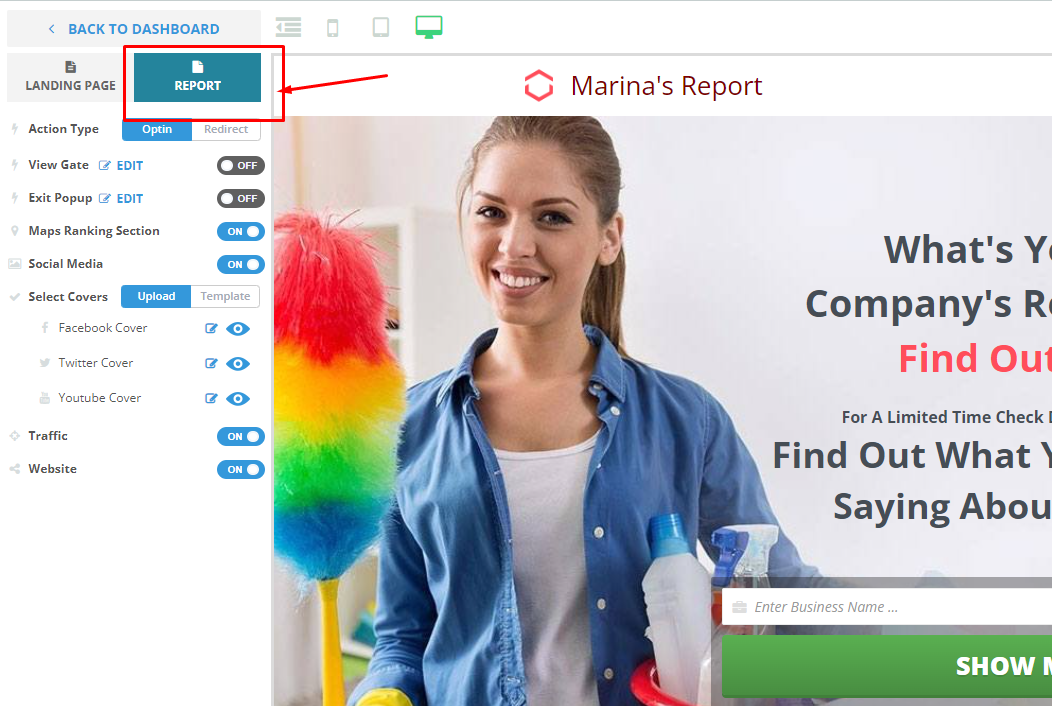
Step 4:
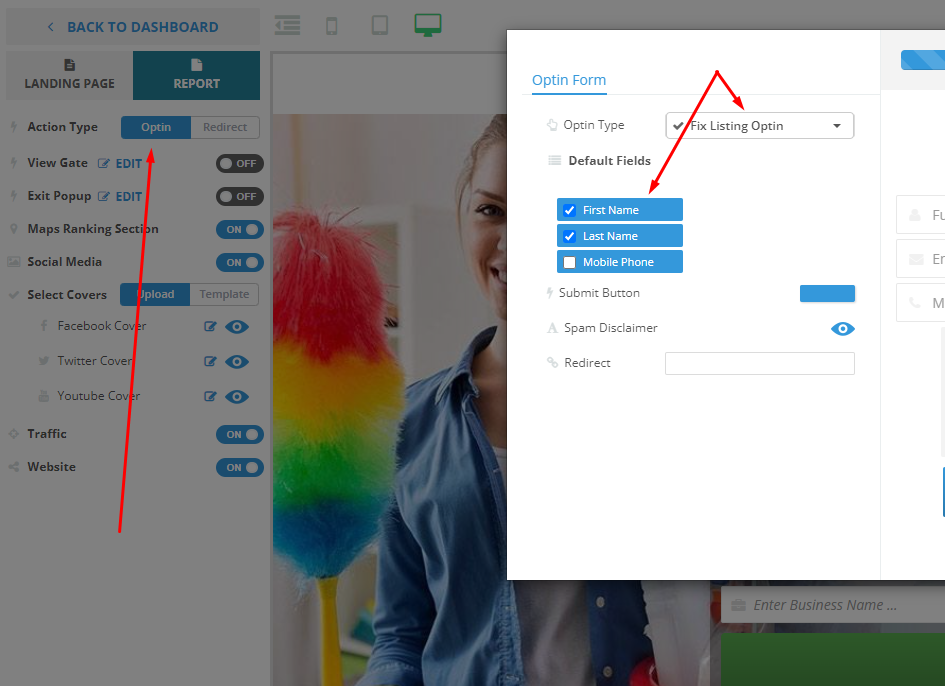
Under "Action Type" click "Optin" to edit the opt-ins on the report
Step 5:
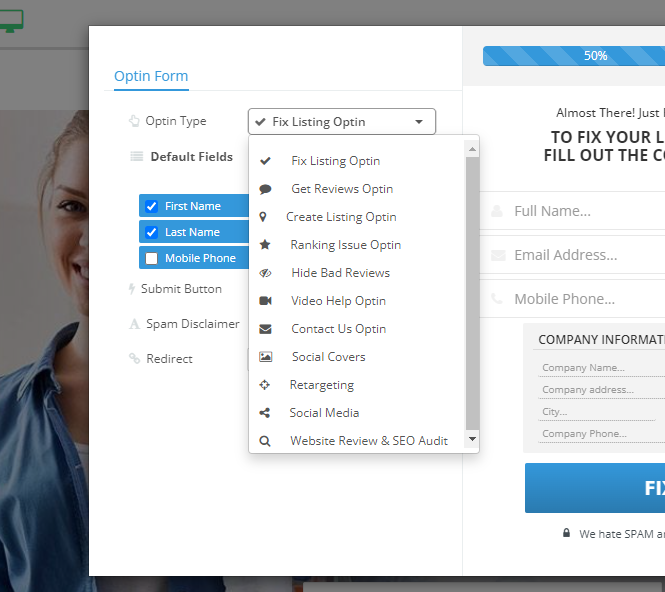
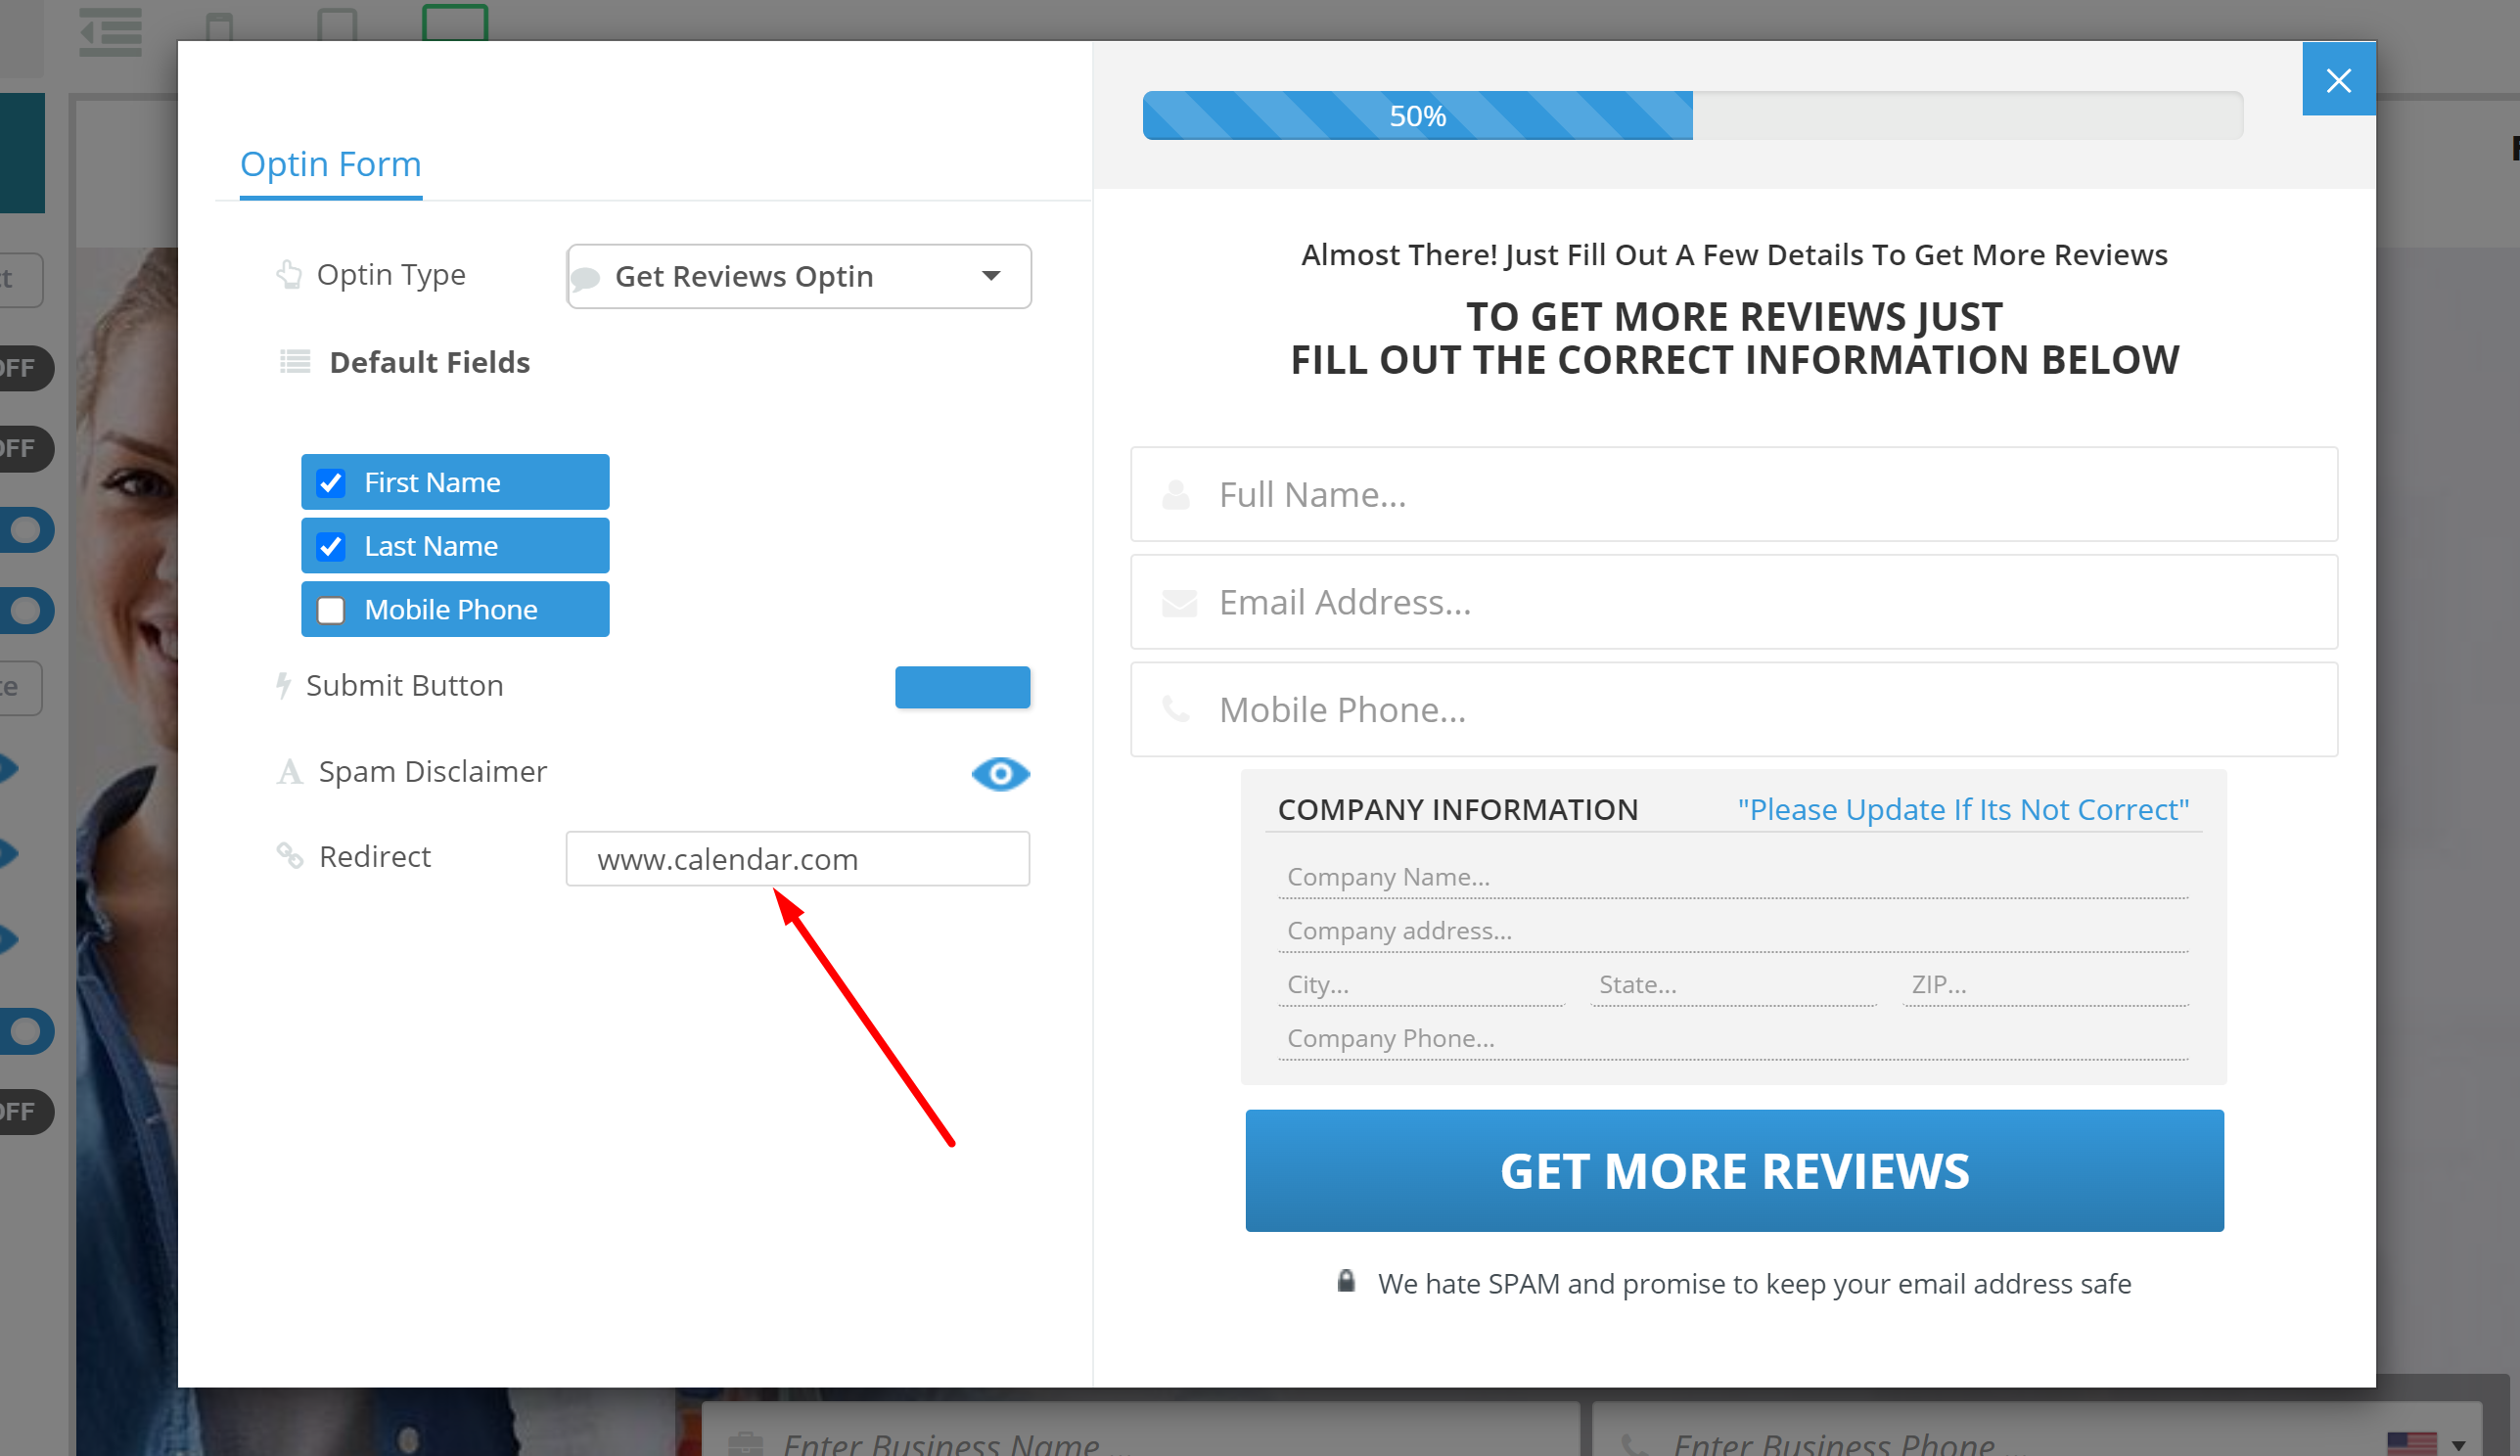
You will find the dropdown for the opt-in type you want to edit:
Step 6:
After selecting the Optin you would like to edit, select items to collect:
First Name
Last Name
Phone number
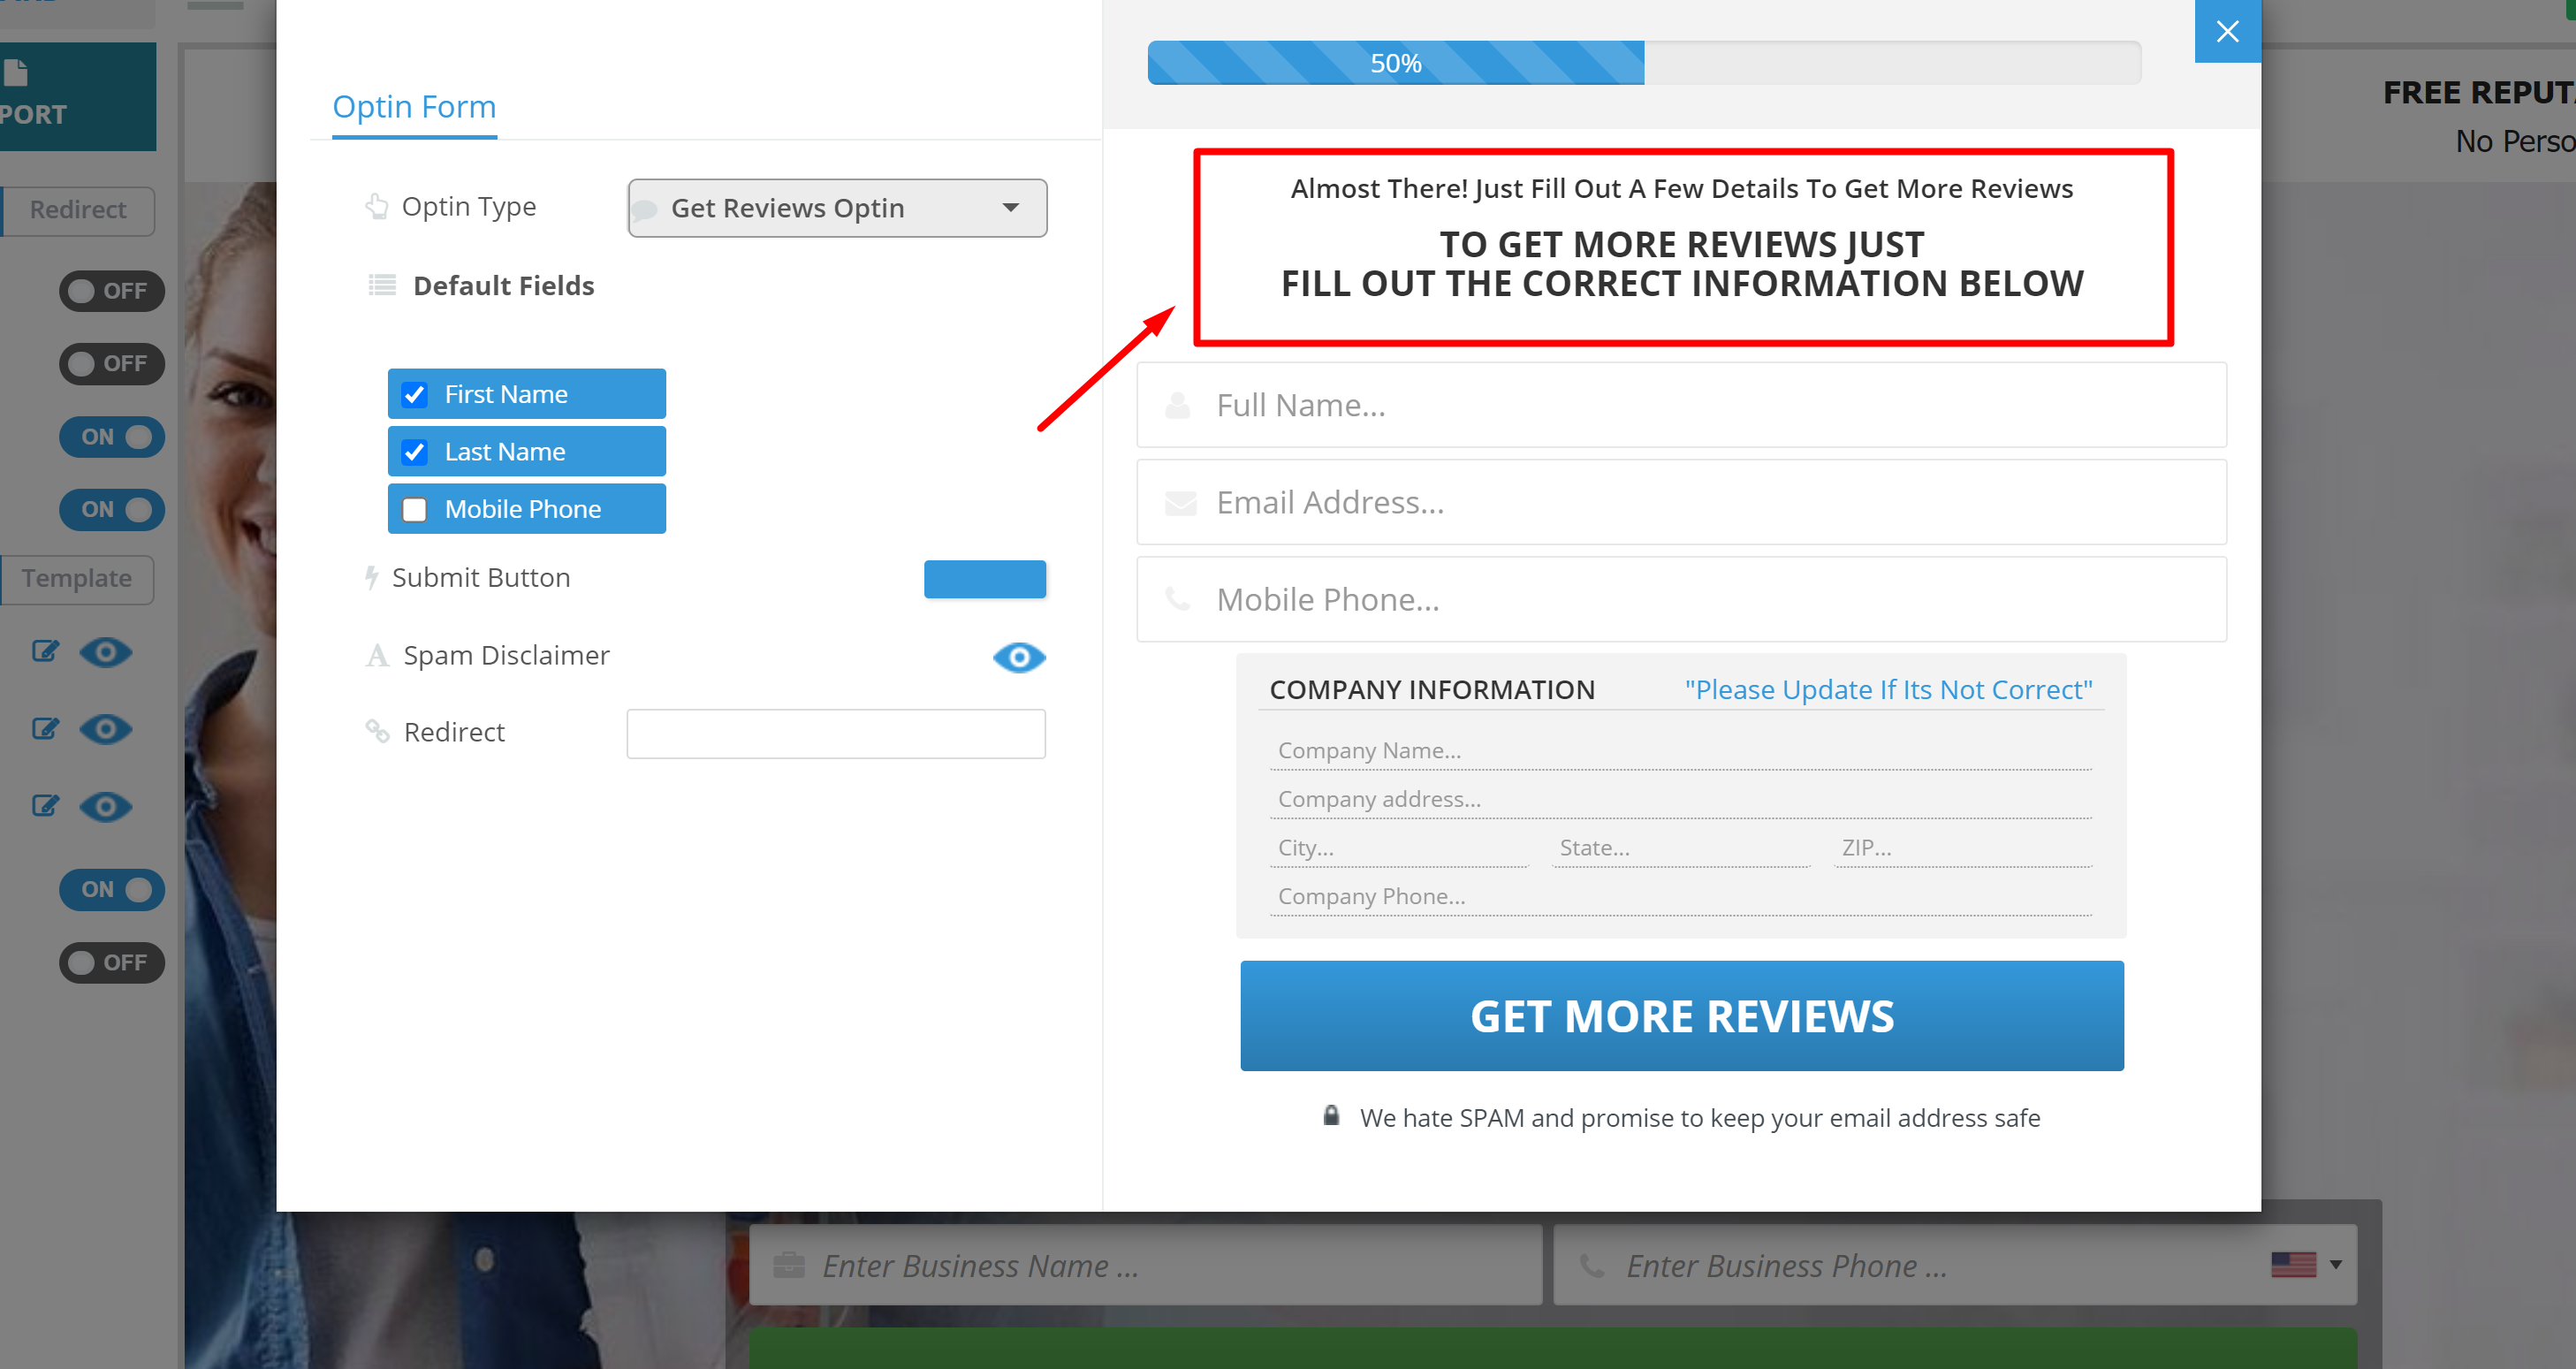
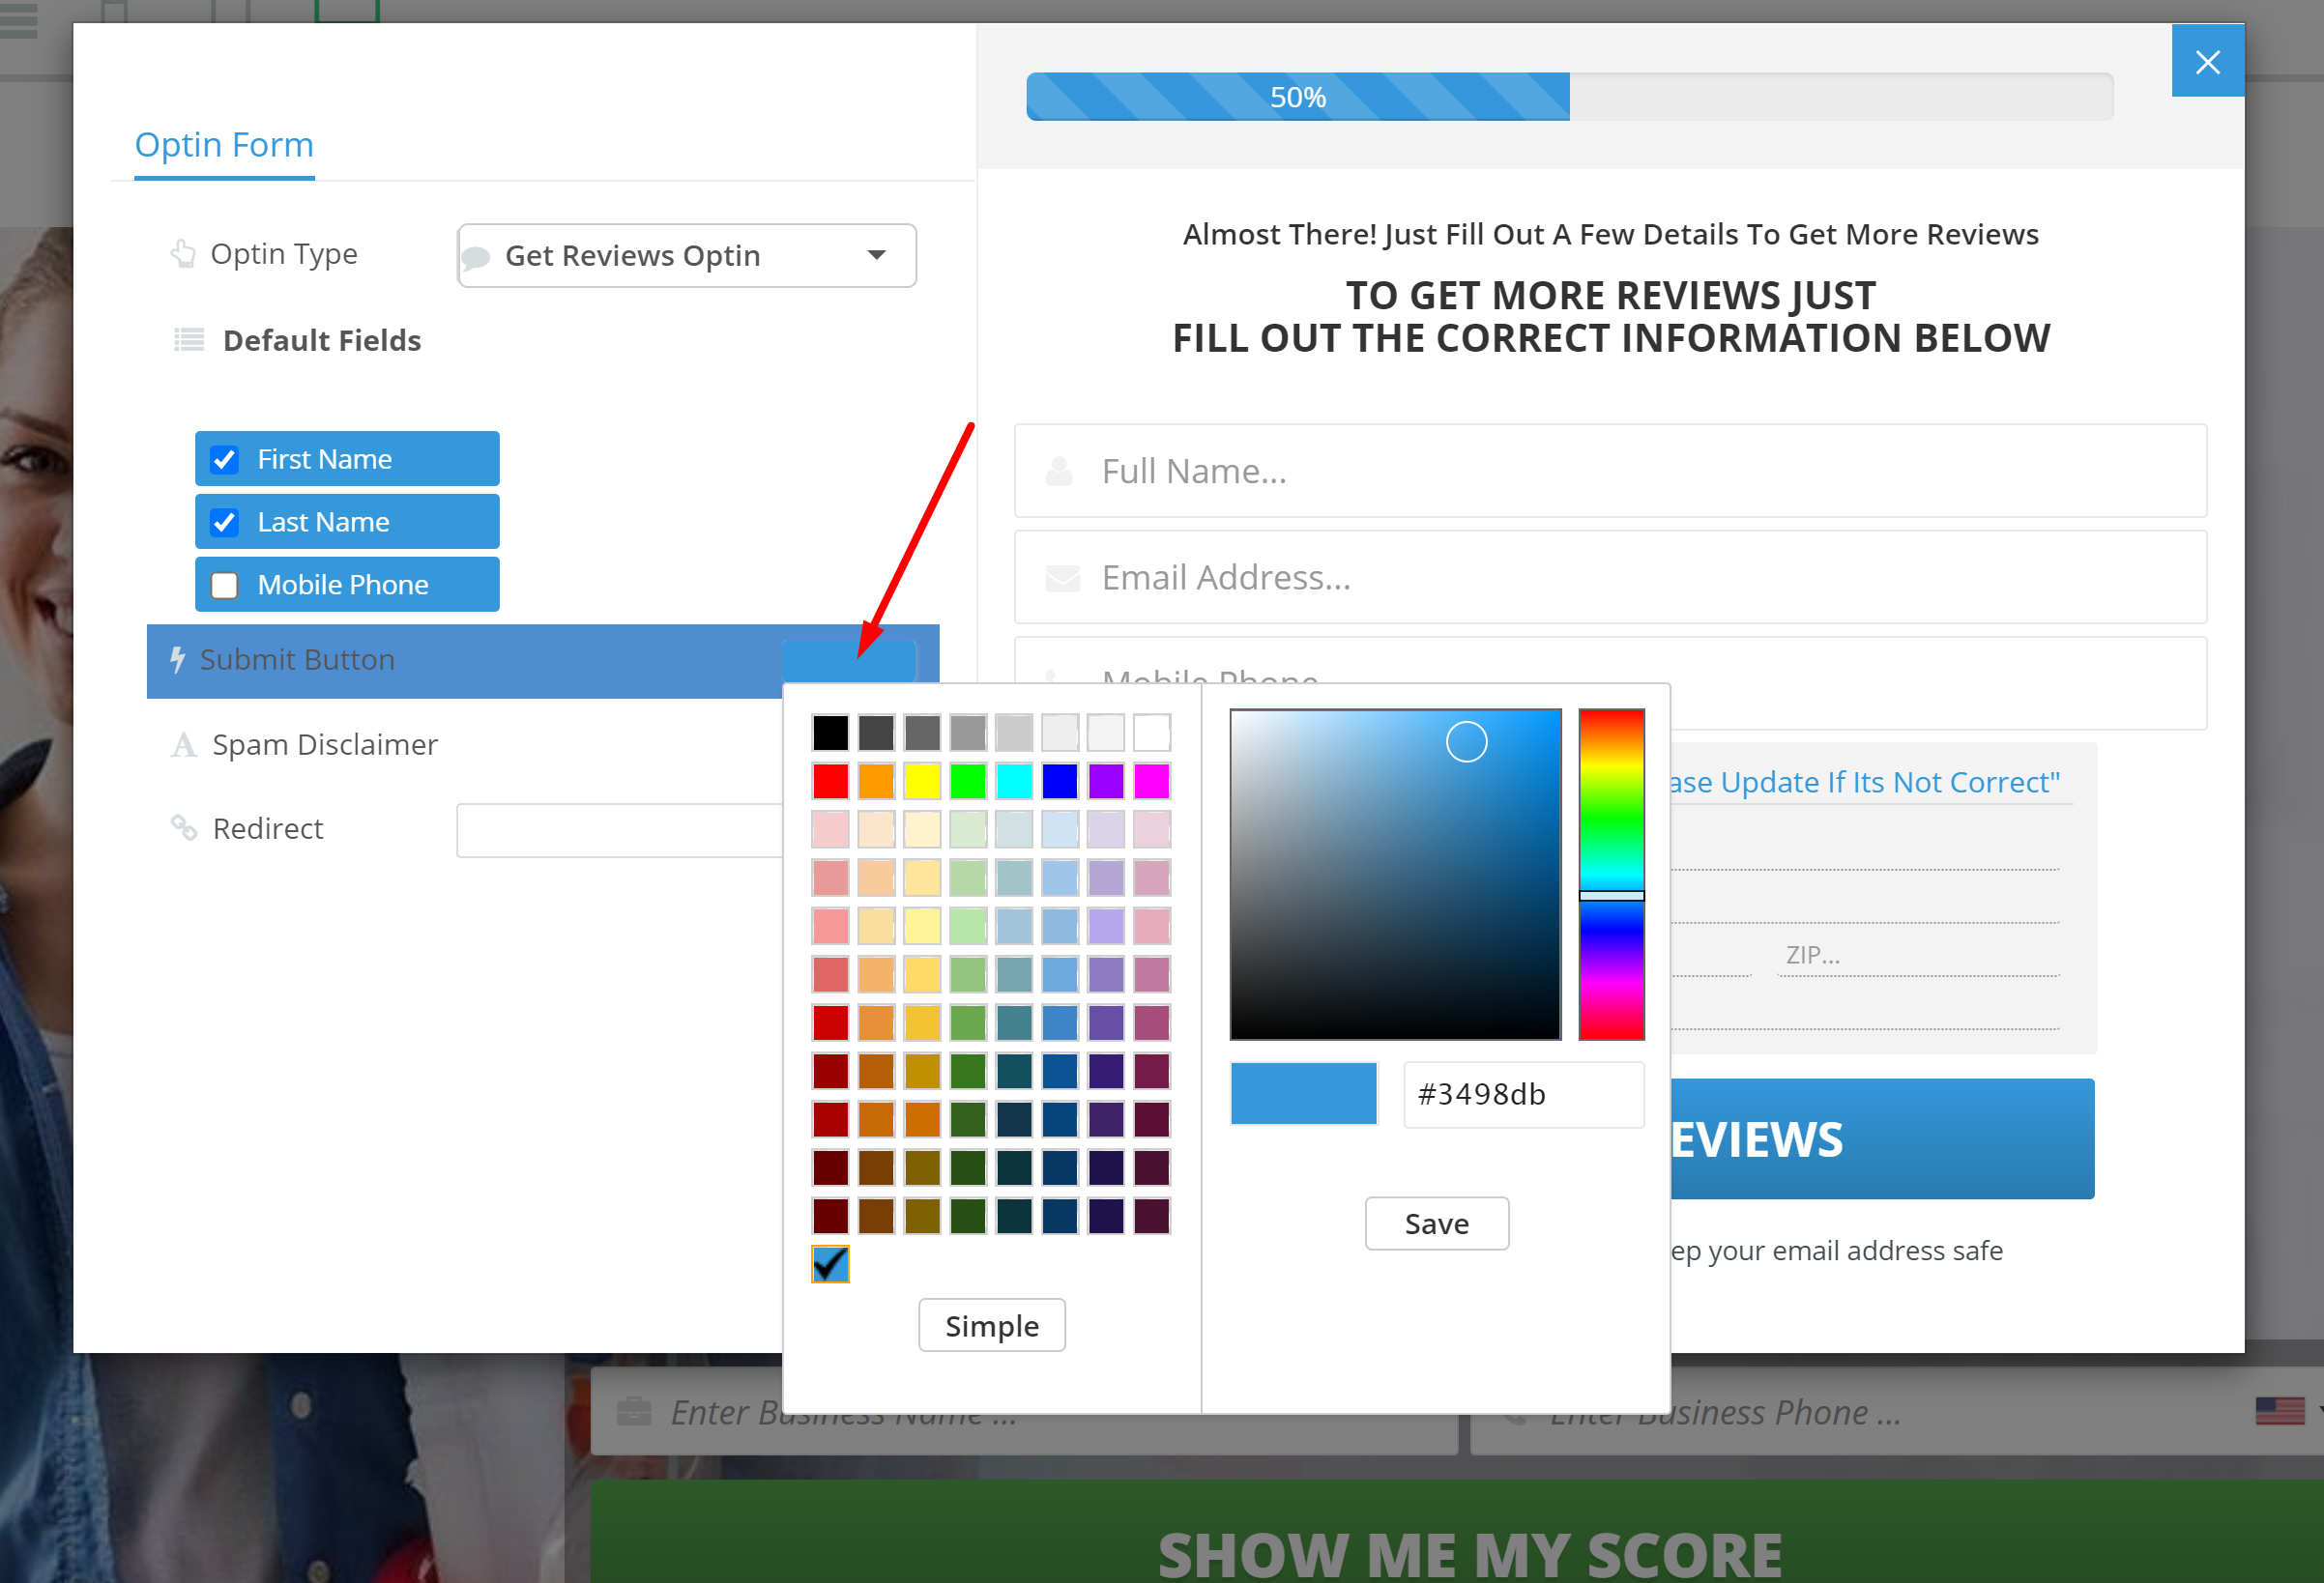
You can also update the header of the form, the color of the button, and a redirect if necessary (see below)
1. Hover over to edit, the header is real-time editable and you can change the text to anything you'd like:
2. Select the Color of the Optin Button:
3. Enter a link in the redirect field if you'd like prospects to be redirected. One of the best strategies is to redirect to your calendar allowing your prospect to self-book an appointment with you.
Step 7:
Once you made your desired adjustments, close the pop-up and save the page.