This article will demonstrate on how you can update a Campaign’s Landing Page.
1.) From the Main Dashboard, go to Client Merchants (1) and click on the Client Merchant that you want to set up.

2.) You will be redirected to the Client Merchant Dashboard. Our goal here is to update a campaign’s Landing Page.
Note: ⚠ You can not just go in the active campaign and edit its Landing Page while it is running. What you can do is to duplicate that campaign and label it as the second version of your Landing Page.
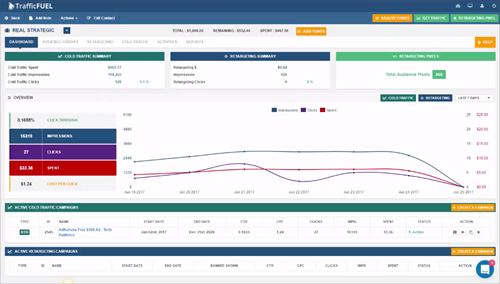
3.) Click the Duplicate icon and then slightly change the name of the campaign. This will be a good indicator for you on what Landing Page you are using. Tick the Copy Banners checkbox and then hit Duplicate.
🛈 Ticking the Copy Banners checkbox will copy all banners you have set up for this campaign.


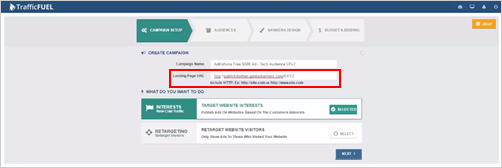
4.) Update your Landing Page URL and hit Next.
5. Hit Next.
🛈 Since you have done a duplicate, all fields will exactly be the same.
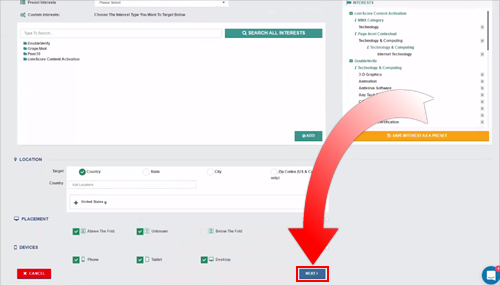
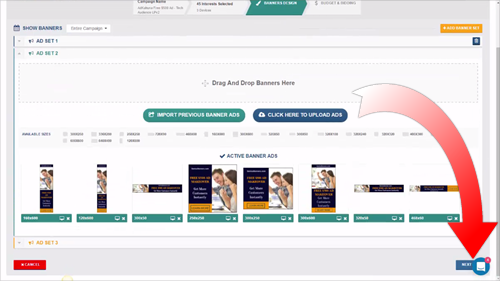
6.) You will also see that your banners and ad sets are already in here so there is nothing you need to do here. Hit Next to proceed.
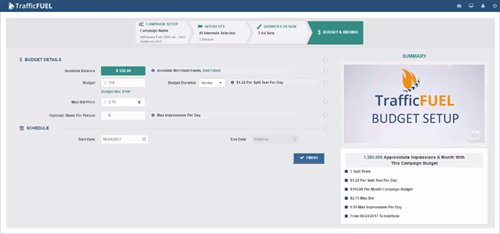
7.) Update your budget so it matches what you want it to be. Click Finish once you are done.
🛈 You just created a new campaign with virtually everything the same except that you have changed your Landing Page.
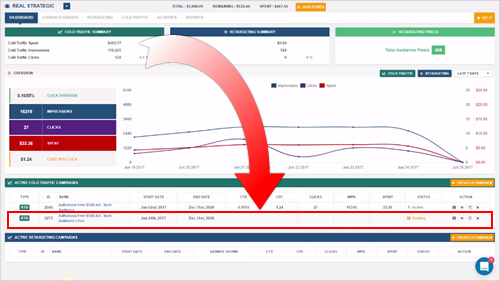
8.) Go back to the Client Merchant Dashboard. You will see that the new campaign which is Pending is the one with the updated Landing Page. If you want to run both and test against another, leave them both Active. If you want to pause the existing Landing Page, click the Pause icon on the Landing Page that is currently running.
