The Website Review Code gives you the ability to set up code and widgets for displaying your feedback or reviews on your website, including custom colors and length of feedback text shown, as well as using directory logos. The process here is simple and helps showcase your customer's positive review.
To successfully set up your Website Review Code, you must complete all four-step wizard:
Start setting up code and widgets through these steps:
Wizard Step One: Setup
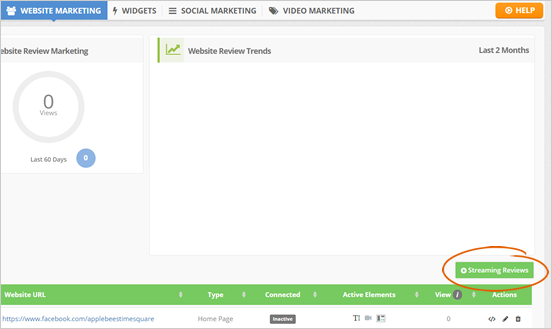
1. From the company's Market Dashboard, click the Website Marketing tab.

2. Click the Streaming Reviews button.
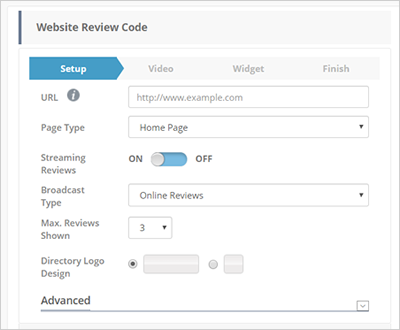
3. Type the URL of the web page where the streaming review will install.
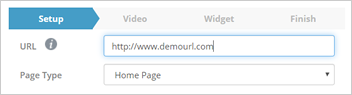
4. Select a Page Type.
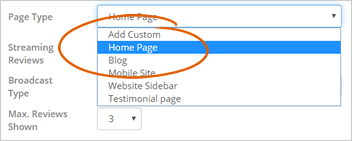
You can also select the Add Custom page type to create a custom page type.
5. You can also switch the Streaming Reviews to either ON or OFF.
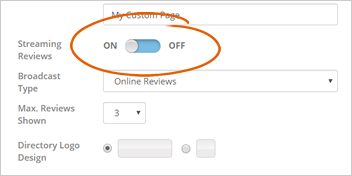
Once you turn this OFF, all your reviews will not stream in the widget.
6. Select the Broadcast Type that you want to send out. You can either do Online Reviews or Feedback Reviews.
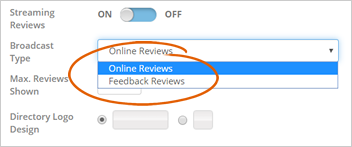
Note: Take note that you cannot do both. Why? Because many times, people who leave feedback reviews also go and share that same review on Google, Bing, or Yahoo, which gives you duplicate reviews on your streaming code.
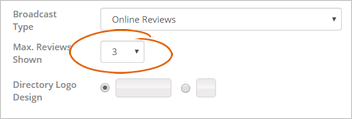
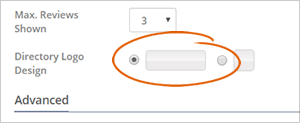
7. Select how many maximum reviews that you want to show up on your streaming sites.
8. Select a Directory Logo Design that you want. The default shows the directory name while the icon layout displays the directory icon.
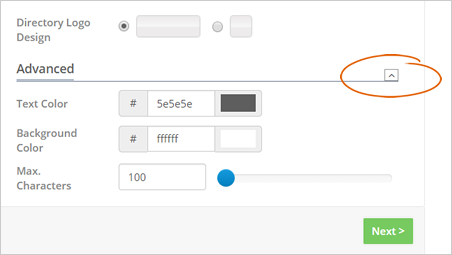
9. You can use a series of Advance options if you are looking to match the Review Code to your site's appearance.
Make sure to click the drop-down of this section to view the elements. Click Next when you are done to proceed to the next step.
There are several of them to choose from:
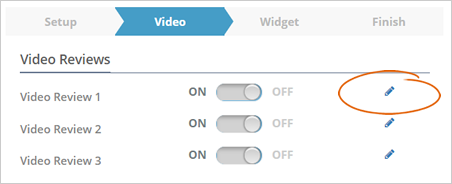
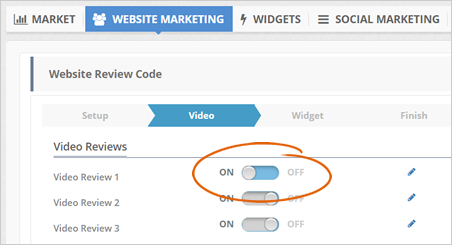
Wizard Step Two: Video
1. Click the Pencil Icon just beside Video Review 1 to add your first video.
2. Paste the YouTube or Vimeo link. Every change can be previewed in real-time so you can see exactly how it looks like in the Streaming Review Code.
Once you are done with this step, click the Save Changes button.
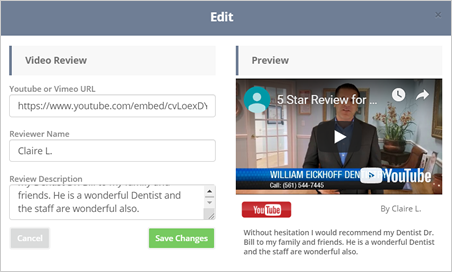
If you have a video review from your consumer about the excellent service and the time they had at your business, upload the video to YouTube or Vimeo. From there, grab the link and add it here.
3. Switch the Video Review 1 into ON state, and you will see the actual review on the Preview section. Repeat the steps above if you wish to add more videos. You can add up to 3 videos from your YouTube or Vimeo videos.
Click Next to go to the next wizard.
Wizard Step Three: Widget
A widget invites consumers to leave reviews for you on your Feedback Page. To start setting this up, follow these steps:
1. Select a Widget Layout.
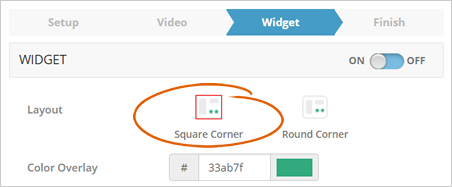
2. Customize your widget's color in the Color Overlay element.
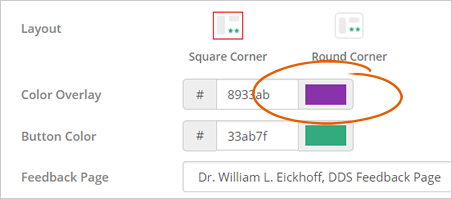
3. Customize your button's color to match your color overlay. Be sure that the color of your button and overlay contrast.
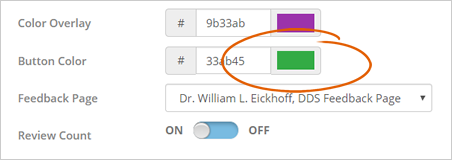
4. Select a feedback page where users can leave their feedback.

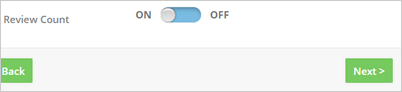
5. Toggle Review Count to ON if you want to show the review count on your widget. Review your widget settings and click Next.
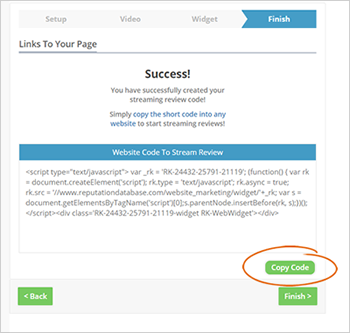
Wizard Step Four: Finishing and Copying Code
1. Click the Copy Code button to copy the widget code to your clipboard.
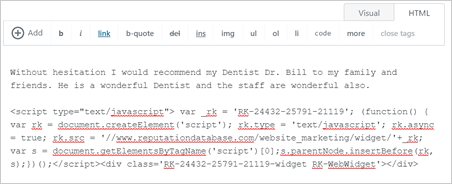
2. In this example, we will be using a Wordpress site where we will install our Review Code. Paste the code below and click Save.
3. You will now see the widget you have created running on your website.
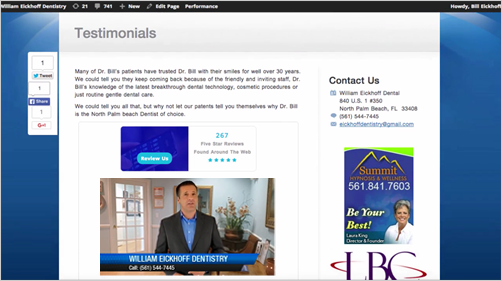
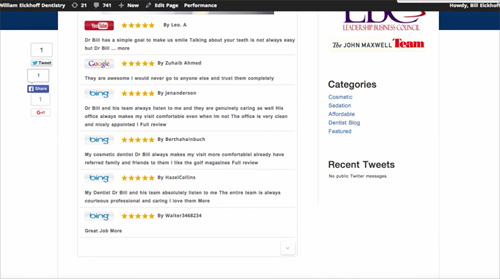
Here is an actual Testimonial page with a Widget and Video installed in.
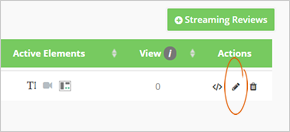
4. Remember that you can always customize your page, go back to your dashboard and click the edit icon on the page you want to make changes. Set up the wizard again and copy the newly generated code to your site.