1. Introduction
This article will guide you step-by-step on how you can add Automations in Prospect Rocket.
How to Add Automations
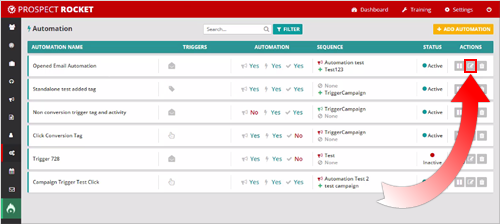
1.) From the Main Dashboard, click Automations.

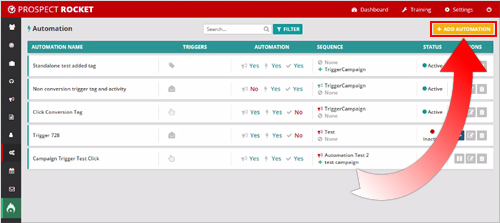
2.) This will bring you to the Automations Dashboard. Click Add Automation.
3.) Select if the Automation Type is tied to a Sequence or if the automation is Stand Alone.
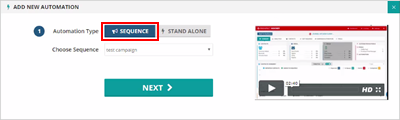
🛈 Sequence Automations are tied to one of your email sequences, so the actions that will trigger this automation will have to do with that campaign. Stand Alone Triggers are not tied to a campaign and it is going to give you different options on what is going to trigger this automation.
4.) Choose your sequence and then hit Next.

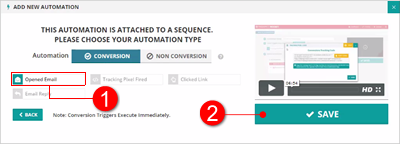
5.) From here, your next selection is if the Automation is a Conversion or if it is a Non Conversion Trigger.
🛈 Selecting Conversion as your trigger will execute your automations immediately while Non Conversion Triggers will wait 24 hours after the sequence has ended to execute your automations. For example. this means that if it takes 5 days for your sequence to be sent out, then 24 hours after that last email goes out or that last touch happens, then the automation will fire.

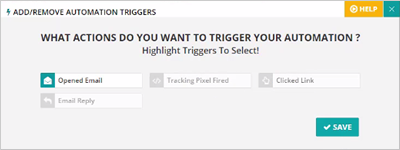
6.) Select what is causing this automation to fire, whether they opened an email, a tracking pixel fired, or if they clicked the link inside of the email or replied to the email. Once you are done, hit Save.
7.) This will take you to the automation page where you can create your automation. The first step that you need to do here is to name your Automation.
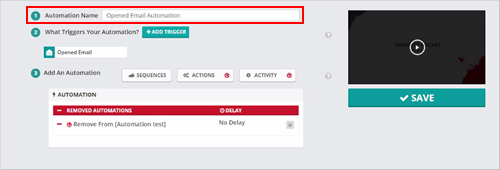
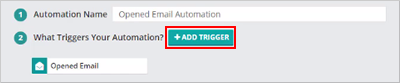
8.) Since we already filled in the information from the wizard earlier, step 2 is already filled out. If you want to add another trigger, click the Add Trigger button and you have the options to add more triggers.
9.) For step 3, select what happens once the trigger is fired. Automatically on Conversion Triggers, we set the contact to be removed them from the current campaign that they are in. So this is going to remove them from the campaign that you have selected on step 1 of the wizard.
🛈 If you do not want to remove them from the current campaign on a conversion trigger, you can click the remove button ( ) to remove it.

2.1. Things that You can Add Inside Your Automations
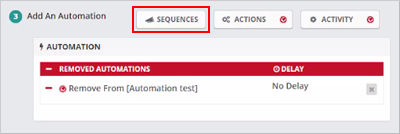
2.1.1. Sequences
1.) If you want to add the contact into a new Sequence, let say it is a follow up sequence after they opened on of your emails, hit the Sequences button.
2.) Add the sequence to whatever sequence that you want to add them and select from the drop-down list the follow up campaign that you want to send them to.
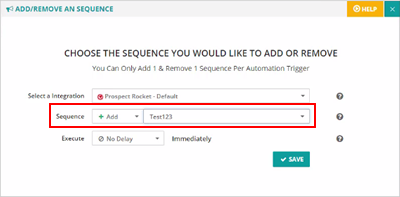
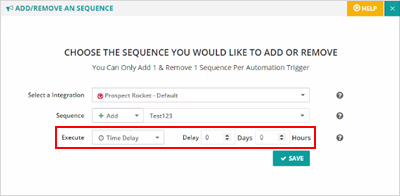
3.) Under Execute, choose when you want that action to happen. You can add them to that campaign immediately or you can have it wait a day or two. Once you have chosen the sequence that you want to add them to or remove them from, hit Save.

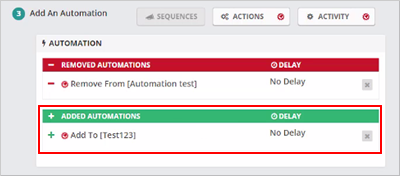
4.) You will see that it will show up in the bottom that they are being added to a campaign.
2.1.2. Actions
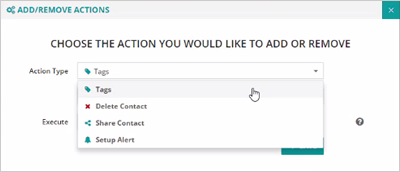
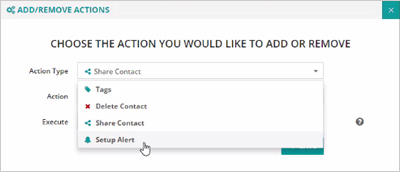
To add Actions, click the Actions button.

2.1.2.1. Tags
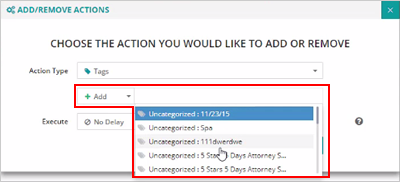
1.) You have several options here. The first one is to apply a Tag. This will apply a tag once the automation is fired. To do that, just select Tag from the drop-down .
2.) Add the tag that you want to apply to the contact record.
🛈 If your contact is already tagged with something, you can have the tag removed by using the remove option and once again selecting the tag that you want to remove when this automation fires.
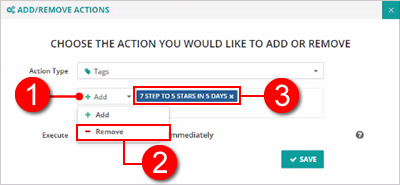
3.) You can also add delays through the Execute option which is the same as the Sequence action.

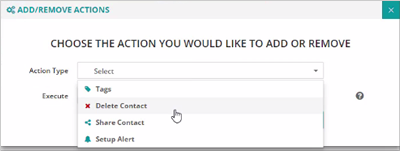
2.1.2.2. Delete Contact
Once again, under Actions, you can choose to delete the contact which you usually use on a non conversion trigger so if the contact ignored all the things in your sequence, you can choose to have that contact deleted. That means that they will be removed from the system completely. It does not just remove them from the campaign, it removes that contact entirely from your Prospect Rocket
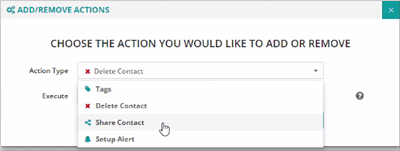
2.1.2.3. Share Contact
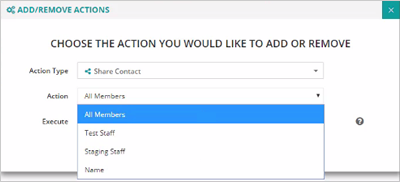
1.) This will share the contact record with other people in your teams. If you want to do that, choose Share Contact as your Action Type.
2.) Next is choose who you want the contact to be shared to. You either choose a specific person in your staff or you can choose all of your staff accounts. Once the contact record opens an email it will share the contact with your staff and will show up inside of their accounts as well and they will be able to work with the contact record also.
3.) Set up your Execute delay and then hit Save.
2.1.2.4. Setup Alert
1.) These are custom alerts that you can have it sent to you once the trigger is fired. To start setting up your alerts, select Setup Alert from the drop-down.
2.) You have an option to have an Email, SMS and a Call Transfer to where the system will try to connect to you with the contact that had the automation fired.
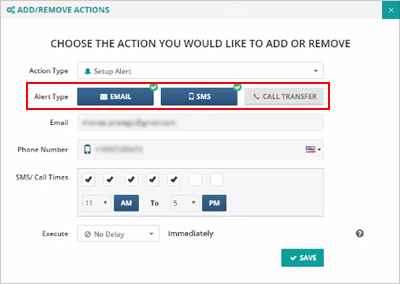
3.) Since we have selected Email and SMS as our Alert Type, we need to make sure our email and phone number are populated in the fields to select where to get the alerts. Note: To add your email and number, go to your account settings and alert section to add your information for alerts.

4.) Choose the times that you want to get those alerts. What days of the week and what time you want to receive those alerts.

5.) Last, set up your Execute delay and then hit Save.
2.1.3. Activity
1.) The last thing that you can do for your automations is to add an Activity. To add an activity, click the Activity button.
2.) This will open up the New Activity area. This lets you use tokenized information so that no matter what contact that takes the action or has the automation fired for them, you can create a new activity for that contact record with their information. You can edit this information or add tokens as needed.
🛈 By default, you have their company name set up for the business, the name of the contacts that you will be speaking to and this is pulling the information from that contact’s contact record
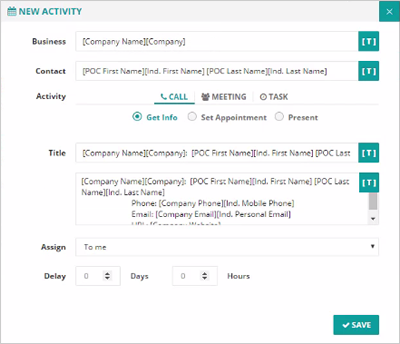
3.) You can also assign this activity to either yourself or if there is a person in your team that you would like to take care of this activity.

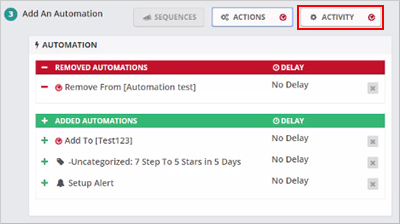
4.) Once you filled out these actions, it will show up under the Added Automations. Once you have added everything that you want to happen under your automation trigger you can go ahead and hit the Save button.
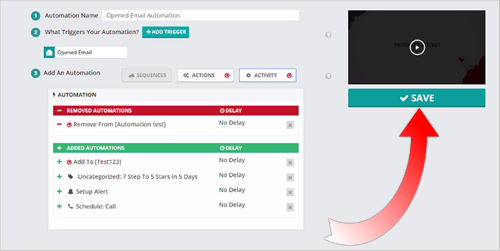
5.) This automation is going added into the dashboard and you will see all the information here like the type of Triggers that it using, the added Automation with several Actions and an Activity.
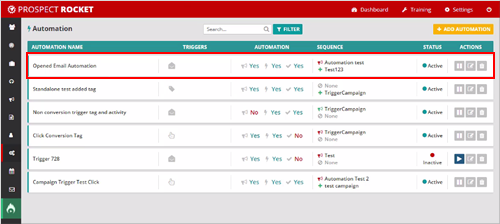
6.)If you want to go back to the Automation Area and edit everything that you have done, click the Edit icon ( ). This will let you add more Triggers, change on any of the actions that took place once the automation fired.