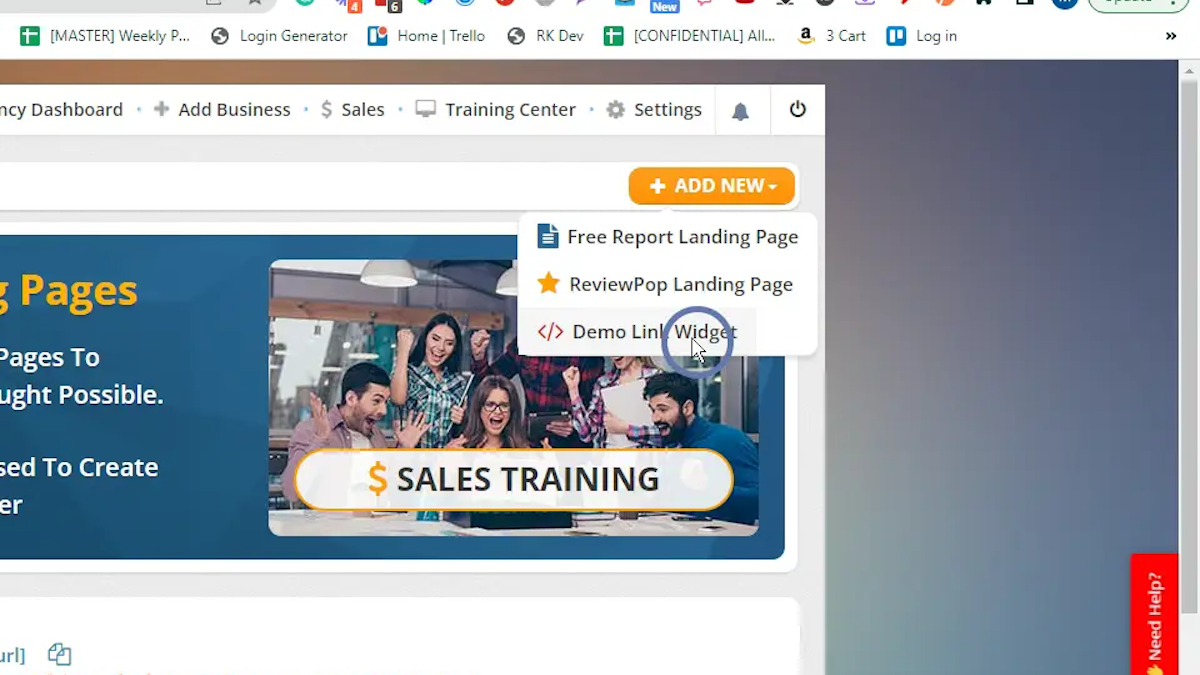
1. From your Agency Dashboard Navigate to the Landing Pages in the Side Bar and Click "Add Widget"

In this article, we will cover the step-by-step process to create a Demo Widget that you'd be able to place on your website or your landing page to offer a preview of the Review Pop on the lead's website and explain the value of your proposition.
NOTE: Learn More About Review Pops
To set up a Demo Widget follow these simple steps:
Step 1 - Set up the Layout
Step 2 - Set up the Design
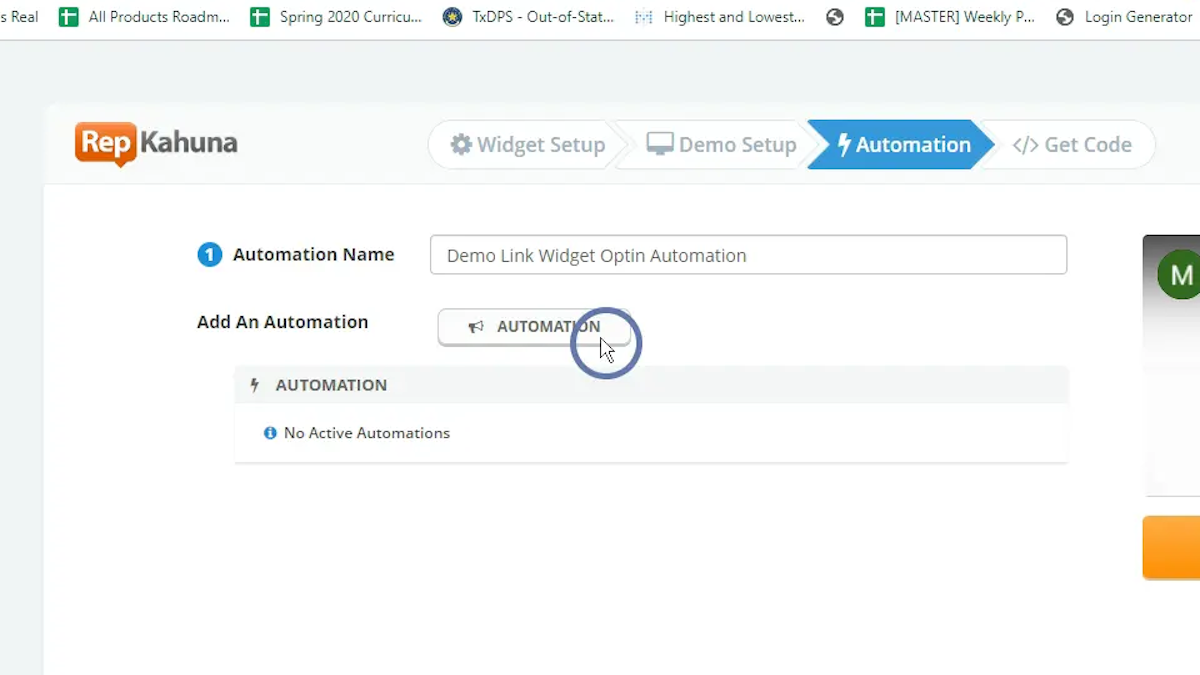
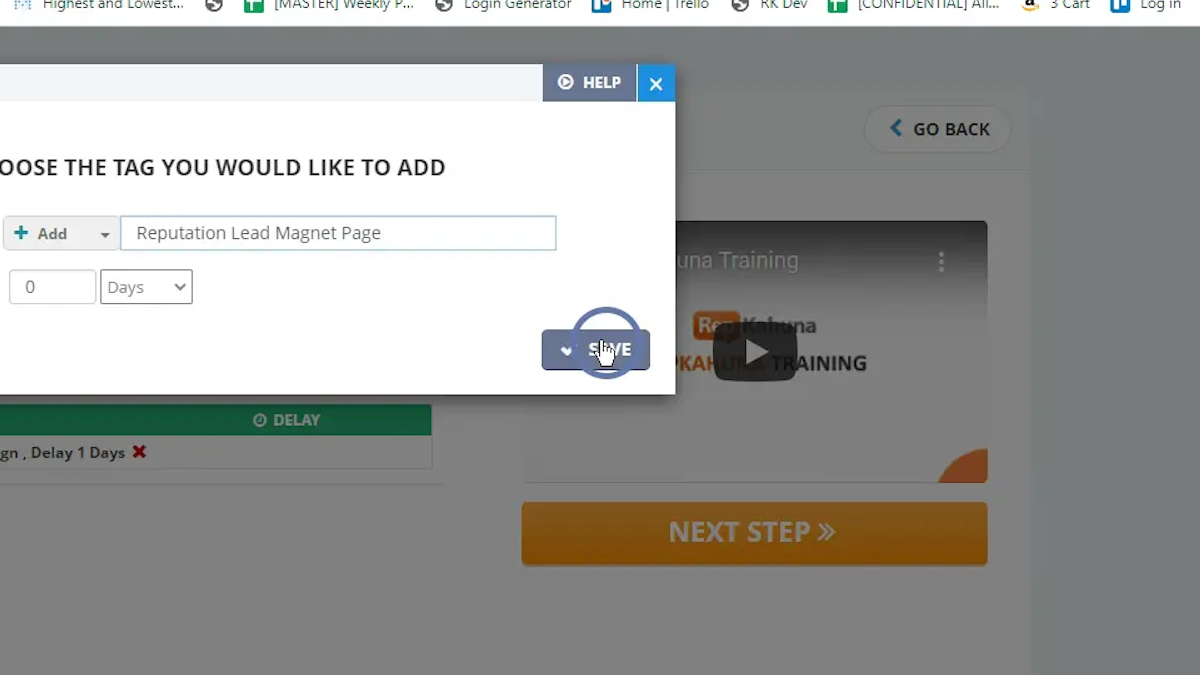
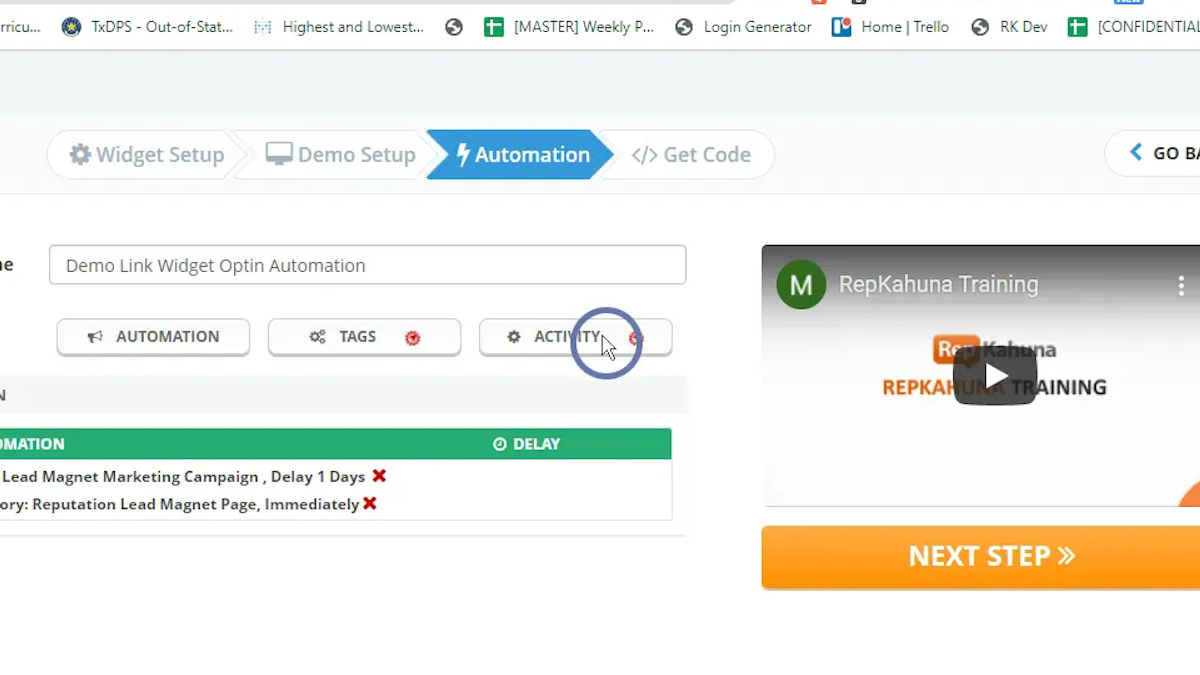
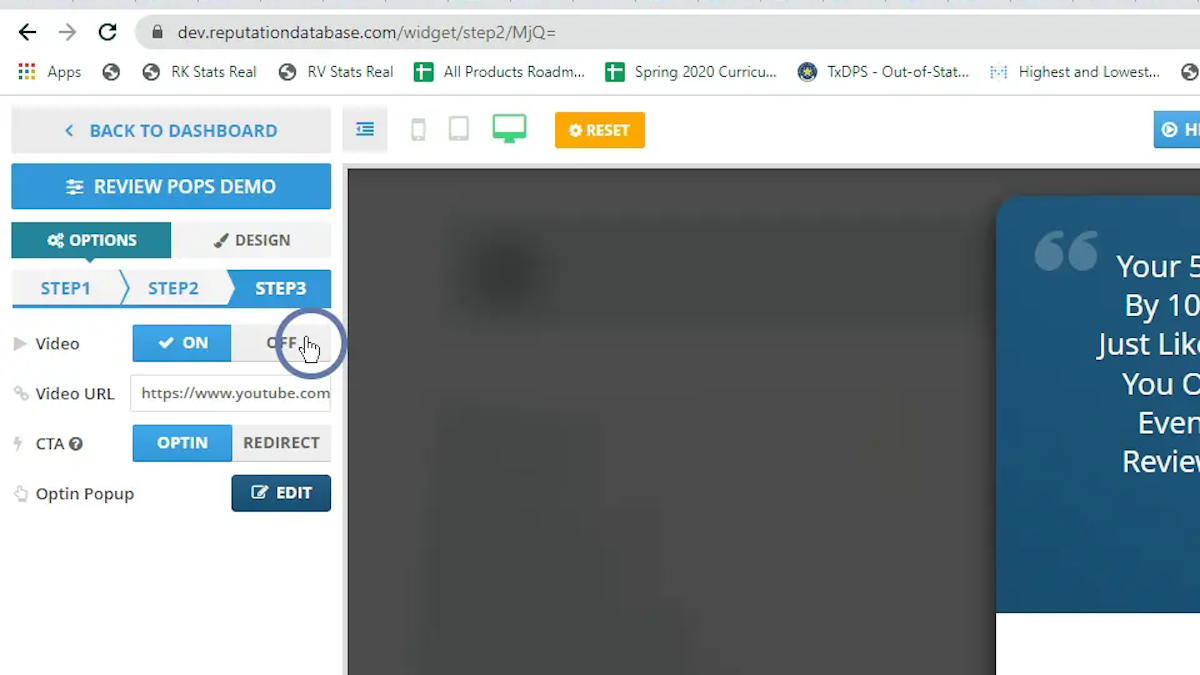
Step 3 - Set up Automation
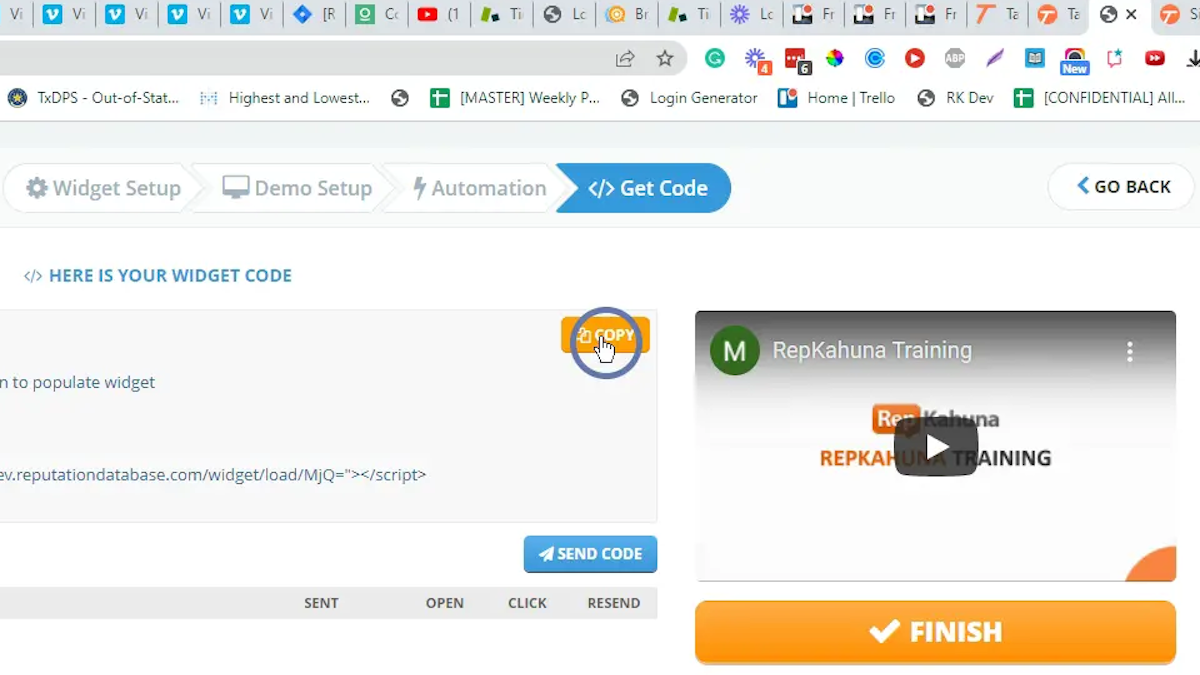
Step 4 - Copy code to place on the website

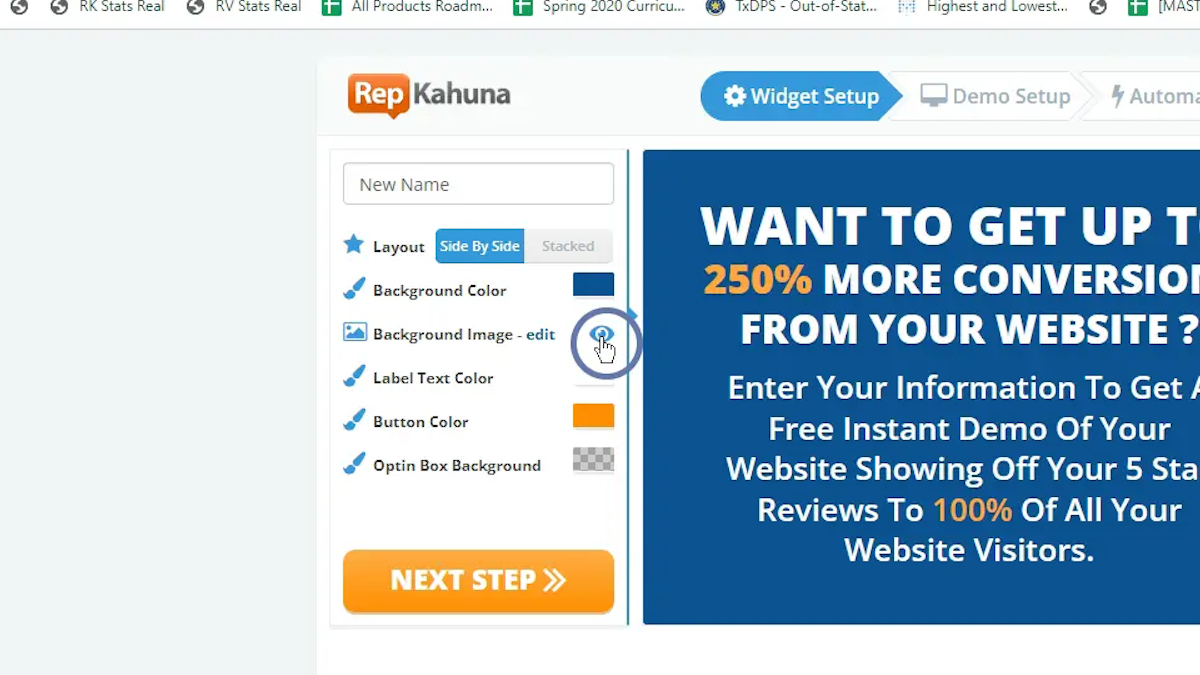
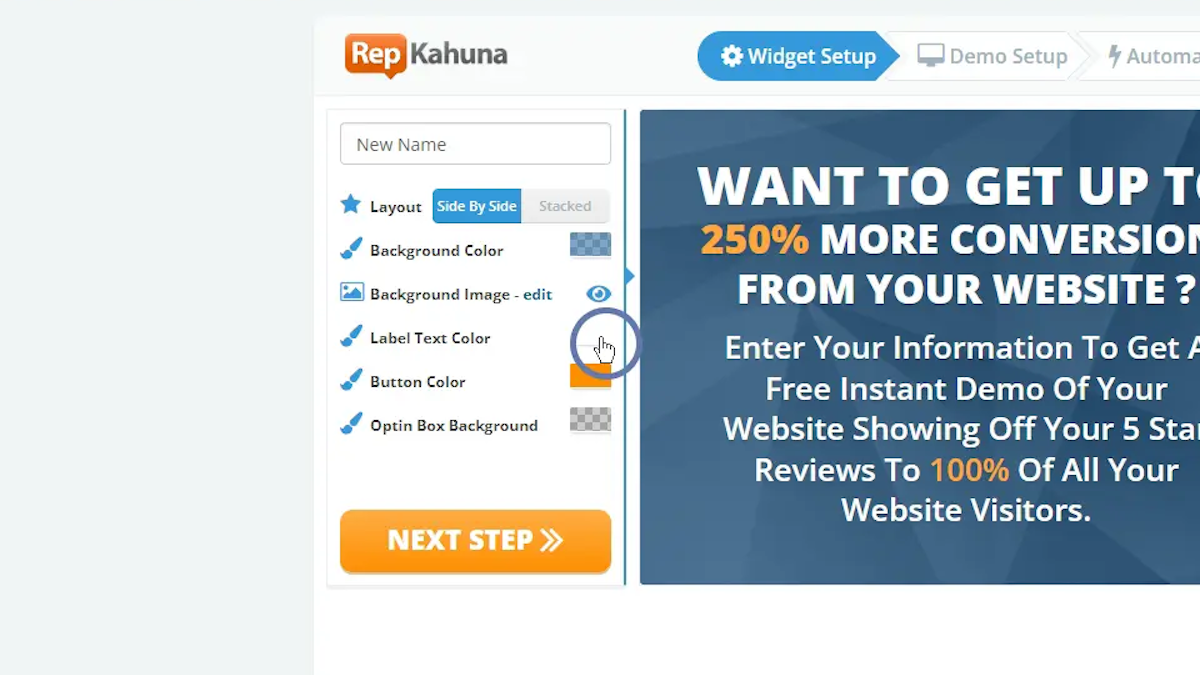
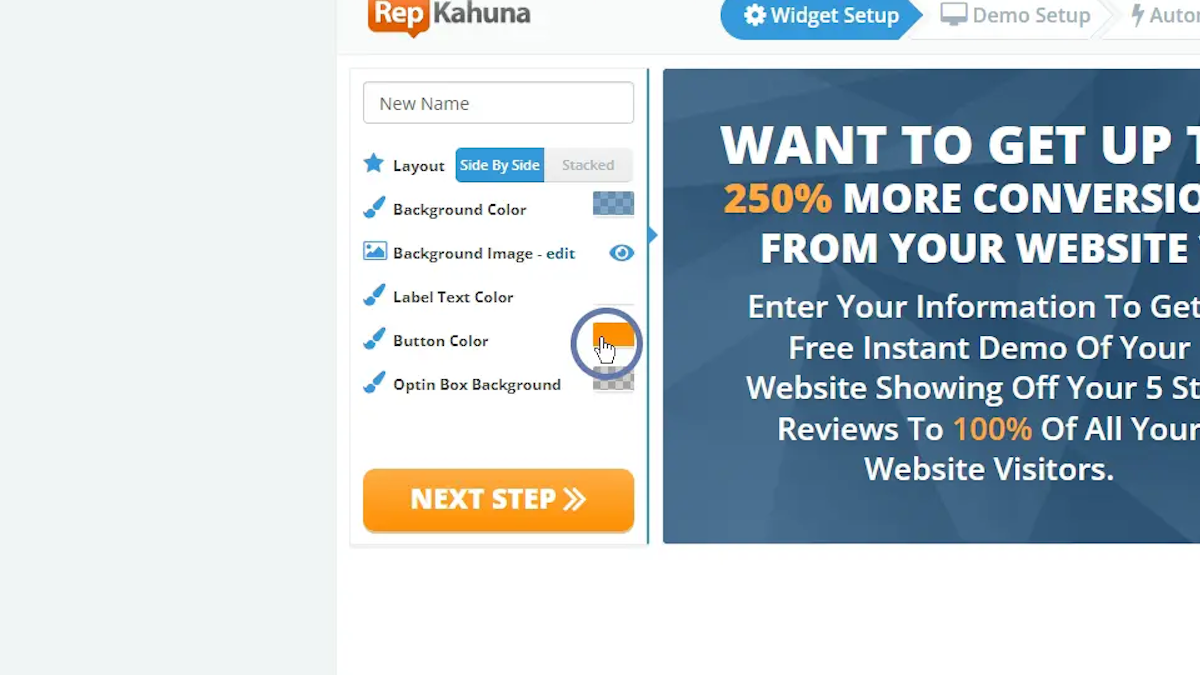
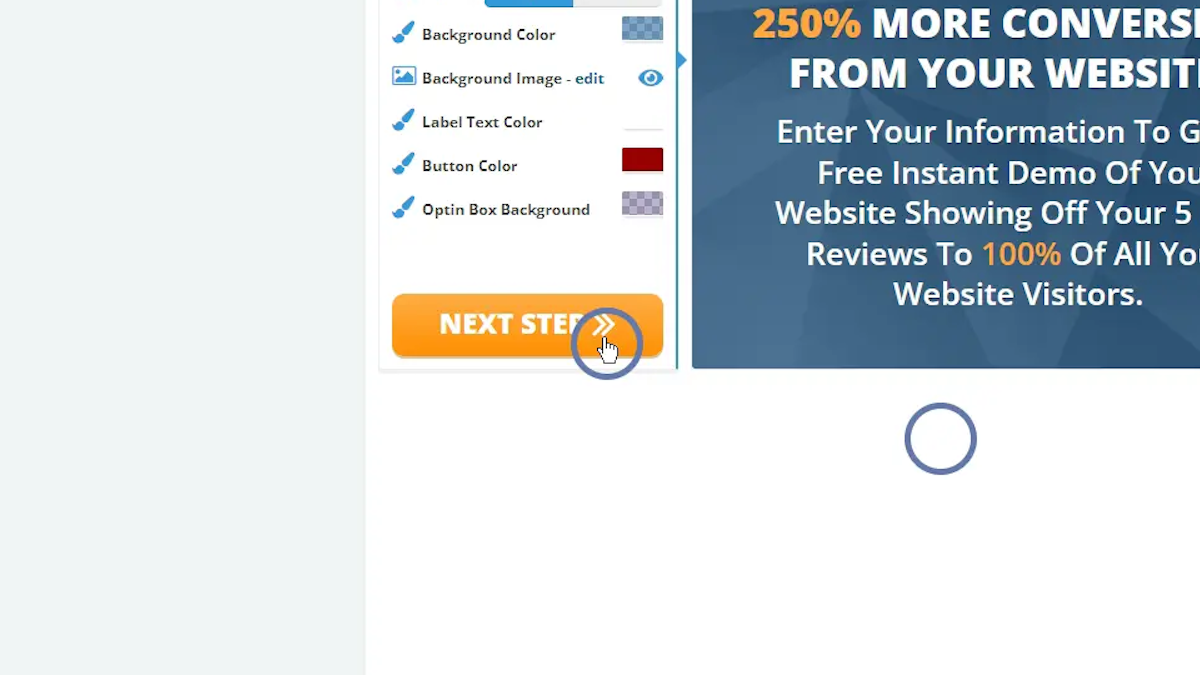
You will find the editor with the following options for editing:
 | Layout Selector |
 | Background Color Selector |
 | Background Image Selector |
 | Label Color Selector |
 | Button Color Selector |
 | Optin Box Background Color selector |
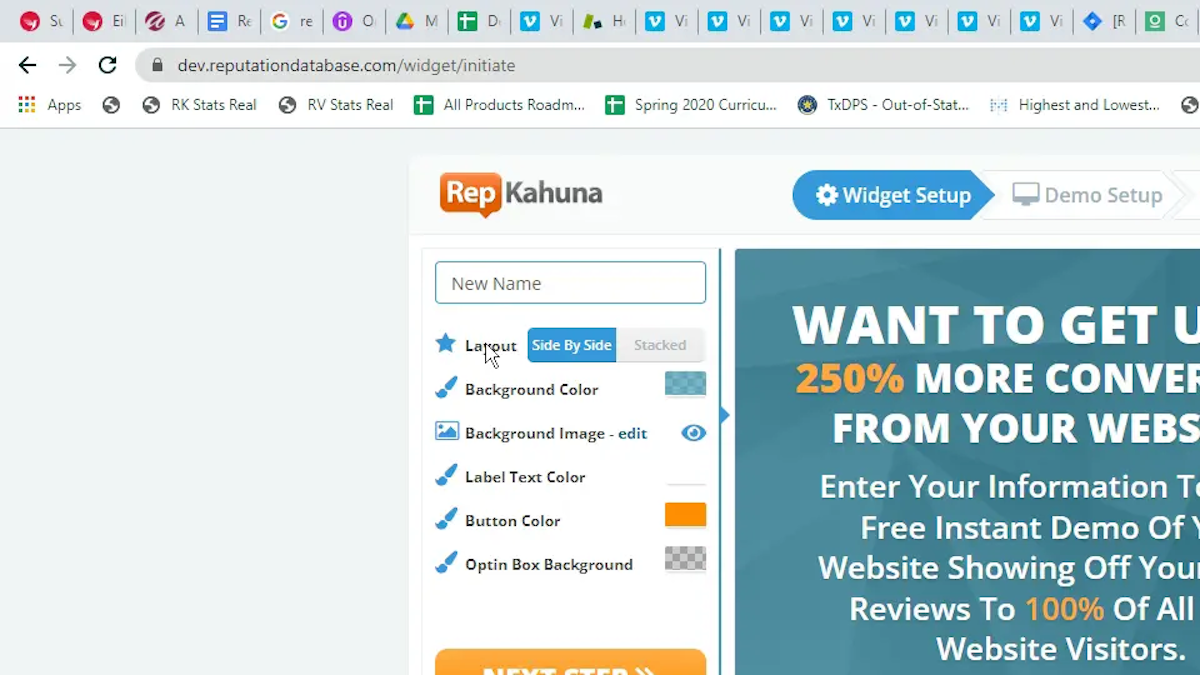
Side-by-side | Stacked |

The color will be found on the labels of the form:


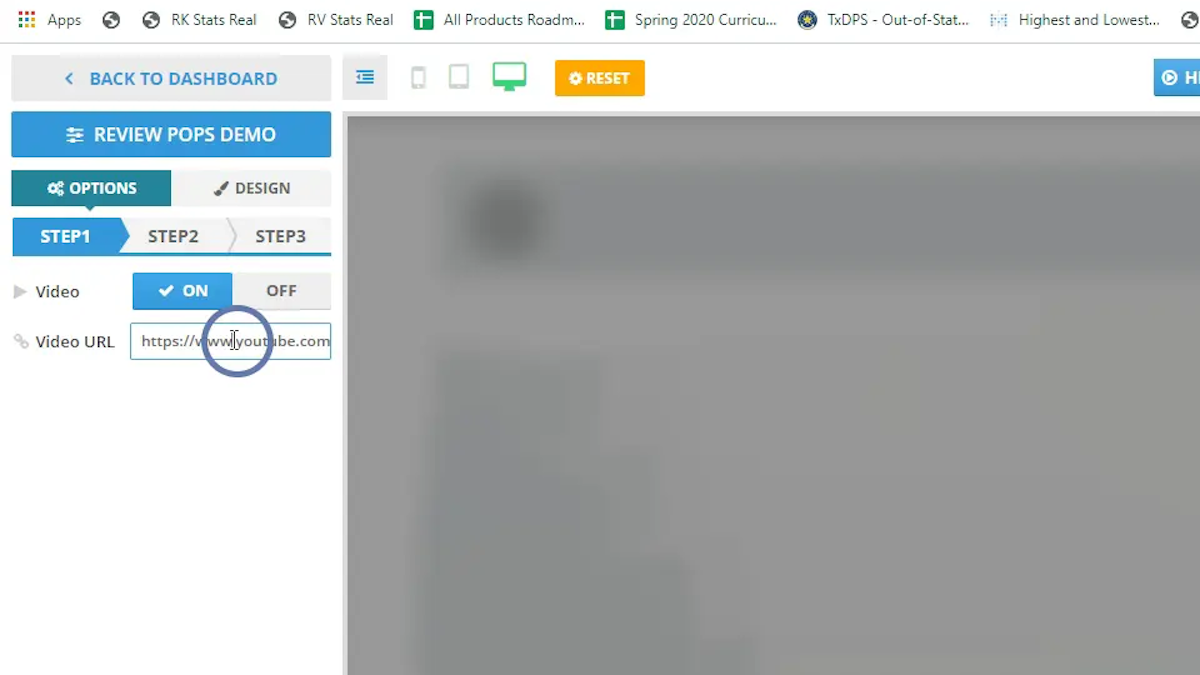
Note: The video link must be a Youtube link. Upload your video to Youtube, make sure it's set up to "Unlisted" and then enter the link to the existing video here:
This is what it will look like:
The video is on | With video off |
 |  |

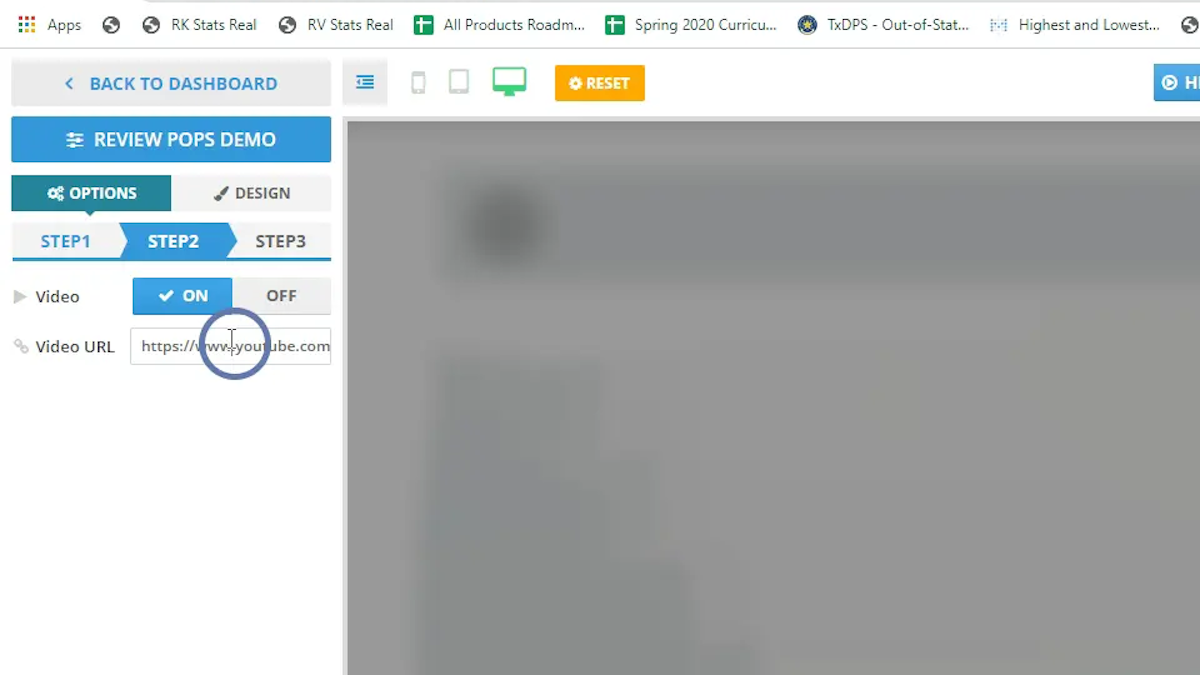
Note: The video link must be a Youtube link. Upload your video to Youtube, make sure it's set up to "Unlisted" and then enter the link to the existing video
This is what it will look like:
The video is on | With video off |
 |  |
Note: The video link must be a Youtube link. Upload your video to Youtube, make sure it's set up to "Unlisted" and then enter the link to the existing video
This is what it will look like:
The video is on | With video off |
 |  |
You can either have the CTA go straight to the pop-up with the Optin form and the "Thank you page" (default setting) or redirect the button to any other landing page or a website
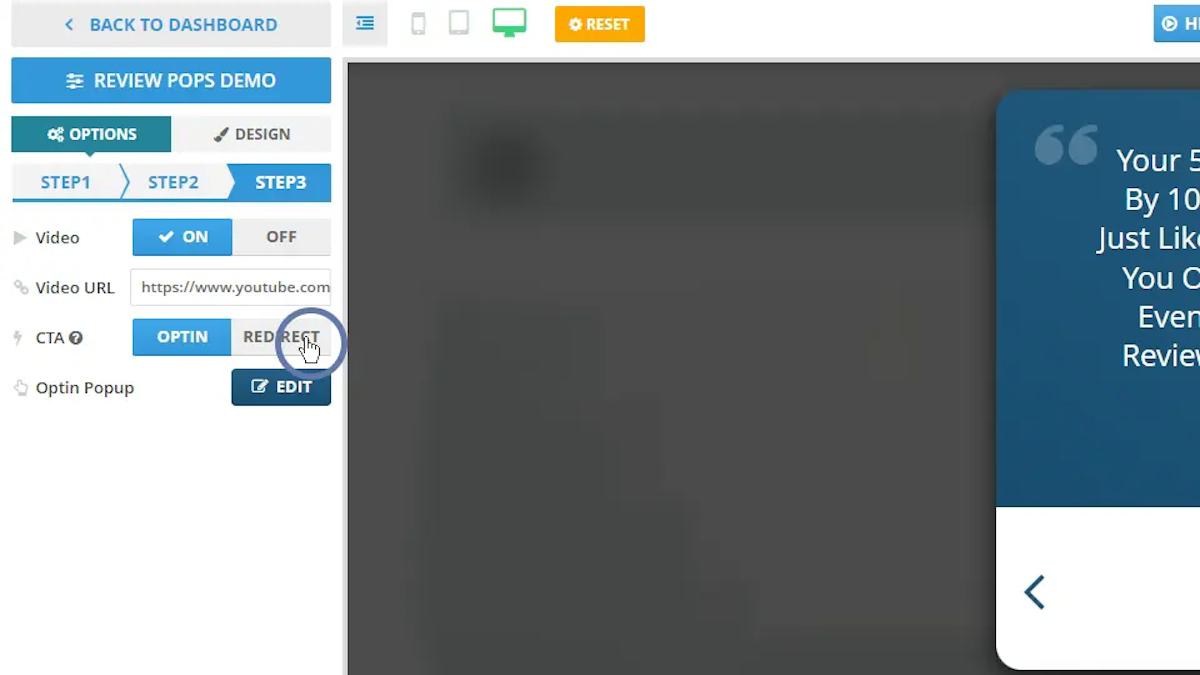


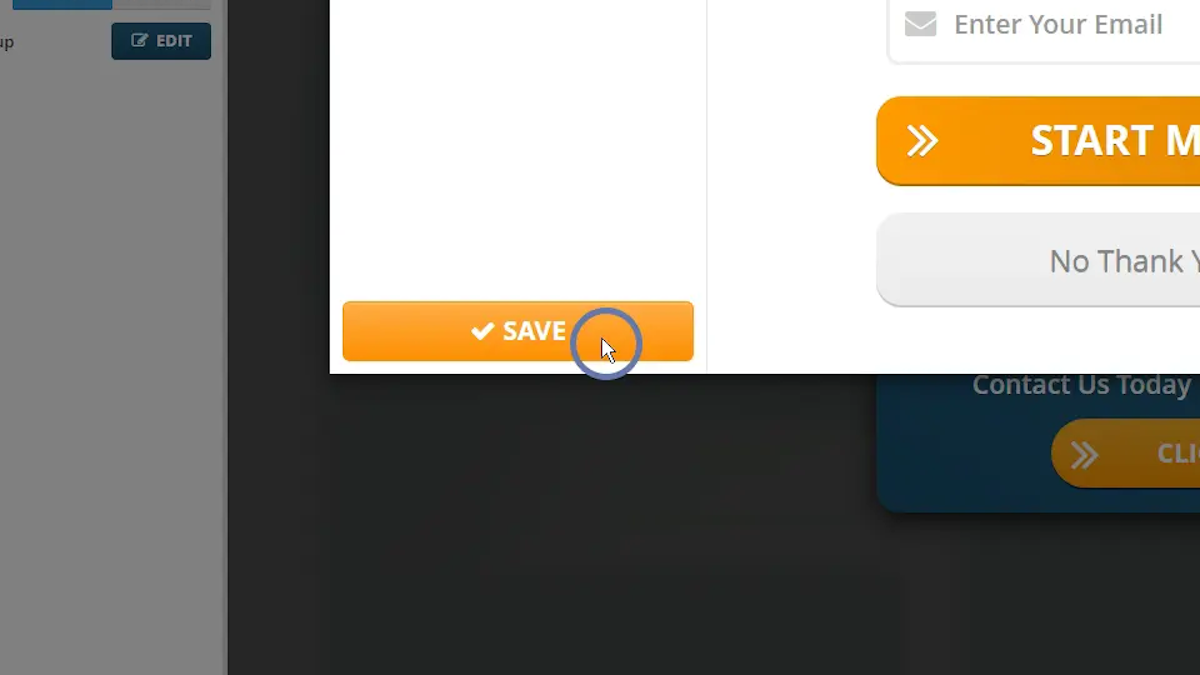
Once you click "Edit" the Optin, you will be able to update the following fields:
 | Hide/Show the Headline |  |
 | Hide/Show the Subheadline |  |
 | Select the next step |  |
 | Enable/Disable the 2nd Button |  |
 | Setup the redirect for either button |
 | Change the color of the button #1 |
 | Change the color of the button #2 |

 | Change the color of the Demo Widget Text |  |
 | Change the color of the Stand Out text |  |
 | Update the Step Circle Color |  |
 | Change the font color of the Step # |  |
 | Update the color of the arrows |  |
 | Update the color of the button |  |
 | Update the Button text color |  |
 | Change the Button Style |  |
 | Update the Box Background Color |  |
 | Change the Box Style |  |
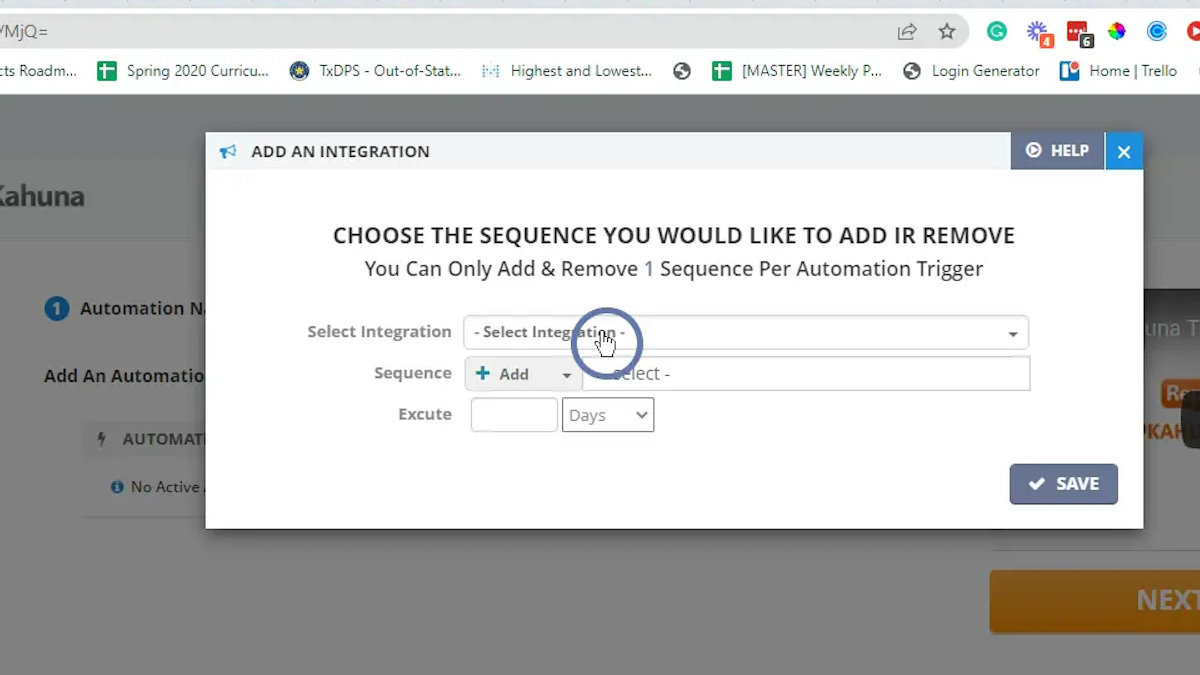
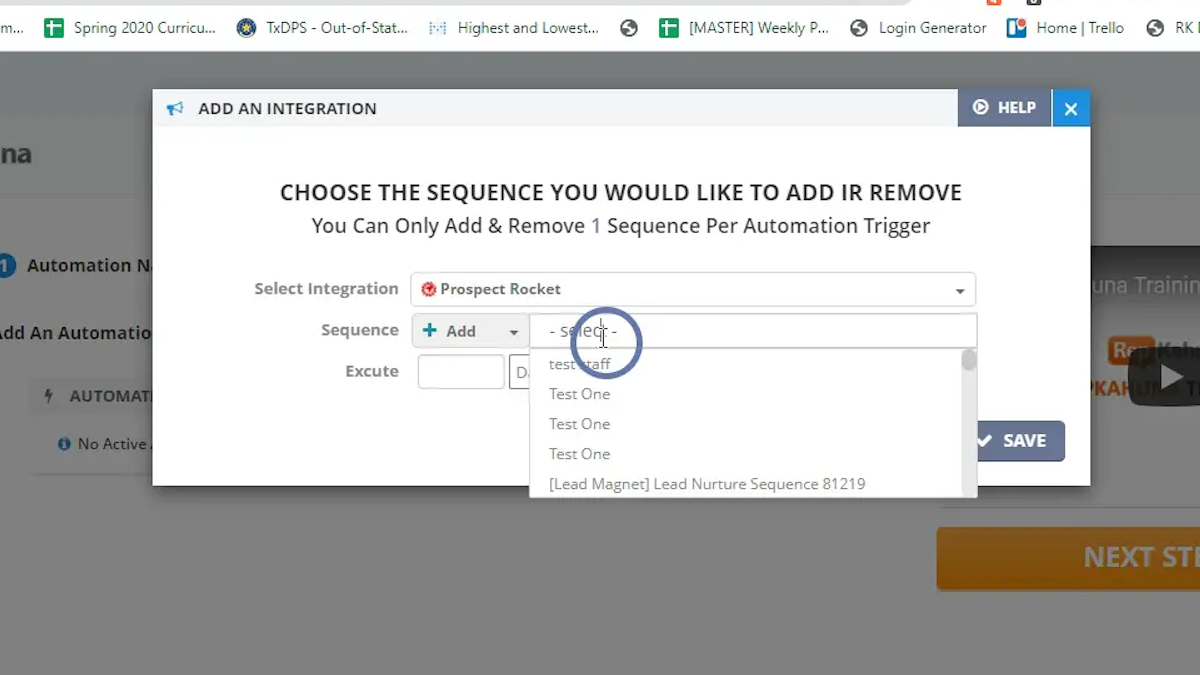
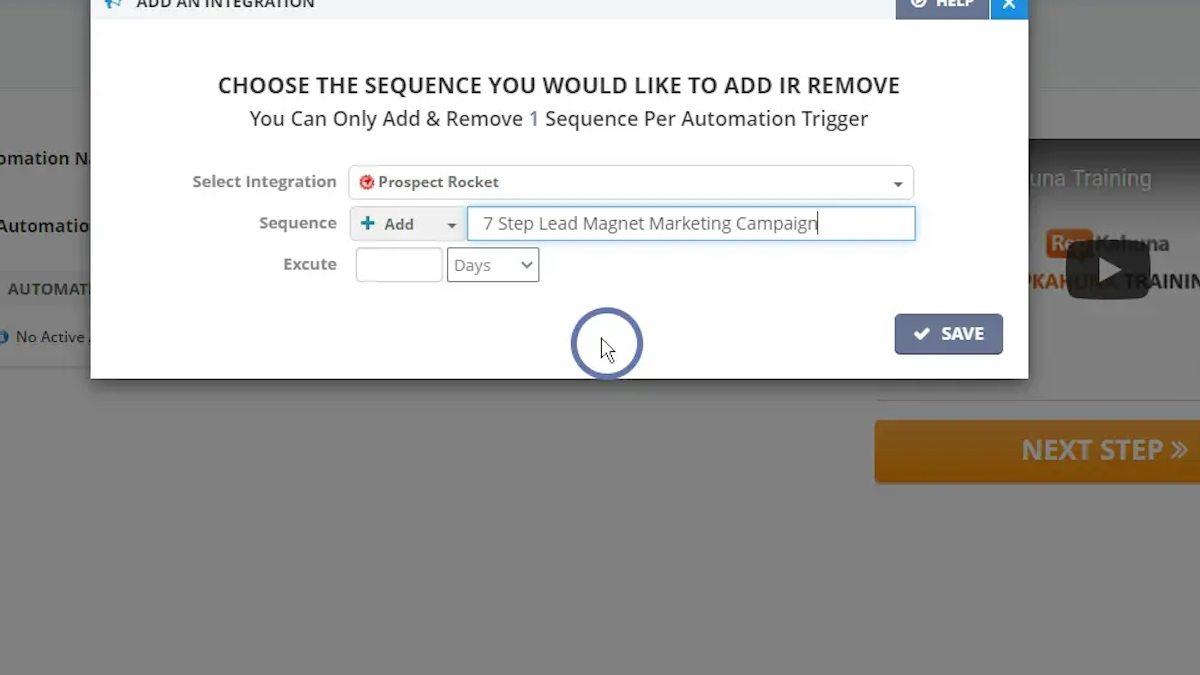
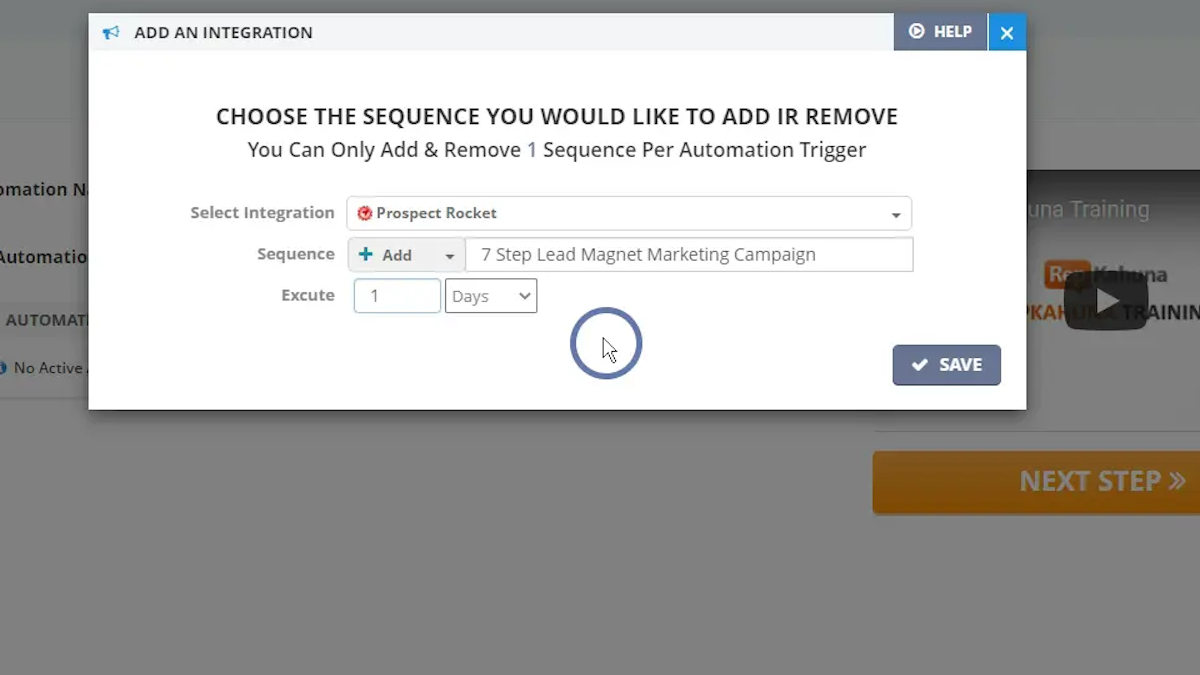
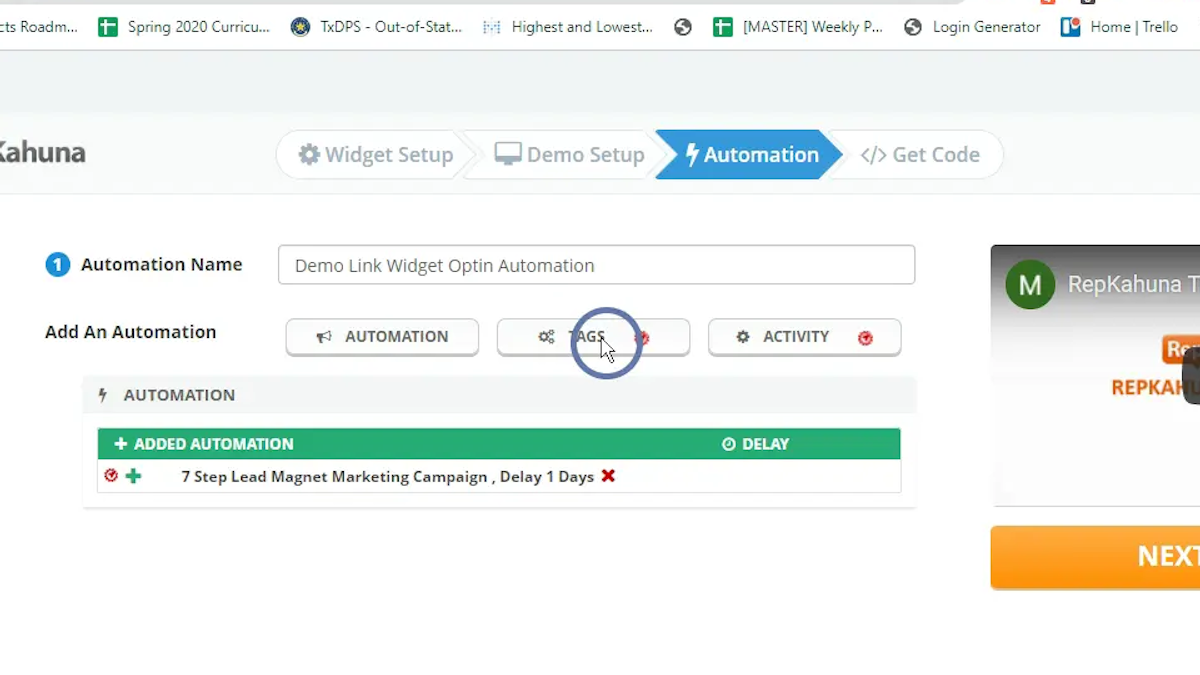
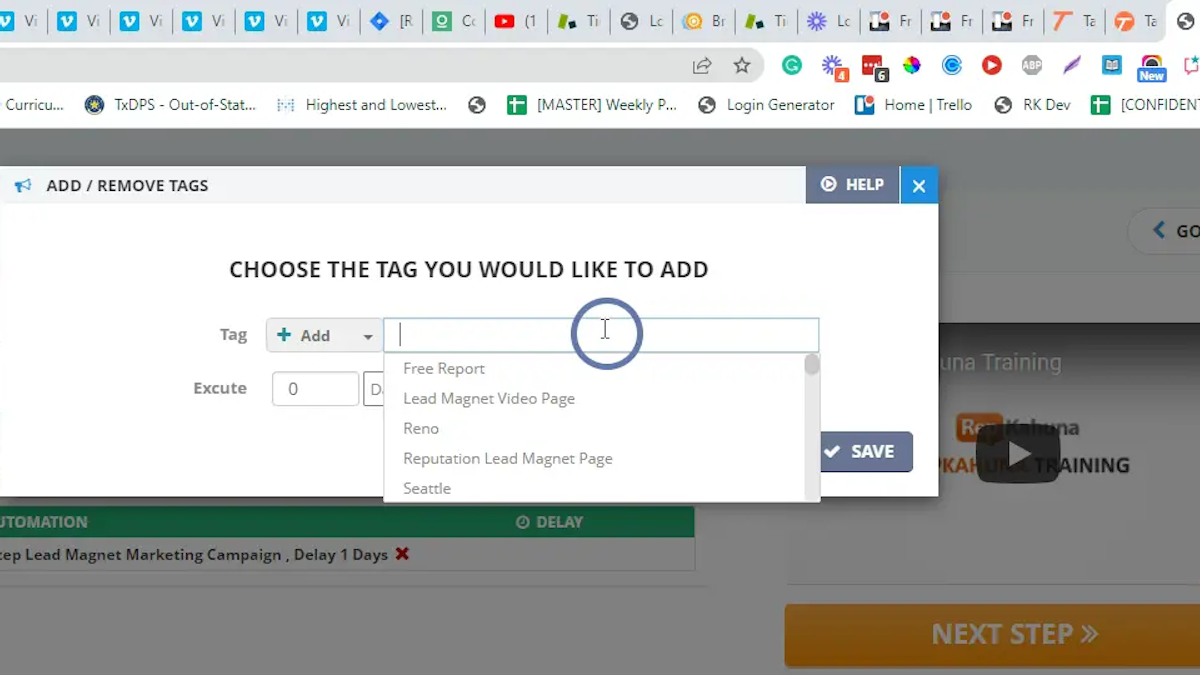
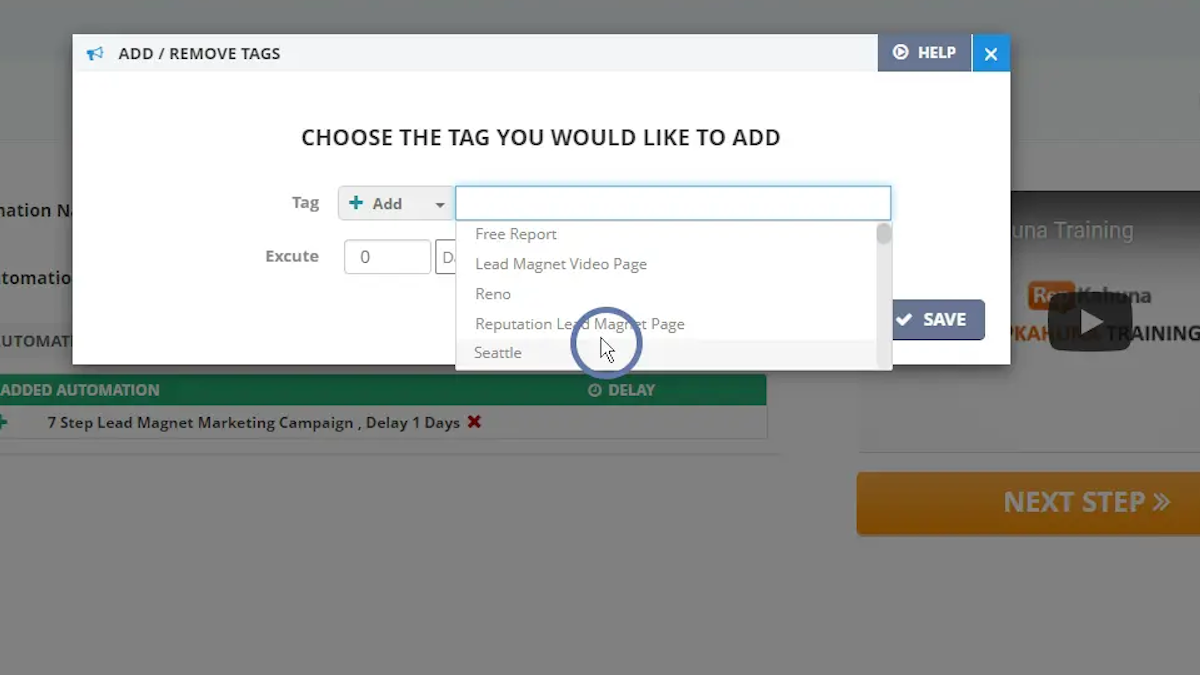
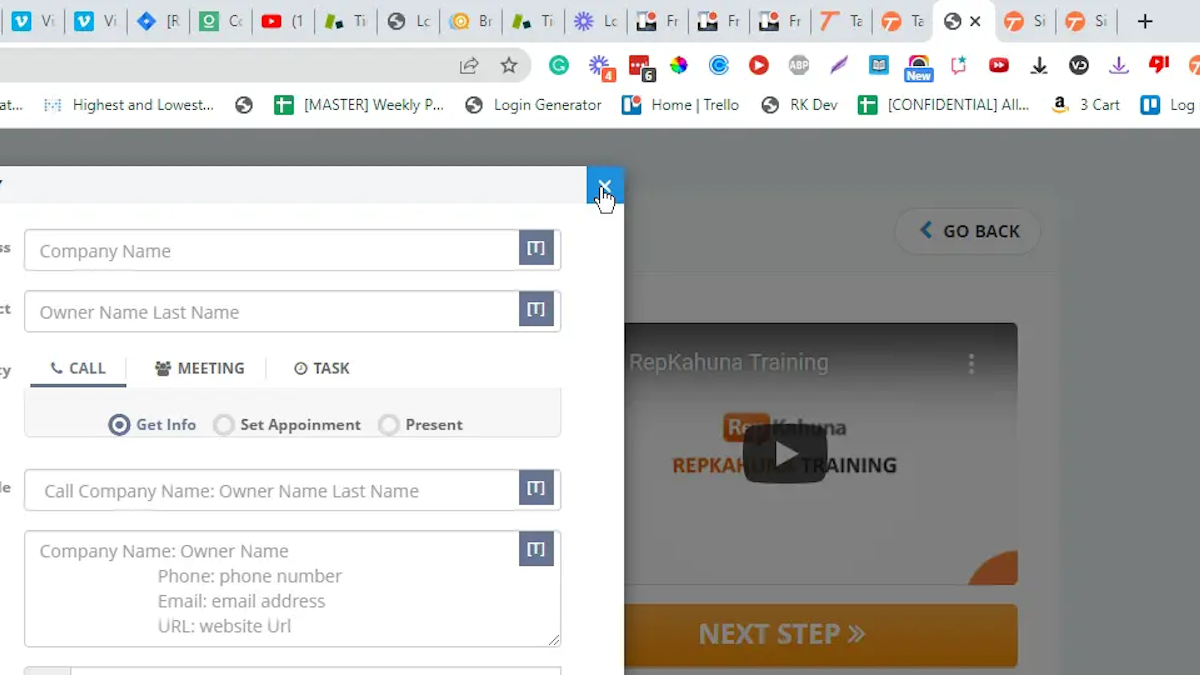
In this step, you will be able to add the custom integrations to send the leads to the 3rd party autoresponders