In this article, we will focus on the Analytics and the Demo Widget Dashboard Overview
Note: Learn more about the importance of having a Demo Widget here
Once the demo widget is created and leads are opting in, the dashboard will display various points of data as well as allow you to make adjustments to your Demo Widget if necessary.
Watch this video walkthrough of the Demo Widget Dashboard:
The Demo Widget Dashboard will display the following sections:

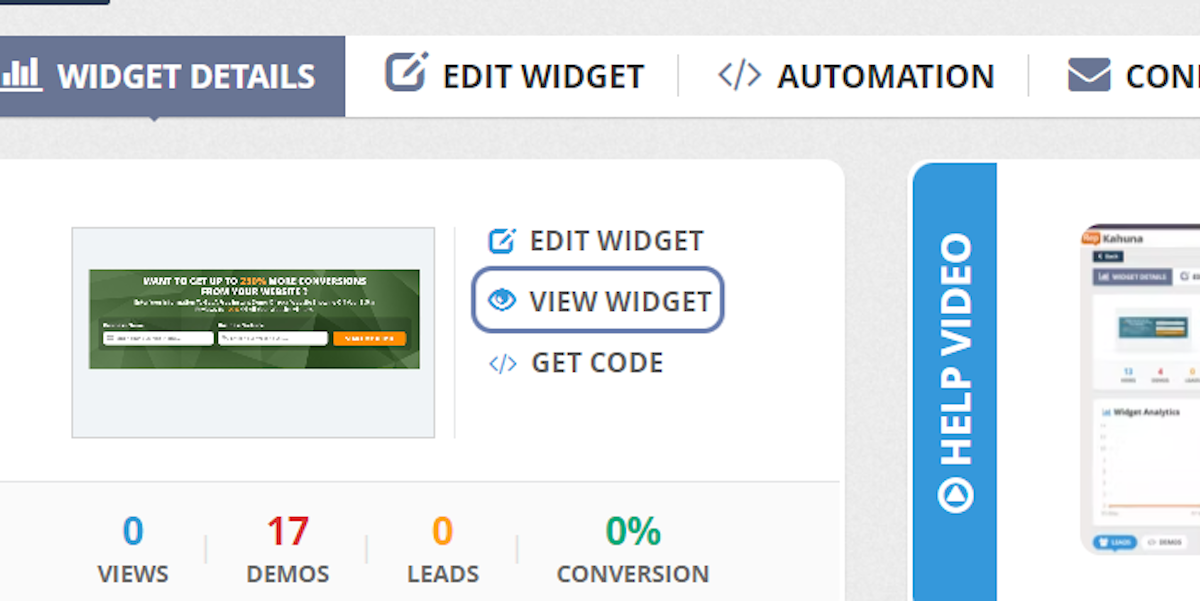
You will be able to click "Edit Widget" to navigate to the Demo Widget Editor and make adjustments to your Demo Widget Funnel.
Note: Learn more about How to Edit the Demo Widget
You will also be able to View the Widget by clicking the "View Widget" button to open the preview in a new tab.

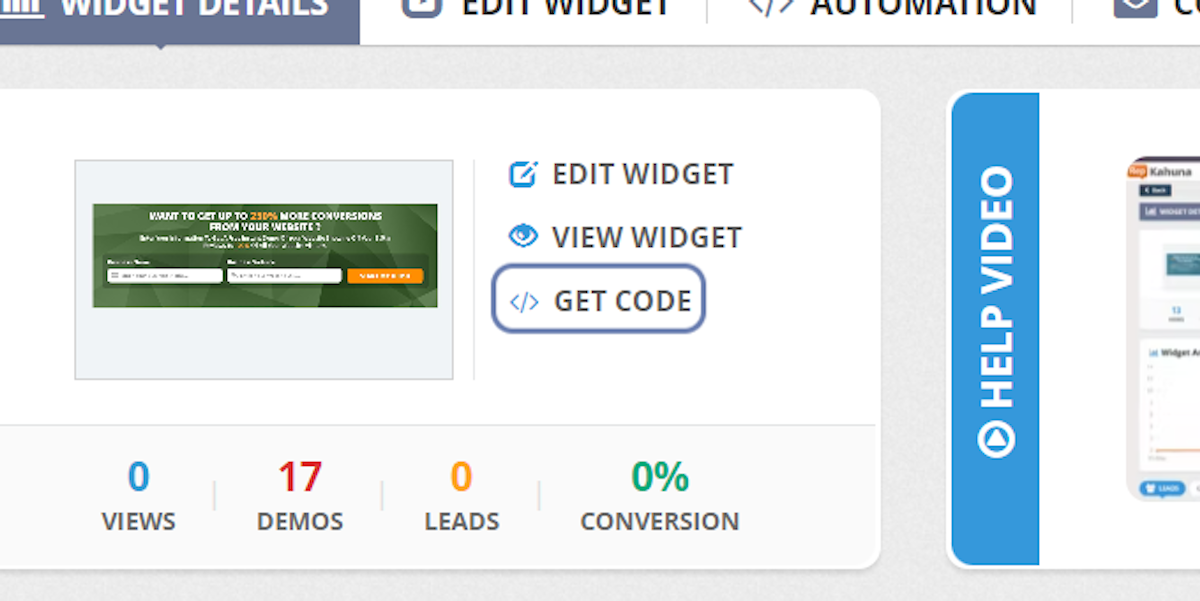
Besides that, you will be able to grab the code for the widget to install it on the landing page of your choice for lead generation purposes.

Note: Embed means to integrate external content into another website or page. You embed something when you place a block of code — called an embed code — into the HTML editor of another website. When you hit ‘Save’ or ‘Publish,’ the media then renders on the published page. You can install the "Embed" code to either a WordPress site, a Funnel Pages site or any landing page that would have the capability for the "embed" widget code installation. Simply copy the code and add it to your pages where you will be collecting leads:

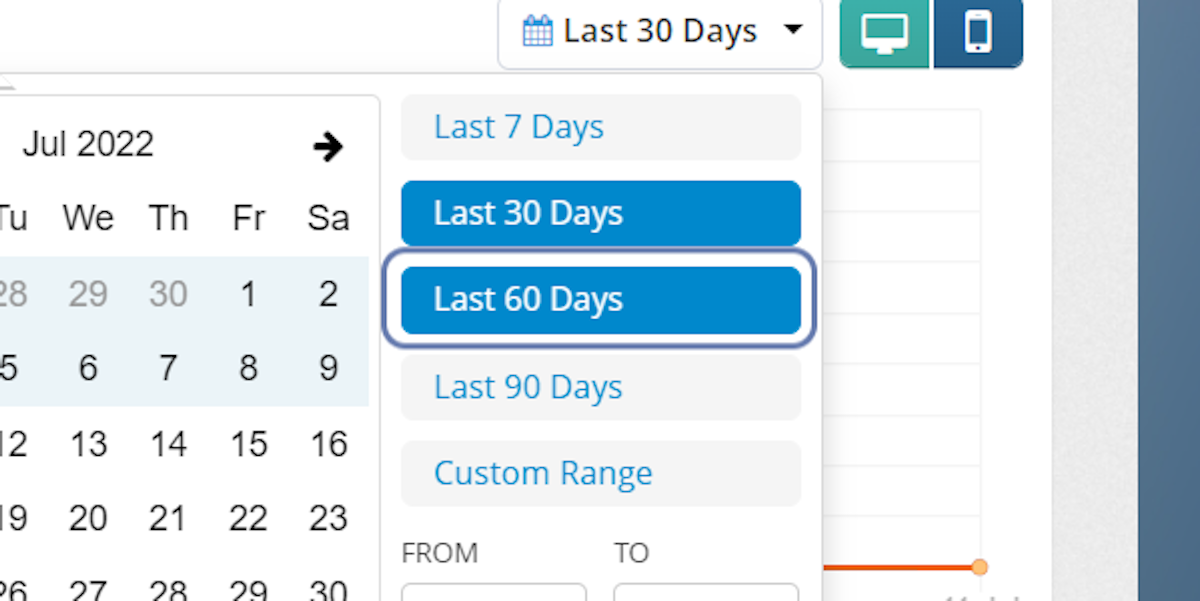
There are the data points that you will be able to review on the analytics tab:


You will also be able to toggle between the data for desktop and mobile devices

You will also be able to see the lead's information when the lead opts in for the demo under the Leads section underneath the analytics graph:

Related articles:
How to Create or Edit the widget