Video Demo
How To Create A Video Article
If you want to create a new AdViddy video, the Create Video Wizard will help you create one. This wizard will guide you through all 3 steps in creating a video. All templates are already provided. You just need to select which best fits for the business that you are working with. Be creative and add more of your own media items to make your video more personalized and be the best video out there.

Create Video Wizard Step 1: Video Setup
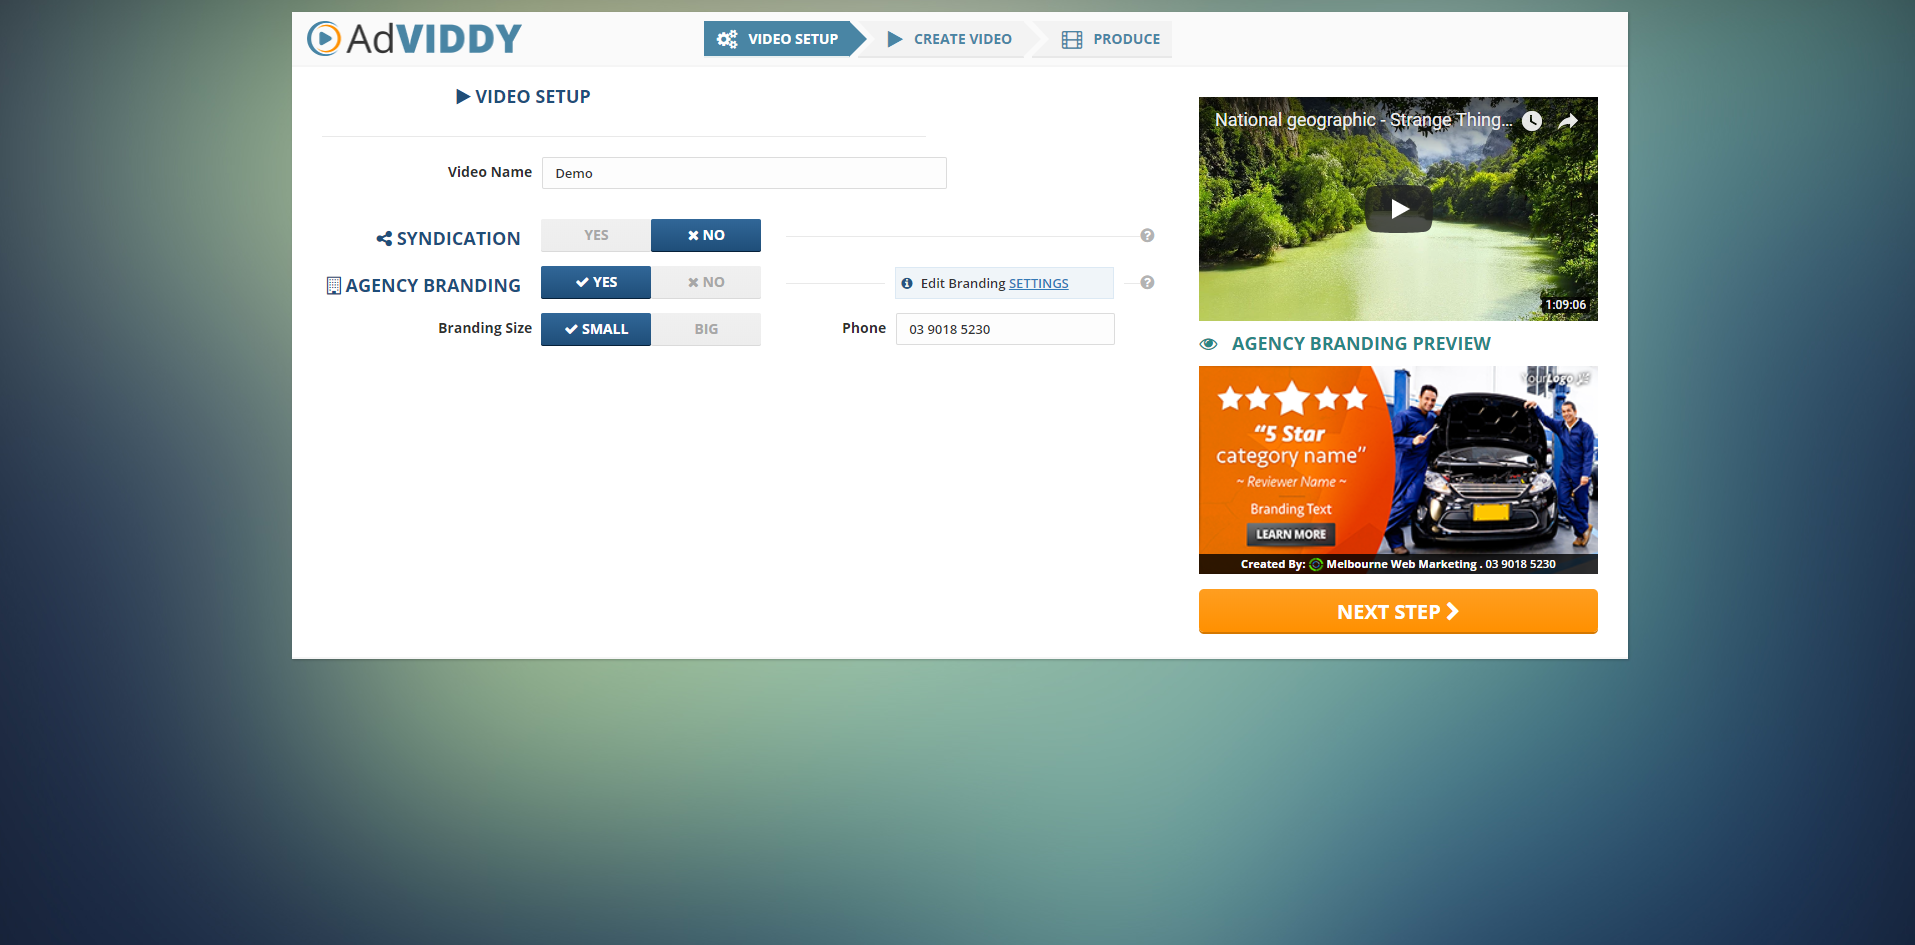
The Video Setup is the first step of your wizard. In this step, just type the name of your video and select whether you want to include your Agency Branding in the video or not. Toggle the Agency Branding to ‘Yes’ if you want to include your branding, otherwise toggle it to ‘No’. Now, once you are done in this step, click ‘Next Step’ to proceed to Step 2.
🛈 Click the ‘Settings’ link if you want to edit your Agency Branding.
Create Video Wizard Step 2: Video Editor
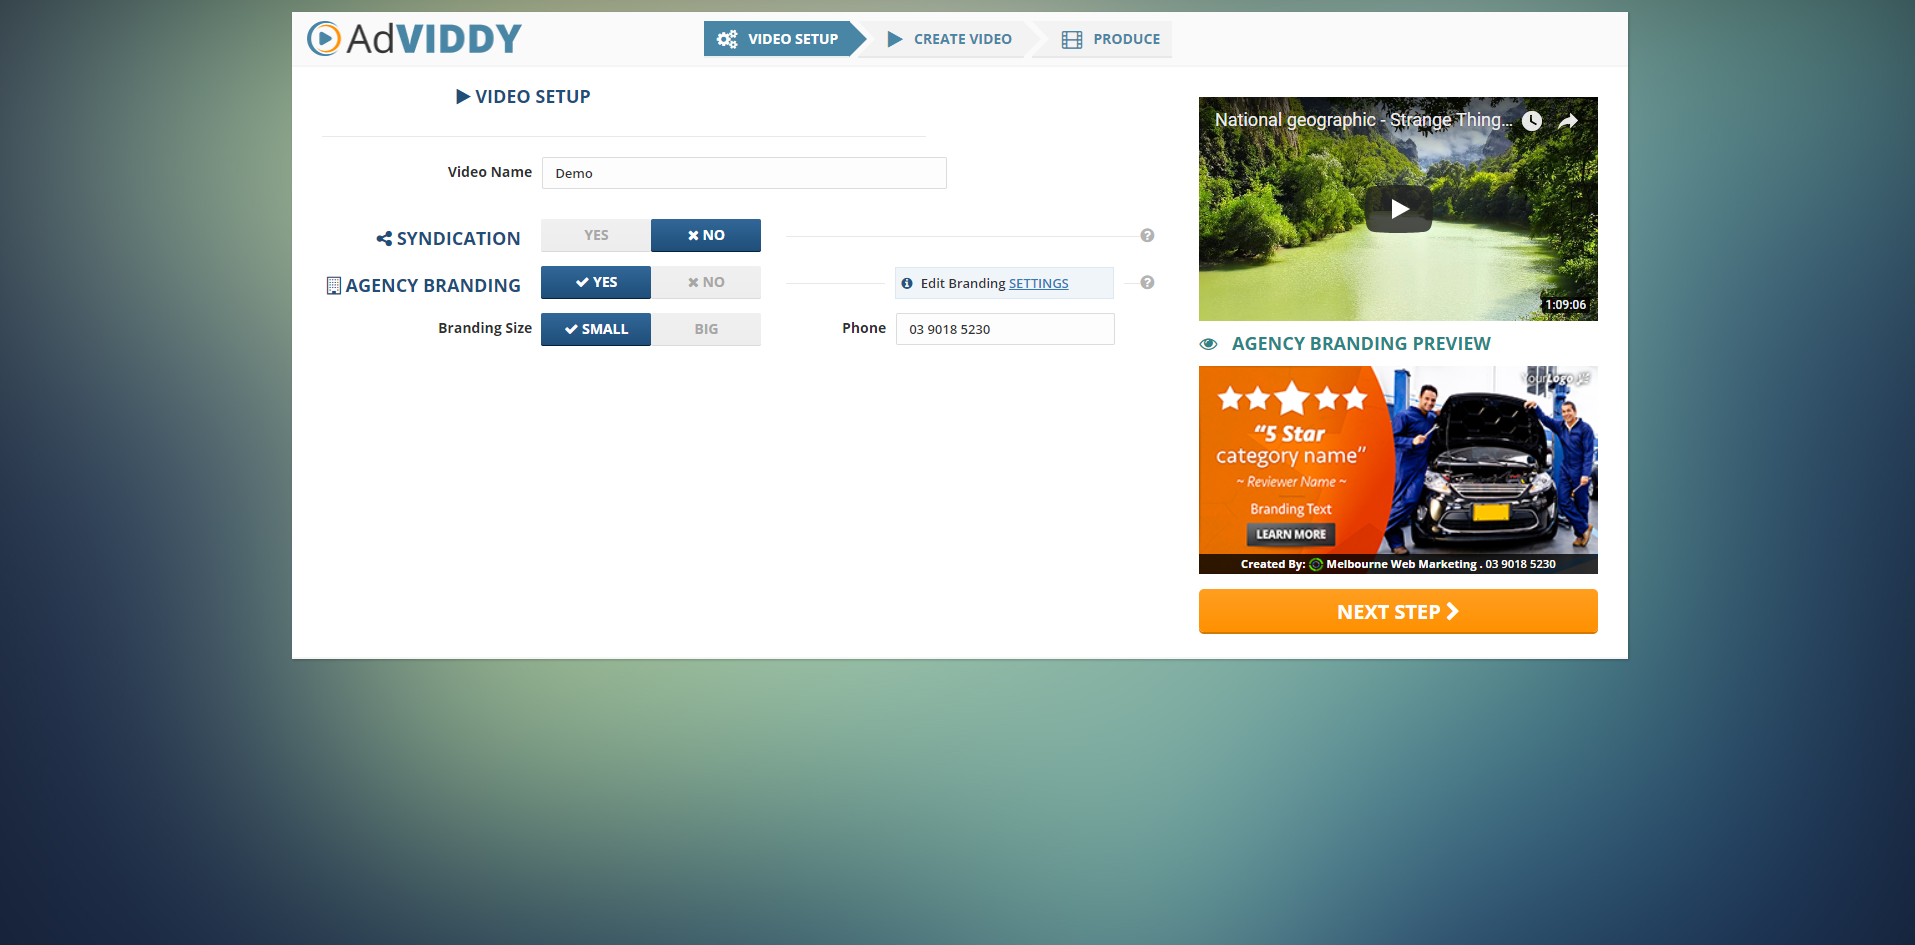
The Video Editor is your workbench in creating your video. It provides you all the necessary elements that you can use in order to produce a professionally made video ad. This editor is so intuitive - you just need to select your template, add media items, and arrange each of your layers using just clicks and drag and drops. Aside from the different element controls that you can use, you have the ability to preview your video instantly and watch it in the wizard’s preview window.
Click here to learn more about the Video Editor.
Once you are done in editing your video, click ‘Next Step’ to finalize it.
Create Video Wizard Step 3: Producing Video
Once you are in this last step, you will notice that a ‘Rendering Video Frames’ page is currently displayed on your page. This is because we are already producing your video, compiling all the media items you have added, rendering all your video frames, and uploading these frames to our server. Tons of work is being applied here so please be patient.
🛈 The amount of time in rendering your video frames depends on how fast your computer and internet connection is. Also remember that the longer your video is, the longer it is rendered.
Note:
Please do not close this page while your video is currently rendered.
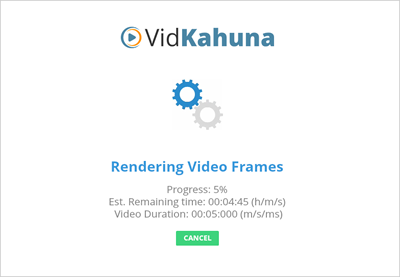
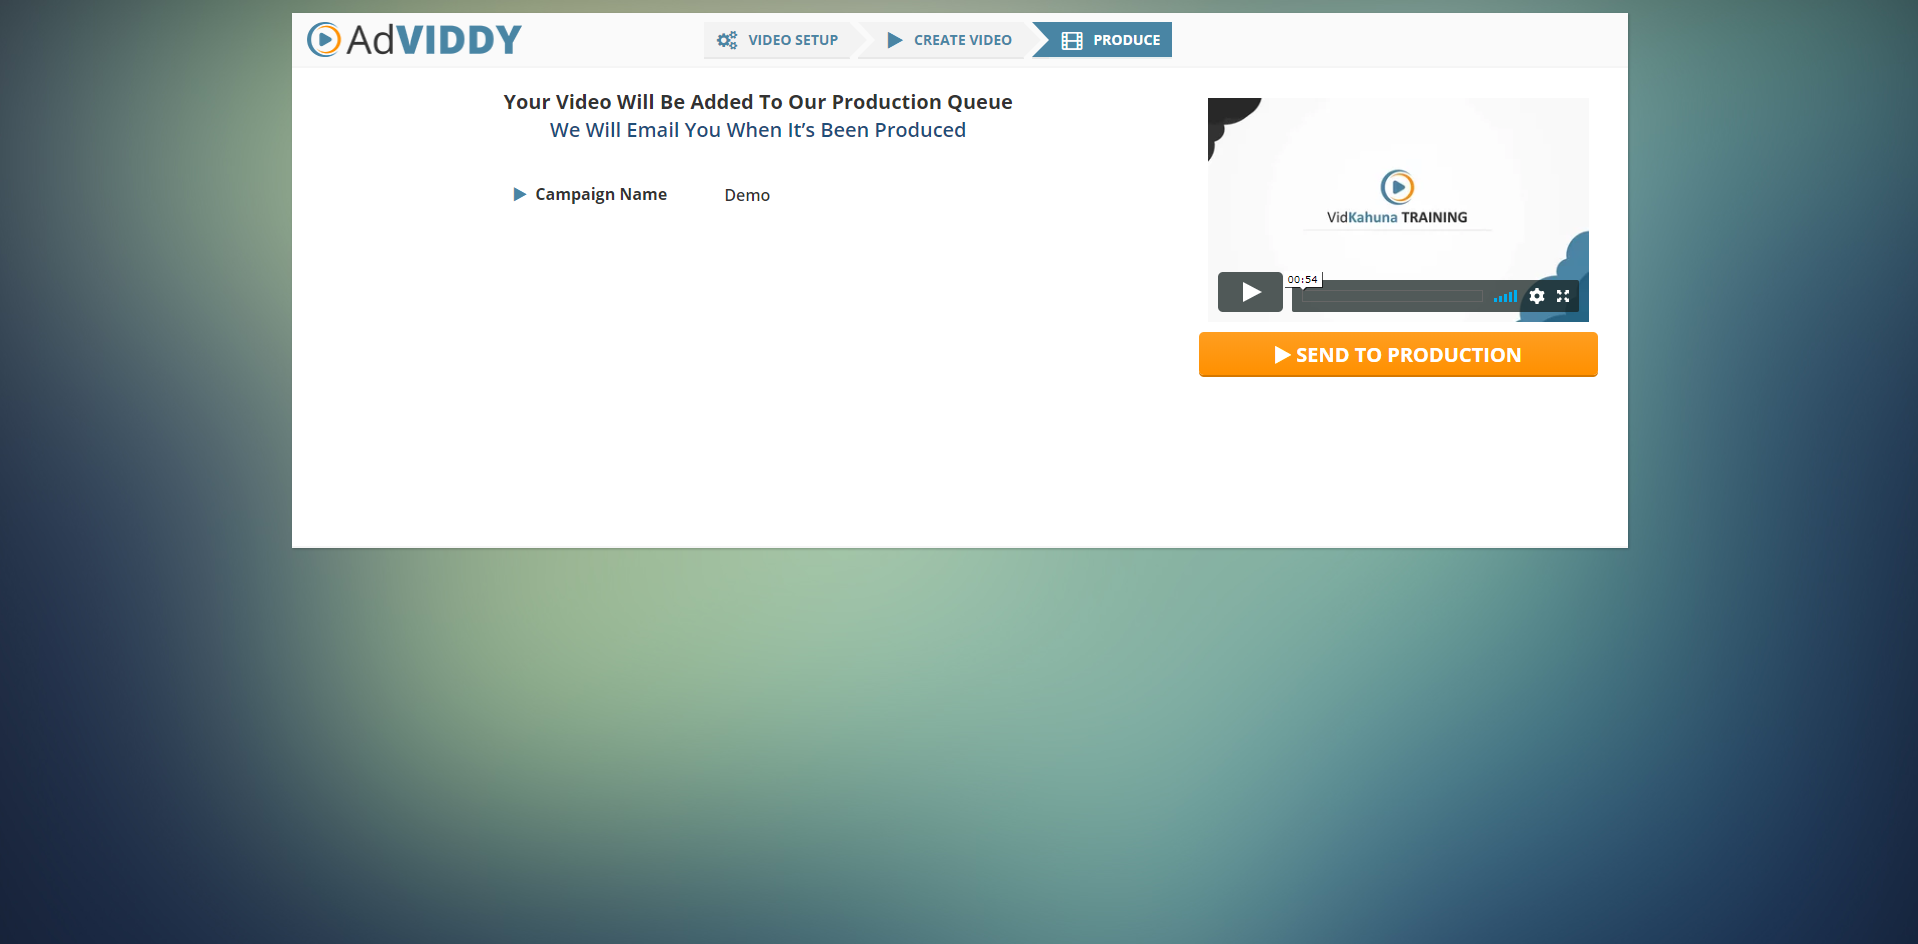
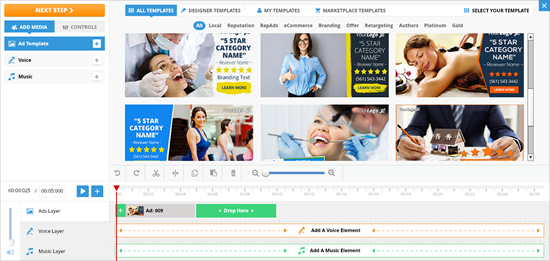
Now once we have rendered and uploaded your video to our server, you may now click the ‘Send To Production’ button in order to add your video to our Production Queue. We will be sending you an email right away when your video is produced.
