On the first step of the Video Setup, you will be able to decide what kind of video you want to create.
The steps below will guide you on setting up the first step on the RepVideo Setup:
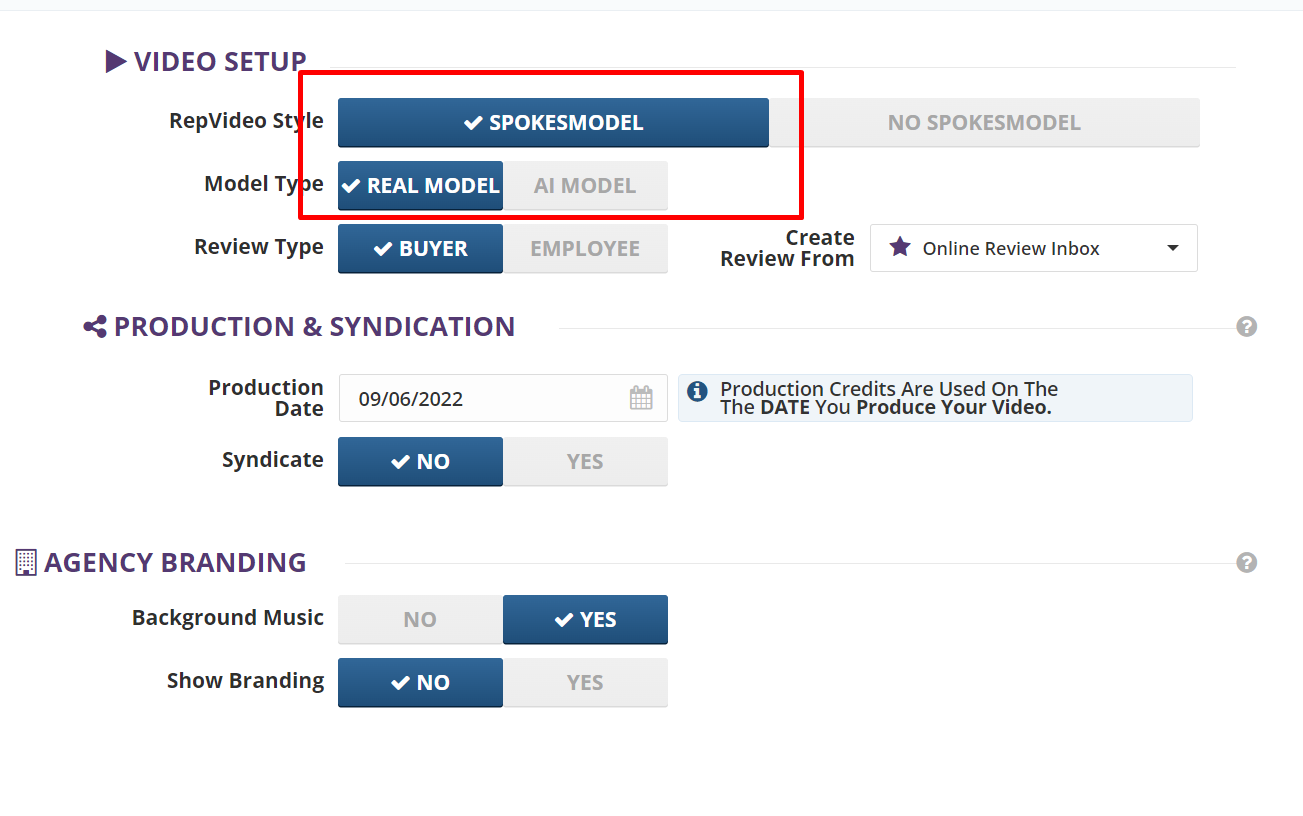
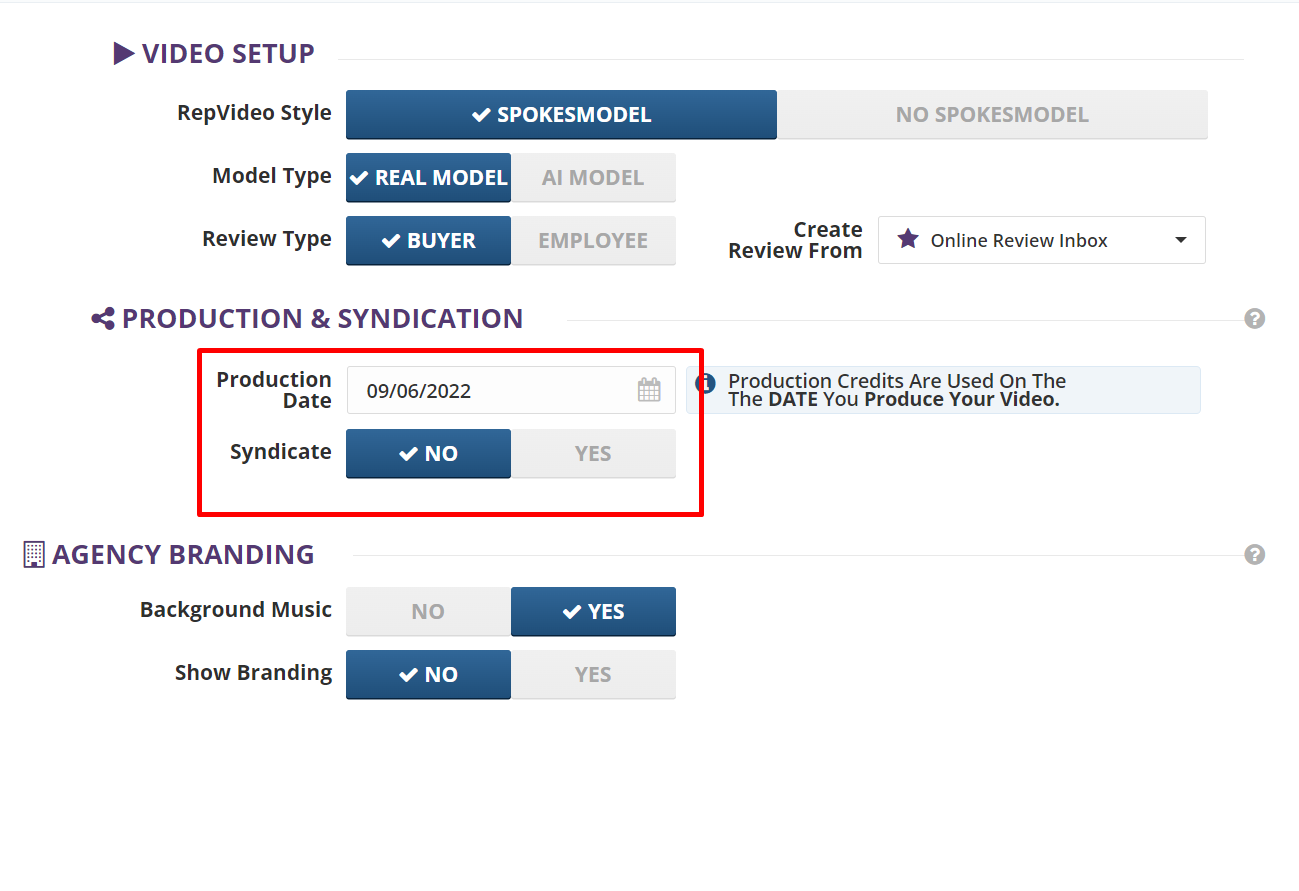
Step 1. Select 60 Second Spokesmodel.
Selecting 30 Second No Spokesmodel style will remove the spokesmodel. Thus, the video’s intro and outro will not be shown. The majority of the settings are the same as how you set up the 60 Second Spokesmodel style. You will be able to work with either a Real Spokesmodel or an AI one.
NOTE: Learn More about creating videos with AI capability
Step 2. Decide if you want to use a Buyer Review or an Employee Review.
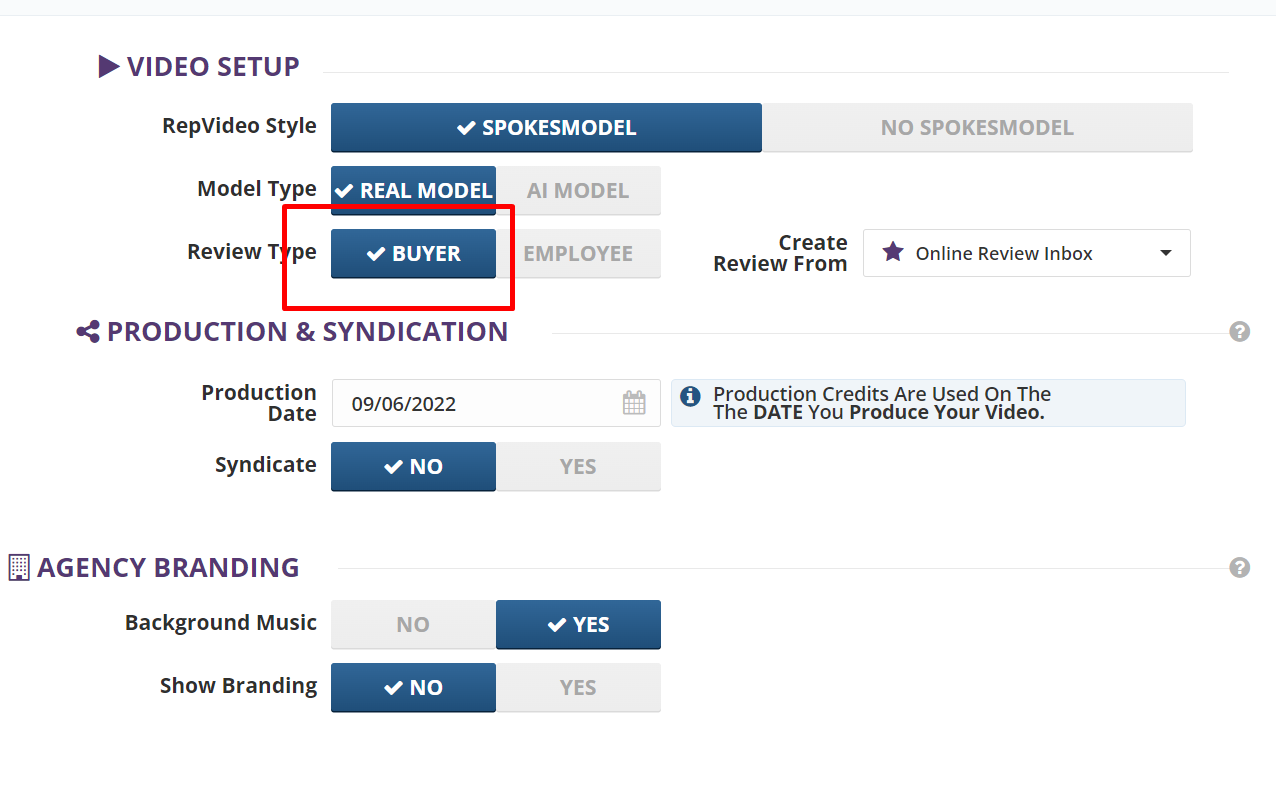
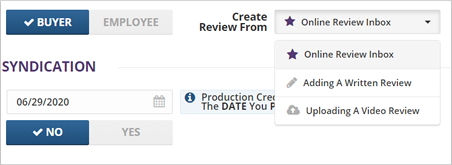
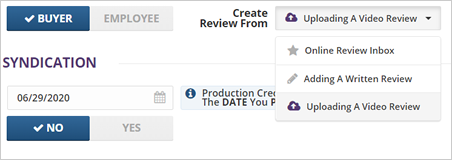
step 3. In case it is a buyer review, you have a some few options:

Step 4. If it is an Employee Review, you a couple of options as well:
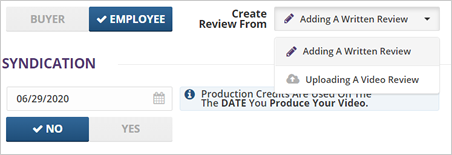

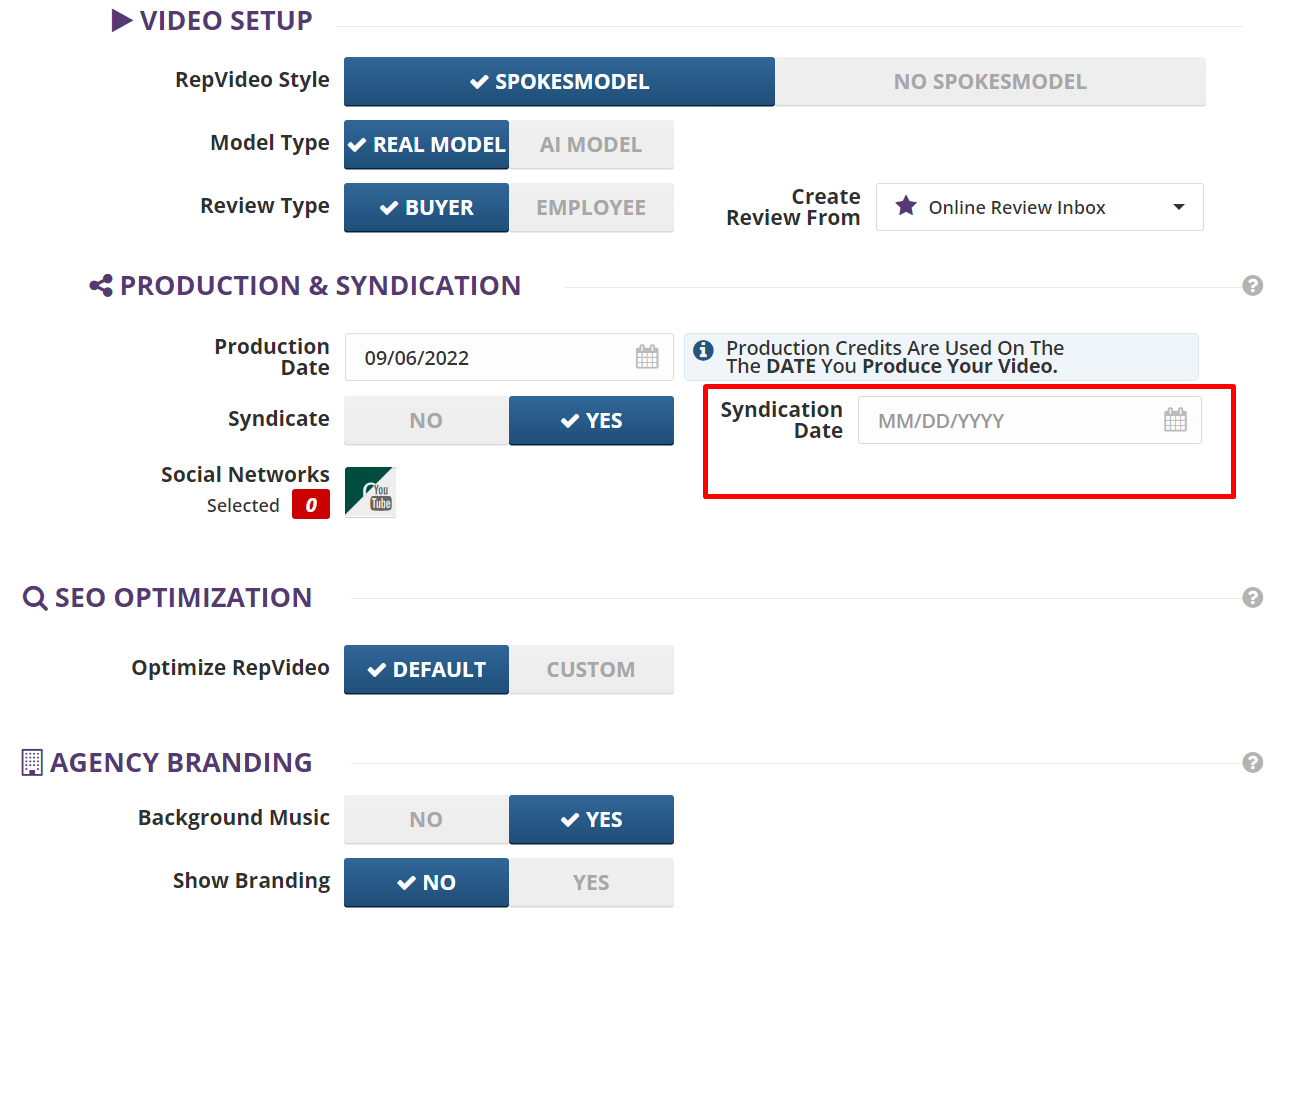
Step 5. Decide on when you want to produce the video.
Step 6. Clicking on this date field redirects you to the calendar where you will be able to select the specific date on when you want to produce that video.
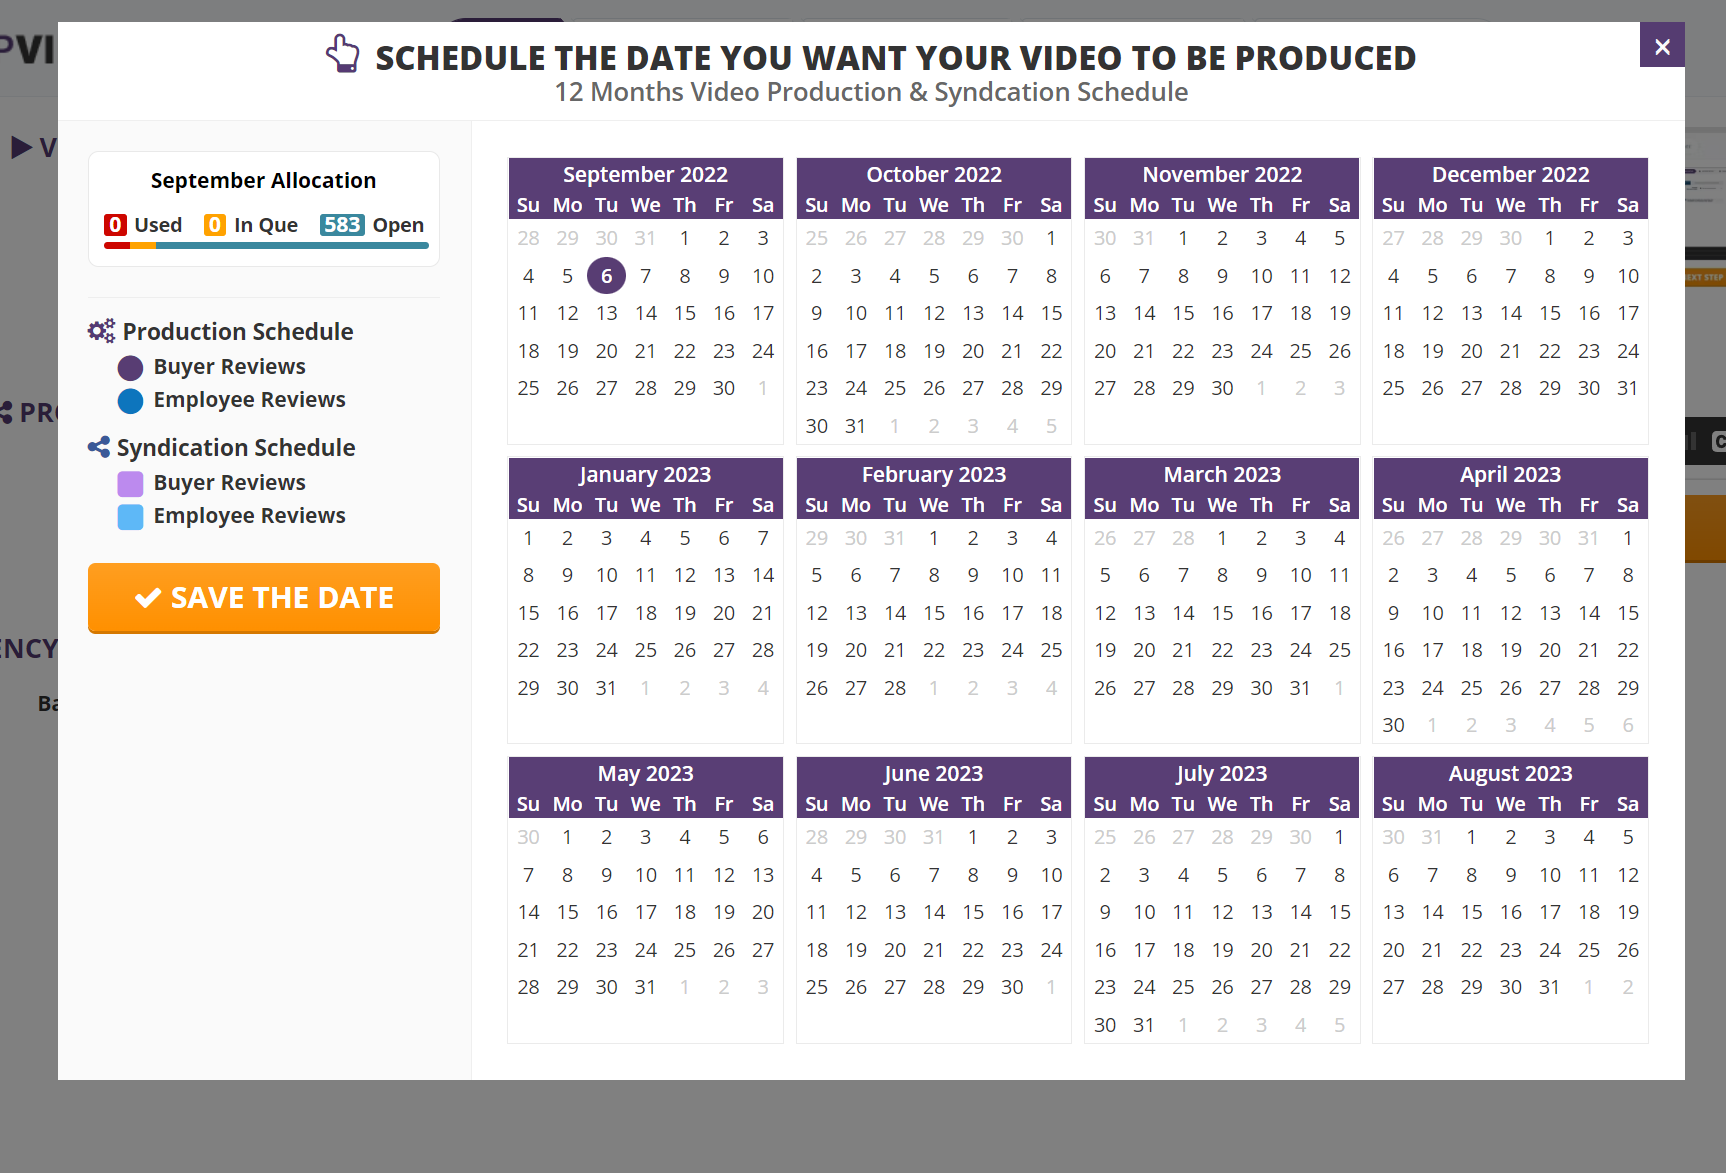
Step 7. Once you are done, click Save the Date.
When you produce a video, your Production Credits will be used on the day that you have selected.
Step 8. Toggle Yes if you want to syndicate your video and post it to YouTube and other social media channels.
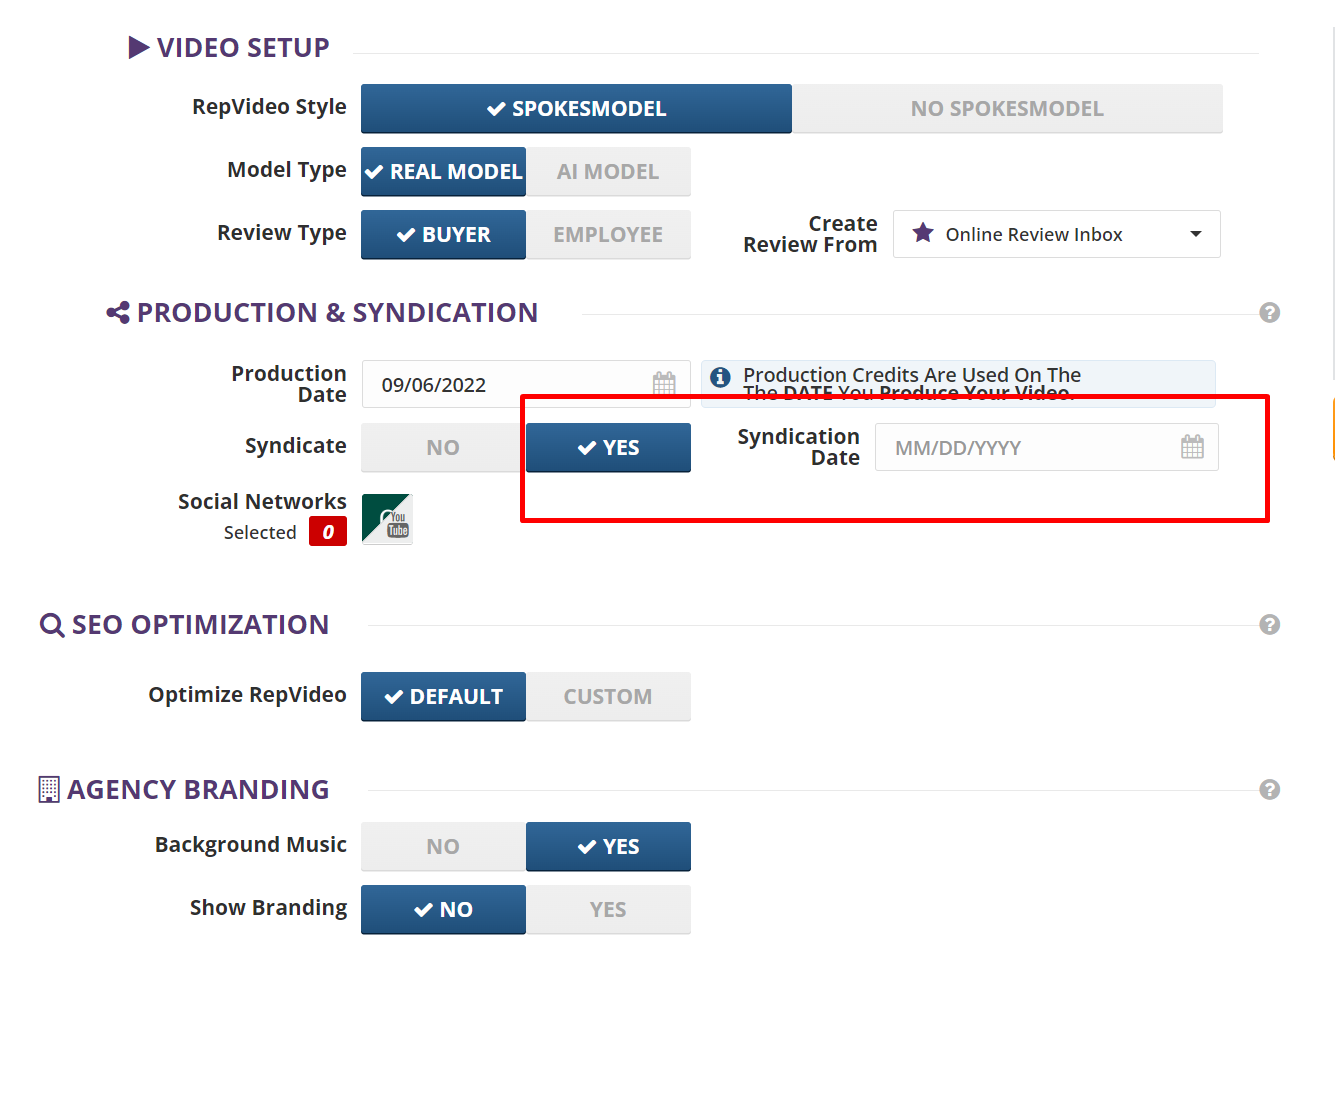
Step 9. Decide on when you want to syndicate the video.
Step 10. Select the social networks where you want to syndicate your video.
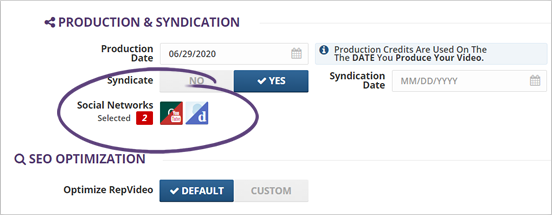
Remember that you cannot syndicate a review when your social networks are not connected. You can read this article to learn more about how you can connect your social networks.
Remember that you cannot syndicate a review when your social networks are not connected. You can read this article to learn more about how you can connect your social networks
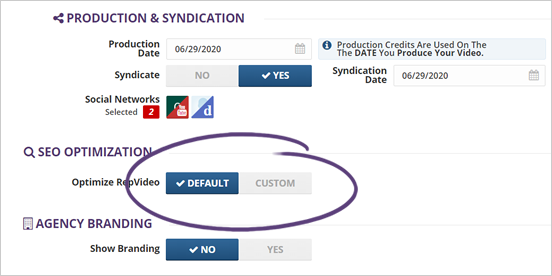
Step 11. Select your SEO Optimization.
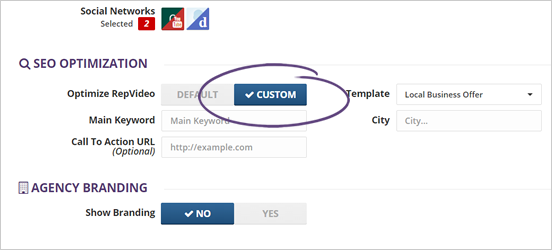
Step 12. Choosing a Custom SEO Optimization lets you override the Main Keyword, select the City, and change the Call to Action URL specific to that video.
Step 13. Decide if you want your Agency Branding to show on the video or not.
The Agency Branding is important for those videos that you give away for free.
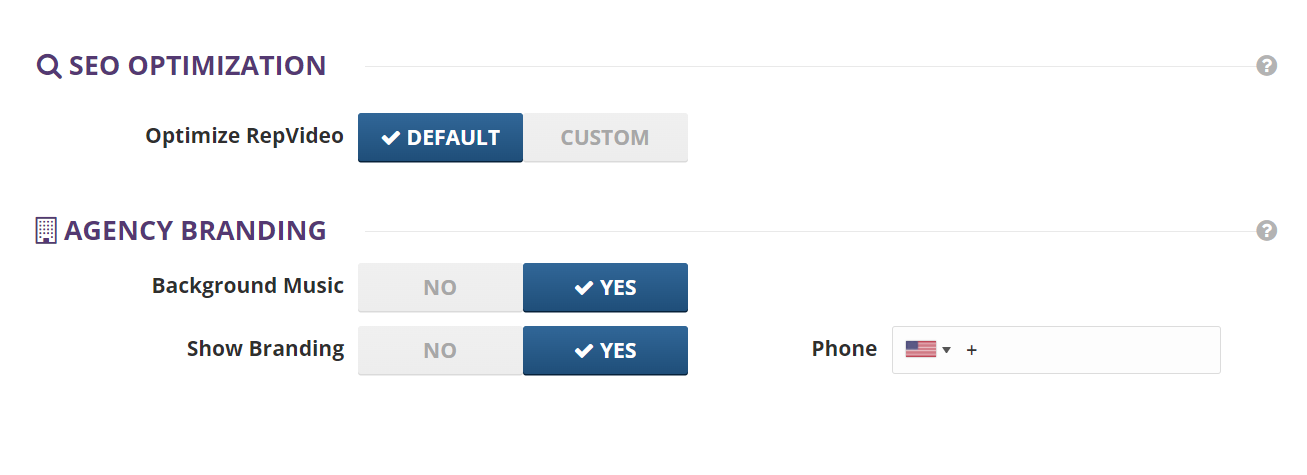
Step 14. Change the Phone Number if needed.

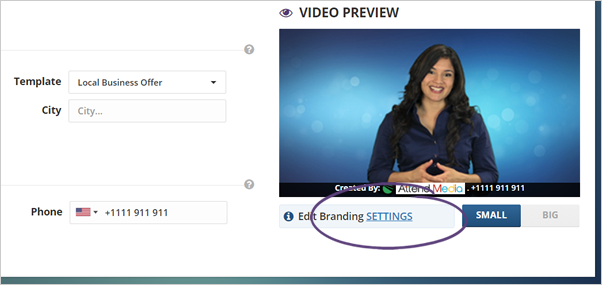
Step 15. You can also click Settings to change the overall branding settings in the branding area.
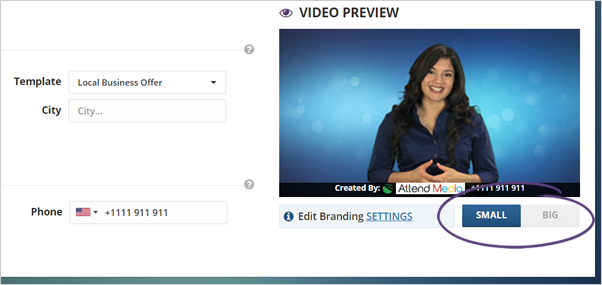
Step 16. If you want your branding to appear bigger or smaller, toggle it to the appearance of your choice.
Step 17. Once you are done setting up your video, click Next Step.
Related Articles: