After your customers have opted into your Landing Page, they will visit your Confirmation Page. They will design and create their Banners. When they complete the Wizard, their Banners will be sent to them through email.
When you edit your Confirmation Page, you are also editing your Opt-in Lead Wizard. This process means that the changes that you make to your Confirmation Page are reflected in your Opt-in Lead Wizard.
To edit your Confirmation Page, complete the following steps:
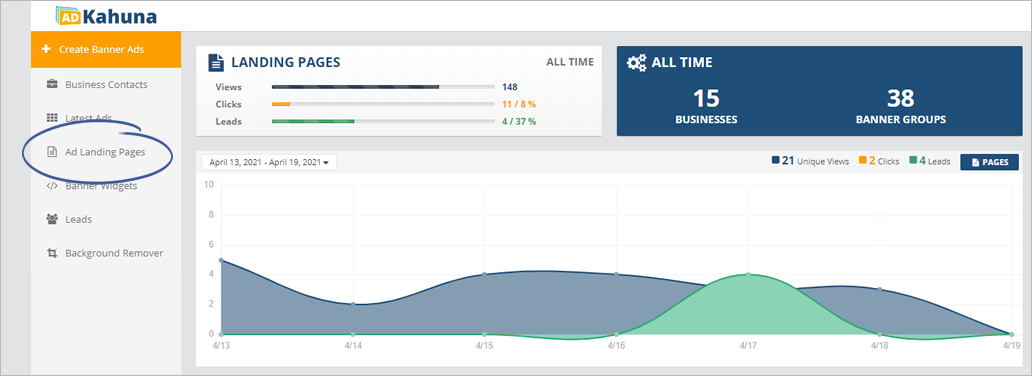
Step 1. From the main dashboard, click Ad Landing Pages.
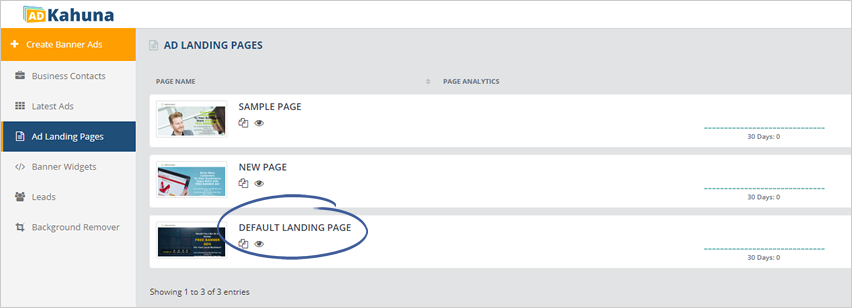
Step 2. Click the landing page that you want to edit.
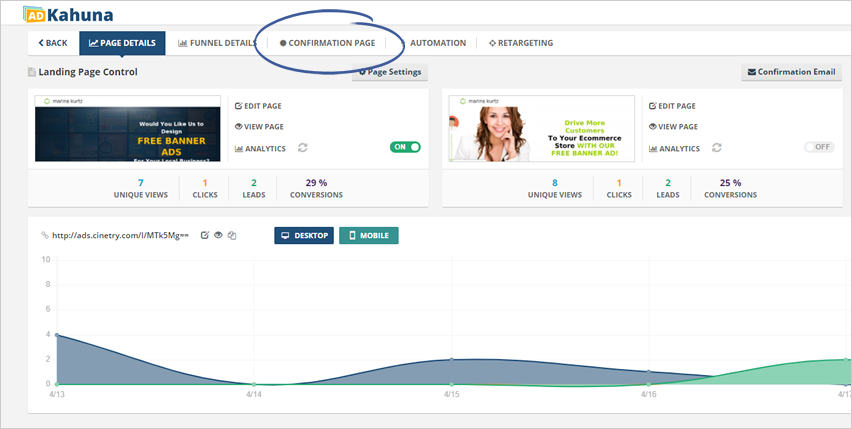
Step 3. Click the Confirmation Page tab.
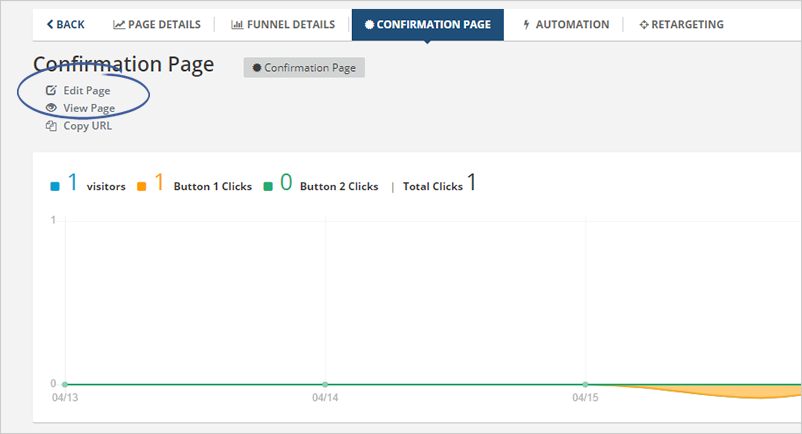
Step 4. Click Edit Page.
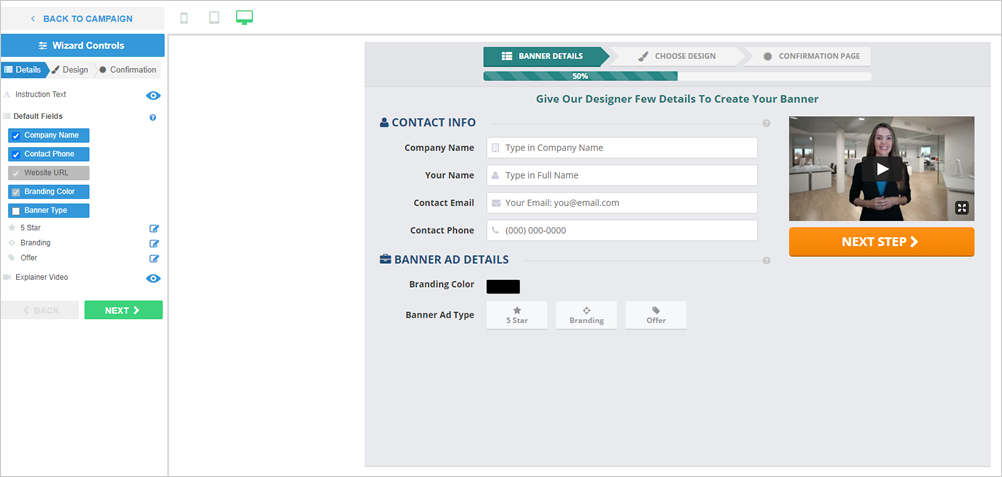
Step 5. Customize your Confirmation Page using the Wizard Controls.
You can edit the Instruction Text, change the Explainer Video, and change the Default Fields.
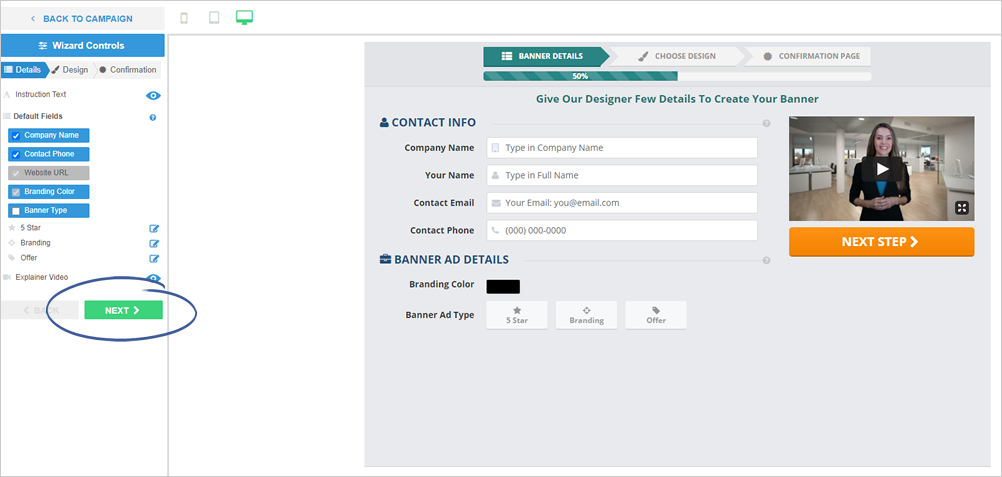
Step 6. Once you are done, click Next.
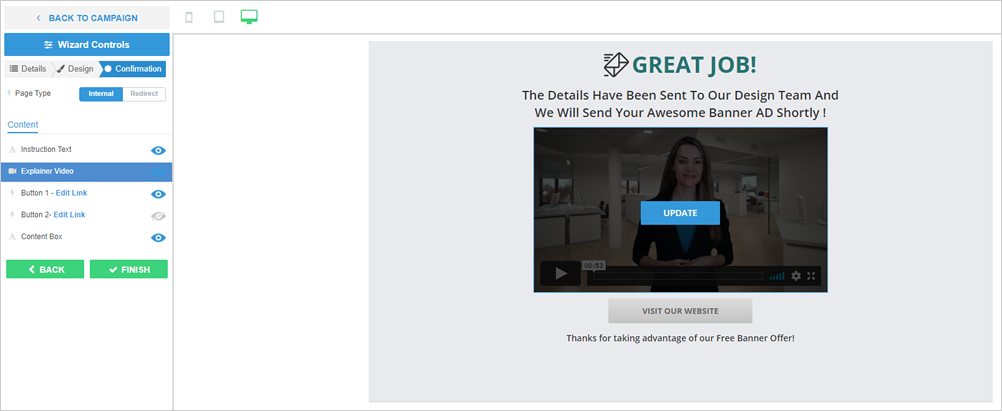
Step 7. Hover over the Explainer Video and click Update to change the Explainer Video.
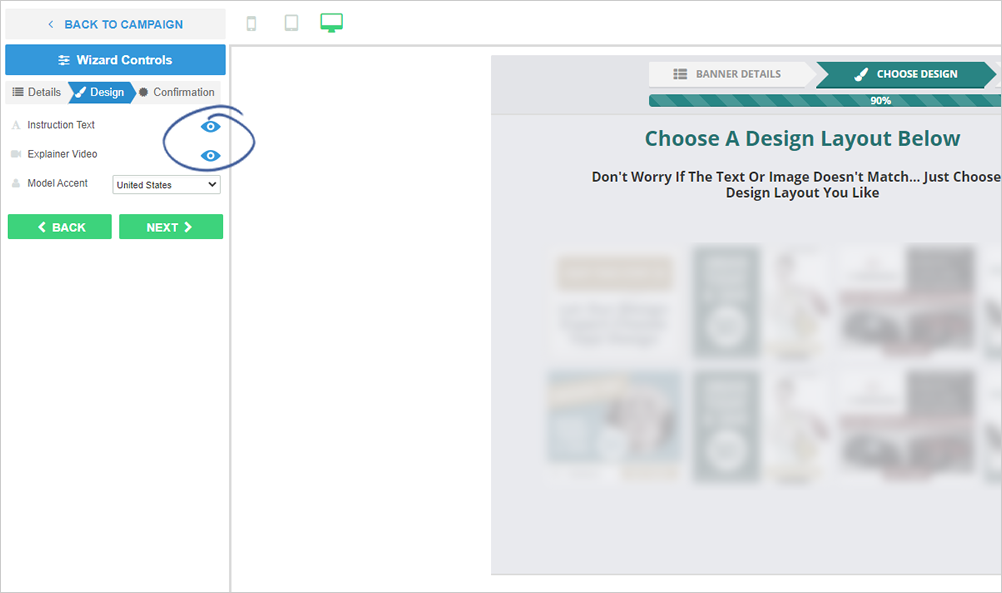
Step 8. Customize your Banner’s Design using the Wizard Controls. You have the option to turn the Instruction Text and Explainer video on or off by clicking the blue eye icon.
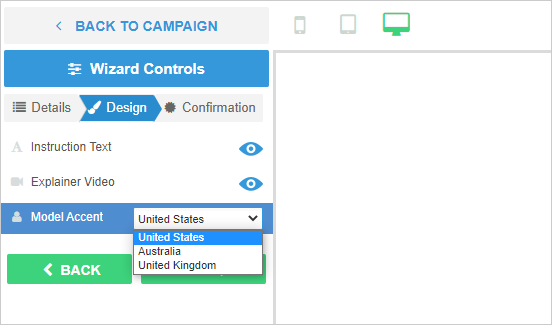
Step 9. (optional) Select your model’s accent from the drop-down menu.
Step 10. Once you are done, click Next.
Step 11. Edit the Instruction Text and Content Box according to your requirements.
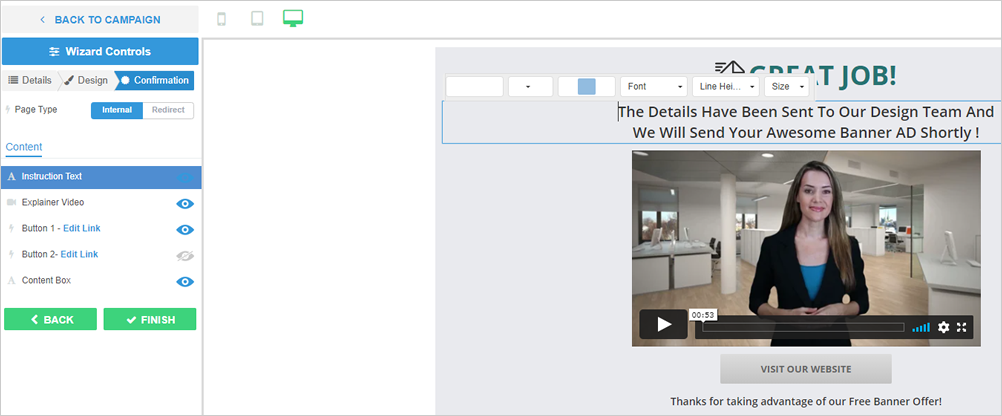
Step 12. Update the remaining element controls such as Explainer Video and buttons.
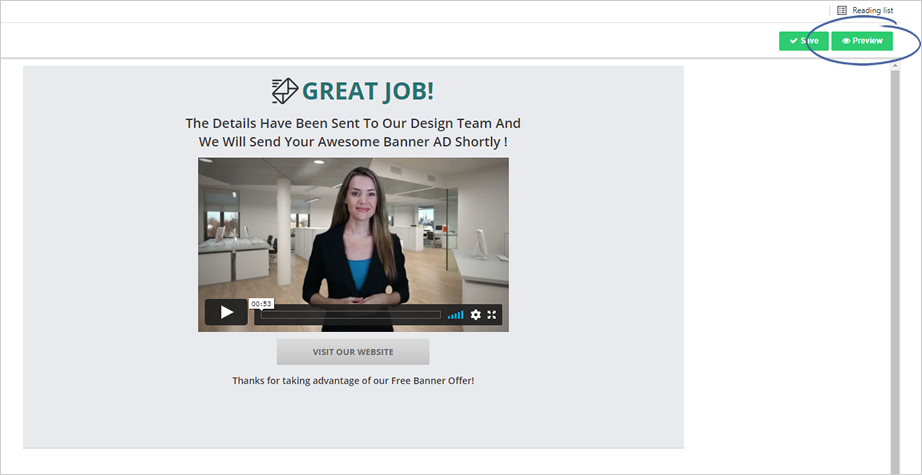
Step 13. To view the actual Confirmation Page, click the Preview button.
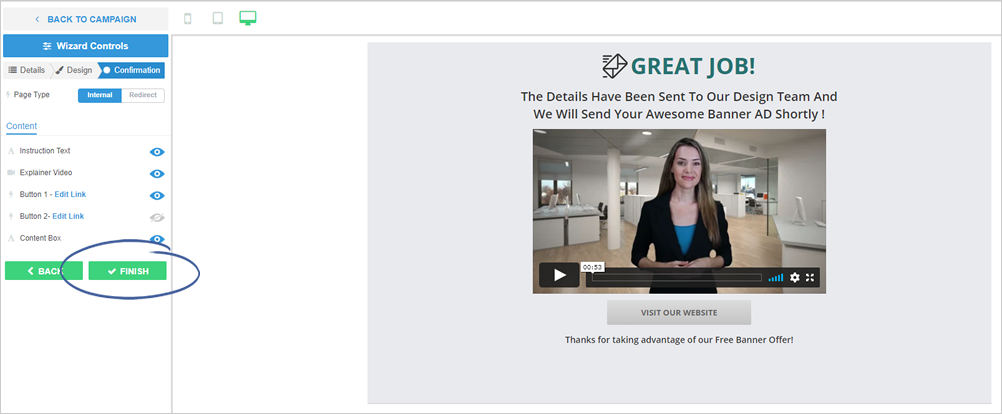
Step 14. Click Finish to complete the setup.
Related Articles:
Funnel Management
How Can I Find a Link for Each Step of the Lead Wizard in Ad Kahuna
Landing Pages Heat Map
Step by Step Tutorial on Editing Your Confirmation Page
Overview of Confirmation Page Analytics
Scripts of Spokes Models