The Campaign Automation lets you easily integrate third-party Autoresponders on your Landing Page. As an example, we will demonstrate how you can integrate Prospect Rocket on your Landing Page, which will automatically export your leads in your Prospect Rocket Campaigns.
To integrate Prospect Rocket on your Landing Page, follow these steps:
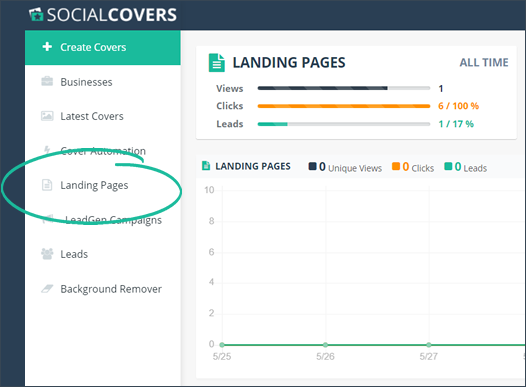
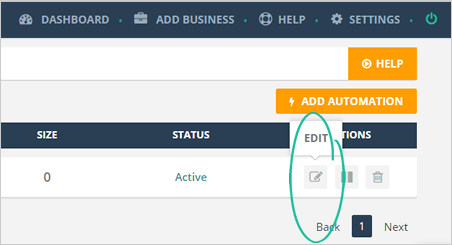
Step 1. From the main dashboard, click Landing Pages.
Step 2. Click the Edit Page icon on the landing page that you want to set up.
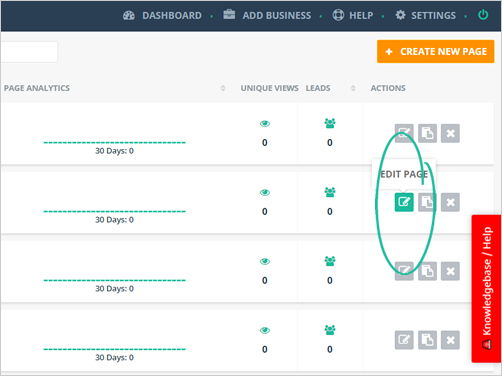
Step 3. Select the landing page you want to set up and click the Edit Page icon.

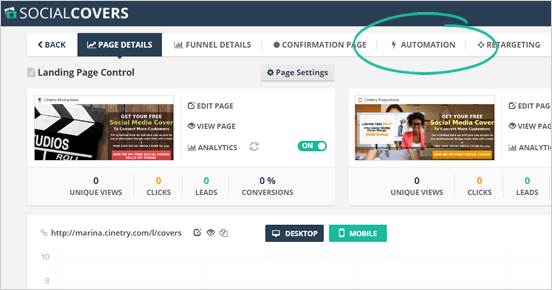
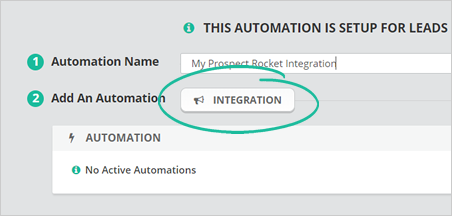
Step 4. Click the Automation tab.
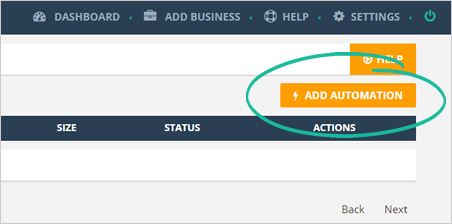
Step 5. Click the Add Automation button.
Step 6. Type the name of your automation and click the Integration button.
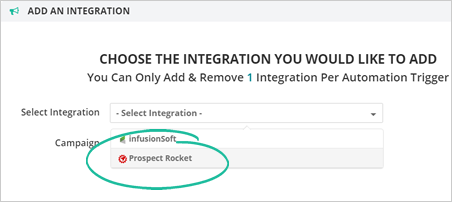
Step 7. Select Prospect Rocket as your integration.
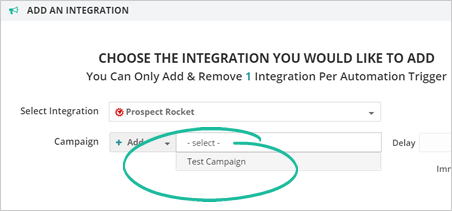
Step 8. Choose a campaign from your Prospect Rocket campaigns.
Step 9. Type in the delay that you want for this automation.
You can select a delay of “0” if you want to send out your campaign immediately.
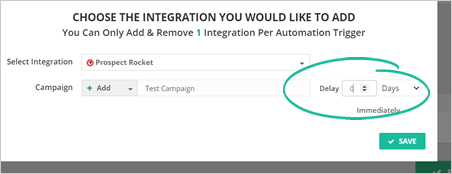
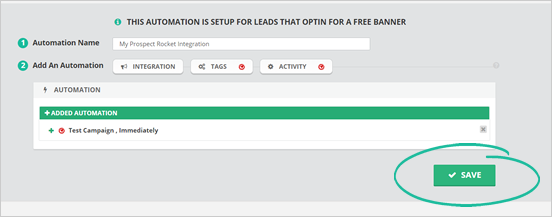
Step 10. Once you are done, click Save.
You can only add or remove one Integration per Automation Trigger. If you are under our Free Plan, upgrade your plan to Unlimited to have an unlimited integration.
Step 11. Click Save to apply changes to your new campaign.
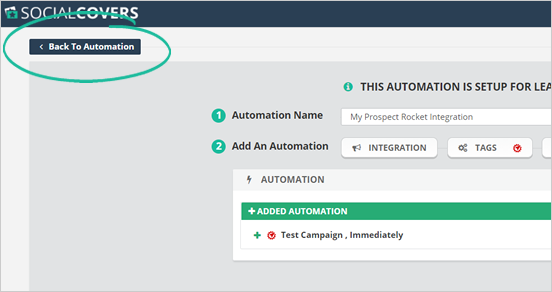
Step 12. To verify if your automation is successful, click Back To Automation.
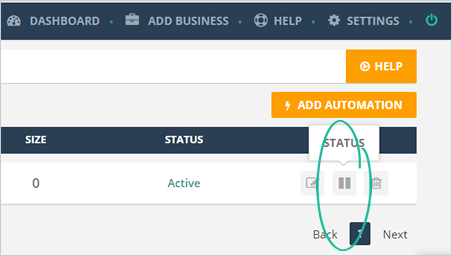
Step 13. You will now see that Prospect Rocket is added in your Campaigns.
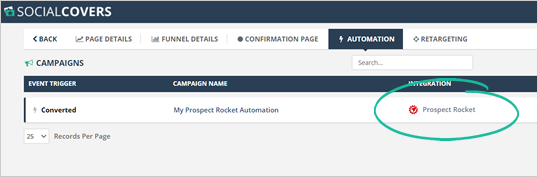
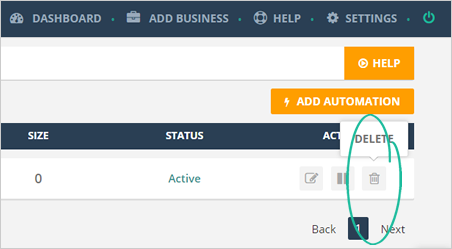
Step 14. You have different action for each of your automation:
Related Articles:
Setting up a Landing Page as Your Home Page
Funnel Details Analytics
How to Set up a Retargeting Pixel in Social Covers
How To Choose The Best Funnel Type
Landing Page Analytics - Views
How Set Up and Edit Landing Pages Fast