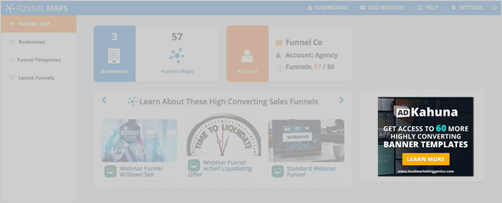
In App Ads gives you the ability to place your ads in front of anyone who goes to log in to your Funnel Maps domain. Once they are into Funnel Maps, they are going to see your ads in the dashboard as well. In App Ads also lets you continue to promote your other offers to the people that you gave access to Funnel Maps.
There are two areas in Funnel Maps where you can see your ads:
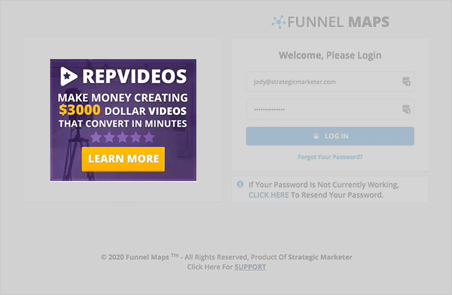
Setting Up Your Custom Ad on the Login Page
To start setting up your custom ad on the login page, follow these steps:
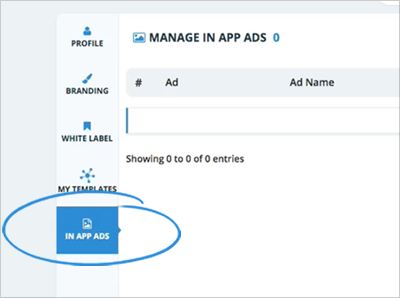
Step 1. From the Settings section, click In App Ads.
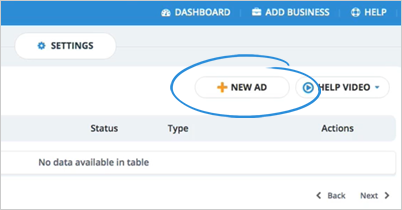
Step 2. Click New Ad.

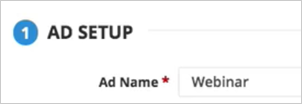
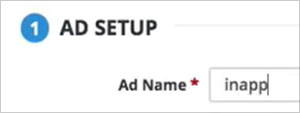
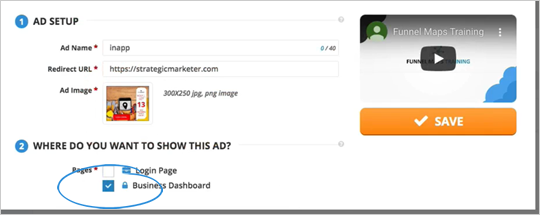
Step 3. Type the Ad Name.
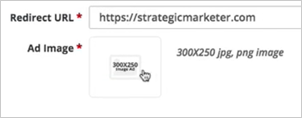
Step 4. Type the Redirect URL of your ad.
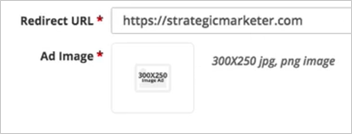
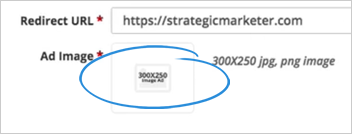
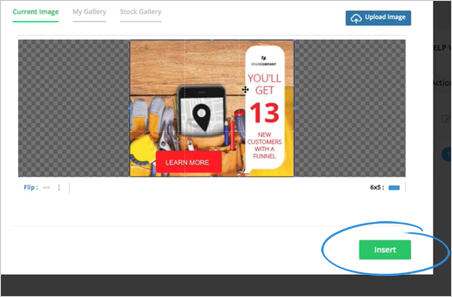
Step 5. Click the image thumbnail
Your ads should have the size of 300x250. You can use a jpg or png image.
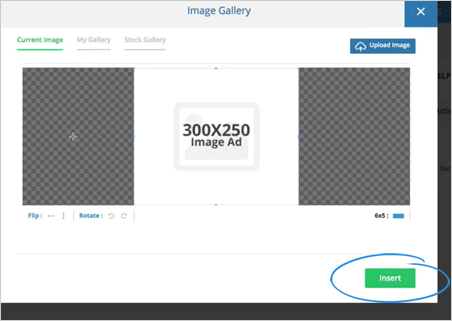
Step 6. Select the image ad that you want to use and click Insert.
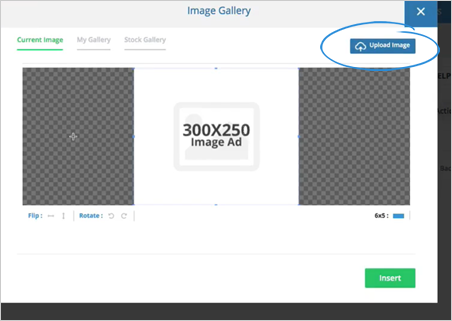
If you want to upload an image ad, click the Upload Image button.
Step 7. Tick the Login Page checkbox.
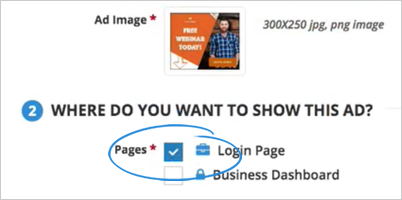
The ads on the Login Page is mandatory when setting up an In App Ads.
Setting Up Your Custom Ad on the Business Dashboard
To set up your custom ad on the Business Dashboard, follow these steps:
Step 1. Click New Ad.
Step 2. Type the Ad Name.
Step 3. Type the Redirect URL of your ad.
Step 4. Click the image thumbnail.

Step 5. Select the image ad that you want to use and click Insert.
Step 6. Tick the Business Dashboard checkbox and click Save.
You can use just one ad for both places, but we suggest creating multiple ads and show your different offers.
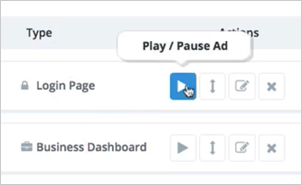
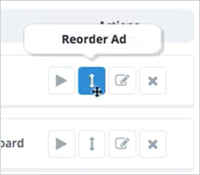
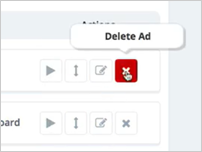
Managing Your In App Ads
From the In App Ads dashboard, there are different actions that you can use in order to manage your ads:
Related Articles:
Adding a Business
Updating a Business Profile
Agency Integration Settings
Agency Email Setup Settings
Agency Manage Tags Settings
Agency Notifications Settings