This article will guide you on how to add a Traffic Fuel Retargeting Pixel to a WordPress site.
Step-by-Step Instruction:
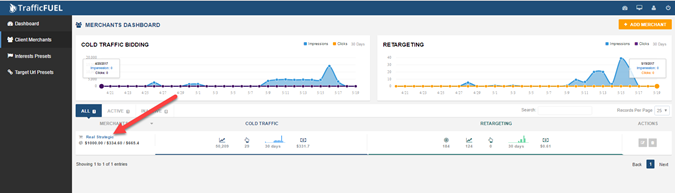
1. Login to Traffic Fuel and go to the Client Merchants area. From there click on the client you want to setup the retargeting pixel for.
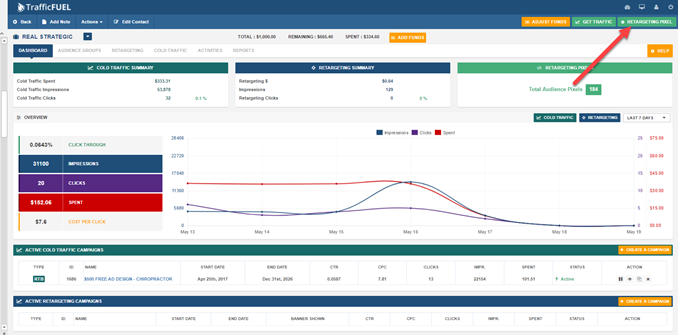
2. You’ll arrive at the client’s dashboard. Click on the Retargeting Pixel button.
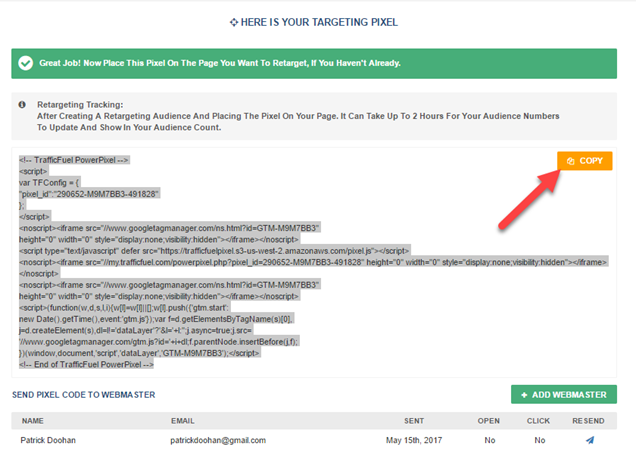
3. Click on the Copy button to add the Retargeting Pixel to your clipboard.
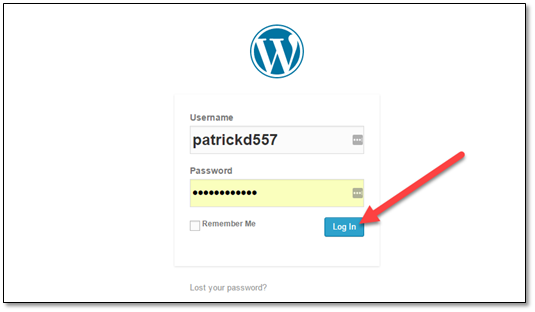
4. Login to the Wordpress site.
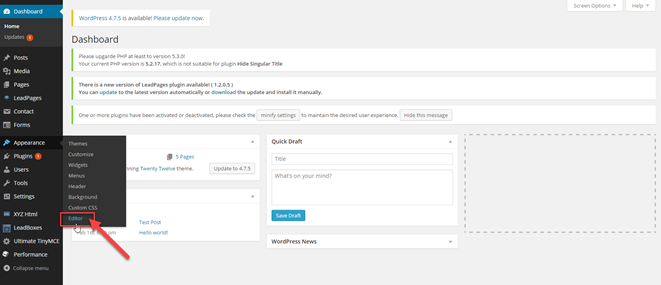
5. Under Appearance navigation, select Editor.
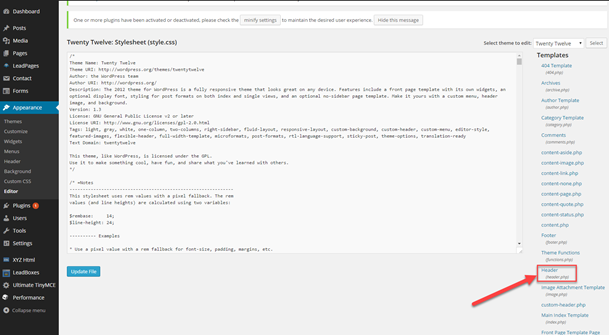
6. Find the Template file “header.php” and click on it to open it within the editor window.
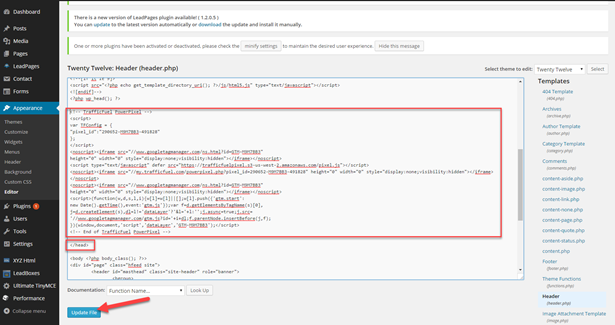
7. Find the closing head tag “/head”. Paste from your clipboard the retargeting pixel just before the “/head”. Save the file by clicking on Update File.
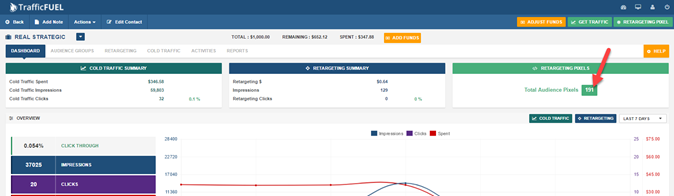
8. The Retargeting Pixel may take up to 2 hours to starting tracking visitors to your Wordpress site. To ensure your Retargeting Pixel is tracking properly, go to your Client’s dashboard and view your Total Audience Pixels count. As visitors come to your website the count will increase.