When you log in to your Ad Kahuna account for the first time, you will be asked to set up your Agency details. There are four parts of the wizard that you will need to complete. We strongly advise you to complete all of them. Completion includes all necessary fields and sections.
If you did not complete your Account Wizard, simply login to your Ad Kahuna Account, and your Account Wizard will appear. Until you are done setting up your Account Wizard, your screen will return to the parts you did not finish.
To edit your account, go to Settings and click the section that you need to edit. Do not forget to click Save to apply the changes that you have just made.
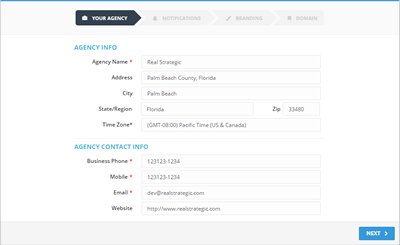
Part 1: Your Agency
Complete all the necessary fields within the Agency Info and Agency Contact Info headings. Remember that fields marked with a red asterisk (*) are mandatory.
Click Next to proceed to the next section.
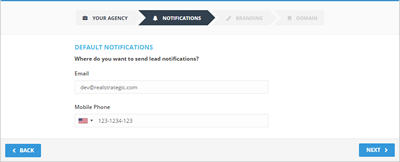
Part 2: Notifications
Type in your Email and Mobile Phone, as your notifications will be sent via text and phone. Click Next to proceed to the next section.
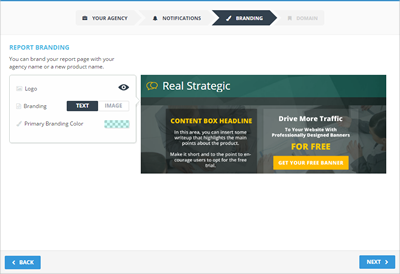
Part 3: Branding
This section allows you to report your Branding. Customize your report page by uploading your logo. Set your Branding to be either text or an image. You also have the option to choose your Primary Branding Color. Click Next to proceed to the next section.
Part 4: Domain
This part is the last part of your Agency Setup. In this part, you set up your Domain.
Click Finish to finalize all the details that you have set.
This action cannot be undone.
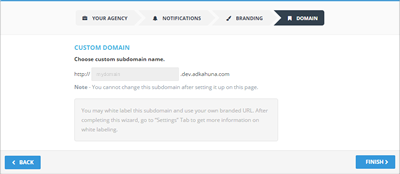
You may White Label this subdomain and use your Branded URL. After closing this wizard, navigate to Settings and go to White Label for additional White Labeling details.
Related Articles:
Creating Your First Client
Campaign Automation
The Difference Between Emailing Drafts and Final Previews
Selecting a Template
Super Ad Template