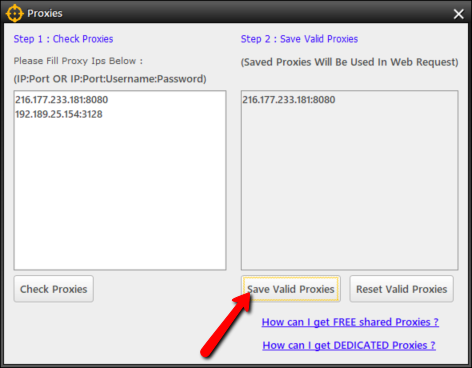
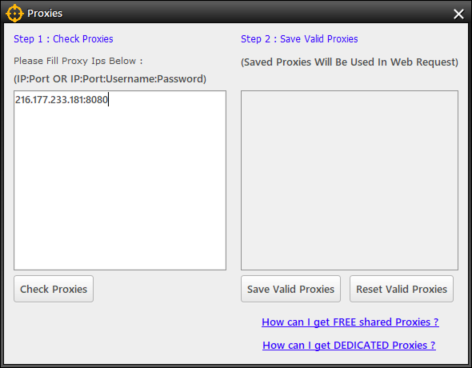
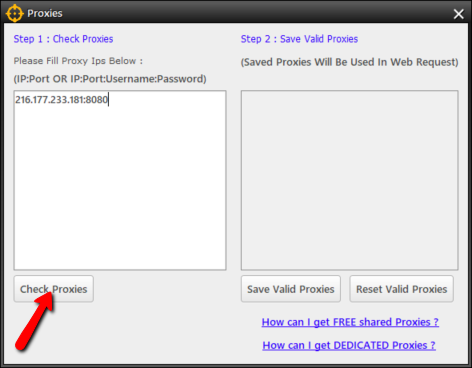
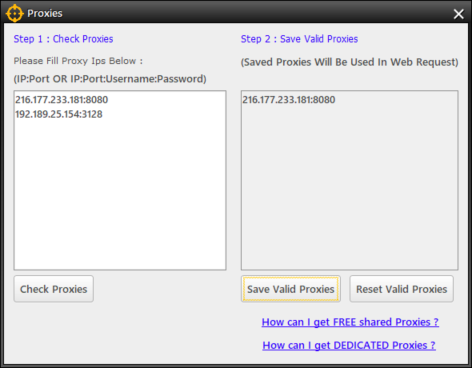
Proxies basically mask your IP address. You can use either free proxies or dedicated proxies that are paid. Depending how many Leads that you need to generate, you can use multiple proxies for your campaign. This article will demonstrate, step-by-step, on how to set up proxies in Lead Kahuna.

🛈 Some providers that provides proxies that you need to authenticate first to your computer, which is a separate step that you need to do with your proxy provider. They only provide the proxy IP and you need to configure these IPs with them to get your username and password.

  1. From the Main Dashboard, click Local Leads. 
  2. Check the Use Proxies checkbox.

  3. Add your proxies, using one of the formats lists below: 
  4. Click Check Proxies. This will validate all the proxies that you have entered.

  5. Repeat steps 3-4 as many times as needed.
    💡 We recommend starting with ten (10) paid or dedicated proxies because others could do anything with shared or free proxies.
      
  6. Click Save Valid Proxies.
    💡 If your proxies are not working, please submit a ZenDesk support ticket or request a new list of proxies for no additional cost from your proxy provider.Â