Rep Kahuna offers different tools for your reputation success. One of the cool features that you can use is the ability to add a Testimonial Widget. Using widgets will let you showcase your excellent reviews to your target audience online and the potential to add them as your leads. The fun part about widgets is that you can fully customize it. You can also embed the widget on your website into either the form of an On Page or Popup.
Everything from setting it up to designing is all available in the widget builder.
Now to start creating a new testimonial widget, follow these steps:
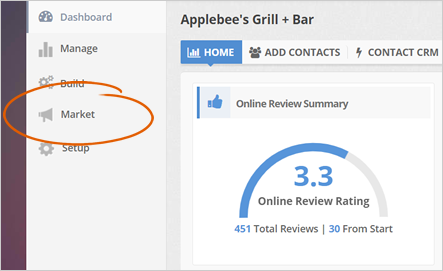
Step 1. From the company's dashboard, click Market.
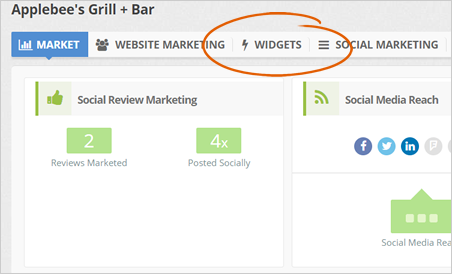
Step 2. Click the Widgets tab.
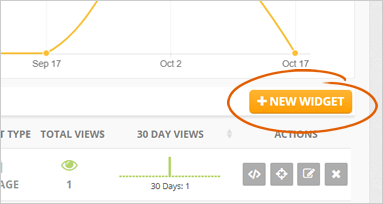
Step 3. Click the New Widget button.
Step 4. Type the name of the widget and click Create Widget.

Once you create a widget, you will be able to track the performance of the widget from the dashboard with its Total Views, Last 30 Day Views, and the Website Review Trends and among all the widgets you have created for various pages.
Step 5. Decide if you want to create an On Page Widget or a Popup Widget in the Widget Editor.
How to Create an On Page Widget
Here are the steps on how to create an On Page Widget:
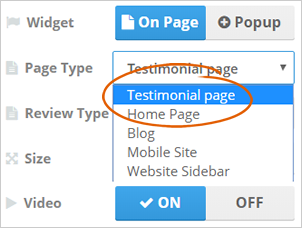
Step 1. Be sure that the On Page widget type is selected.
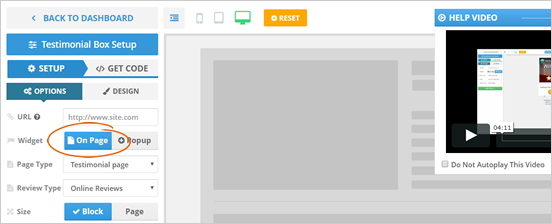
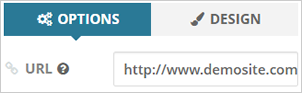
Step 2. Type the URL of the widget.
Step 3. Select Testimonial page as the page type and leave Online Reviews for the review type.
Step 4. Select Block for the size.
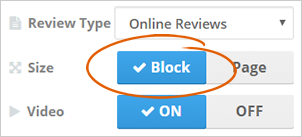
A block widget is displayed on the sidebar while a whole page covers the entire page of your site.
Step 5. Toggle ON/OFF to enable or disable videos from your widget.
It is always a good idea to include a video in your widget because it gives you a way more impact with the highlighting of the review and the excellent reputation for that business. Turning off this element will only display the reviews that are coming in.

Step 6. Adjust the best width and height for your widget. Once you are finished setting this up, click Next Step to get the code for this widget.
A widget should not be too tall because it will not open up with all the available reviews. By default, it will show three latest reviews that came in if you do not have a video.
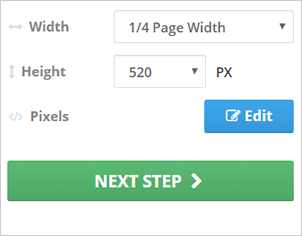
Step 7. To set up the pixels of your widget, click Edit.

You can read this article if you want to learn more about how you can set up the pixels in your widgets.
Step 8. Once you are done setting up your widget, click Next Step.
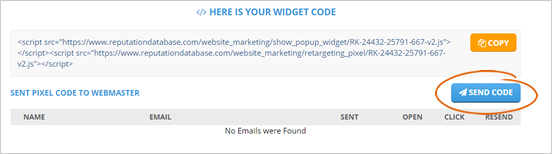
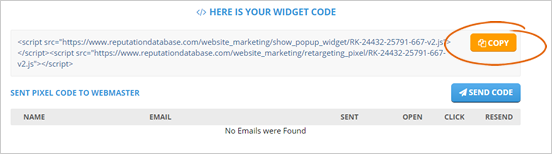
You will find your widget code. Copy this code and set it up in your Funnel Page's widget area where you want it to be placed.

Step 9. You also have the option to send it to your webmaster by clicking the Send Code button if you do not have access to your website.
If you are done setting up your widget, click Finish. Your new widget will be available on the Website Marketing Dashboard, where you can fully manage it.
Here are the steps on how to create a Popup Widget:
Step 1. Select the Popup widget.
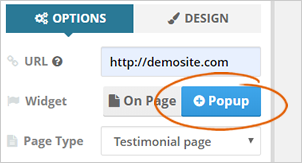
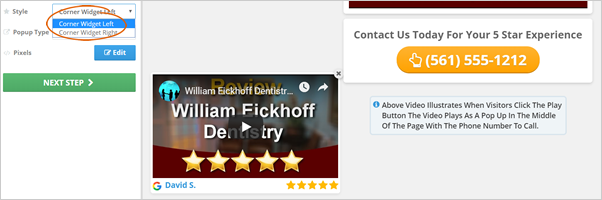
Step 2. Configure the location of the popup using the Style option if you want to display it on the right or left corner of the website.
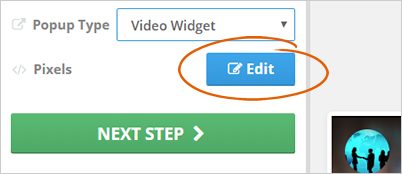
Step 3. Select a popup type.
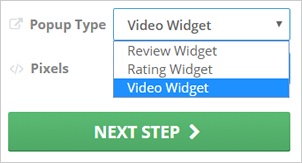
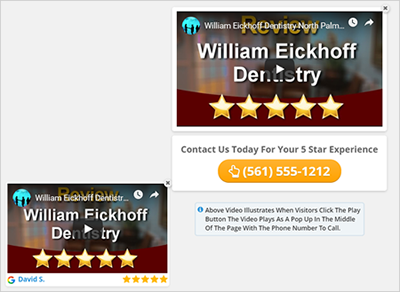
The Video Widget displays the latest Rep Video for that particular business. You can update your video and paste your video's URL in the Video Link. Once the user clicks the popup, it will show up full size with the video itself.
You have the option to add your ads from Adviddy if you want to. Each widget layout will have a call to action so users can immediately grab on a phone number by clicking this button and get connected with the business to get the same five stars as the person who is sharing the review.
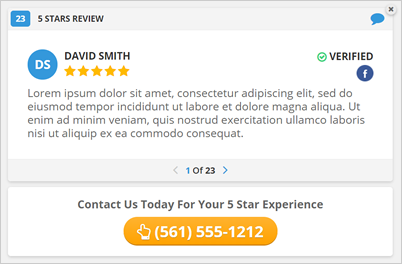
You can also have a Rating Widget that will show up on the website every time there is a new 5-star review. This widget will show up as a small popup that will open up to a bigger popup once the user clicks and see the review. The user can scroll with the rest of the reviews for that business.
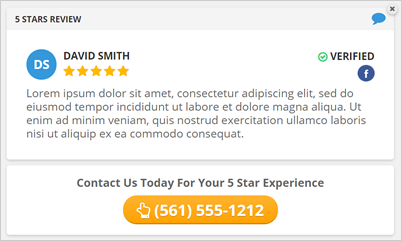
If you select the Review Widget, this will show up the latest review that came in. Once the user clicks it, this will also open up to a bigger popup where the user can see the actual review.
Step 4. To set up the pixels of your widget, click Edit.
You can read this article if you want to learn more about how you can set up the pixels in your widgets.
Step 5. Once you are done setting up your widget, click Next Step.
You will find your widget code. Copy this code and set it up in your Funnel Page's widget area where you want it to be placed.
Step 6. You also have the option to send it to your webmaster by clicking the Send Code button if you do not have access to your website.
If you are done setting up your widget, click Finish. Your new widget will be available on the Website Marketing Dashboard, where you can fully manage it.

Related Articles:
How To Broadcast to the Website
Tour of Your Website Marketing Dashboard
Streaming Review Code
Website Marketing Dashboard
Pixel Popup for Widgets
Website Marketing in Rep Kahuna (Testimonial Widget)