This article demonstrates how to set up a product in Stripe*.
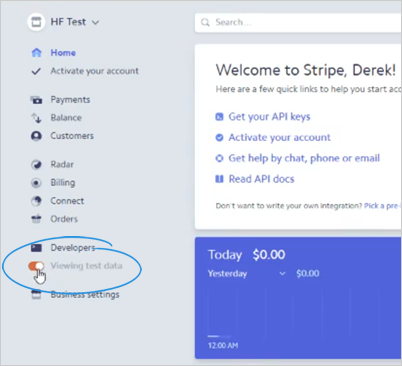
*For the purpose of this demonstration, we are going to use test data. Anytime that you are using a test account in Stripe, the products that you create or the subscriptions that you create will not show up on your production environment.
Make sure that when you are ready to build up your production environment, toggle this to put you over to your live account.
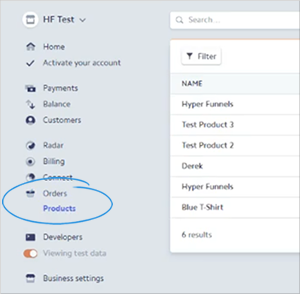
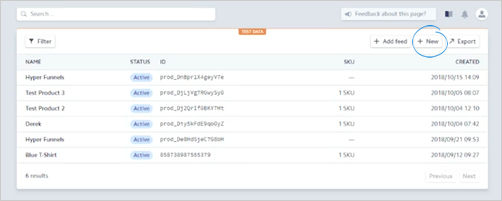
To setup a product in Stripe, follow these steps:
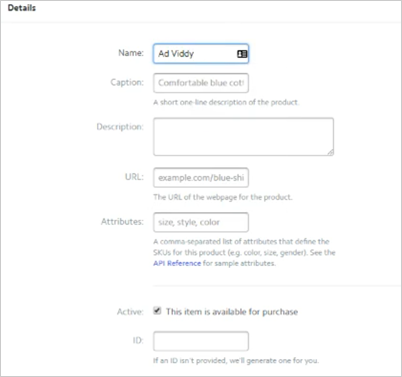
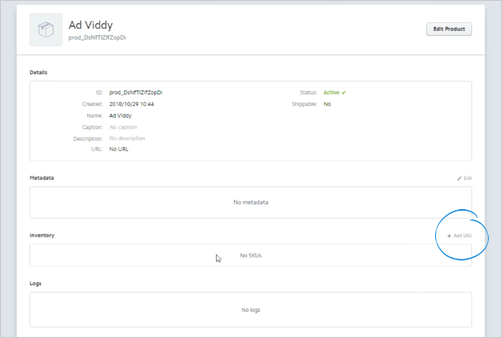
This article is focusing on setting up a simple product without Attributes. We will cover attributes in a future article. Also for the Product ID, Stripe will automatically generate this one for you.

In the next article we will review how to setup a Payment Gateway in Funnel Pages.