2. Click the Edit Form button.
The Sign In Campaign allows you to send a Sign In page to your customer. Once they sign up, they will receive an email or SMS with a path to your Feedback Page and the request to leave their feedback online.
This campaign also lets you set up the Sign In Page that you can send your customers on your mobile device (tablet) at the time of their check-in at your business for their service. Once they sign in on this page and leave their information, the data will be sent into the campaign.
Customers who left their information will be receiving a sequence of emails and SMS after their appointment. It will invite them to leave feedback through the Feedback Page or different site directories such as Facebook, Yelp, Google, and TripAdvisor. Also, with the help of our Smart App Strategy feature, they can leave feedback whenever they are on Mobile.
To successfully send an engaging Sign In Campaign, the following must be set up first:
Setting Up Email and SMS
Configuring your Email and SMS is one of the most important set up when it comes to sending your campaigns. You can't create a campaign without having a working email ans SMS.
Watch this video to learn how to set up a company.
Creating a Feedback Page
The Feedback Page lets a user leave their feedback once they sign in to your Sign In Form. Watch this video if you want to learn how to create a Feedback Page.
Editing Your Sign In Form
Before sending out your Sign In Campaign, make sure to check how your Sign In Page will look like. If you want to edit your Sign In Page, follow these steps:
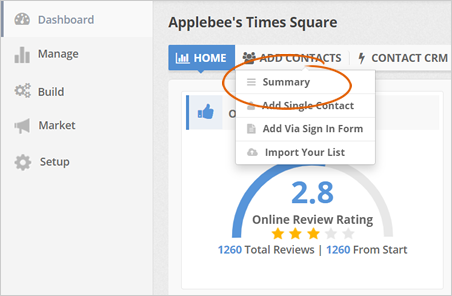
1. From the company's dashboard, hover your mouse over the Summary tab and select Summary.
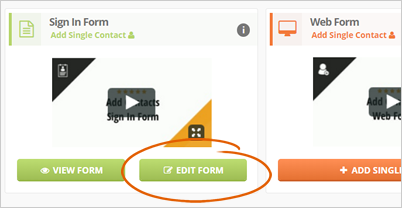
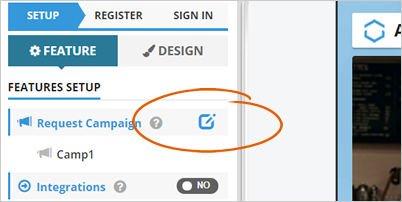
2. Click the Edit Form button.
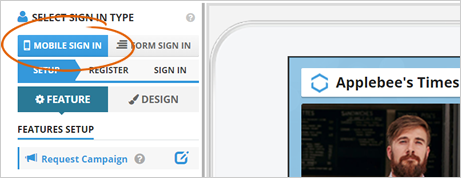
3. Decide the type of sign in you want to use. You can either use a Mobile Sign In or a Form Sign In.
4. Use the different element controls found on the left side of the page to customize your sign in form.
Save your page and click Next to proceed to the next section of the wizard.
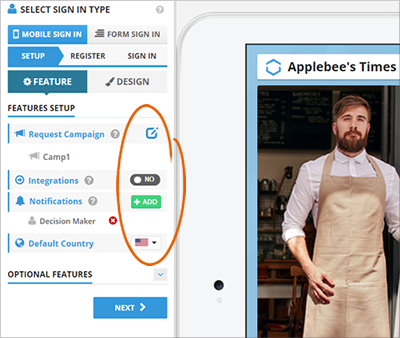
5. Select the Request Campaign where the contact will be sent.
Note: If you did not yet create a Request Campaign, this contact will automatically be sent to the default Single Contacts Campaign.
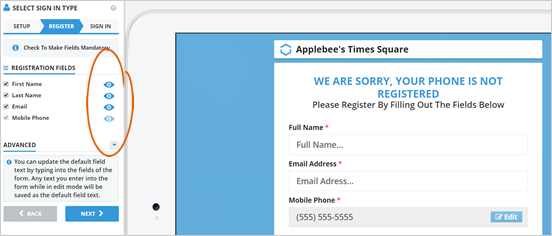
6. Add the Registration Fields that you want to include in your sign in form. Click the eyeball icon to show or hide a field.
Save your Register page and click Next to proceed to the final step of the wizard.
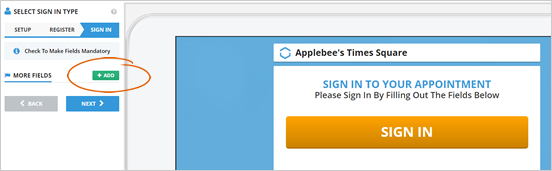
7. Add more fields to the last step of your wizard if necessary. Once you are done, click Next.
8. Click the View Sign In Page button to view your actual Sign In page.
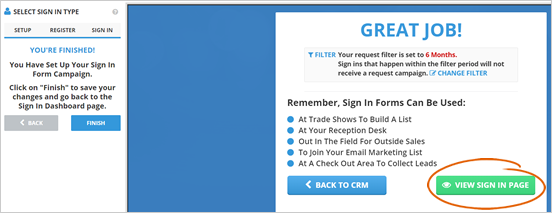
9. If there are still changes that you need to do, click on the section of the wizard where you want to go back.
Click Finish to finalize the configurations of your Sign In Page. 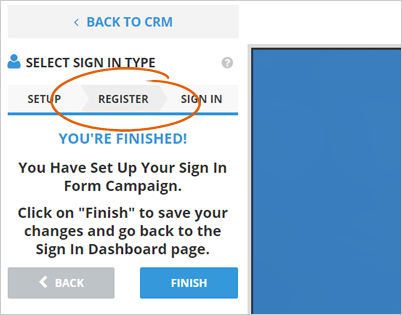
Setting Up Your Request Campaign
You can schedule your email messages on when it will be sent once a user signs in. If a user has signed in, they will be automatically sent to the Request Campaign you have chosen from your Sign In Form editor.
To start setting up your email, follow these steps:
1. From the company's dashboard, click the Campaigns tab.
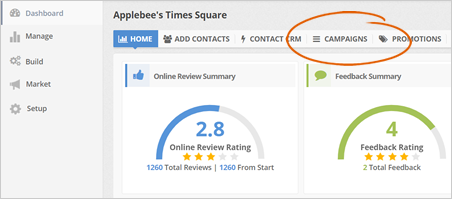
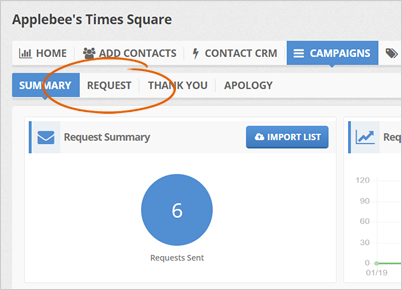
2. Click the Request tab.
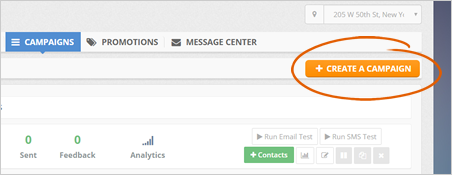
3. Click the Create a Campaign button.
4. Add the details of your new campaign.
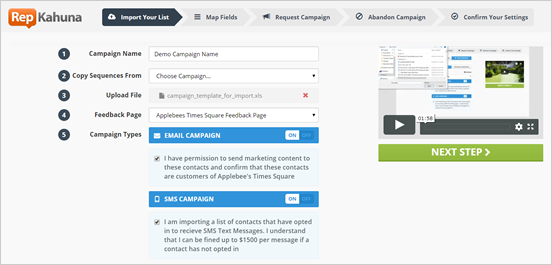
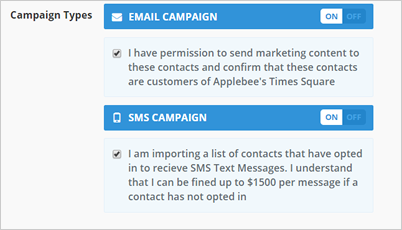
5. Select the campaign types you want to use. You can use both campaign types, email only, or SMS campaign only. Once you are done, click Next.
Note: Make sure that you have the user's permission of sending them an email or SMS.
SMS are sent from 9:00 am to 7:00 pm in the location's time zone. SMS scheduled after 7 pm will go out the next day.
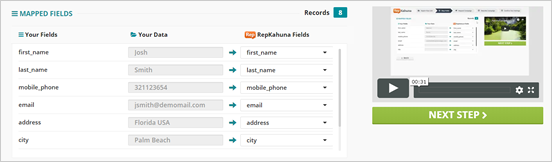
6. Map the correct fields of your imported data to Rep Kahunas fields. Click Next Step once you are done.
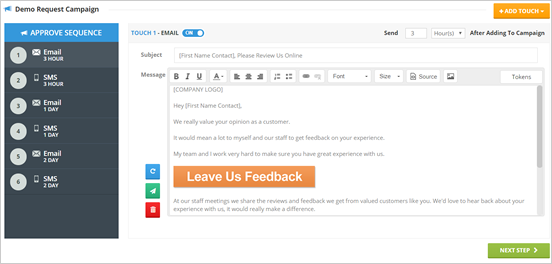
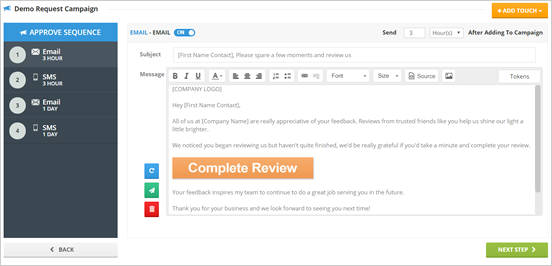
7. Set up your Request Campaign.
The Request Campaign is the first phase of your campaign. In here, you are able to send email and sms to your customers and let them leave a review. You can change the contents of each touch and add or remove email/sms sequence more if needed. Once you are done, click the Next Step button.
8. Set up your Abandon Campaign.
Abandon Emails will be sent out whenever they do not respond to your emails. Depending on how you want to be aggressive on your campaign, you can use more email and sms touches.
9. Confirm your Settings.
Set your schedule of when it will go out into minutes, hours, or days on when this email will go out after your user signs in.
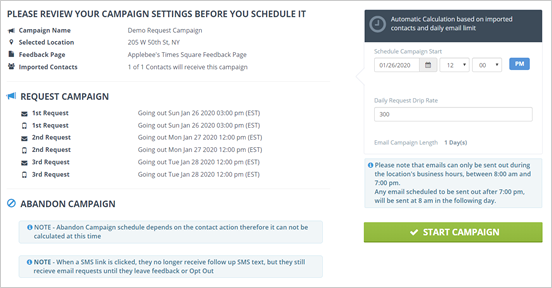
9. Click the Start Campaign button. Once you successful completed the wizard, you will redirected to the Request Campaigns Dashboard.
Step 6: Setting Up Your Directory Page
In this section, we will walk you through on how to set up your Directory App Page. This section will let you select the directories that you would like your customers to choose and leave a review from available sites on board or use your Feedback Page. Follow these steps on how to set them up:
1. If you want to set up your Directory App Page, make sure you are in the Directory App Page tab.
Select a directory that you want for your directory app page. Click Add Custom Directory if you're going to add your local directory link. If ever you do not wish to a directory to be displayed, click Do Not Display Directory.
Click Preview to see your actual directory app page.
To select the feedback page that your customer will be viewing, go to the Feedback Page tab first, then choose a Feedback Page from the drop-down list.
4. Click Yes to enable Google Instructions Wizard. This wizard will guide a user when they are trying to leave a review on Google.
5. You can check our flowchart if you need to know more about how the Directory App Page works.
Step 7: Setting Up The Smart App Strategy
Before you proceed to this section, keep in mind that the Smart App Strategy only works on Android Devices. This feature will enable you to select a Directory and arrange them according to the sequence that you want. If they do not have any directory app on their phones, they will be forwarded to your Feedback Page to leave a review.
If you want to set up your Smart App Strategy, follow these steps:
1. The first thing you need to do is to enable your Smart App Strategy. Make sure you set the button to Yes.
Simply drag a directory in the order of your priority. In this example, the first directory is Facebook, which means after they agree to leave a review, they will be redirected to Facebook. Now, if in case they do not have any app on their Mobile, they will be redirected to your Feedback Page.
You can use up to four directory listing. If in case you only want to use a single directory, you can just drag your other directory back to the available directory area.
3. To set the feedback page for your campaign, select the available Feedback Page in the drop-down list.
You can check our flowchart if you need to know more about how the Mobile App Strategy works.