You can either send the user to a Feedback Campaign or Thank You Campaign. In this example, we will be sending a user to a Thank You Campaign.
These steps will guide you on how to send your contacts to a campaign manually:
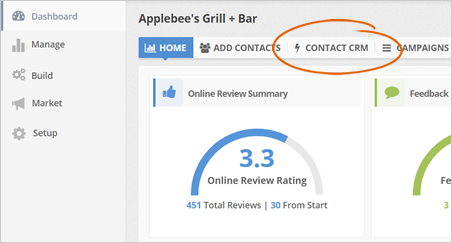
Step 1. From the Merchant's Dashboard, click the Contact CRM tab.
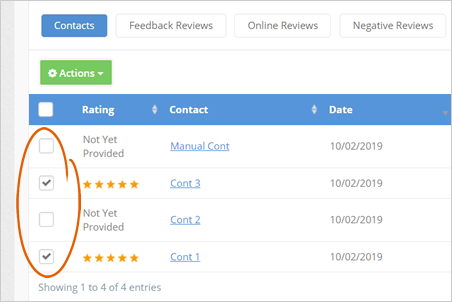
Step 2. Select the contacts that you want to add to the campaign manually.
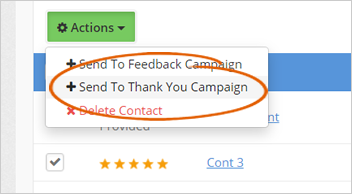
Step 3. Click the Actions drop-down and select Send To Thank You Campaign.
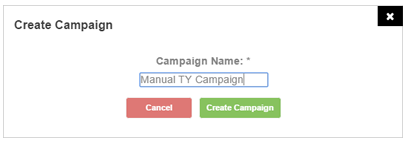
Step 4. Type the name of your campaign and click Create Campaign.
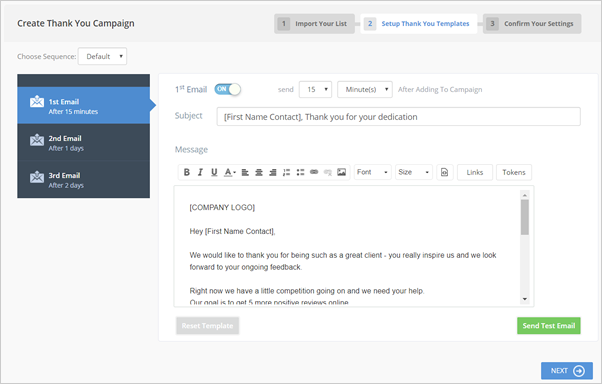
Step 5. This page will let you set up your actual email message that will be going out to your customers. You can edit your message here, but we strongly suggest to use the default template that we have. If you want to go back to the default email contents, you can click Reset Template.
Let’s say you want to disable all emails except your first email. You need to click each email that you want to deactivate and leave your first email ON. Once you are all done setting up your email, you can click Send Test Email to be able to see your actual email message. Click Next to finalize your campaign.
Step 6. This step is the final section of your Thank You Campaign. In here, you can see the overall Message Campaign that will be going out. You can also go back to your previous section in case you want to modify your campaign.
Make sure to schedule your campaign. Once you have verified that the schedules are correct, you can already finalize this campaign. Click to start running your Thank You Campaign.
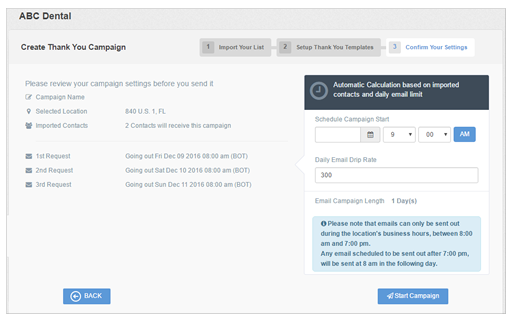
Emails can only be sent out during the location's business hours, between 8:00 am and 7:00 pm. Any email scheduled to be sent out after 7:00 pm will be sent at 8 am in the following day.
Related Articles:
Zapier Integration with Rep Kahuna
Waiting List
Tour of Your CRM Dashboard