Complete the following steps to add groups to schedule posts:
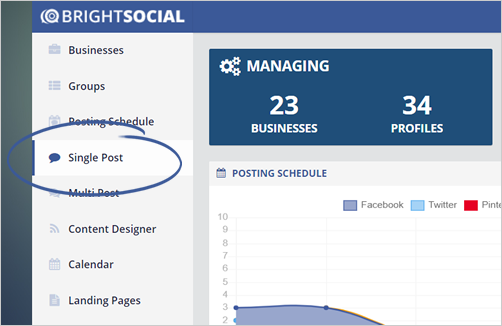
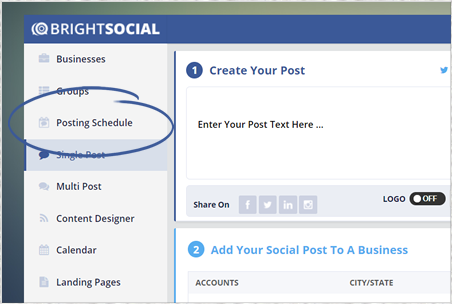
- From the sidebar, click Single Post.
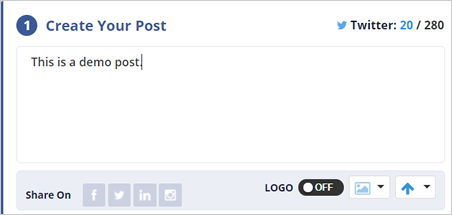
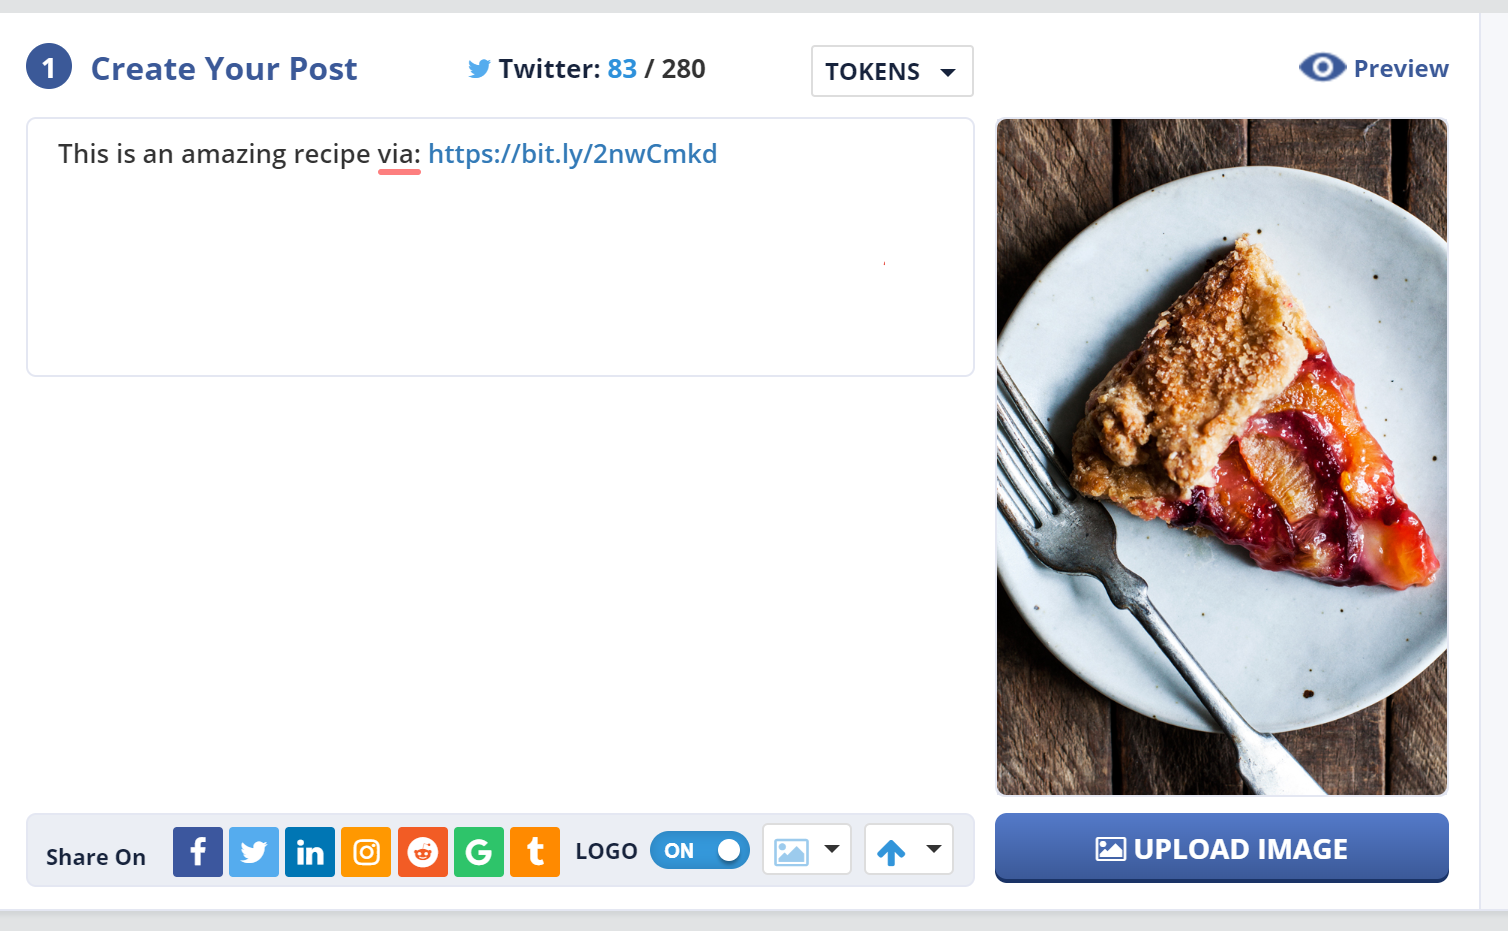
- Type your post.
💡 If you add a Uniform Resource Locator (URL) to your post, we will automatically shorten it to a URLbit when you paste the URL and press Space twice.
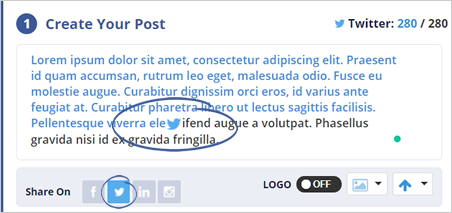
⚠ If your post is longer than 140 characters, the blue Twitter icon  will appear in your post and the first 140 characters of your course will be light blue. This means that only the blue text will be posted to Twitter.
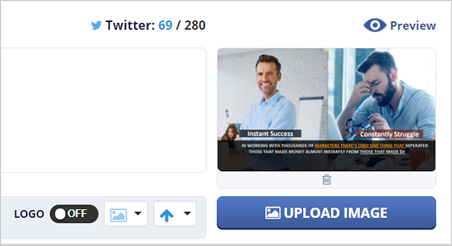
- Click the arrows to scroll through the images that we scraped from the URL in your post. You can upload your own image by clicking Upload Image. Stop scrolling to select an image.
- Preview your post by clicking Preview.
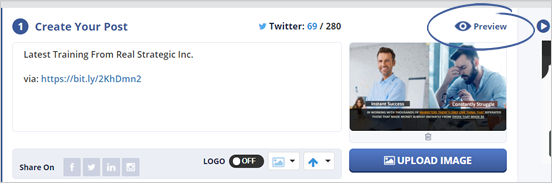
- Select which social media networks your post will be shared. By default, Facebook, Twitter, LinkedIn, and Instagram are not selected. Click an icon to select it.
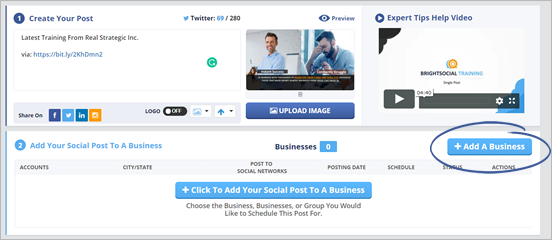
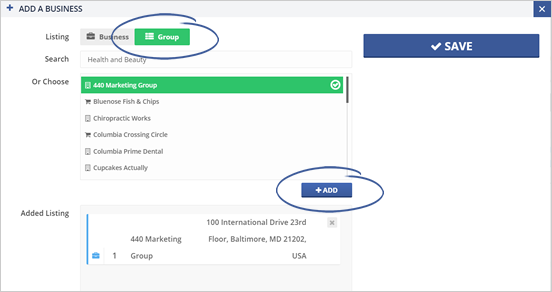
- Click Add a Business.
- Click Group and search and select as many groups as necessary.
Once you are done, click Save.
- Schedule your post by clicking Add to Queue or Date & Time and selecting a date, time, and time zone from the pop-up window.
If the red warning icon  appears , this means that your post is scheduled to post outside of a business’s scheduled times.

- Click Send to Schedule.

- Click Yes Continue from the pop-up window, if needed. This will only appear if the red warning icon is present.
- From the sidebar, click Posting Schedule and check the Posting Calendar to verify that your post is scheduled.
💡 You can check the posting status of an individual business by clicking Businesses from the sidebar, selecting a business, and navigating to the Content Schedule tab. From there, you can view the Posting Schedule in either Calendar or Agenda view.
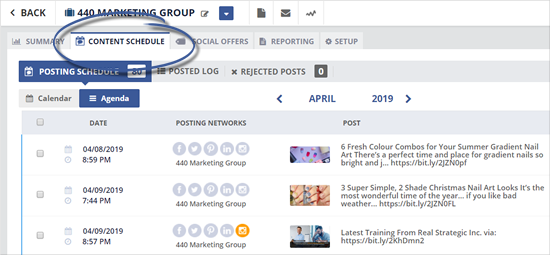
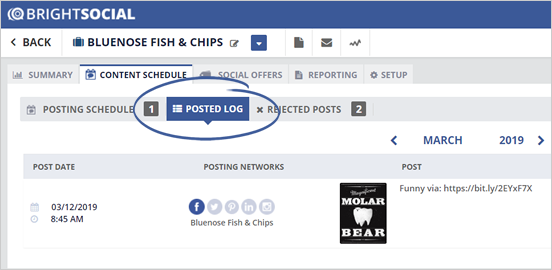
⚠ Only posts that have not been posted are in the Posting Schedule. If your post has already been posted, click Posted Log to see it.