You don't always get a Positive Review, and there are times that you get a negative one. Well, negative reviews help you take action on the part of your service that needs improvement.
Negative reviews also let your customers go back to you because they know that they are heard, and you are doing something about it. In this article, we are going to show you how to resolve a negative review in Rep Kahuna.
To resolve a negative Feedback Review, follow these steps:
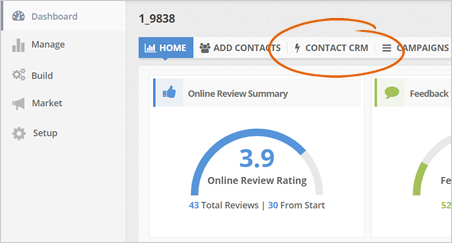
Step 1. From the merchant’s dashboard, click the Contact CRM tab.
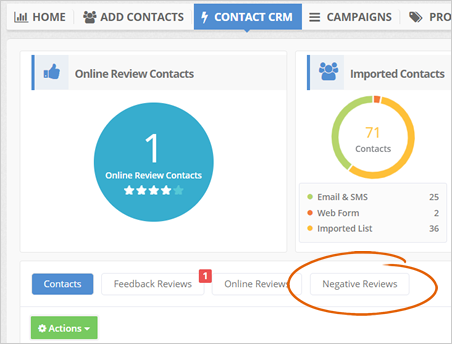
Step 2. Click Negative Reviews.
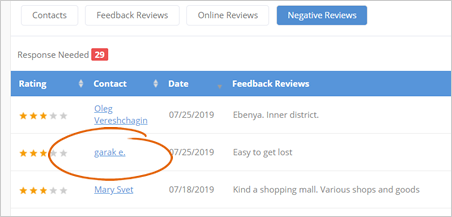
Step 3. Click on the contact’s name.
Step 4. Once you see the customer’s information, at the bottom right-most part of the page, click Resolve.
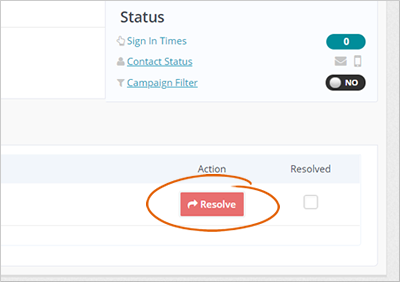
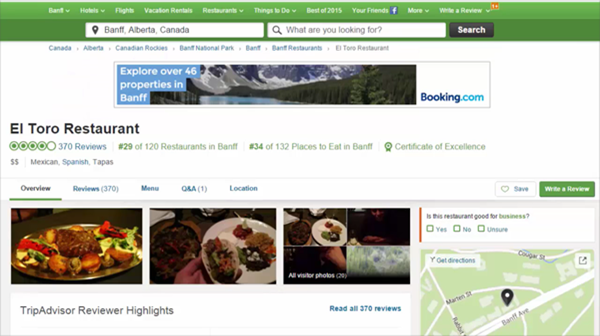
Clicking Resolve will take you directly to the site where the customer left the negative review. From here, you can log in to your account and respond directly to that customer.
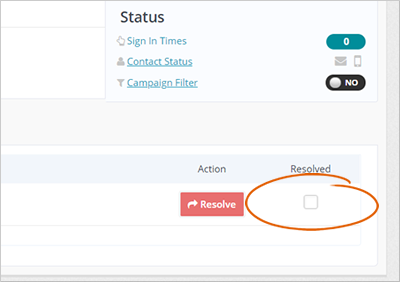
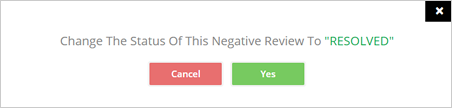
Step 5. Tick on the checkbox to mark the Negative Feedback as Resolved, then click OK on the popup to confirm that you have resolved the review.
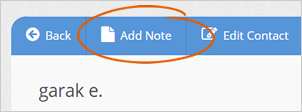
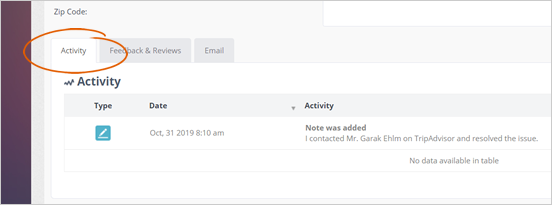
Step 6. You can also add a note by clicking the Add Note Tab.
Adding a note will help you write in detail the actions that you did for this customer.
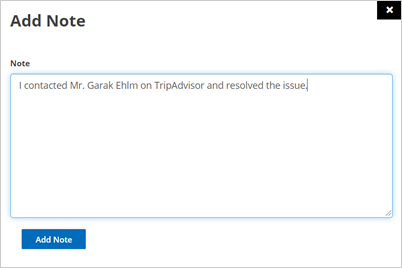
Step 7. Once the popup comes out, leave a note then click Add Note.
Step 8. Click the Activity tab anytime you want to check out the details of your notes.
Now the question we often get in regarding the CRM is:
“When I click the Resolve, can I respond to them via the CRM and resolve it and communicate with them?”
The answer: No. These Resolve buttons are checkboxes that allow us to know if you have resolved or we have resolved it for you.
Clicking Yes will make the Unresolved count goes down, and the Resolved count goes up.
Step 9. If you want to email a customer, you can click the customer’s name link, and you can email them directly through the CRM (Actions > Send Email). Still, you are not automatically going to resolve based on clicking on the Resolve button.
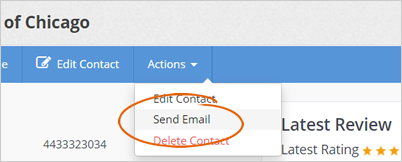
It’s simply almost like a checkbox to know if you resolved it or not. Until you did not communicate with the customer and have a conversation to resolve the issue, you should not check the Resolved checkbox so we can always keep track of what is going on.
Related Articles:
CRM: Contacts Tab
Tour of the Contacts Tab
Tour of Your CRM Dashboard
3 Easy Ways to Add Contacts To a Campaign