
This last step of the wizard lets you add links in your buttons to either claim your offer or redirect them to a site. Aside from setting up your buttons, you can also redirect your customer to your Thank You page.
Setting Up Internal Page
Step 1. Select Internal as your page type.
Step 2. Type in your new Instruction Text.
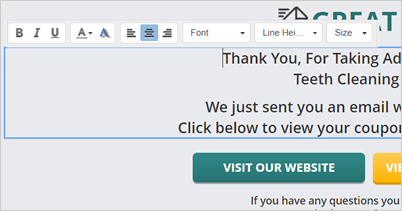
If you want to hide this element, click the eyeball icon.
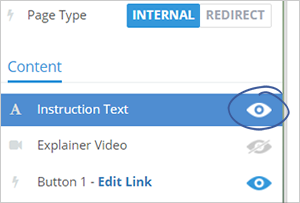
Step 3. To enable the explainer video element, click the eyeball icon.

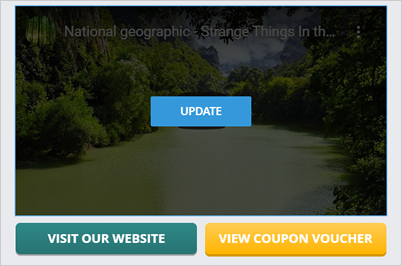
Step 4. Hover your mouse over the element on the preview window and click the Update button.
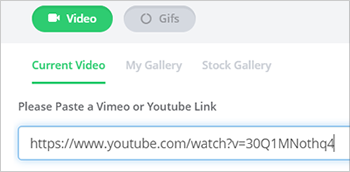
Step 5. Click the Add Video button.
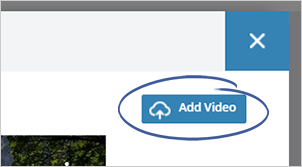
Step 6. Paste the Vimeo or YouTube link of your video. Once you are done, click Save.
Step 7. You can use two buttons, which you can add your redirects. For demonstration purposes, we will be using both.
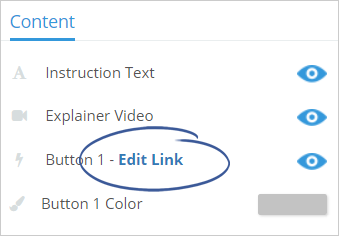
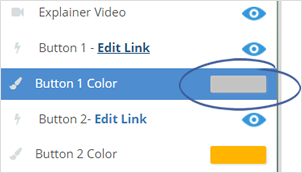
Step 8. To start editing your first button, click the Edit Link.
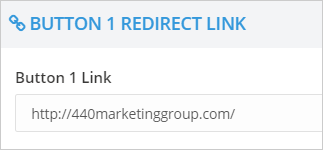
Step 9. Paste the button link redirect and click Save.
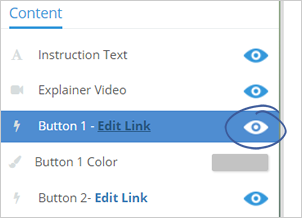
Step 10. If you don’t want to use this button, click the eyeball icon.
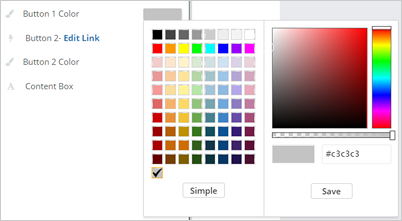
Step 11. To change the button’s color, click the Button Color element tile.
Step 12. Select a color and click Save.
Step 13. Repeat the steps above for your second button.
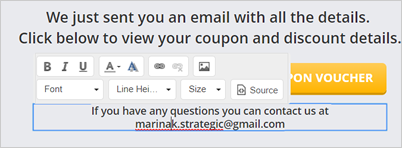
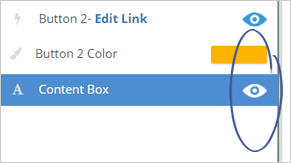
Step 14. Type in the contents of your Content Box.
Step 15. To hide this element, click the eyeball icon.
Step 16. Save your page.

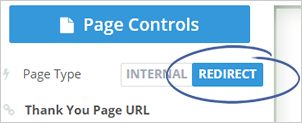
Setting Up a Redirect Page
Step 1. Select Redirect as your page type
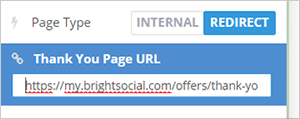
Step 2. Type in your Thank You Page URL.
Step 3. Save your page.
Related Articles:
How to Create a Content Offer
Offers Wizard Setup Step 4: Redemption Page Setup
Access and Review the Social Offers Leads
Update Notifications for the Social Offers
How to Create a Posting Offer
How to Create a Website Offer