The Campaign Dashboard allows you to monitor your BrightSocial Offer Campaigns easily. Everything you need can be found here, such as your Automations, Retargeting Pixels, Thank You Page, and Redemption Page.
Once you have created your Offer Campaign, you can access this offer in the Social Offers tab.
You can access the Campaign Dashboard by completing the following steps:
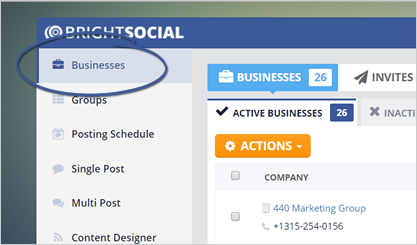
Step 1. From the dashboard, click Businesses.
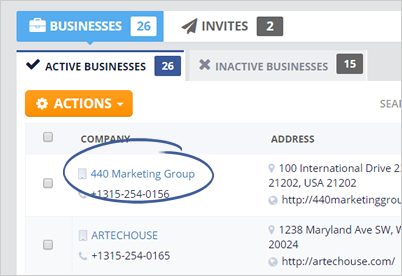
Step 2. Select a business from the list of active businesses.
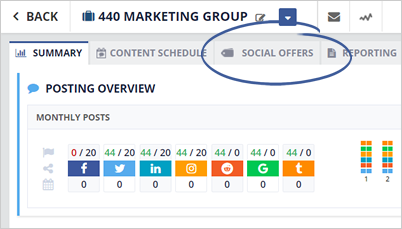
Step 3. Click the Social Offers tab.
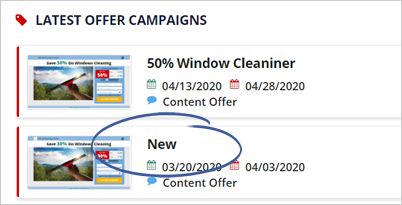
Step 4. Select an Offer Campaign from the list of your Latest Offer Campaigns.
The Campaign Dashboard consist of six tabs:
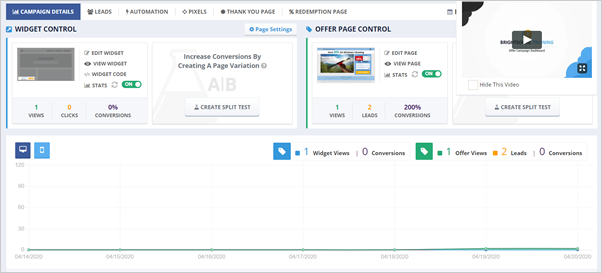
Campaign Details Tab
The Campaign Details tab lets you edit your Posting Offer Campaign page. This tab provides you the access to control your widget and offer page.
Leads Tab
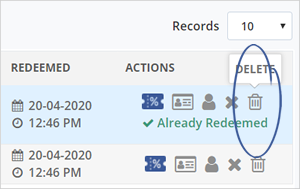
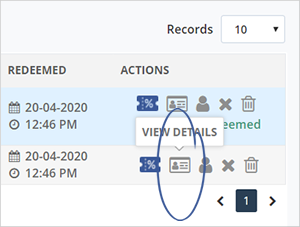
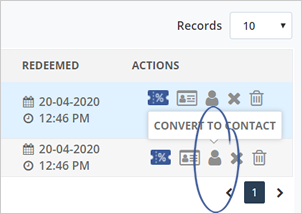
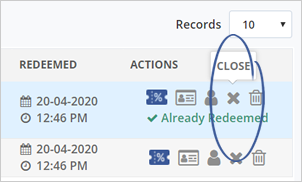
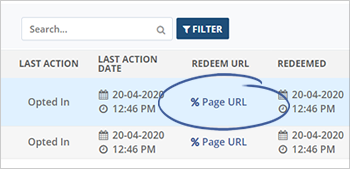
The Leads tab displays all the leads that came in from your Offer Campaign.
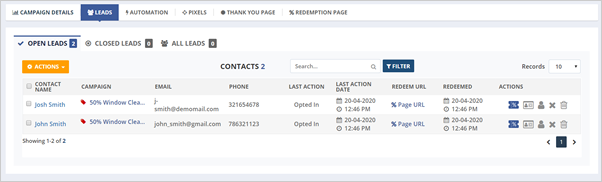
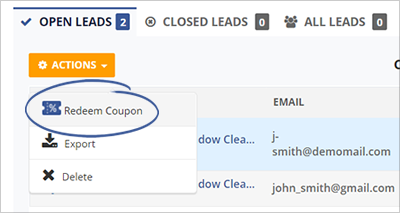
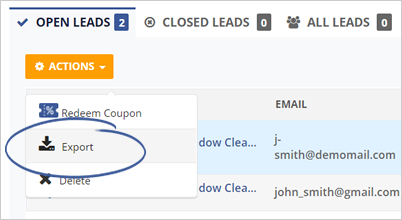
Here are the different actions that you can use for each lead:
Automation Tab
Your Automation tab enables you to add your automation and assign different sequences and actions for your campaigns.
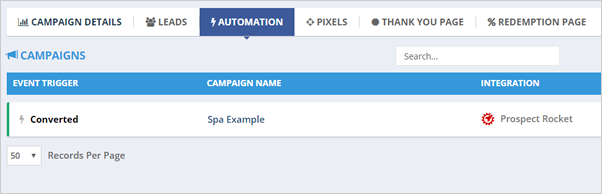
Here some few things that you can do from the Automation tab:
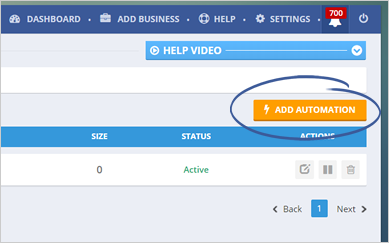
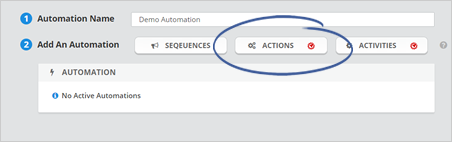
Step 1. To start adding automation, click the Add Automation button.
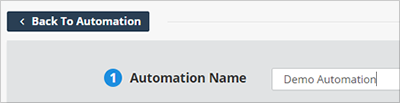
Step 2. Type your automation’s name.
Step 3. There are three automation that you can add: Sequences, Actions, and Activities.
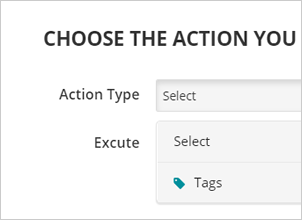
Let's say we want to automatically add a tag once a button is clicked. To do that, we will be selecting Actions as our automation.
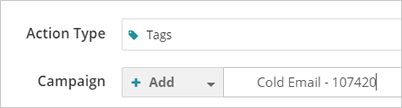
Step 4. Select Tags as your action type.
Step 5. Select a campaign. In this example, we are tagging it to the Cold Email Campaign once the action is triggered.
Step 6. Add your desired delay. Once you are done, click Save.

Pixels Tab
The Pixels tab lets you add your retargeting pixel code. This code will help you automatically pixel a clicked or opened email and retarget your prospects.
![]()
Complete the following steps to use the Pixels tab successfully:
Step 1. Click the Setup Pixels tab.
![]()
Step 2. Click the + Add button.
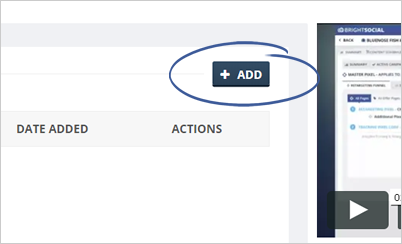
Step 3. Type your pixel’s name.
![]()
Step 4. Paste your pixel’s code and click Save.
![]()
Step 5. Go back to the Retargeting Funnel tab.
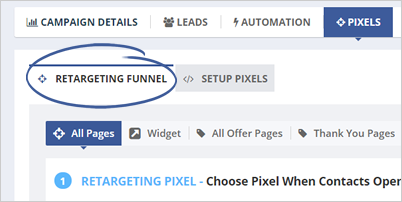
Step 6. Choose your pixel from the drop-down list. This action will set your retargeting pixel once an email is opened.
![]()
Step 7. If you want your retargeting pixel code added in all of your pages, paste your code here.
![]()
Step 8. Once you are done, click Save.
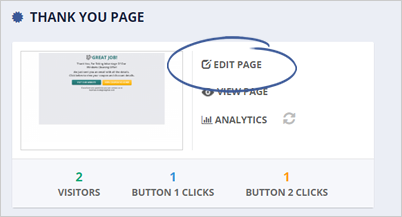
Thank You Tab
In this tab, you can instantly see the number of people who viewed your Thank You page. Your customer accesses your Thank You Page once they have opted into you offer.

This tab also lets you view your actual Thank You Page, or if you have any changes that you would like to add, you can go through the Edit Page.
Redemption Page Tab
The Redemption Page tab lets you see how many visited your page through the analytics. This tab also enables you to edit your Redemption Page, which your customers will use to redeem your offers.
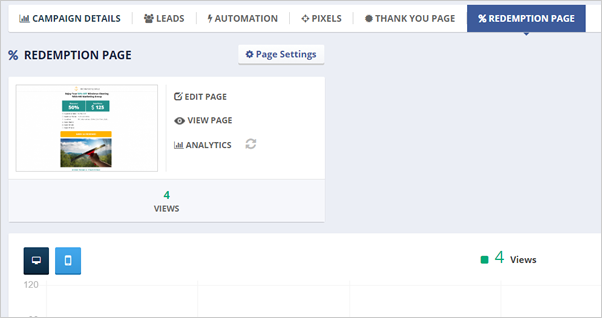
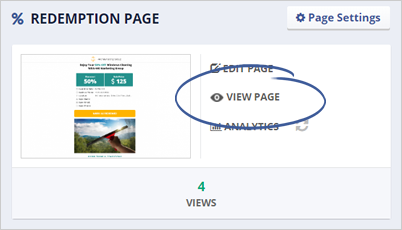
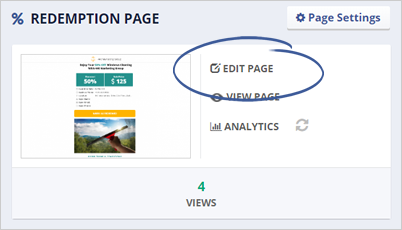
As you can see, the Redemption Page Dashboard displays a thumbnail of your Offer Page. On this page, you can already see the total Views of your page, the analytics (desktop vs. mobile), and the ability to edit your page.
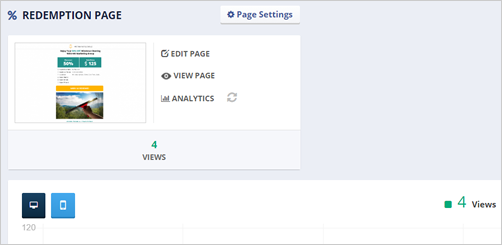
To view your actual Offer Page, click View Page. This action will open a new window in your browser that will display your actual Page.
If you want to edit your Redemption page, click Edit Page.
Related Articles:
How to Choose a Template for Social Posting Offer
How to Create a Posting Offer
How to Create a Website Offer
How to Set up Automations for Posting Offer Campaigns