
Your email sequence will be completed in this last step of the wizard. You will be able to review your email and customize it to your preferences.
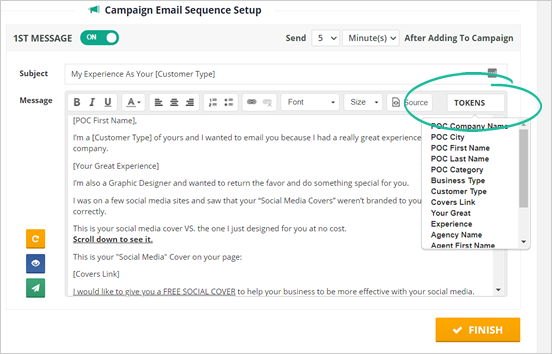
You can use tokens to customize your email details if you wish to.
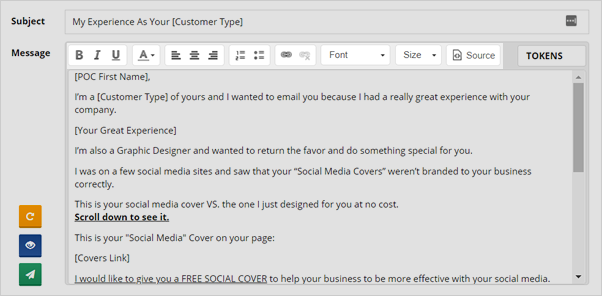
Use the editor’s formatting tool to customize your fonts and make your message body as personalized as you like.
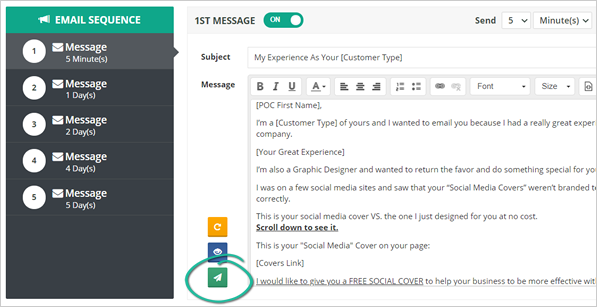
Use the Send Test feature to send an email to yourself to preview the email as it will be sent to your prospect and then add changes if needed.
You can also manage when your email will be sent out to your lead by adjusting this field. You can determine by minutes, hours, and days.
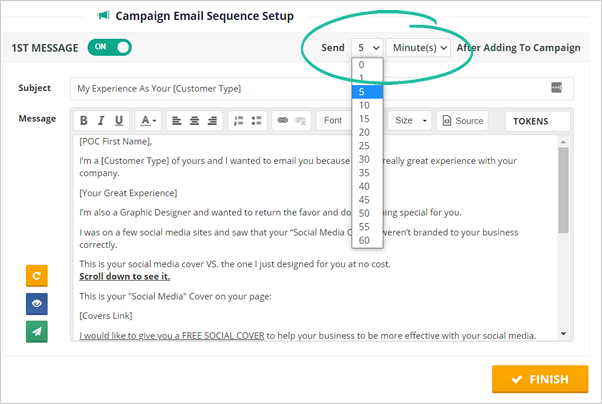
Once you are done updating your emails and are ready to send these emails to your leads, click Finish.
Congratulations! You've just completed setting up your Lead Gen Campaign.