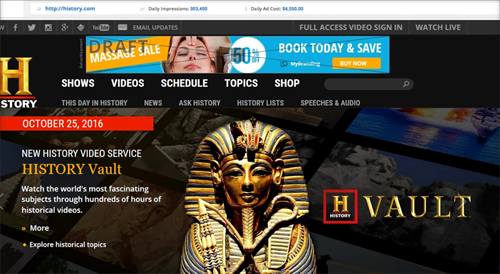
A Live Preview lets you see what your Banner Ads look like on a website page. When you create your first banner set for a new business, that set of banners will automatically be your default Live Preview. This article will guide you through the process of setting up and changing your Live Preview.

Note:

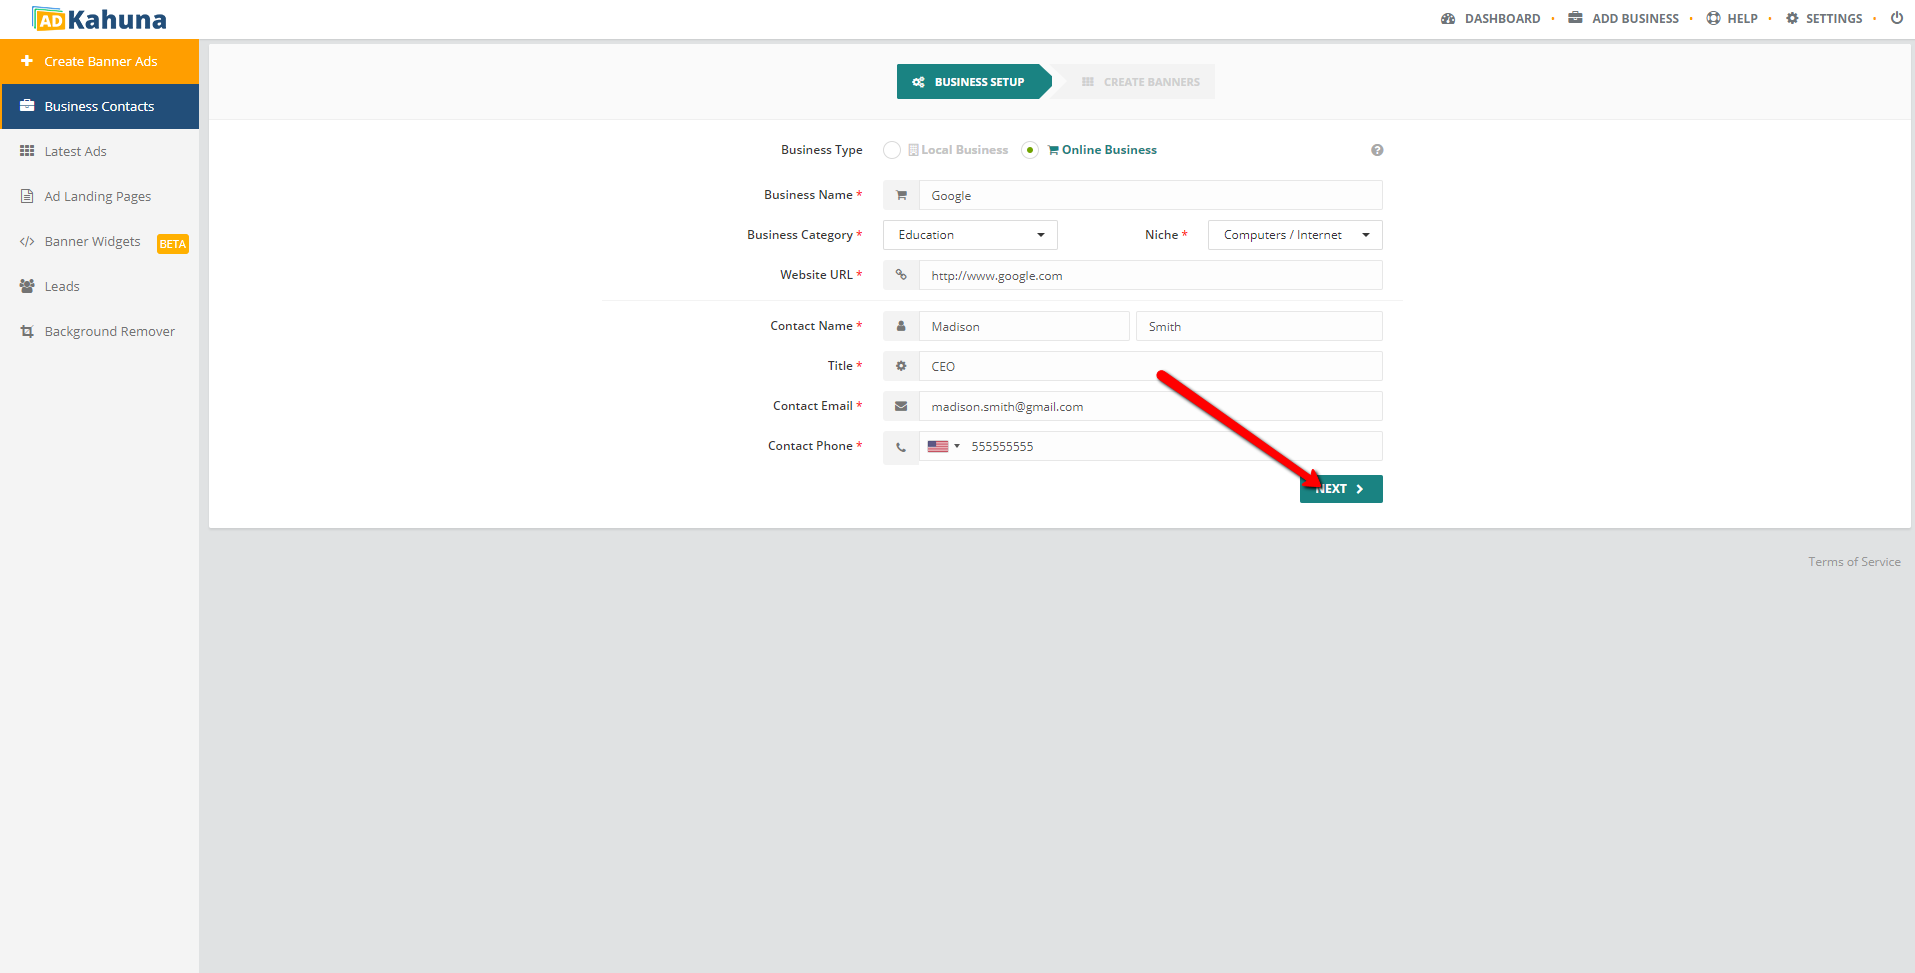
You need to have unique phone contact associated with the business to generate the Live Preview URL correctly.


How to Setup Live Preview for a New Business 

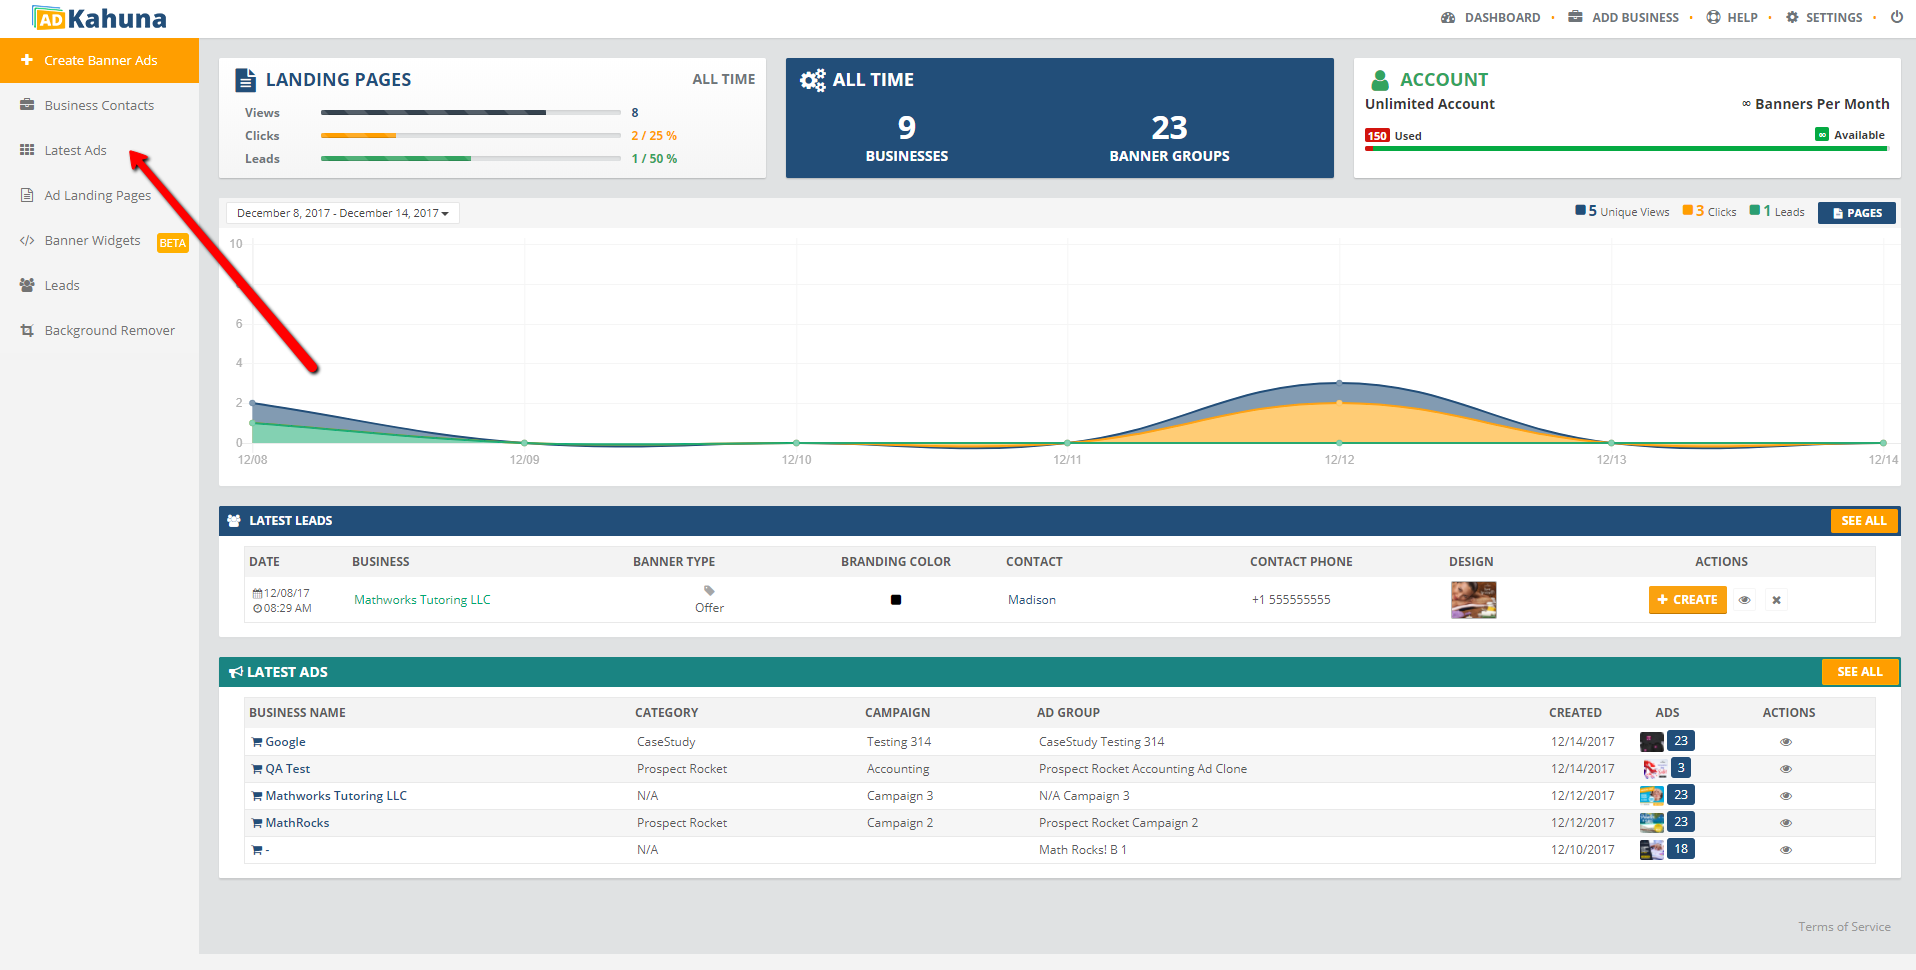
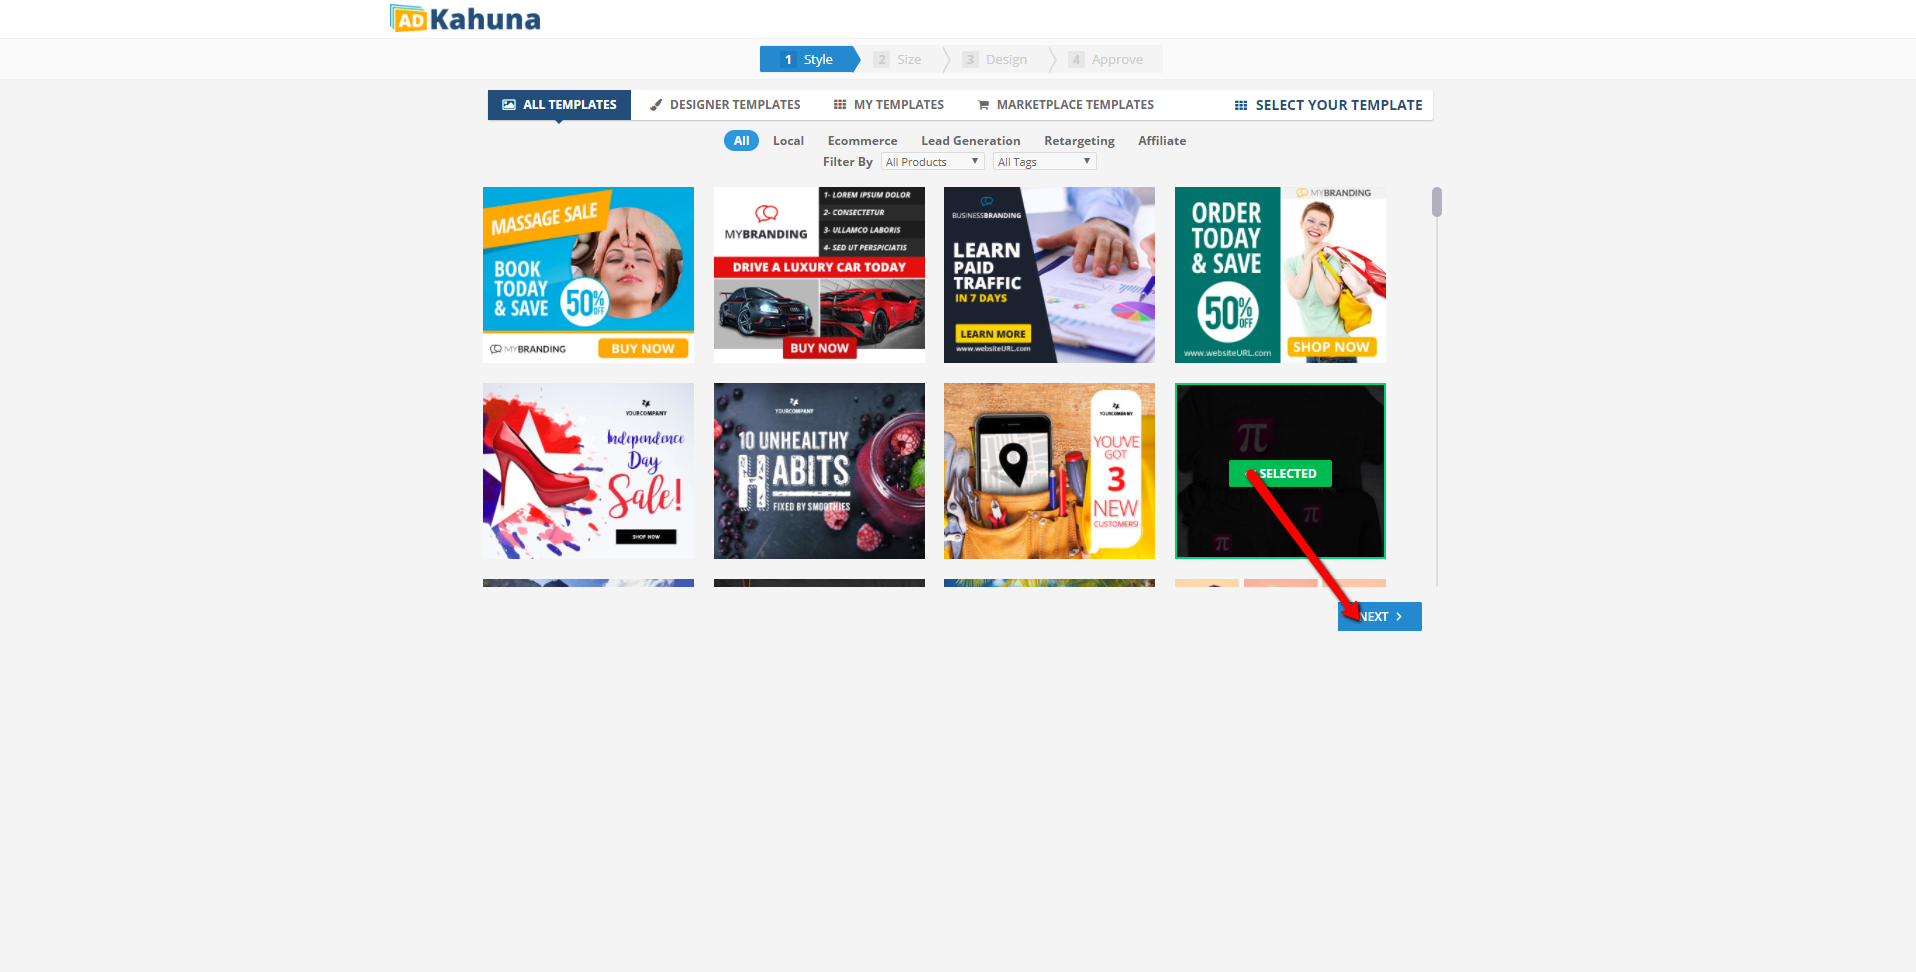
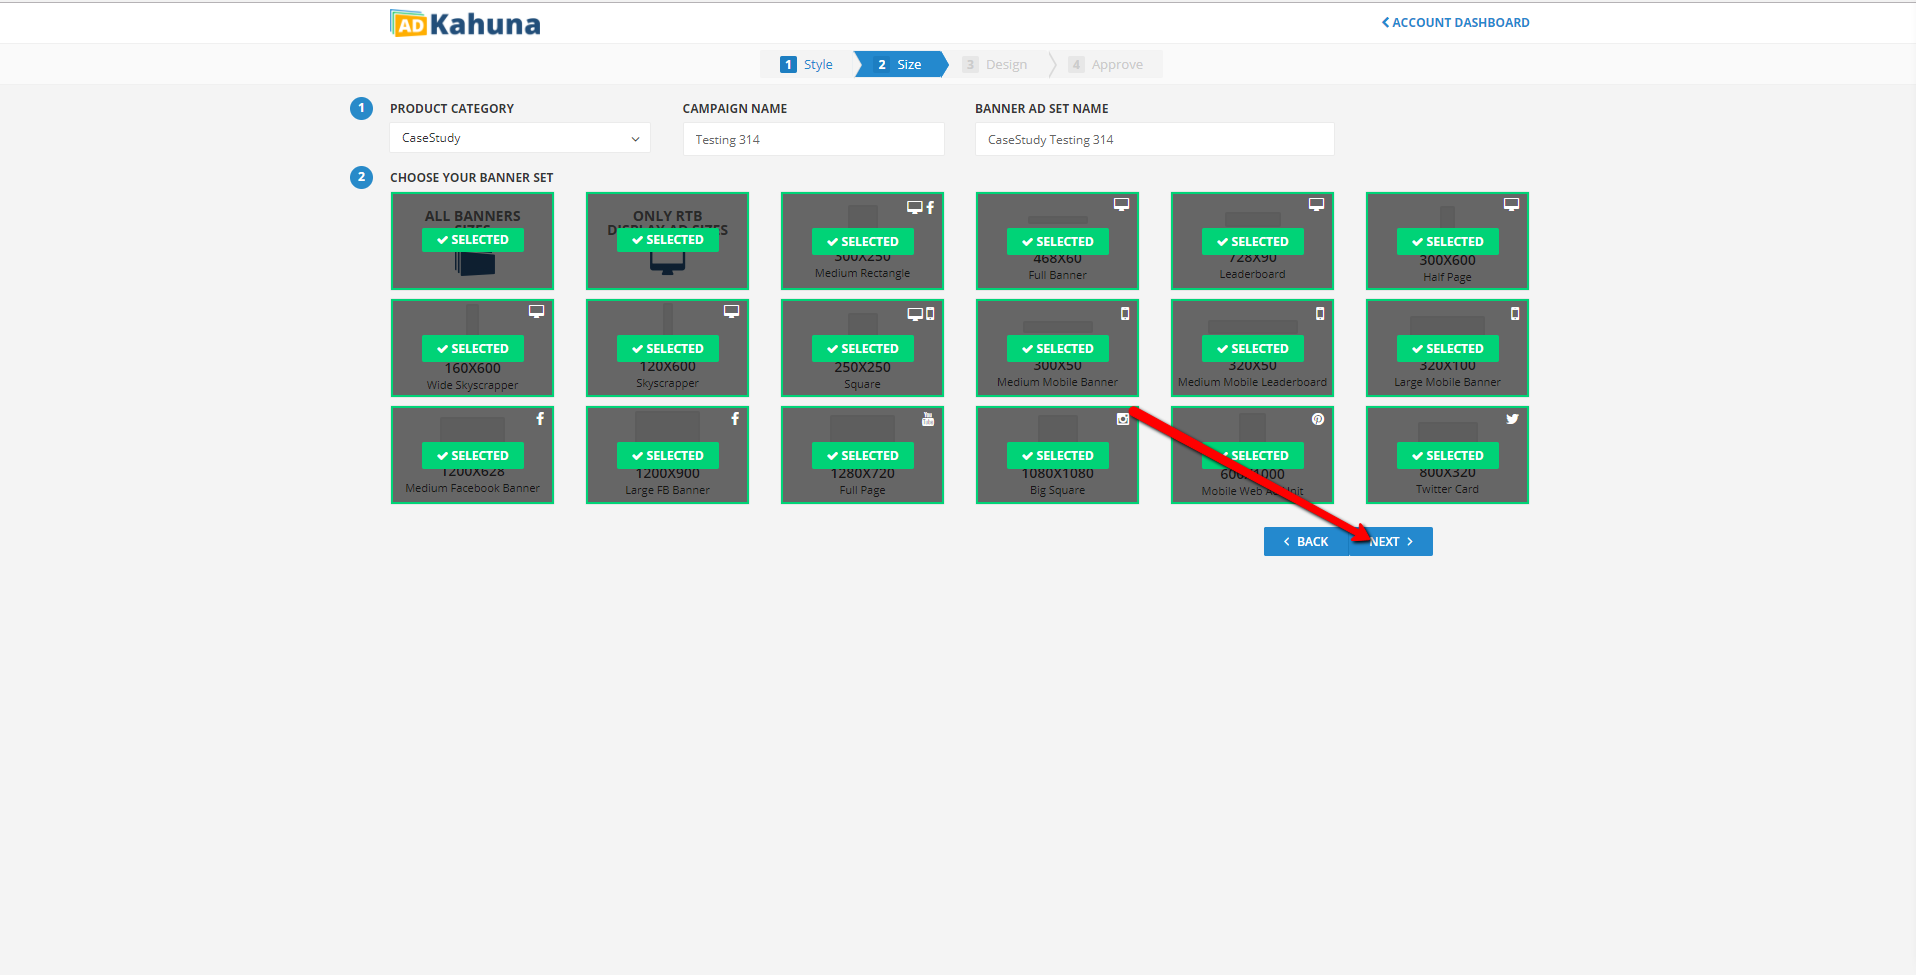
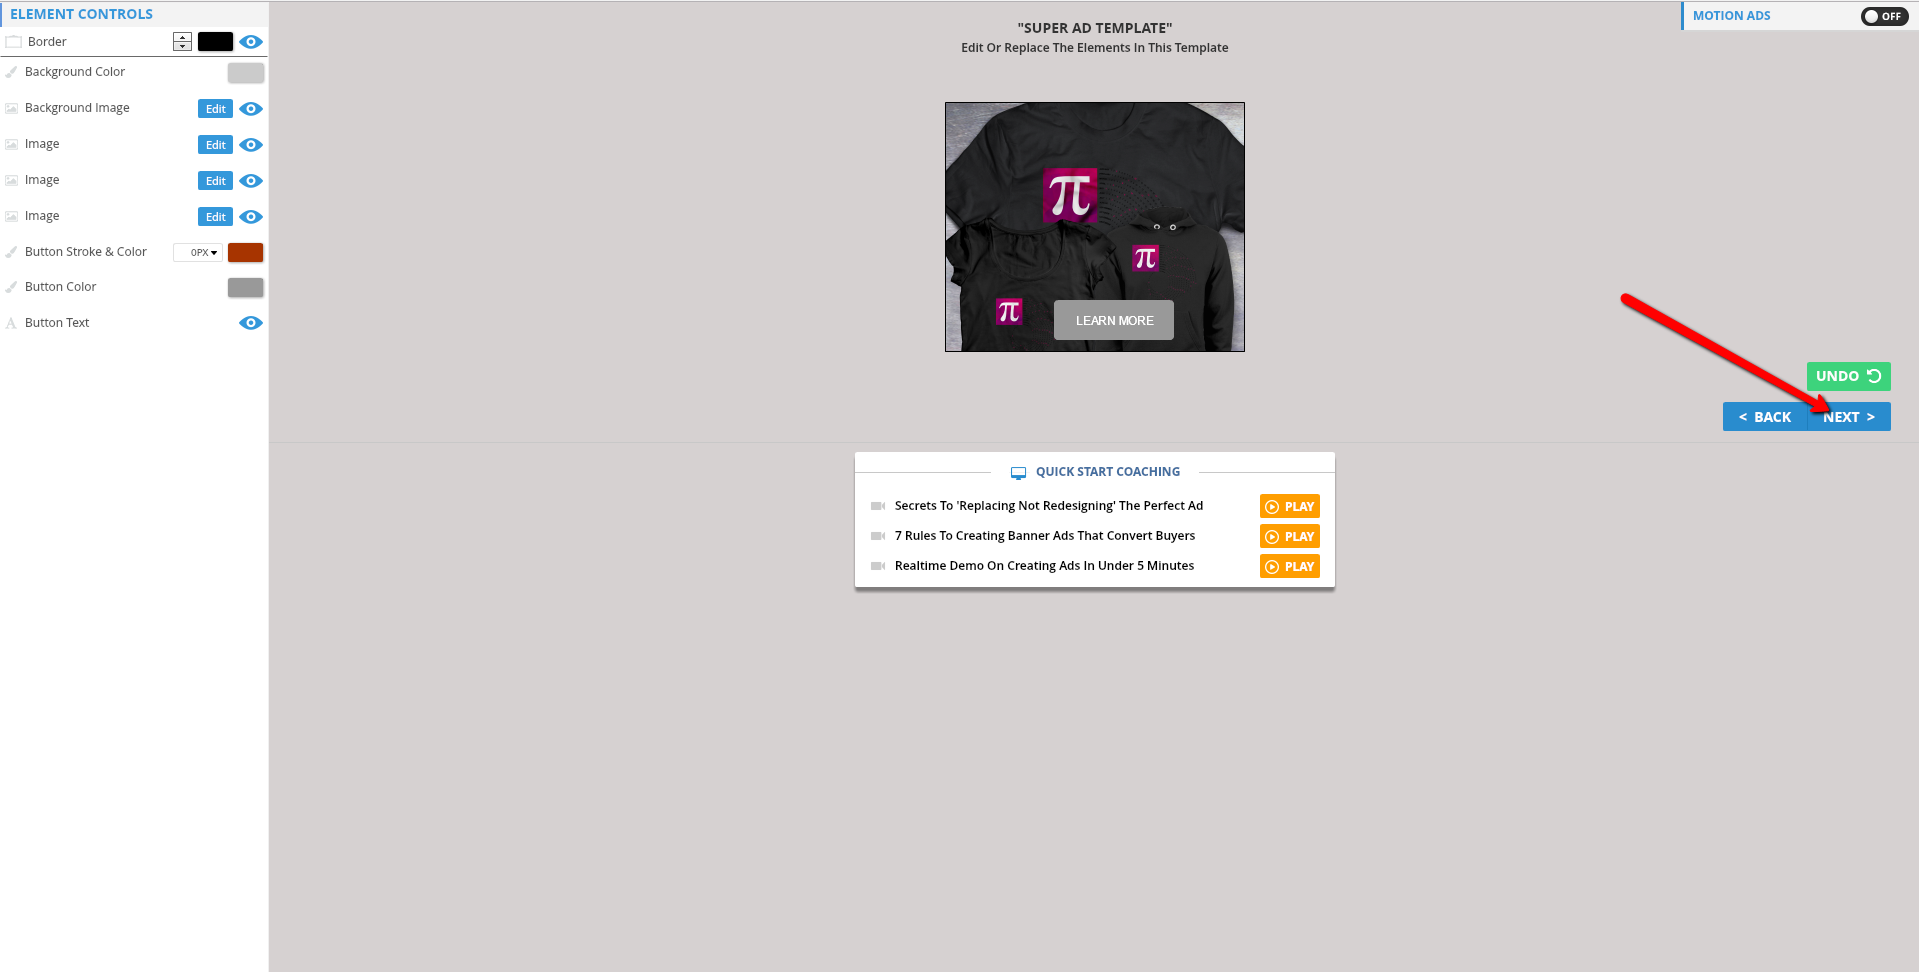
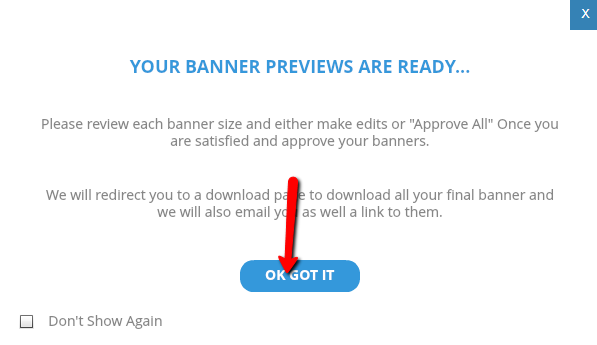
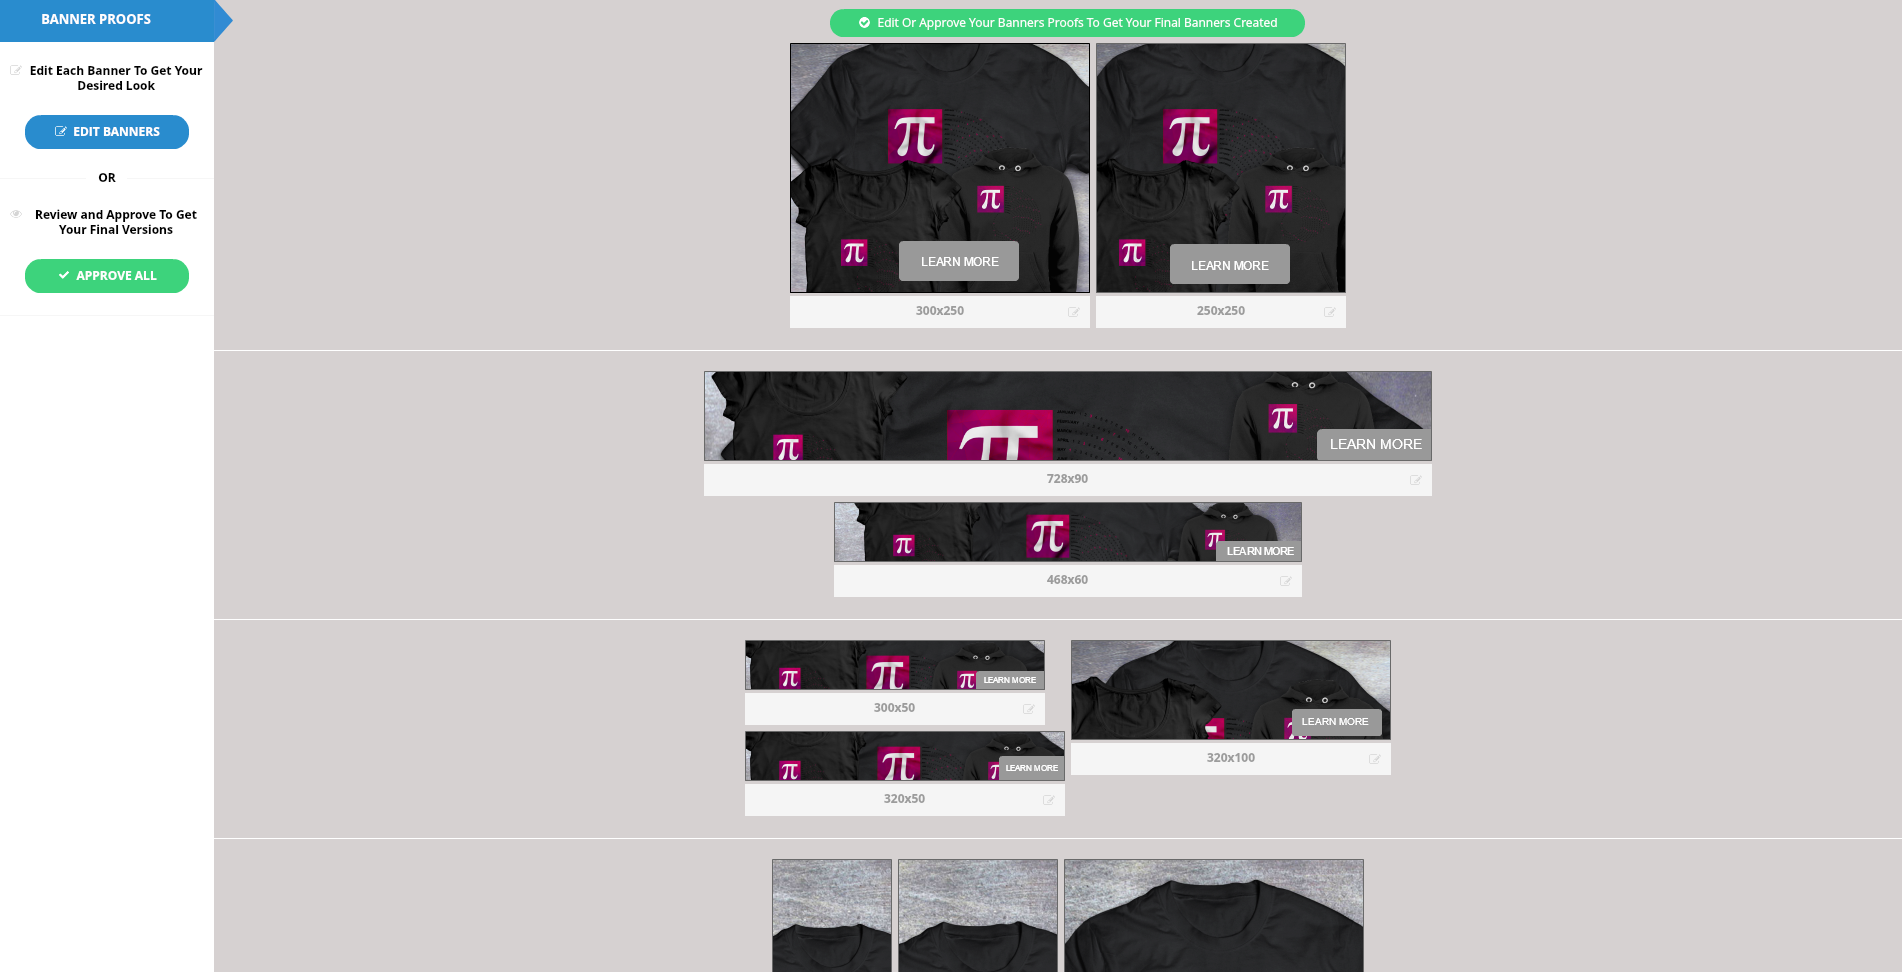
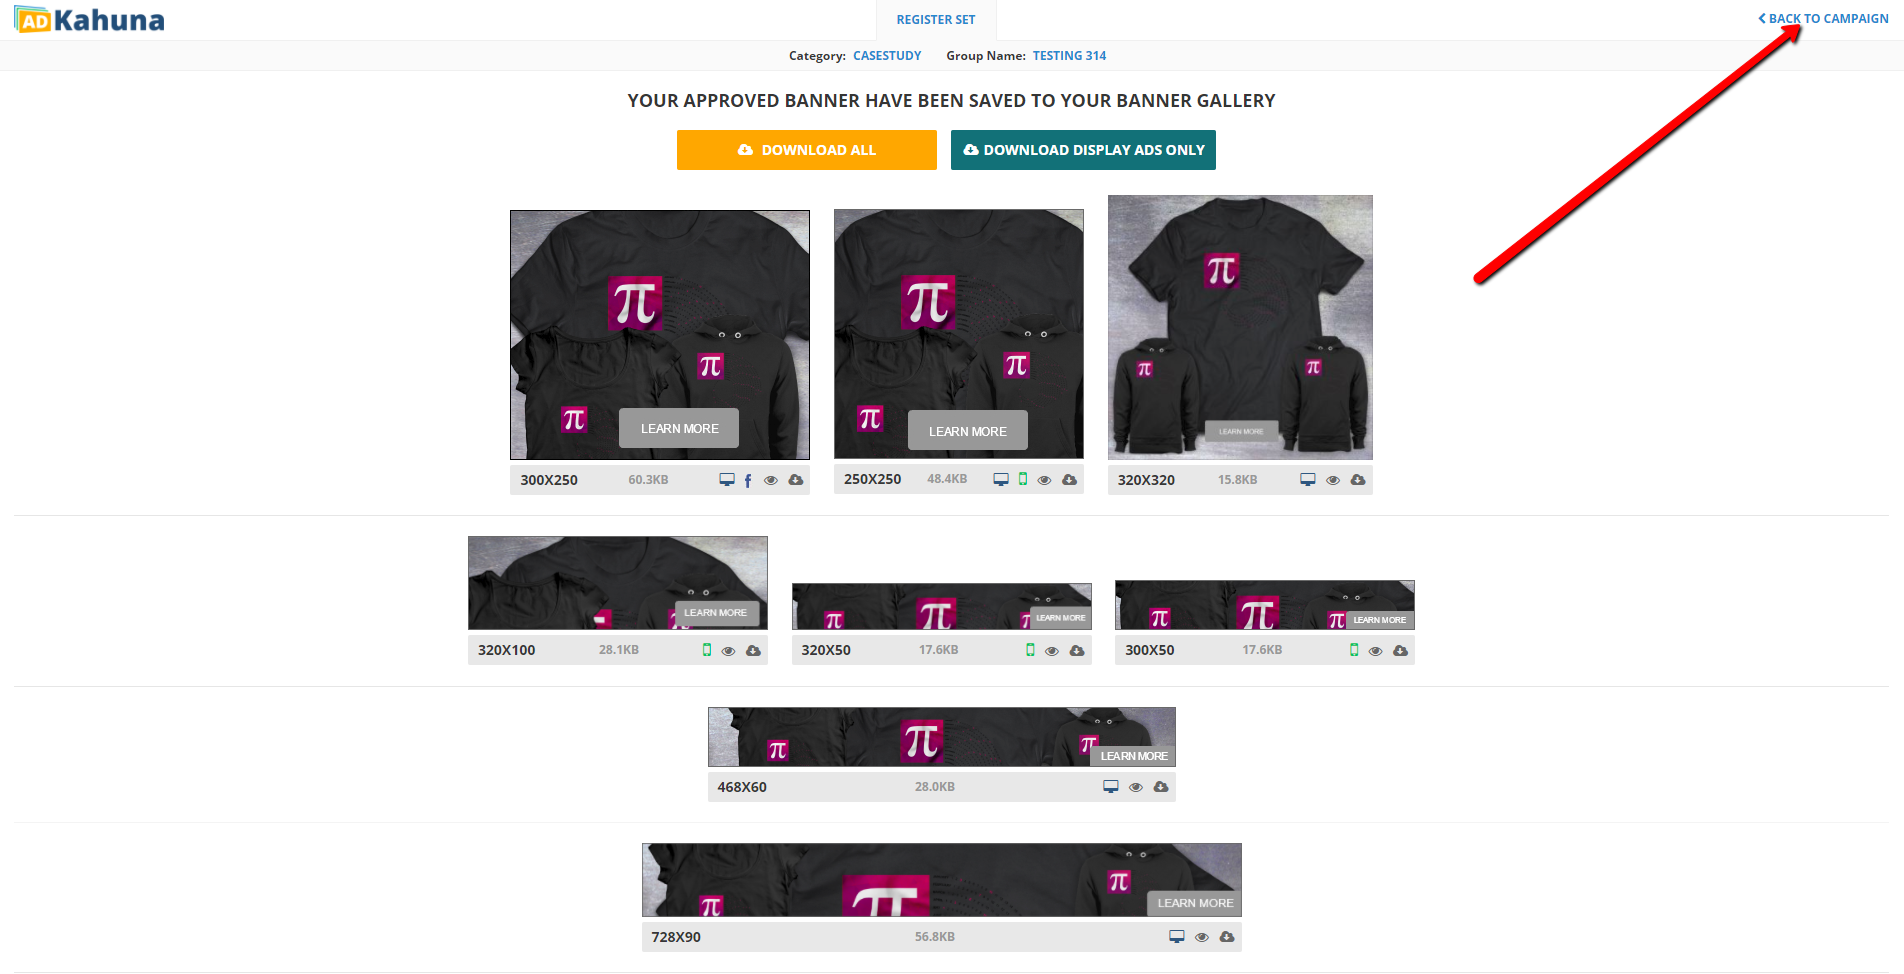
Complete the following steps to successfully set up your Live Preview from your first set of ads:

  1. From the Dashboard, click Add Business.
  2. Enter the new business's information and click Next.
     
  3. Select a Banner Style and click Next.
  4. Create your Banner Ad Set Name and select the sizes of your Banners. Click Next.
  5. Design your ad using the Element Controls. Click Next.
  6. Click Ok Got It
  7. Click Approve All to finalize your ad’s design. To make any changes, click Edit Banners to edit your ad’s design. 
  8. On your Registration Page, click < Back To Campaign and click the company’s name that you just created.
  
  1. Click Ad Groups Tab. The first set of ads that you just created will have the following red icon 
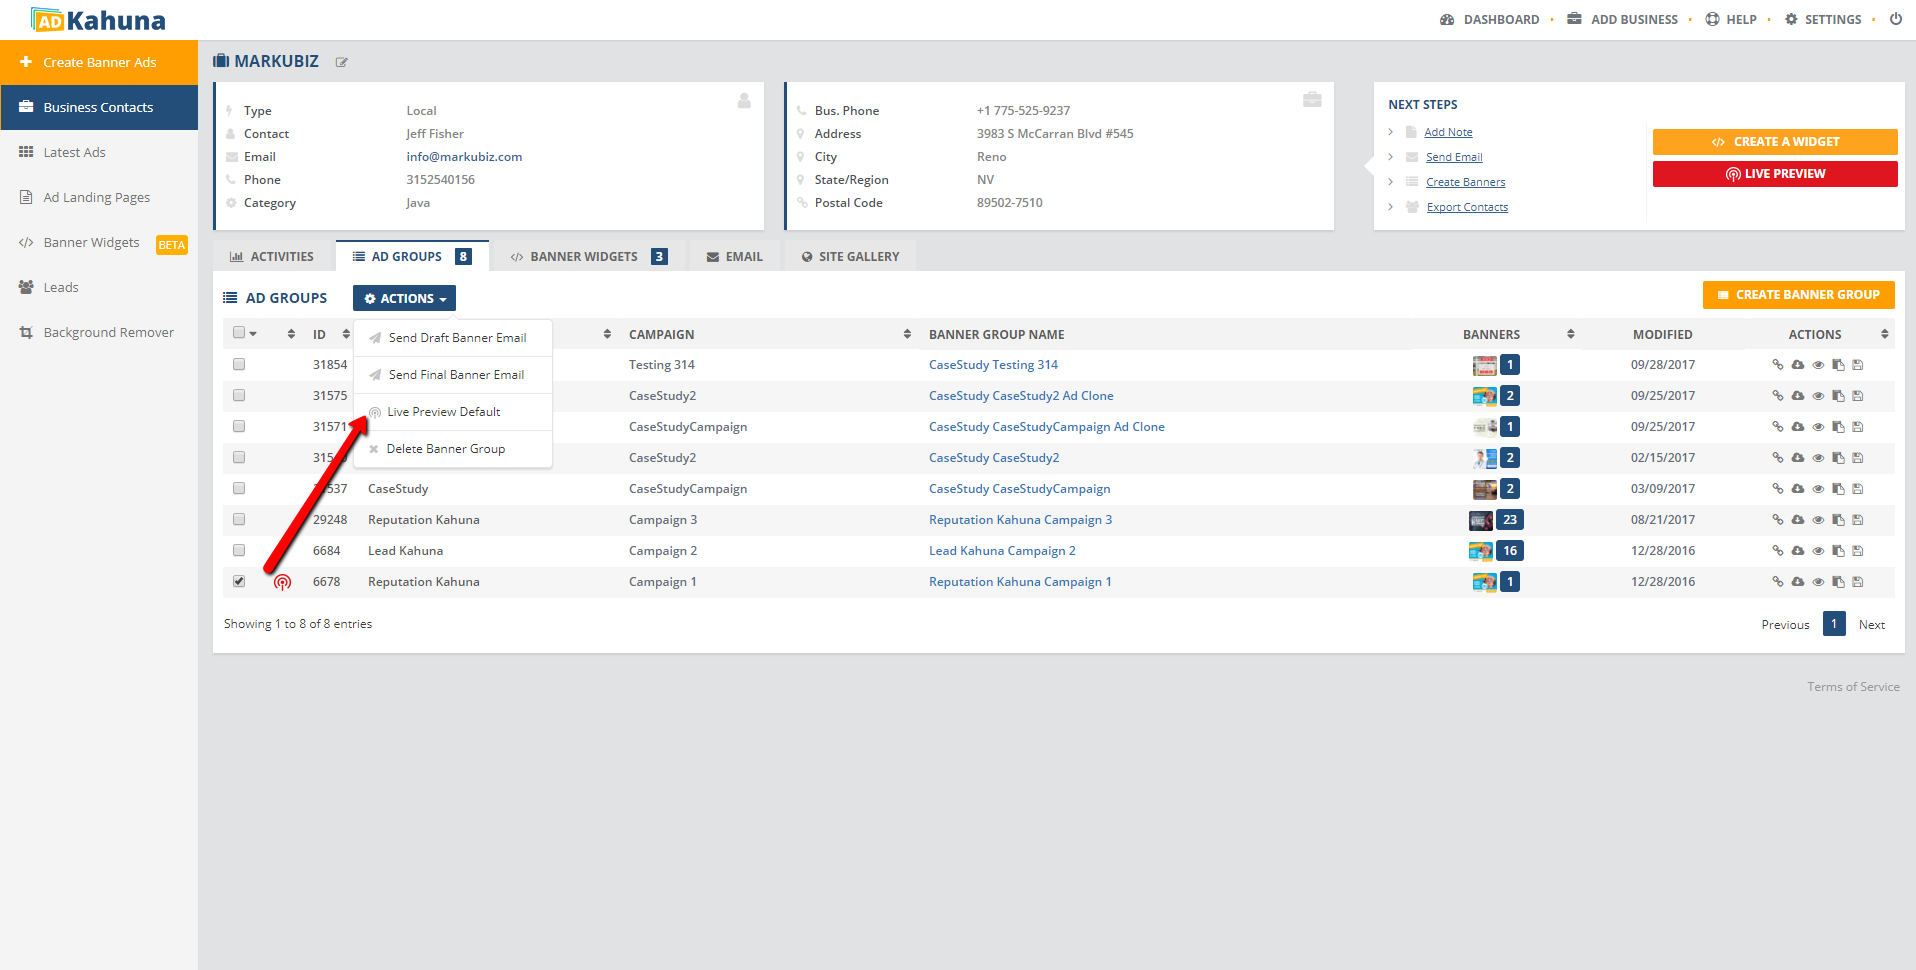
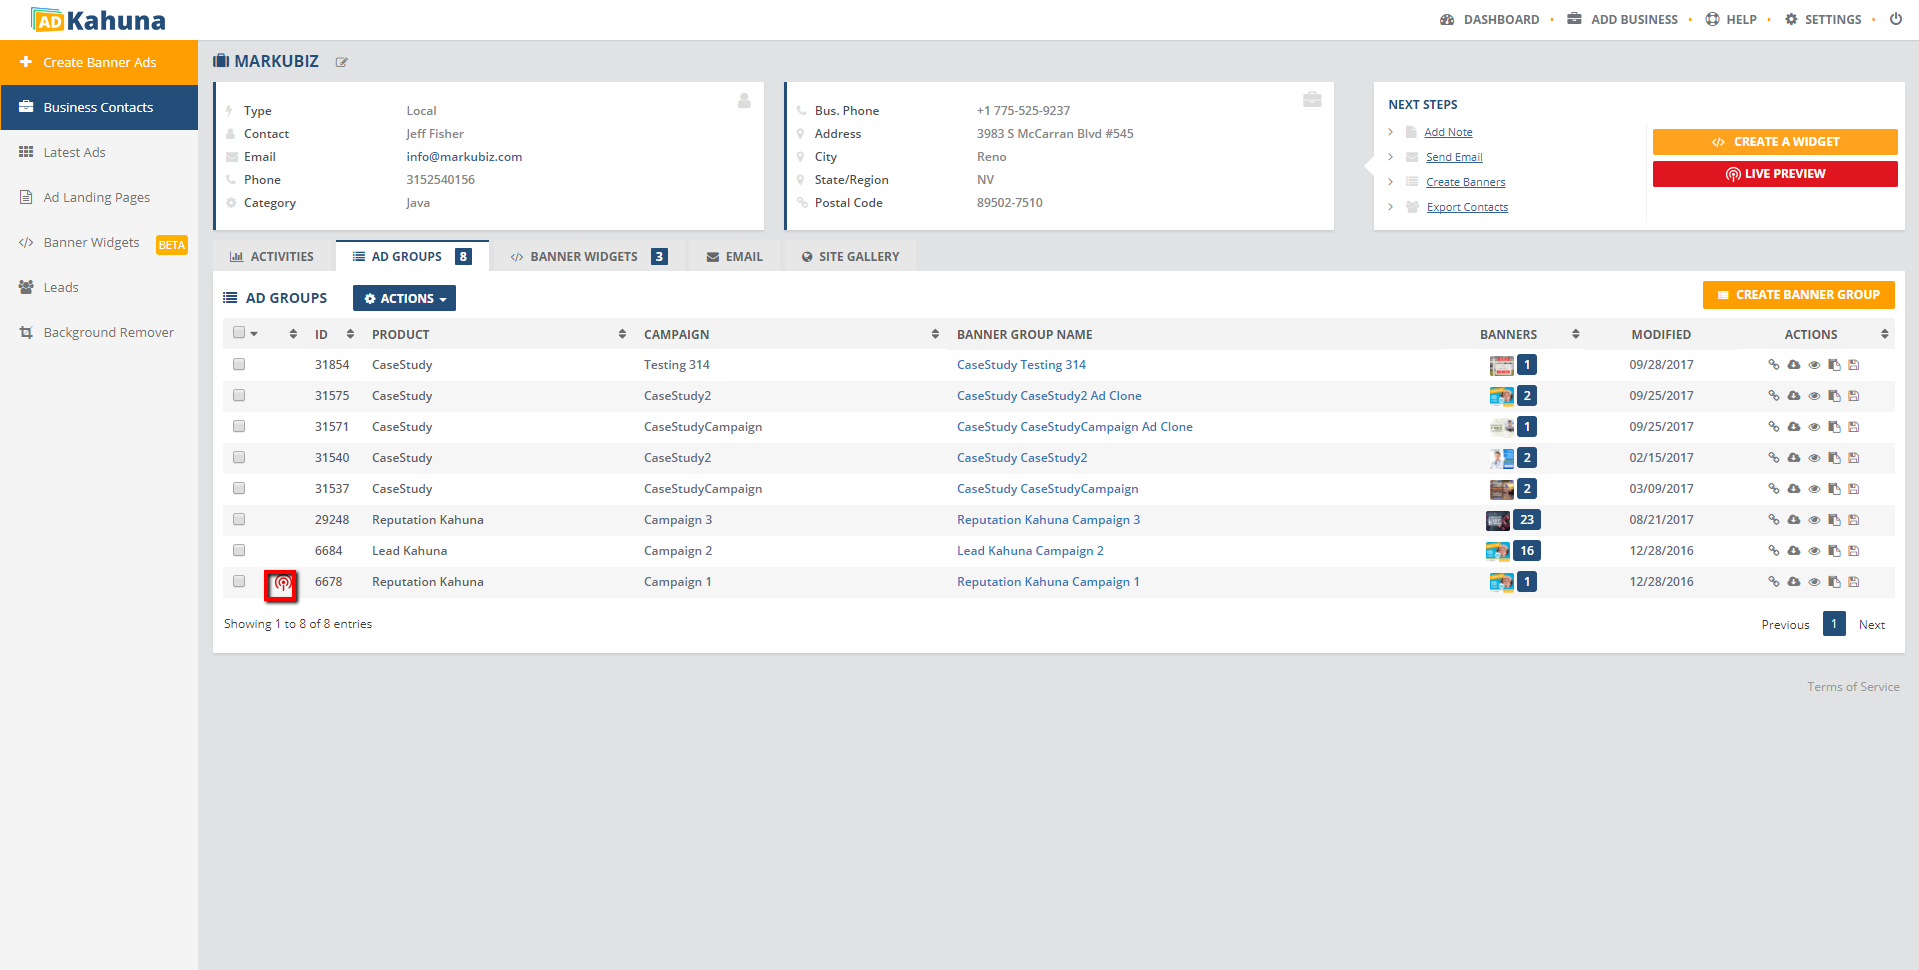
, which means that your Live Preview is active on that set of ads. Click the Live Preview button  to activate the Live Preview function. 

How to Setup Live Preview for an Existing Business 

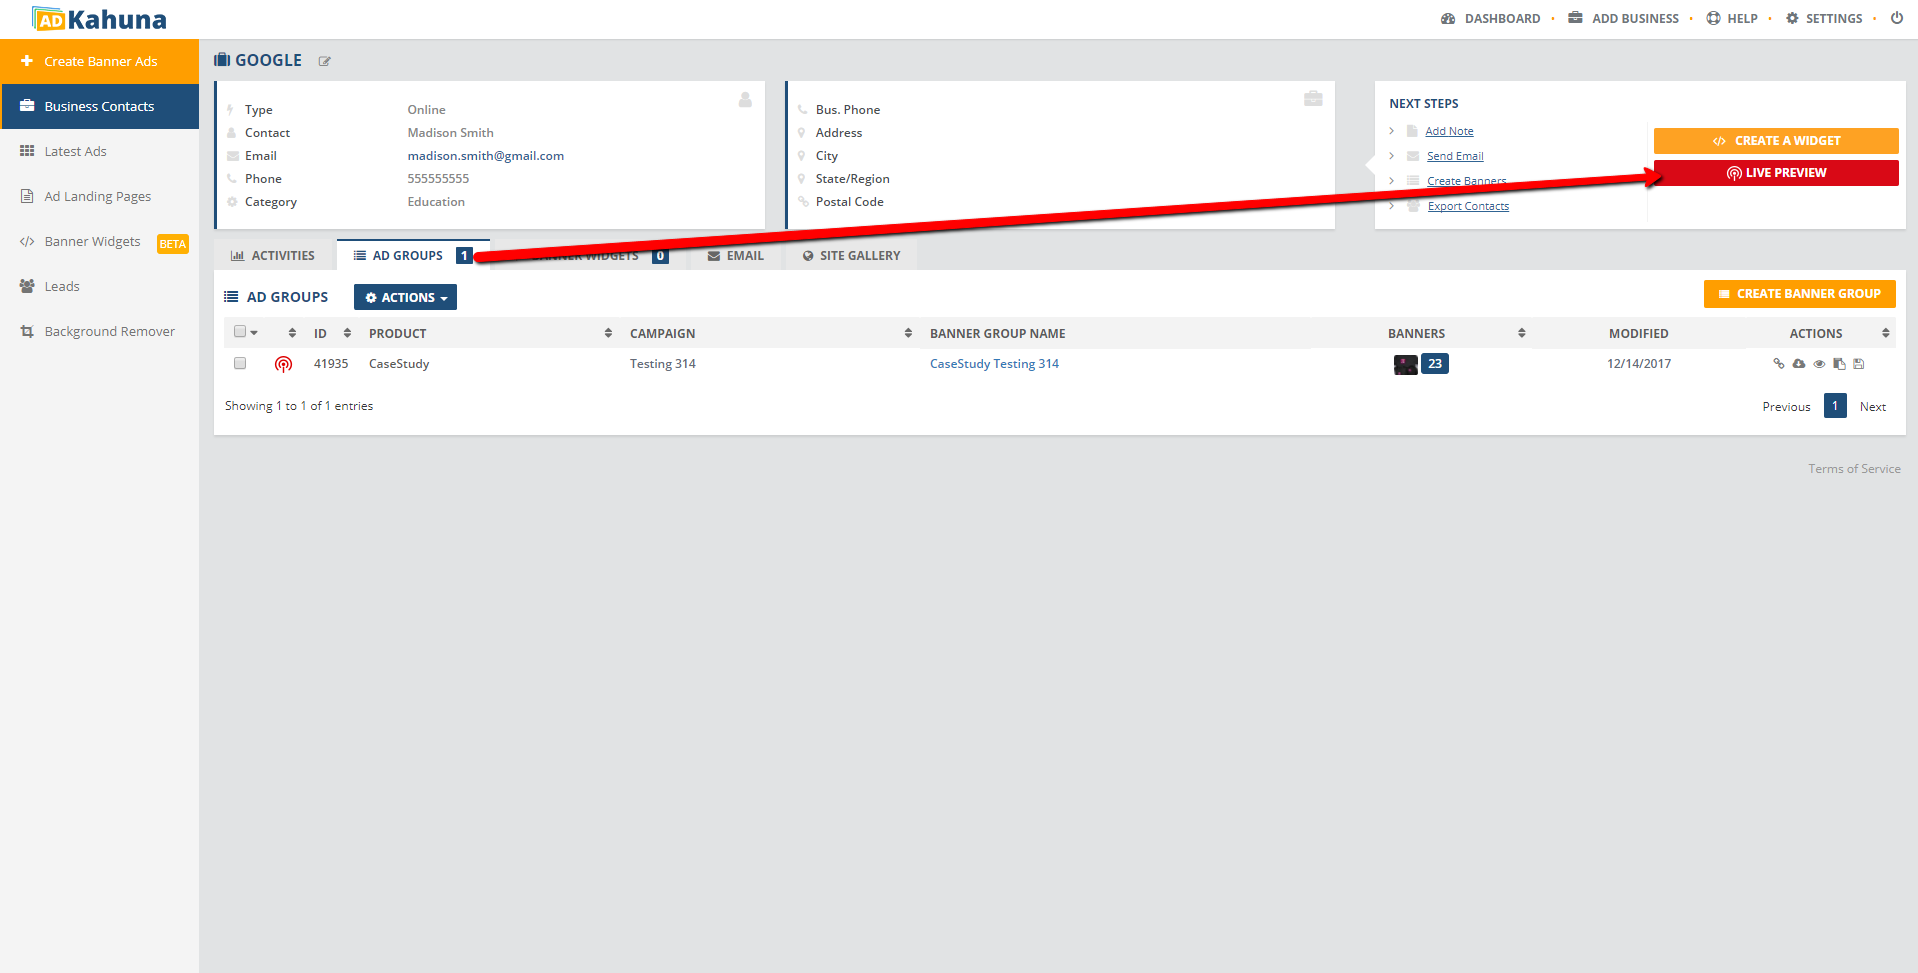
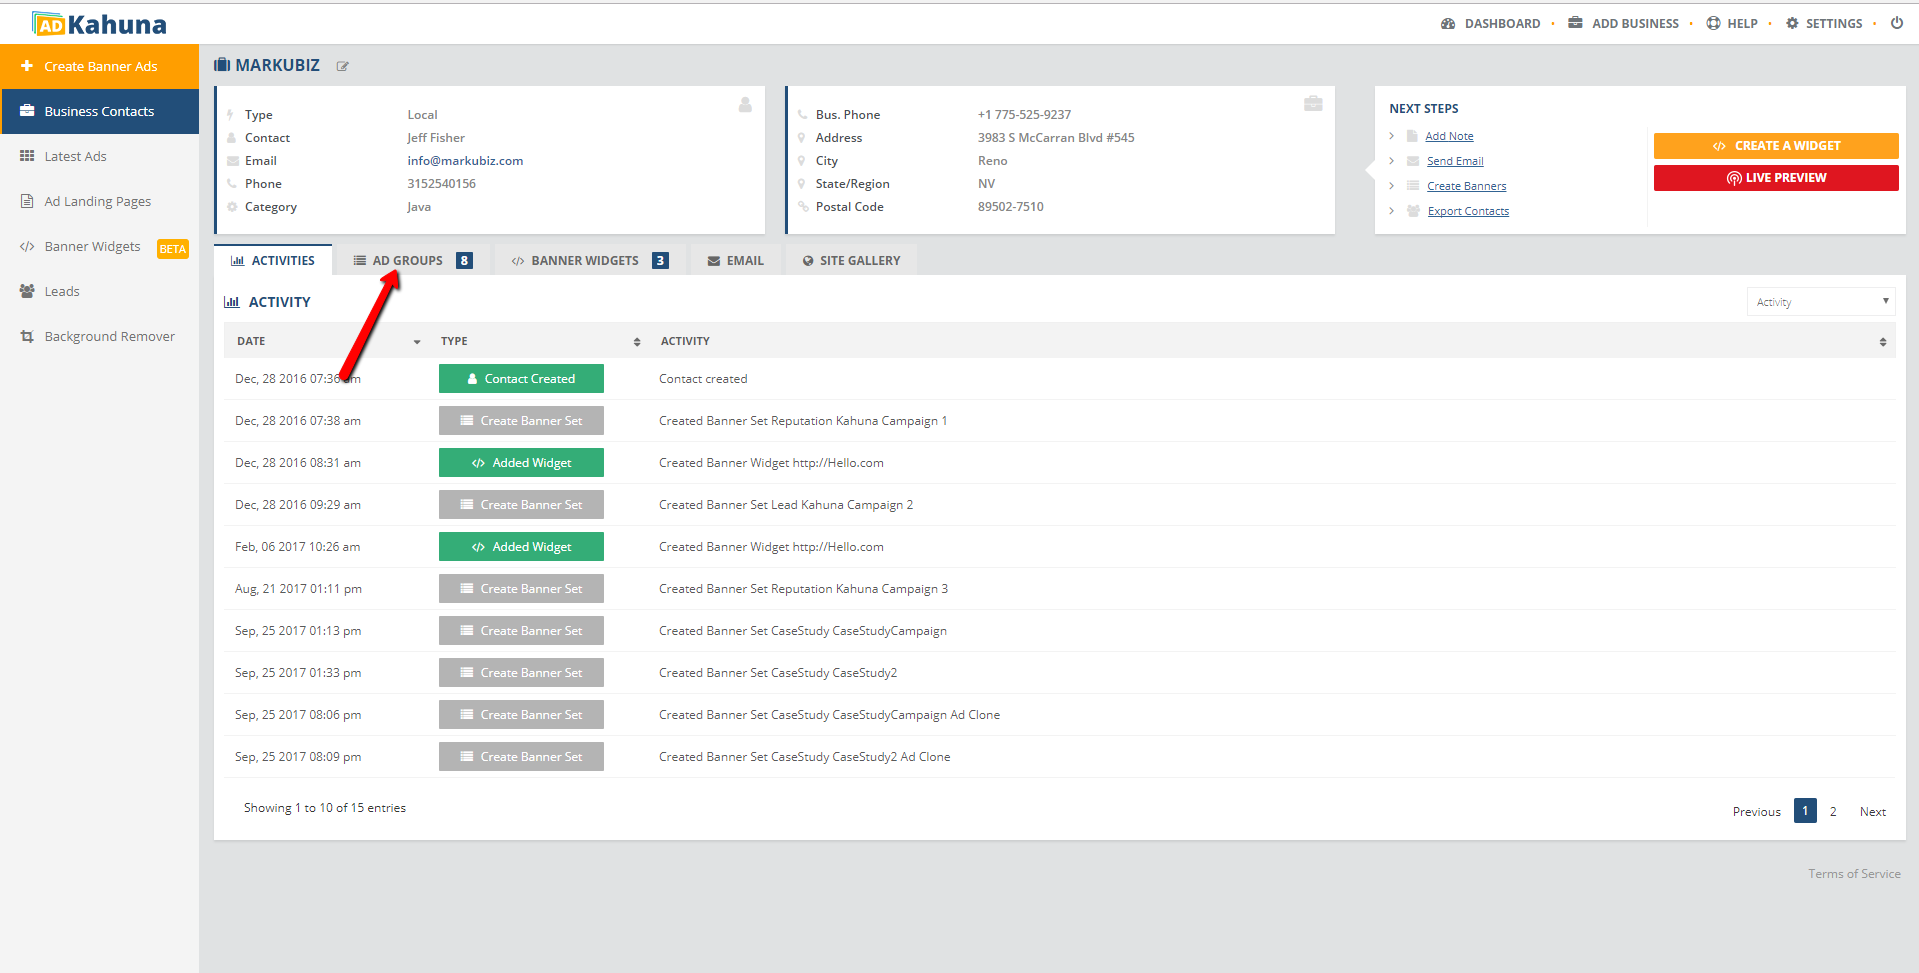
Complete the following steps to successfully change the default Live Preview on an existing Banner Set:

  1. From the Dashboard, click Latest Ads.
  2. Select the Business Name that you need to setup.
  3. Click Ad Groups
  4. Select the Banner Set that you need to set as your default Live Preview and click Actions > Live Preview Default.
  5. The Banner Set that you selected is now the default Live Preview for the business that you selected.