The Confirmation Page lets you set up what users will see once they opt in to get your services. The setup is very similar to a Landing Page. You can easily update all the elements on this page and remove certain areas. You can also set up your redirect if you need to send subscribers to your website or an information page or payment page.
To edit your Confirmation Page, follow these steps:
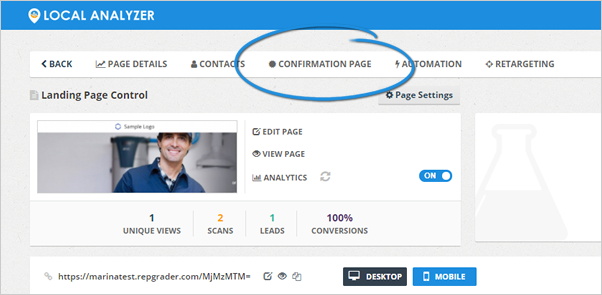
1. From the Landing Page dashboard, click the Confirmation Page tab.
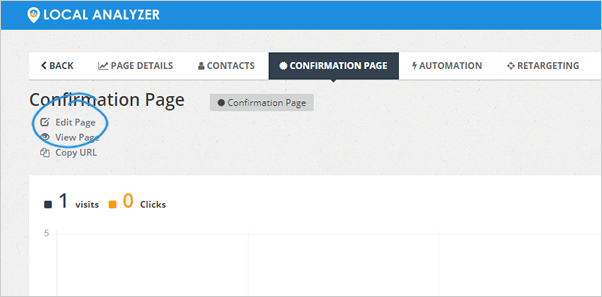
2. Click Edit Page.
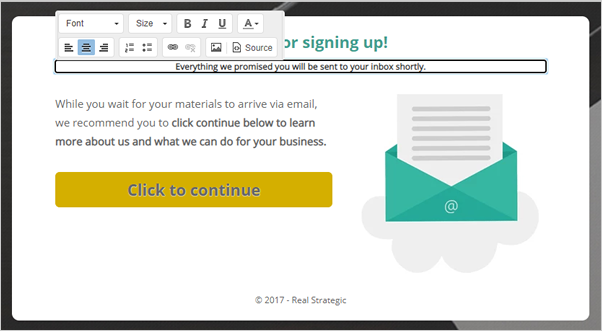
3. To change your Headline, click this element in the editor and type in your new Headline.
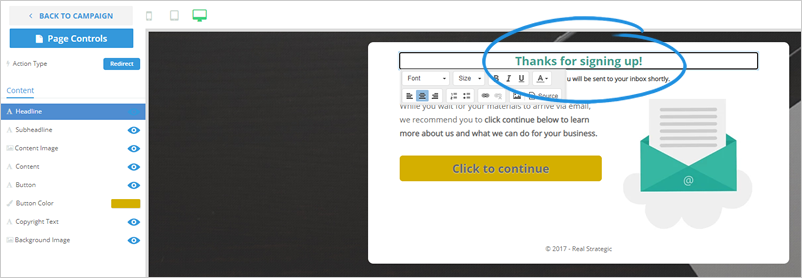
4. If you want to hide this element, click the eye icon. This step is also applicable for all elements that you want to hide on your Confirmation Page.

5. Change your Subheadline by clicking the element in the editor.
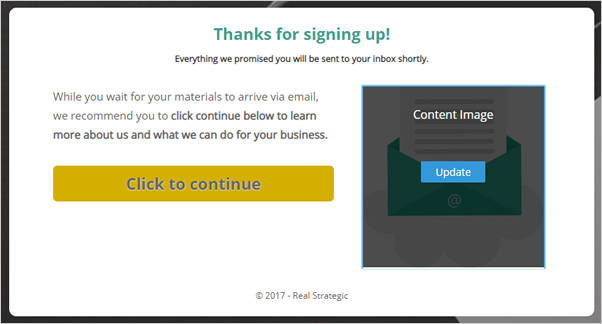
6. Update your Content Image by hovering your mouse on this element and click the Update button.
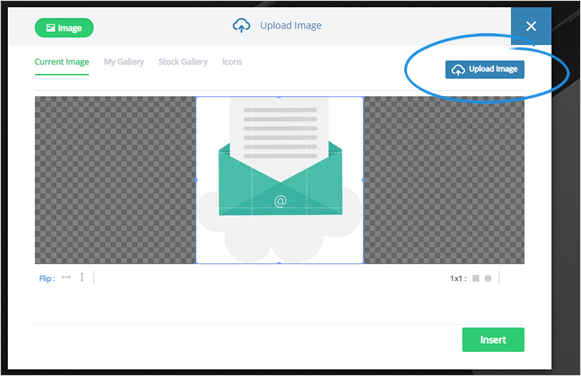
7. Select an image from the gallery or click the Upload Image button to use your image.
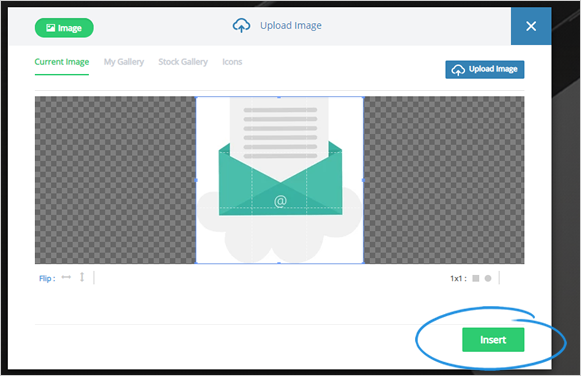
8. Once your image is uploaded, crop your image and click Insert.
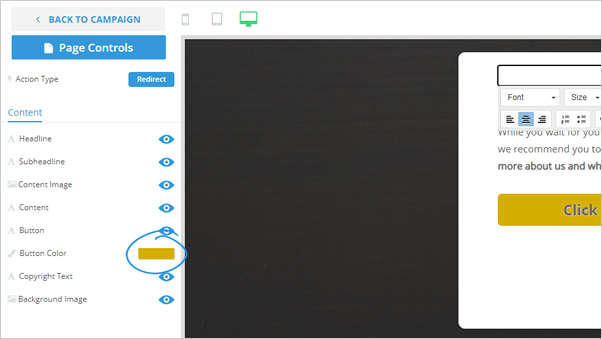
9. To modify your Button Color, click the color tile.
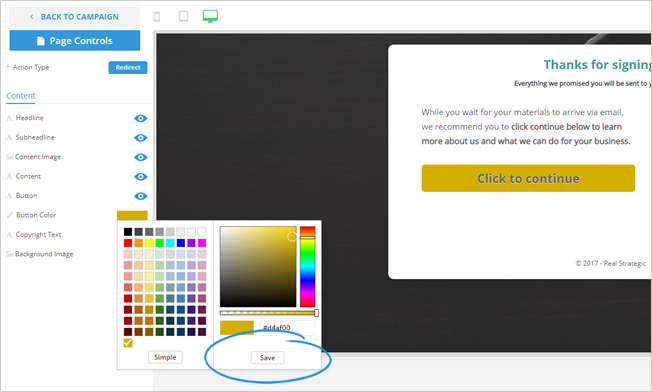
10. Select a color that you want to use and click Save.
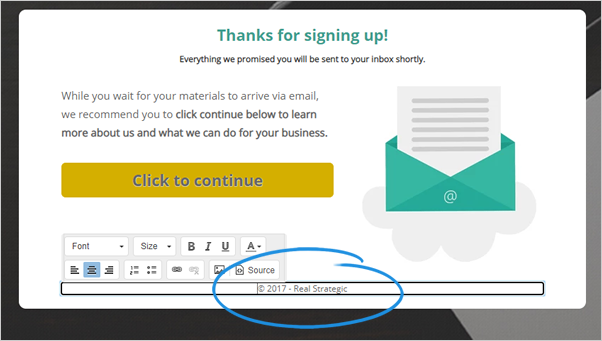
11. Click on the Copyright Text element to start changing its contents.
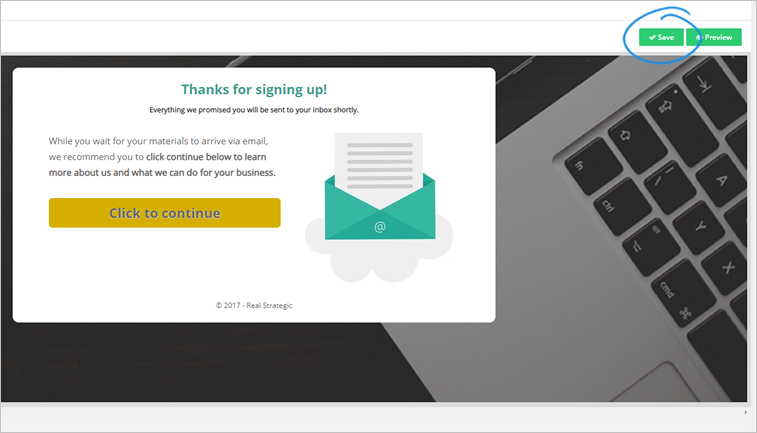
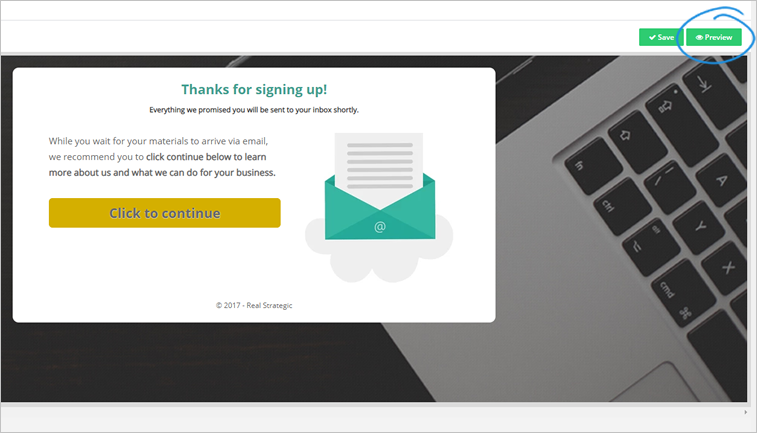
12. To see your actual Confirmation Page, click Preview.
13. Once you are happy with the results, click Save.