From the Confirmation Page editor, adjustments can be made to cater to your business’s needs.
To edit the Confirmation Page, follow the steps below:
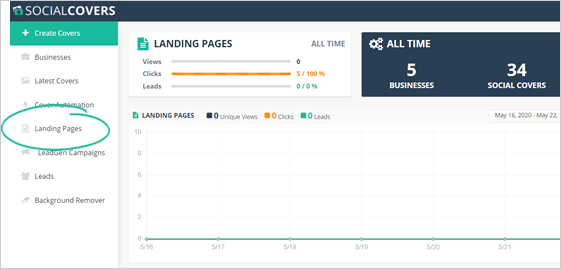
Step 1
From the main dashboard, click Landing Pages.
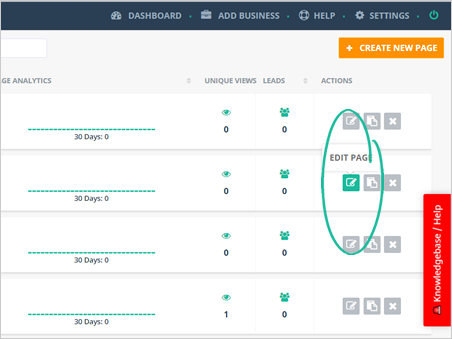
Step 2
Click the Edit Page icon on the landing page you want to set up.
Step 3
Click the Confirmation Page tab.
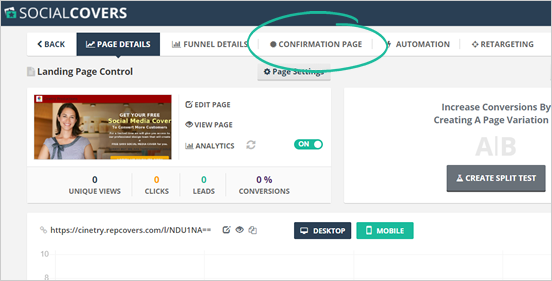
Step 4
Click Edit Page.

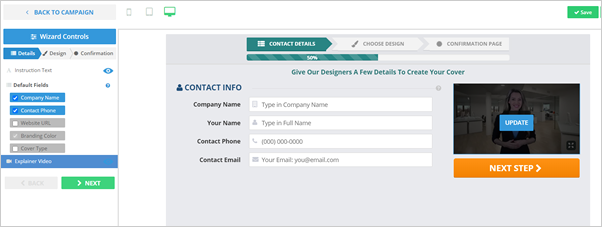
Step 5
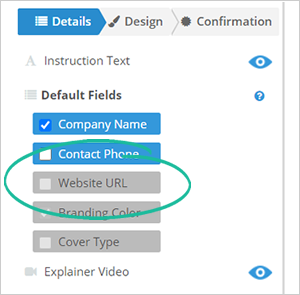
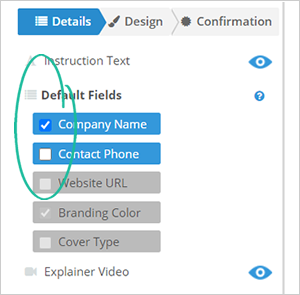
Change the Instruction Text and the wizard’s Explainer Video as needed.
To change an element in the preview window, click on that field. If you want to update the Explainer Video, hover your mouse over the video element and click the Update button.
Step 6
Click Next when done.
Step 7
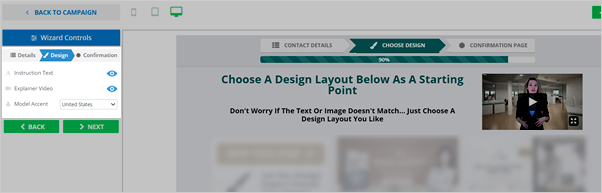
Update the design of your page using the different element controls of this wizard step.
Step 8
Click Next when done.
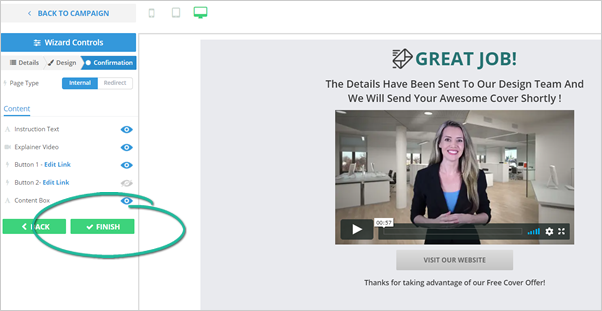
Step 9
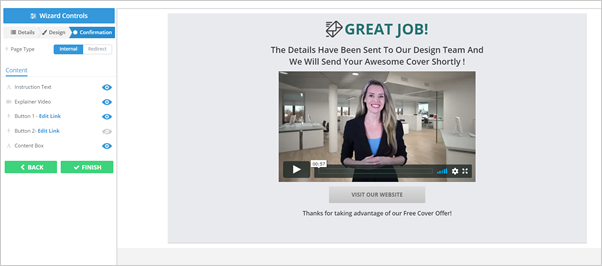
Confirm the selections you just made.
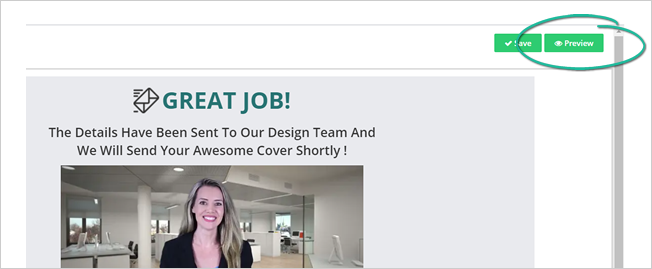
Step 10
Click the Preview button to view the confirmation page.
Step 11
When you are happy with the results, click Finish.
Related Articles:
Confirmation Page Analytics Overview
How To Use Social Covers To Redirect People To A Website
Social Covers Advanced Training
Choosing the Right Cover Design and Size