
Creating high-quality covers in Social Covers does not require technical or graphic skills. You can create a cover for a single platform (like Facebook), or for a wide array of social networking sites.
Social Covers offers many beautiful designs that you can choose from, and each cover design is highly customizable.
From the main dashboard, click Create Covers.
Be sure to add a new business before proceeding to this section. Learn how to create a business here.
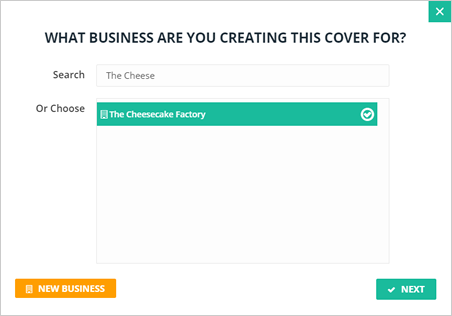
Select the business from the list for which you want to create covers.
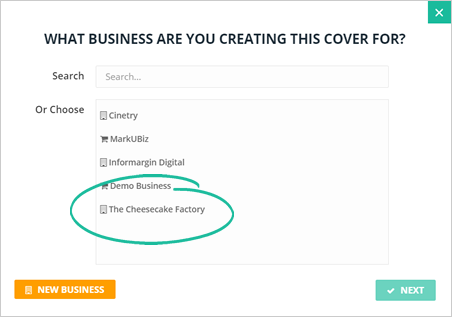
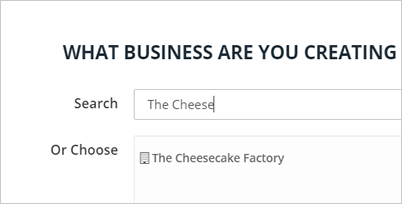
You can also utilize the search box if you have already added many businesses to your Social Covers account.
Once you've selected a business, click Next.
By default, all templates can be found inside the All Tab. If you need to select an industry-specific template*, sort the templates by clicking the different groups as shown.

*To get additional templates, you can visit socialcovers.com/oto. You can also find the bonus covers by subscribing to our community, www.strategicmarketer.com/SocialIC, and subscribing to $69 a month. Subscribing will let you access all the resources that we share in the community. These resources include the actual Facebook group that you can be a part of, get advice, suggestions from peers, get answers to your questions, and train for social media marketing.
Select the desired template and click Next.

Name the Cover Set (ex. Valentine's Day 202X, November 202X, etc.).
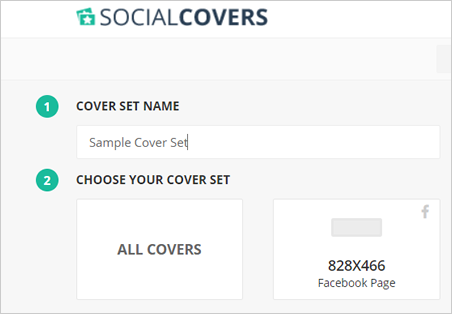
Select the covers you want included in your Cover Set.
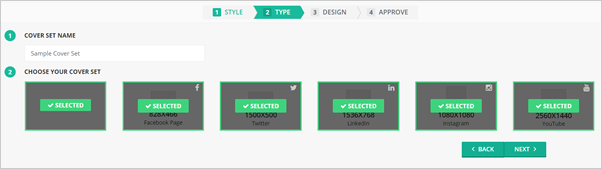
Click Next to proceed to the next section.
If you have AdBlock Plus or any similar extension installed, please disable it before proceeding to the Design Section. Social Covers uses a flash-based editor and might not function correctly if AdBlock is active.
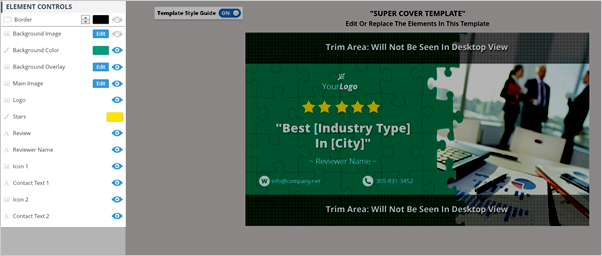
Design and fully customize your cover using the different Element Controls available on the left side of the page.
To learn more about the Element Controls, check out this article.
(You can also watch our Quick Start Coaching Video to learn how to create the perfect Social Cover).
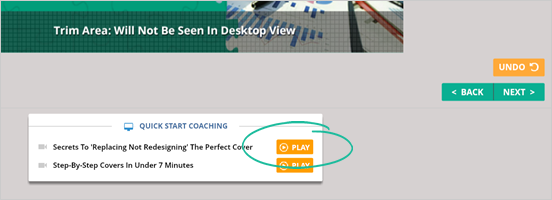
After customizing, click Next to finalize the cover set.
If you need to edit all your covers, click Edit Covers or hover your mouse on a selected cover and click Edit Cover to edit single covers.
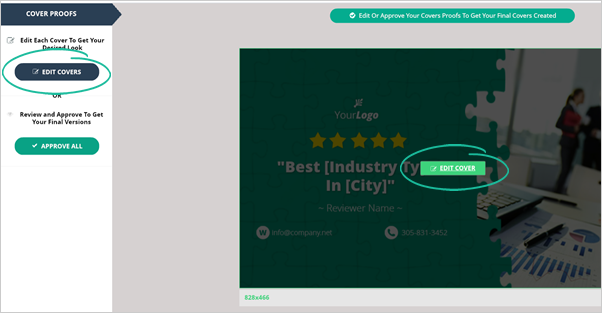
Click Approve All when you are fully satisfied with the design of all of your covers.

You can download all the new covers by clicking the Download All Covers button.
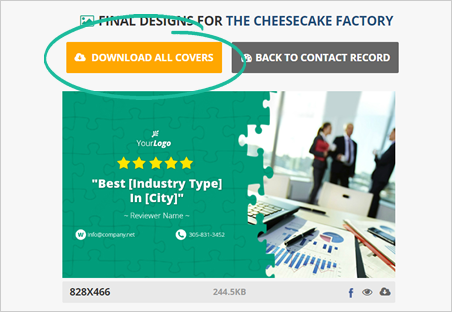
If you need to download a single cover, select the cover that you want to download and click the Download icon.

Click the Preview icon to see the design and size of the cover.
