This article addresses:
How to set up your integration.
Setting Up Your Integration
Complete the following steps to set up your integration:
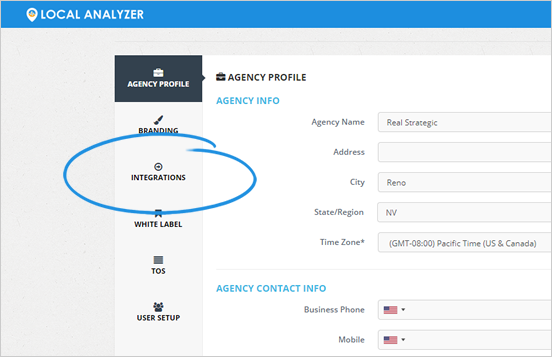
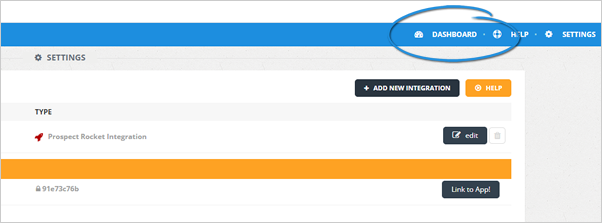
1. On the upper right-hand of your page, click Settings.
2. Click Integrations.
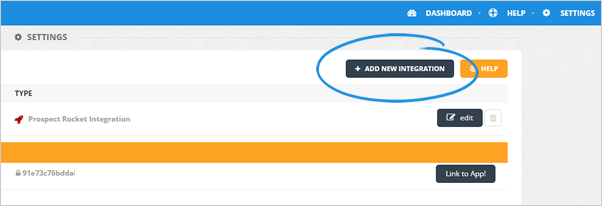
3. Click the Add New Integration button.
4. Choose the integration type from the list of available integrations.
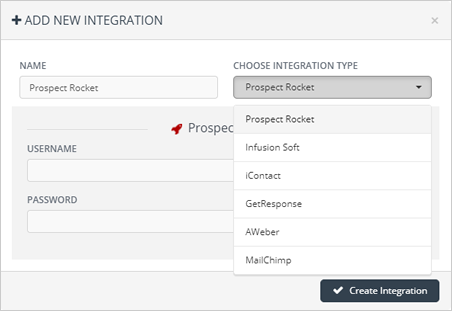
5. Type in your username and password.
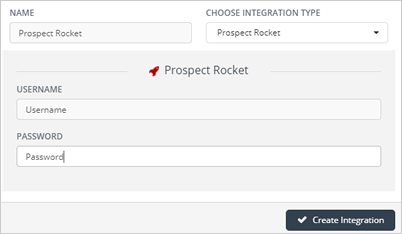
6. Once you are done, click Create Integration.
7. Once you have successfully added your integration, navigate to your main dashboard.
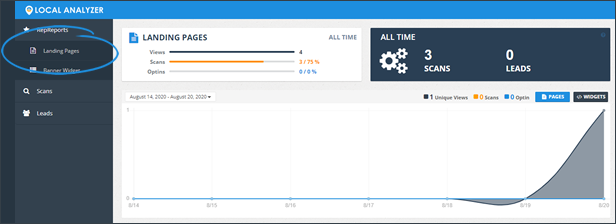
8. Click Landing Pages.
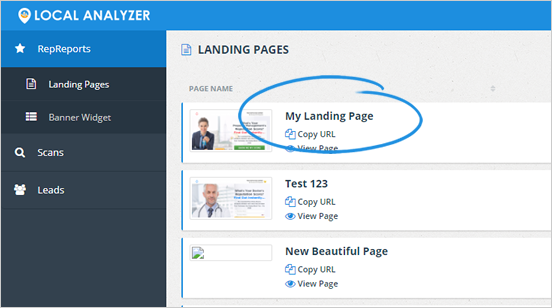
9. Select a landing page that you want to set up.
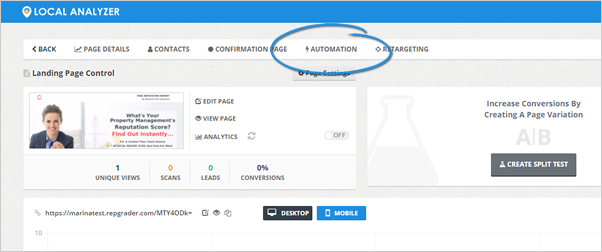
10. Click the Automation tab.
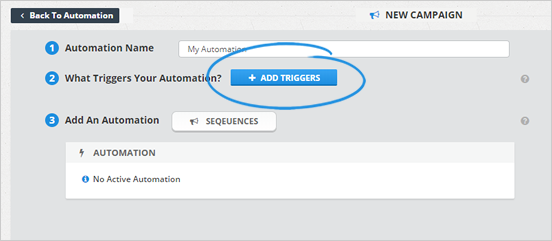
11. Click the Add Automation button.

12. Type in the name of the automation and decide what kind of leads you need to send into the campaign.

Setting Up Your Triggers
Complete the following steps to set up your triggers:
1. Click Add Triggers.
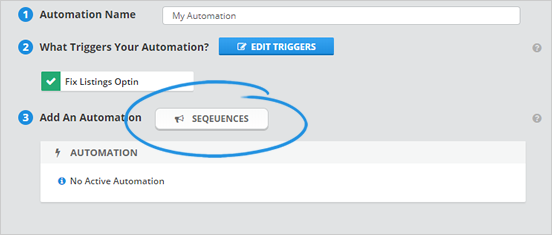
2. Select your opt-ins and click Save.

3. Click Sequences.
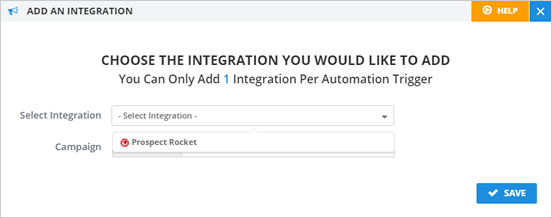
4. Select an Integration.
Note: You can only add one integration per automation trigger.
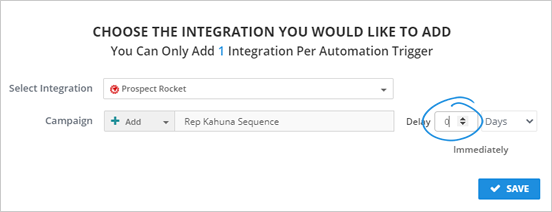
5. Select a campaign that you want to use.
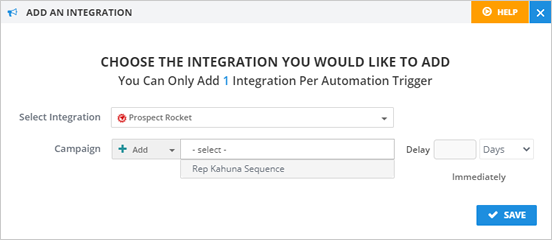
6. You also have the option to set up a delay. If you want to send leads to the campaign immediately, set the delay to "0".
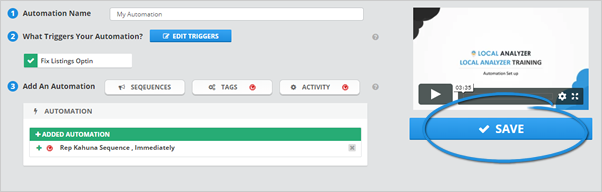
7. Once you are done, click Save.
8. Save your automation.
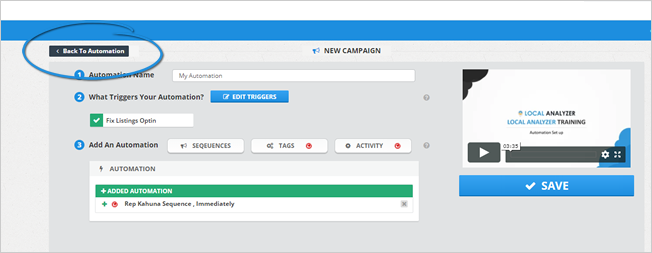
9. Return to your automation.
10. Click the Page Details tab.

11. Click View Page.
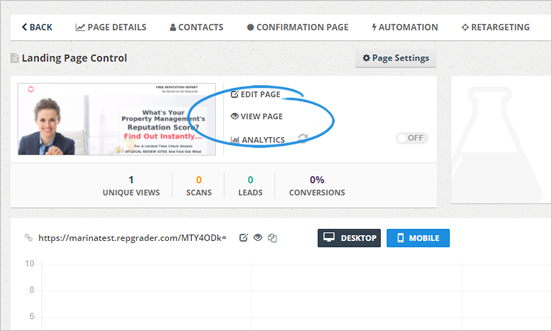
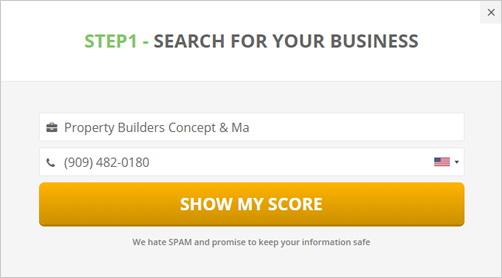
12. Click the Show Me My Score button.

13. Complete the blank fields and click Show me my Score.
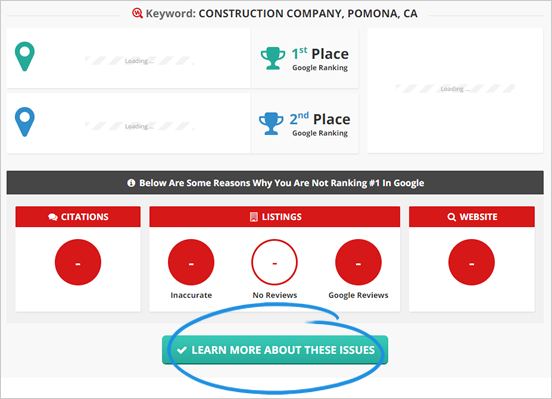
14. Click on the trigger opt-in that you selected.
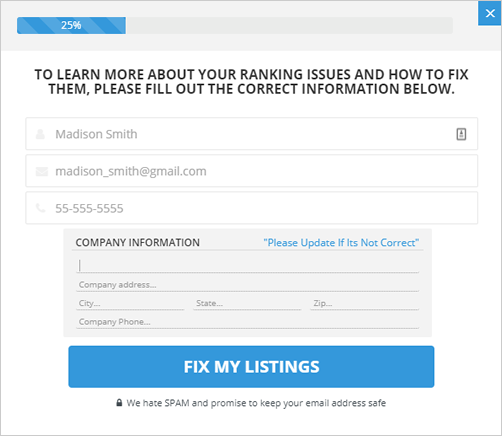
15. Type in your information and click Fix My Listings.
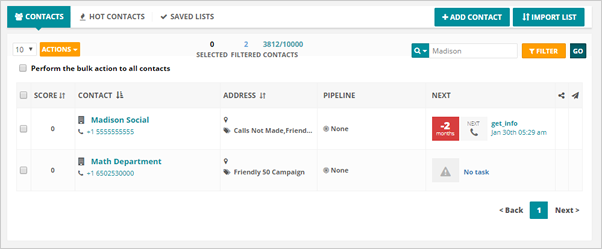
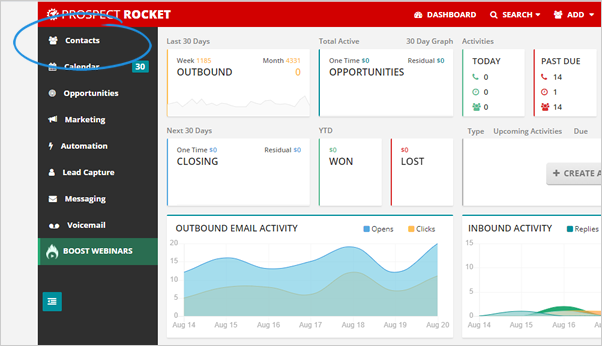
16. Go to Prospect Rocket and navigate to Contacts.
17. Search for your name and see if your name has been added to Prospect Rocket and the action to that contact is set an appointment.