In this article, we will walk you through on how you can create a custom field in Prospect Rocket. As an example, we are going to add a new custom text field to be able to upload the Facebook Cover URLs field as seen on the image below.
💡 To create a custom field in Prospect Rocket, follow these steps:
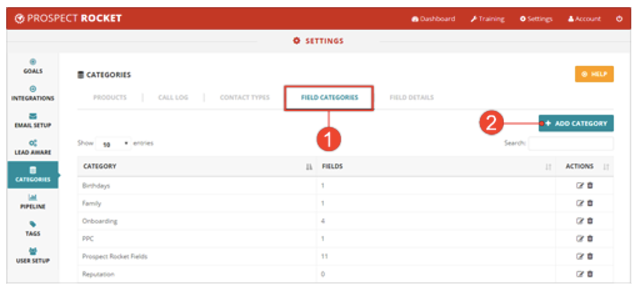
2. Click Field Categories tab then click Add Category.
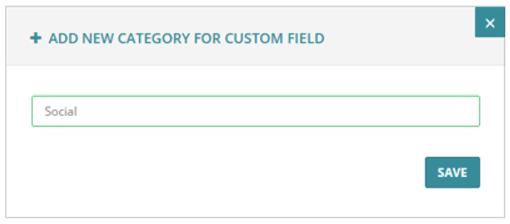
3. Type the name of your Custom Field then hit Save.
4. Verify if the new custom field is successfully added.

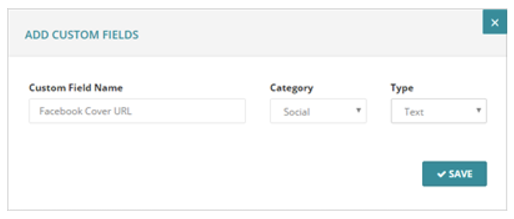
5. Go to the Field Details tab then click Add Custom fields.
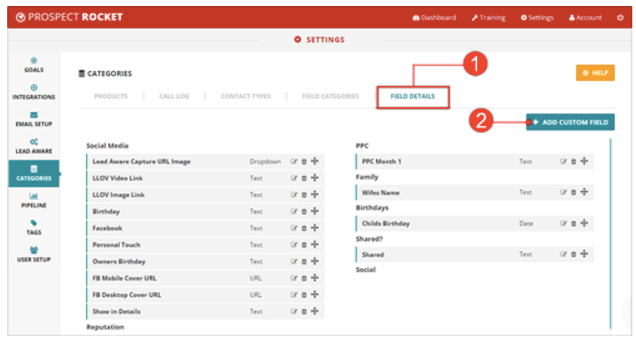
6. Type the name of your Custom Field and select the Category you have just created earlier. Select Text as your field’s type to make sure that the Facebook URL from the sample list gets displayed on your mailers. Once done, hit Save.
🛈 Following the exact LeadKahuna field, will map out that field automatically.
7. Great job! You’ve just created your own custom field in Prospect Rocket.
