Are you ready to make your first Expose Video? This article will show you how to:
- Create an Expose video
- Create a custom show
- Edit your Expose video to best fit your audio or video file
Expose Walkthrough - Creating an Expose Video
A Couple Important Notes
From the Main Dashboard, notice:
How to Create a Custom Show
Expose Videos comes with two (2) default show templates. However, you can create a custom show template.
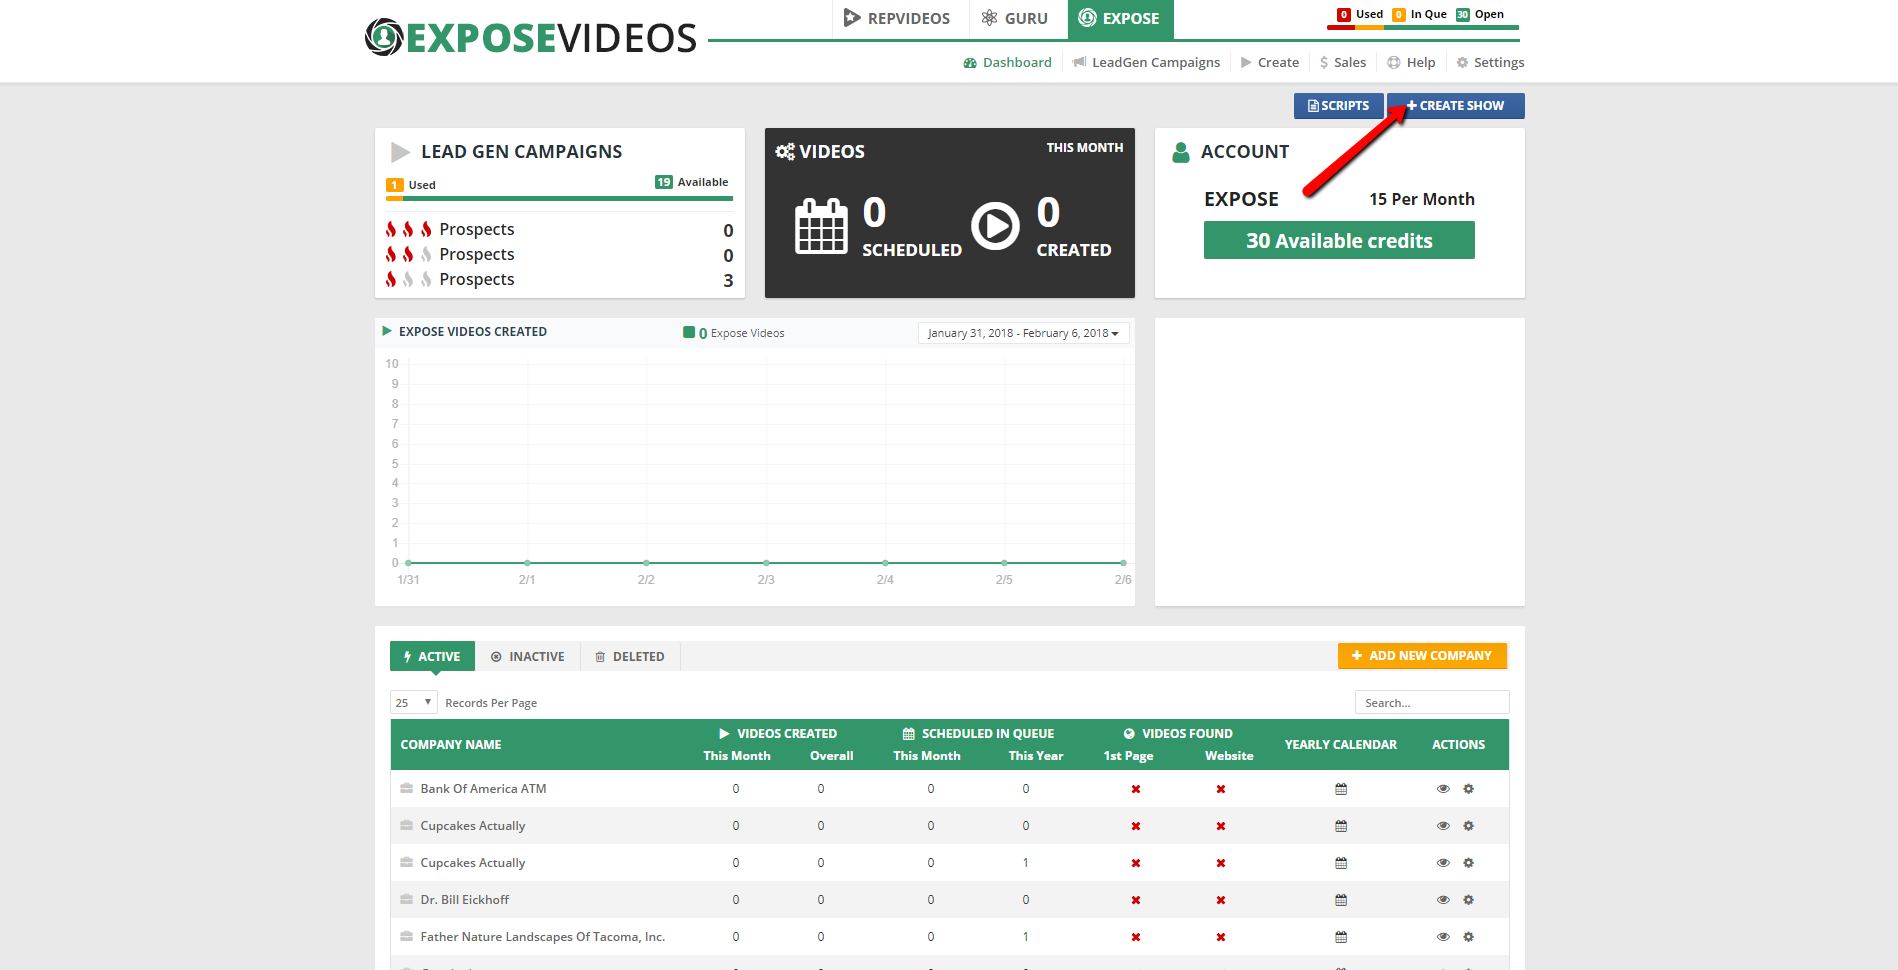
Complete the following steps to create a custom show:
- From the Main Dashboard, click Create Show.

- Name your show template.

- Choose an introductory video for your show.

- Create show topics and a show name.

- Choose a second introductory video for your show.

- Click Save and Continue.

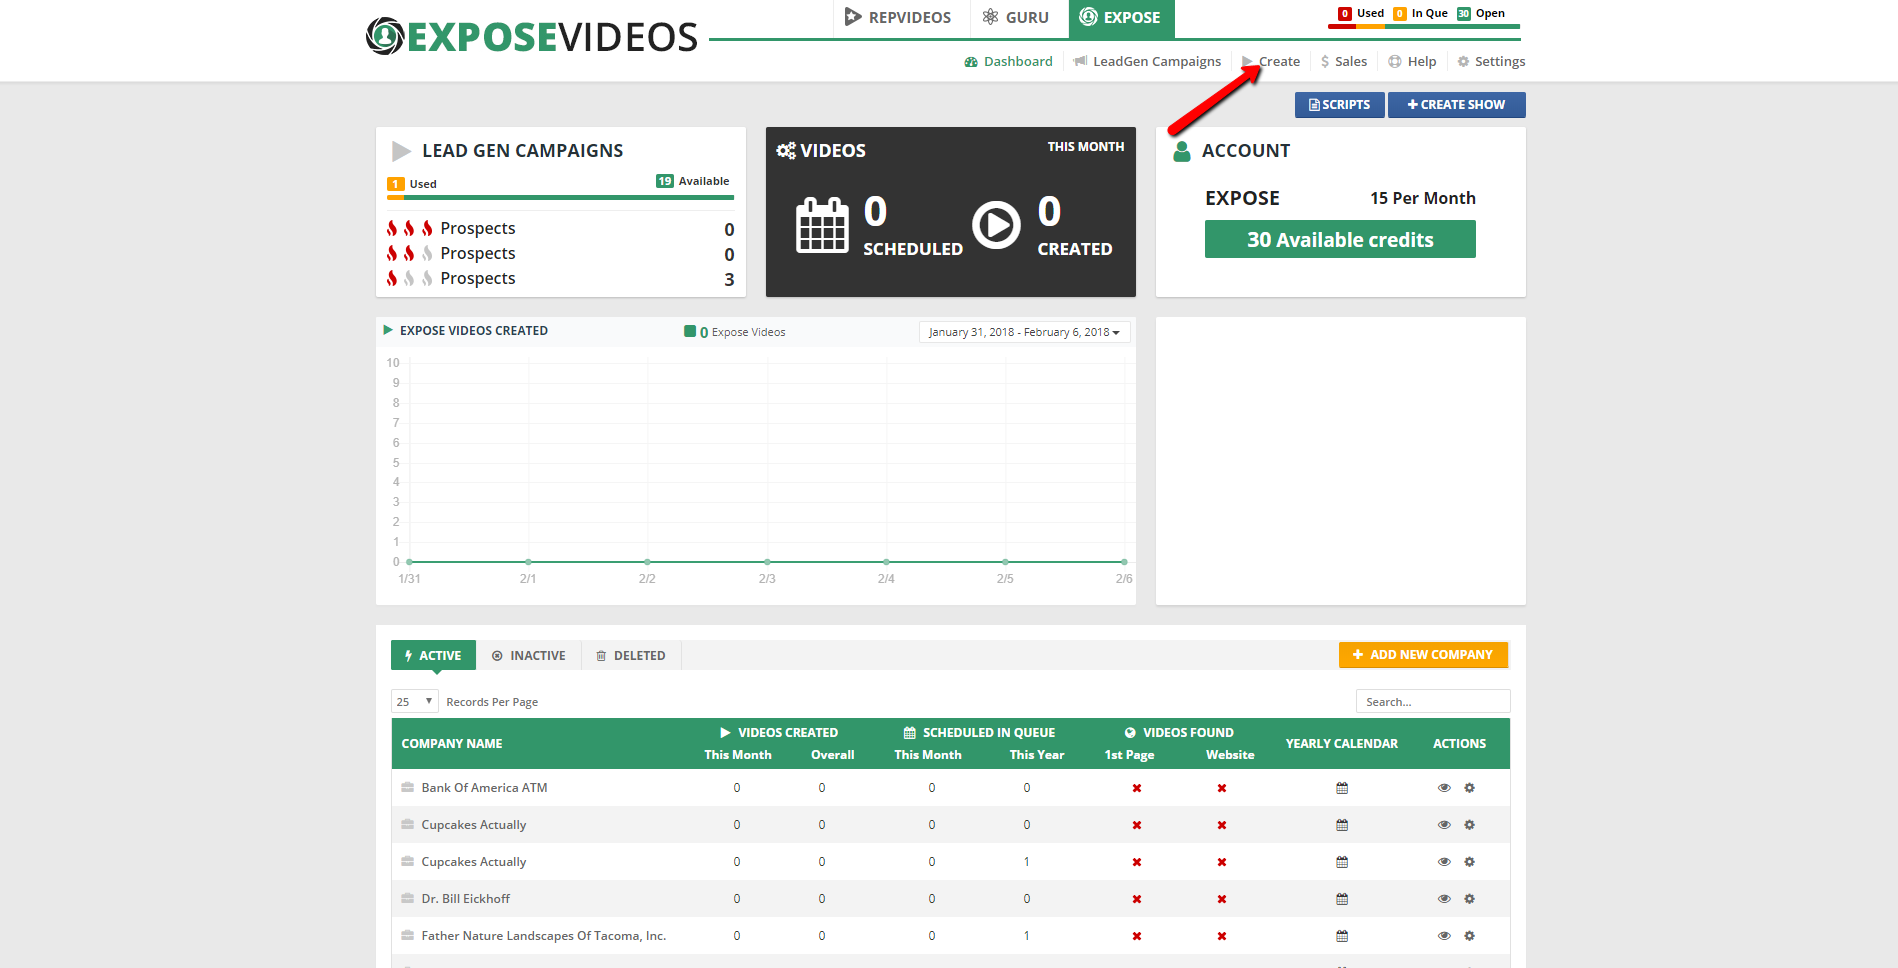
How to Create an Expose Video
Complete the following steps to create an Expose video:
- From the Main Dashboard, click the Create button (
 ).
).
💡 For directions about how to change a business's video options, refer the next heading, which is How to Change a Business's Video Options.

- Select a business and click Next.
💡 You have the option of creating a new business.

- Choose your interview layout, which is either a full video or side map.

 |  |
| Full Video option | Side Map option |
- Click Capture Map Image to change the address that is displayed when the side map option is selected.

- Select your niche topic.

- Type the video's topic title.

- Type the expert's title.

- Verify that the website URL and contact phone number are correct.

- Click Next.

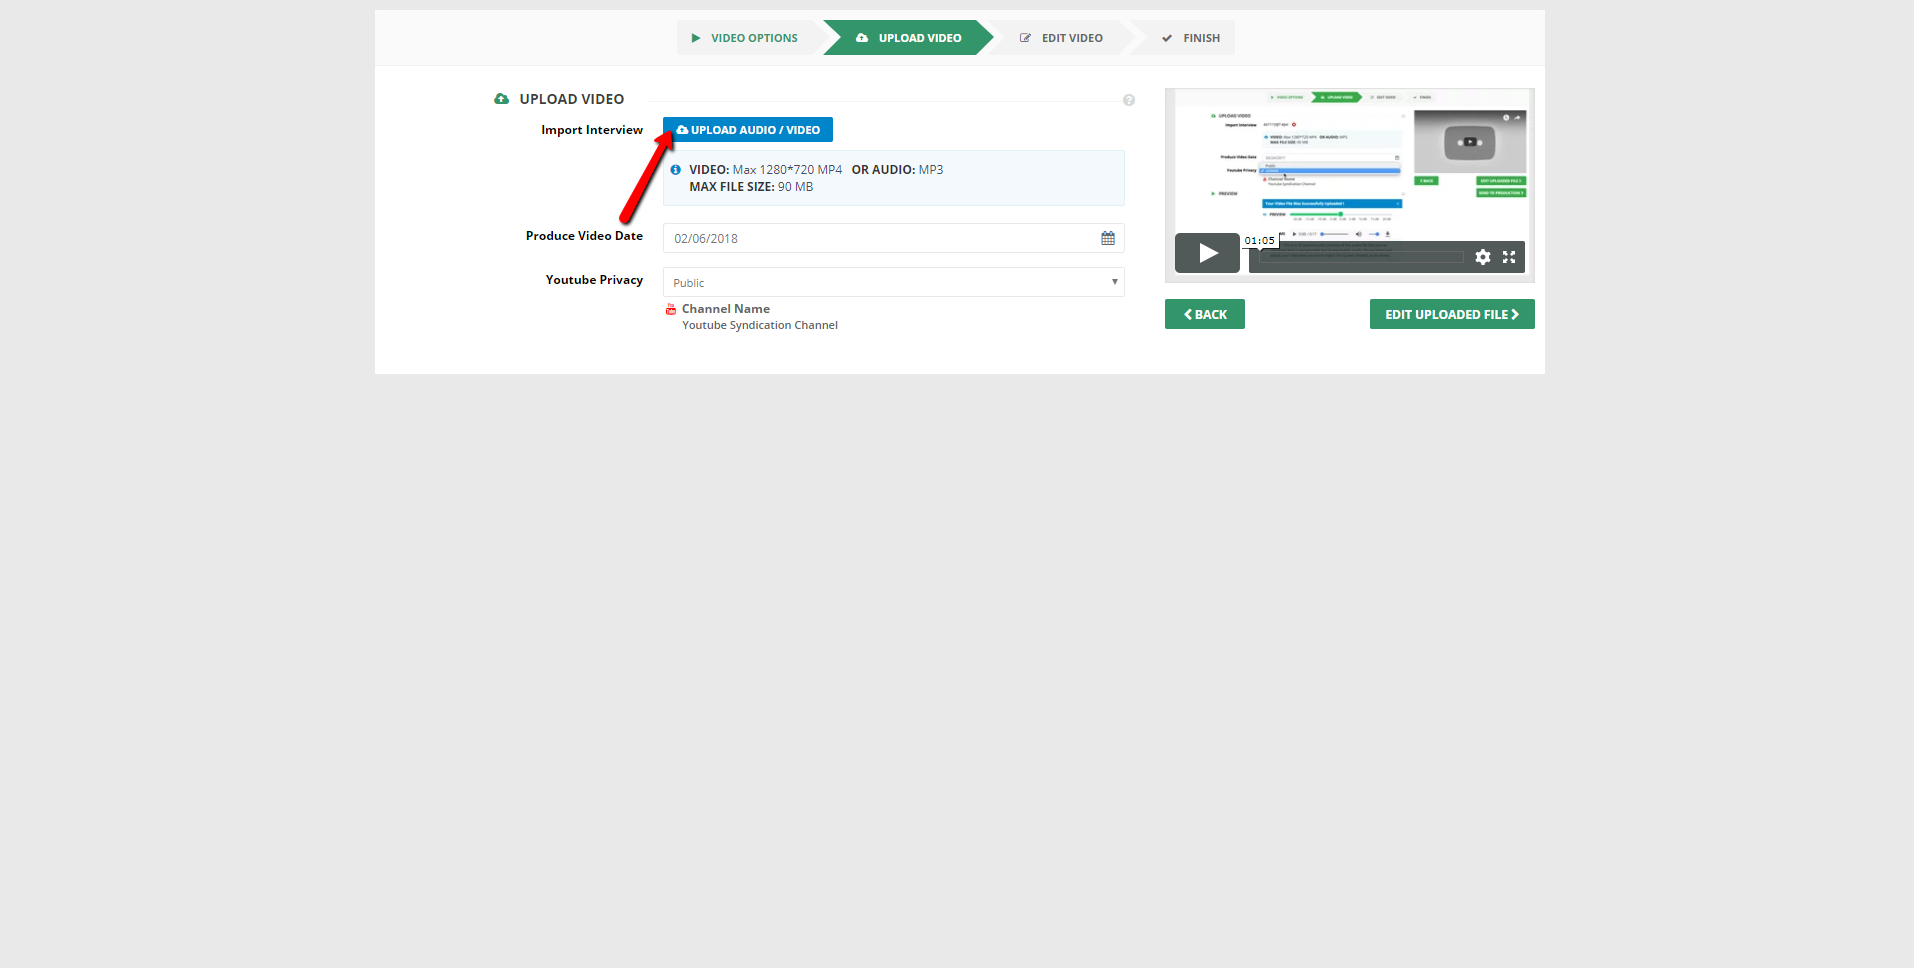
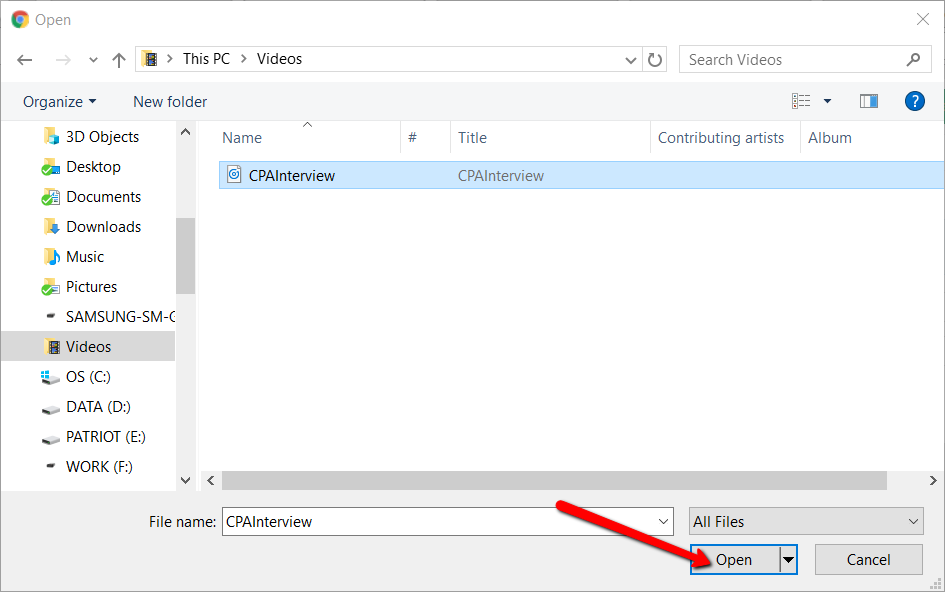
- Click Upload Audio / Video to upload audio or a video.
- Select a video production date.

- Choose a YouTube privacy option.

- Adjust the volume of the spokesperson's voice to match your video or audio's volume.

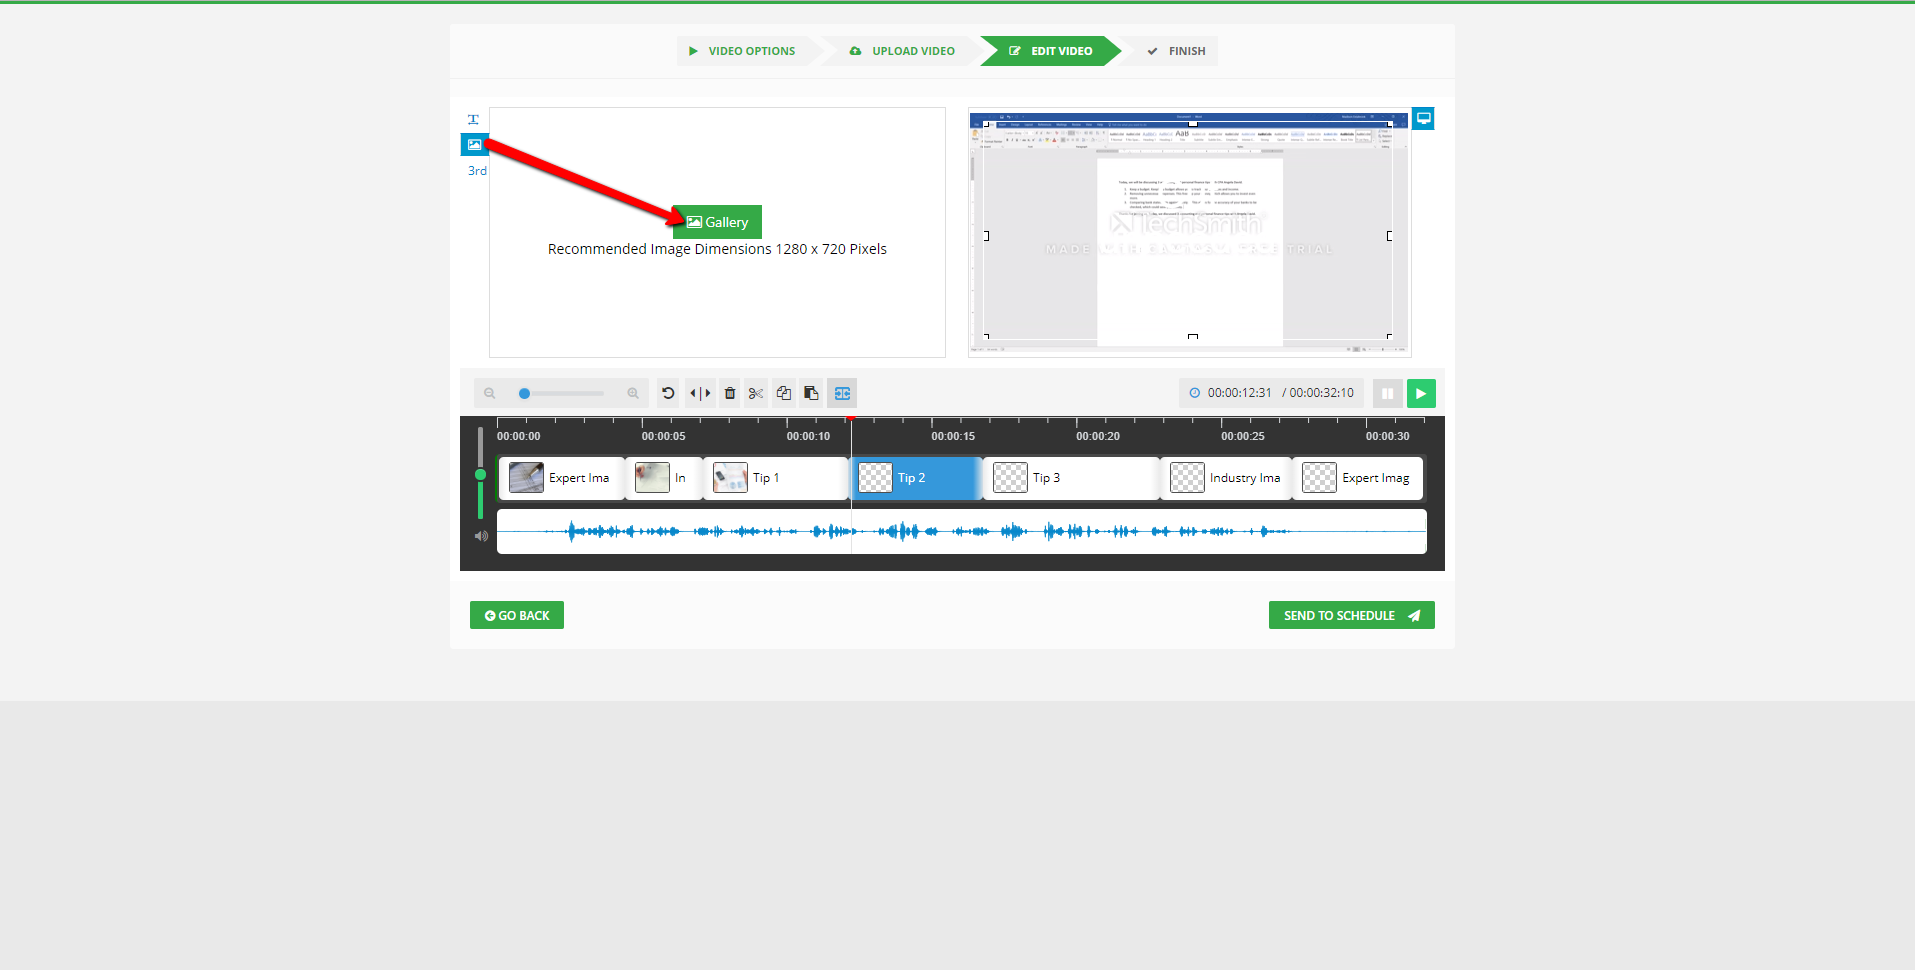
- Click Edit Uploaded File.

- Choose the menu option, if any, that you need for the first segment, which is the first expert image segment.
💡 If you interviewed an expert, we recommend choosing the lower third option, which displays the expert's name and business.

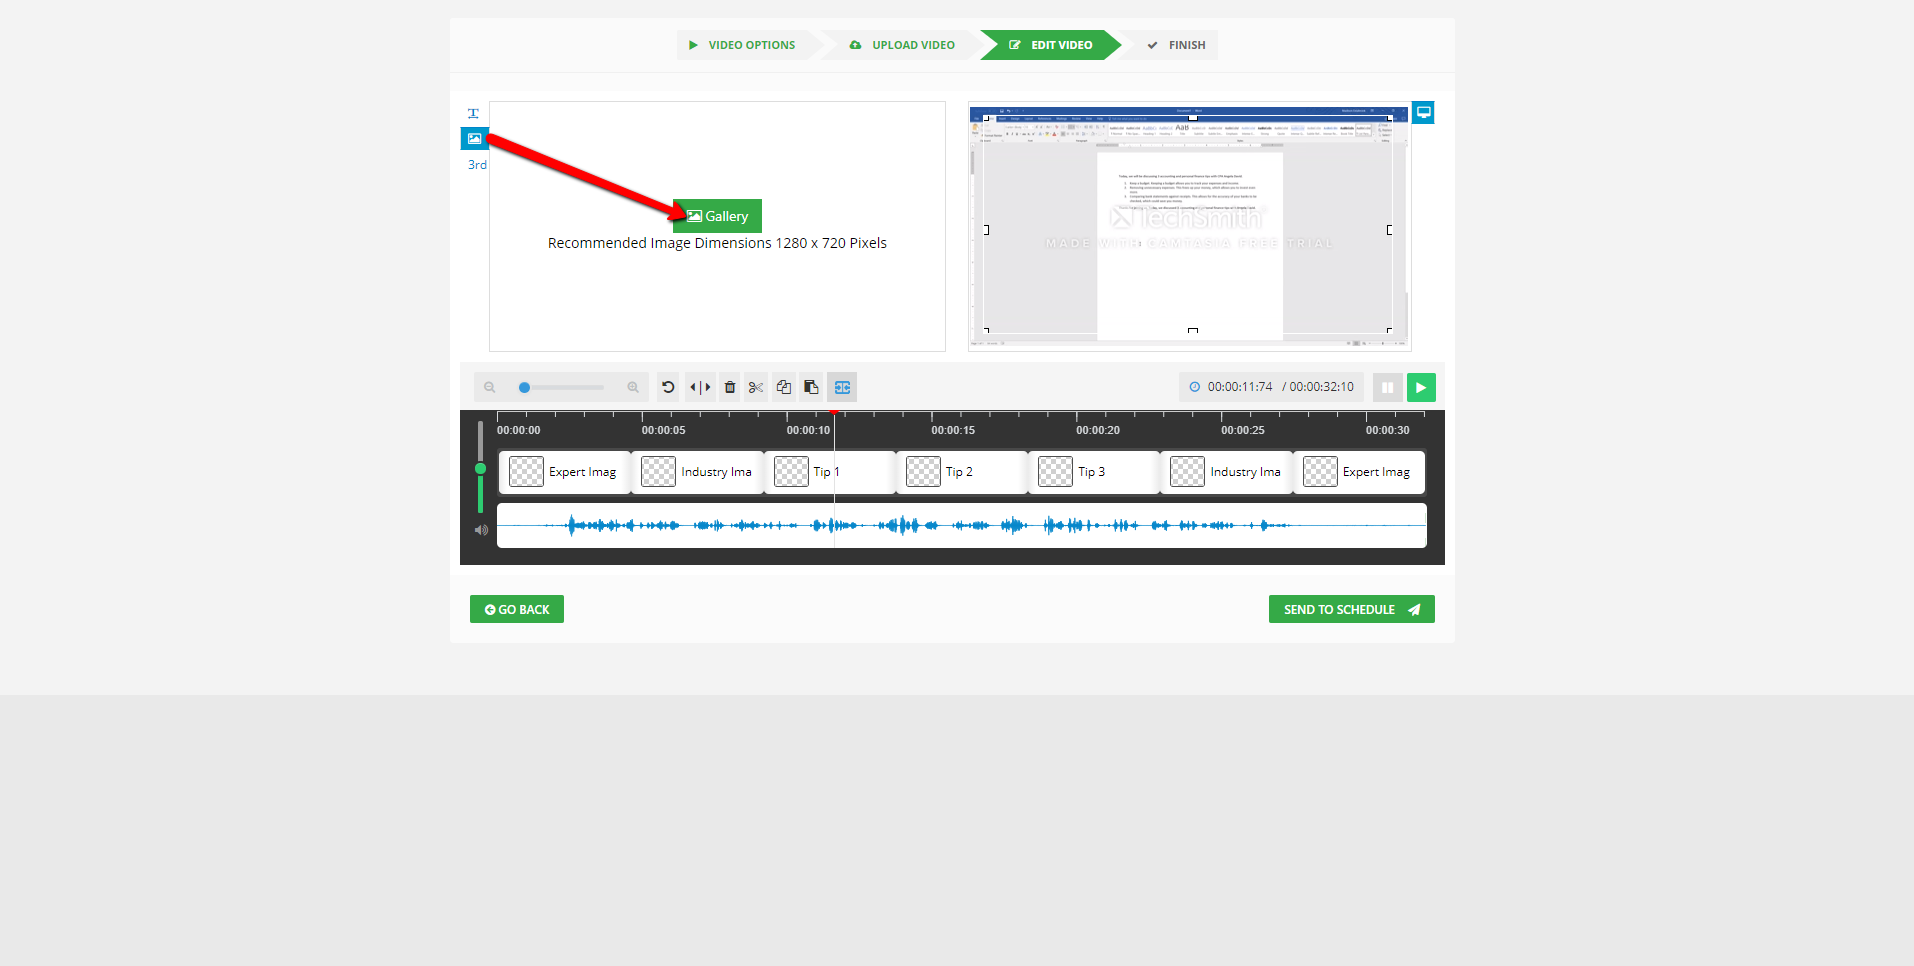
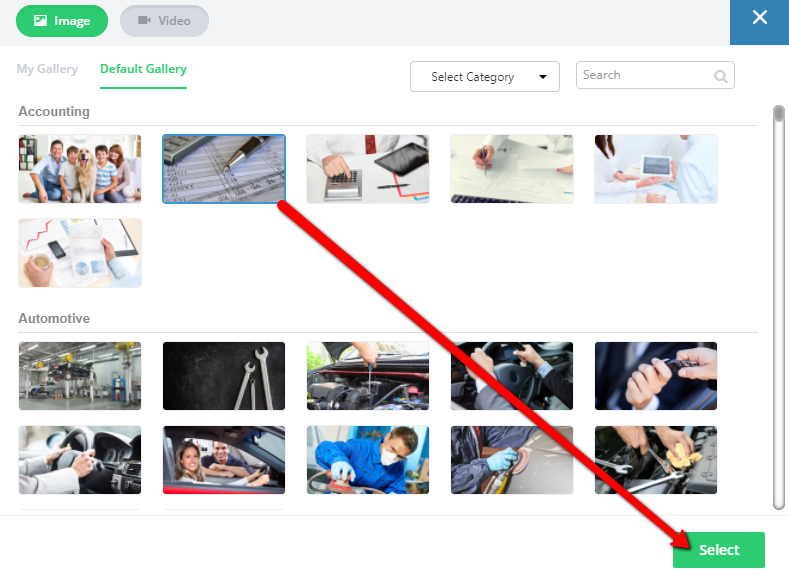
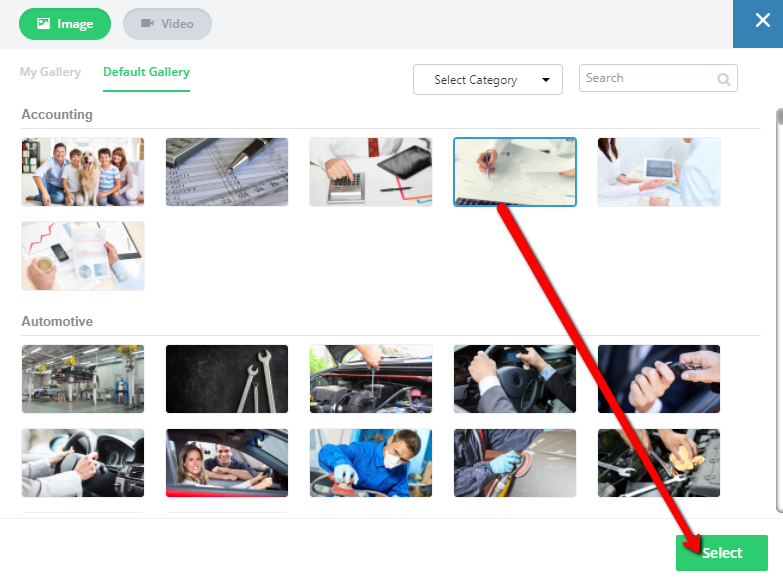
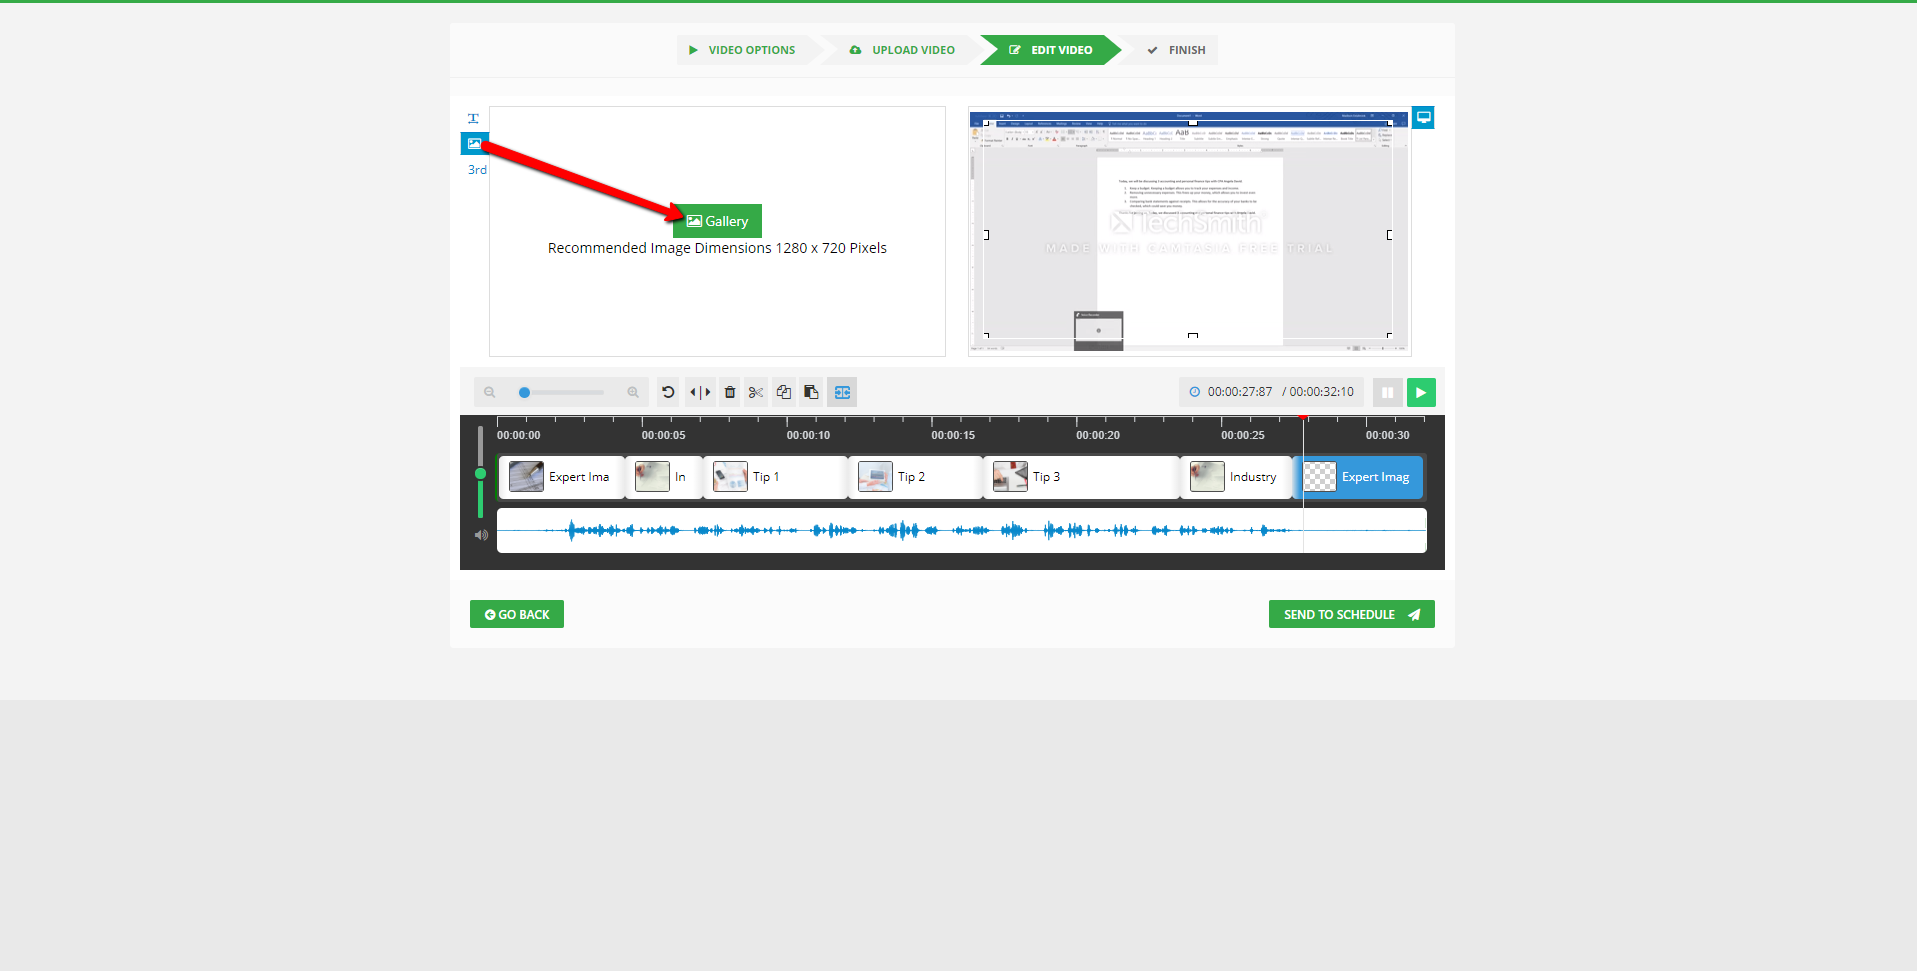
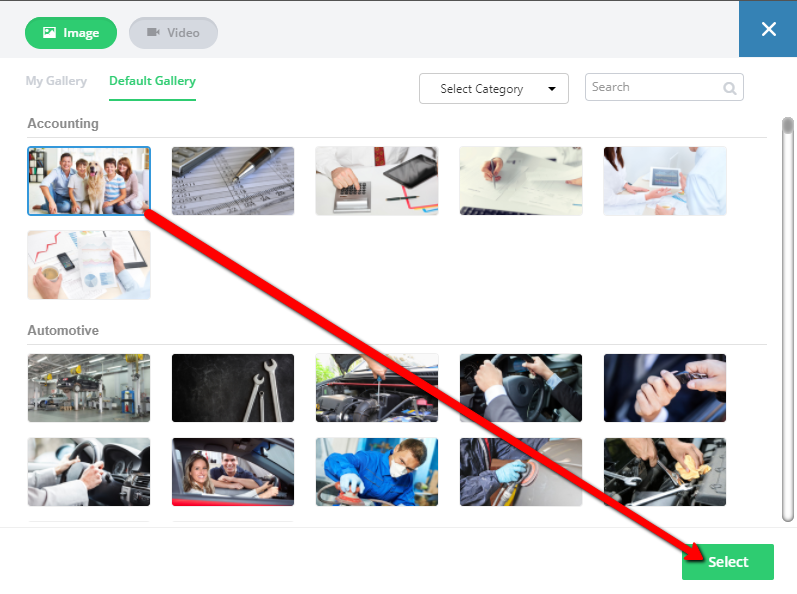
- Select an industry image by clicking
 , clicking Gallery, selecting an image, and clicking Select.
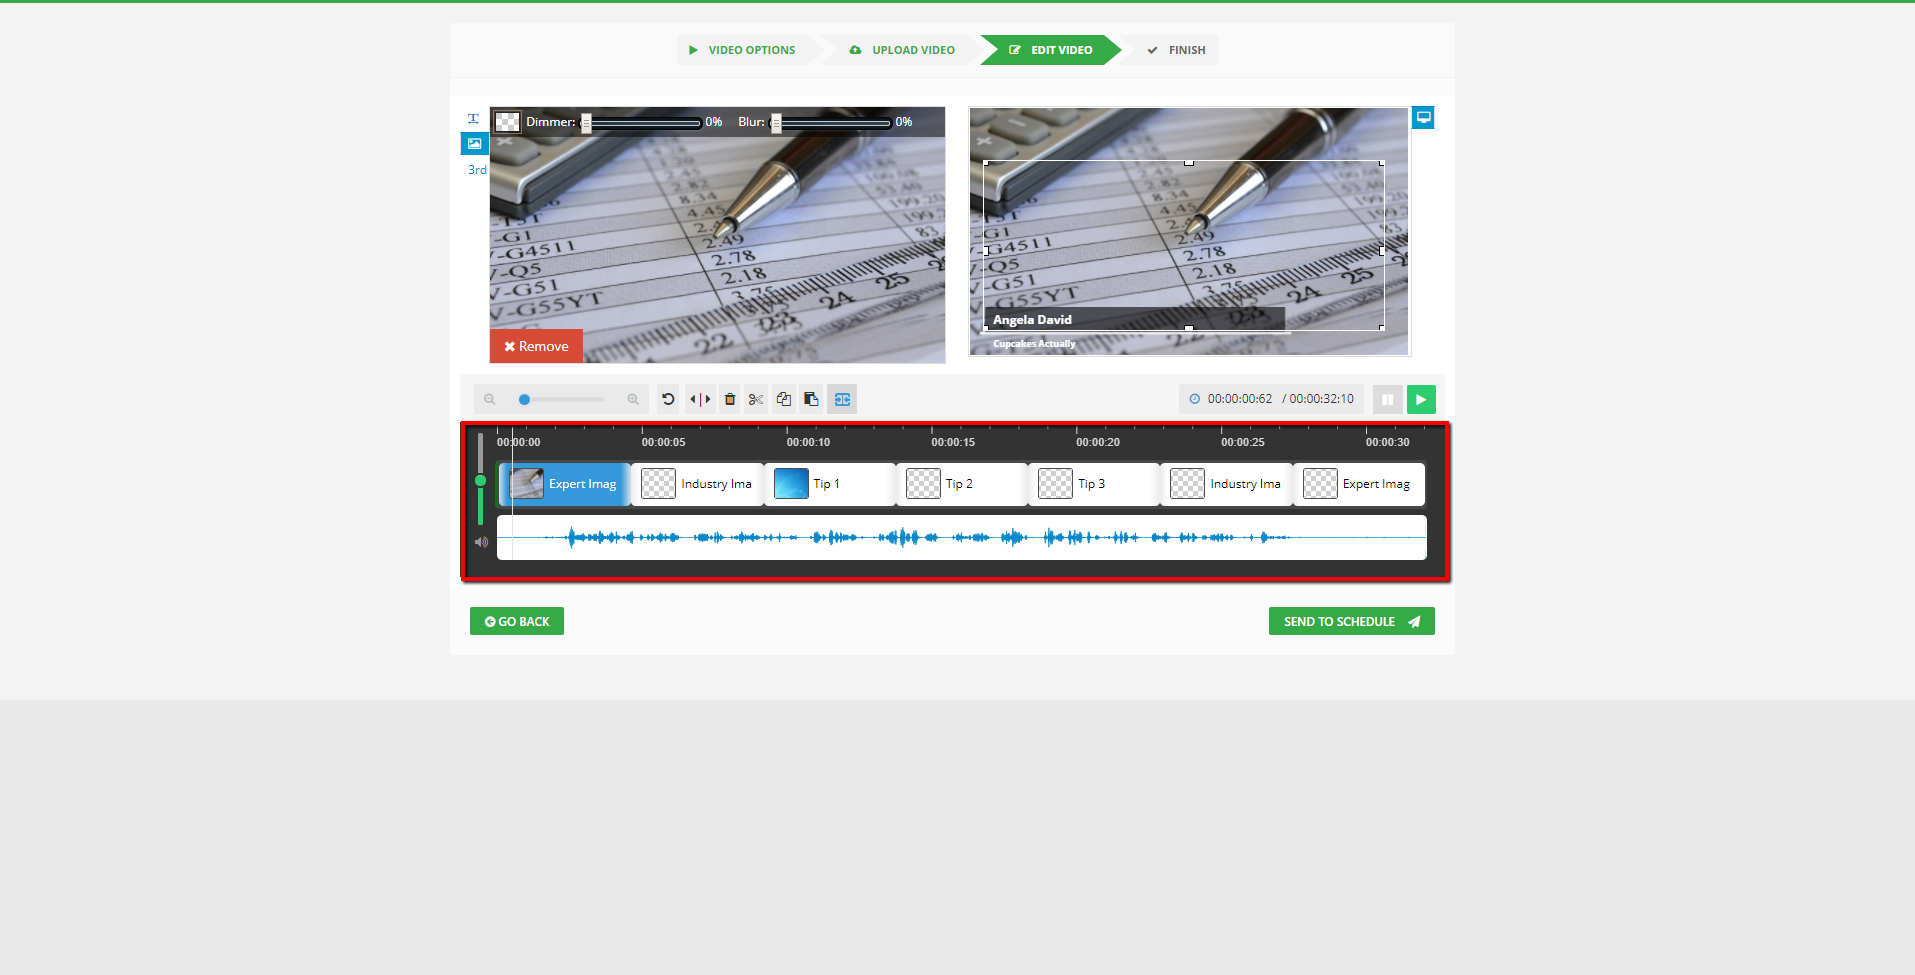
- Adjust the blur and dim of your expert image as needed.

- Make sure that the audio matches the expert image.
- Make sure that the audio matches your industry image.

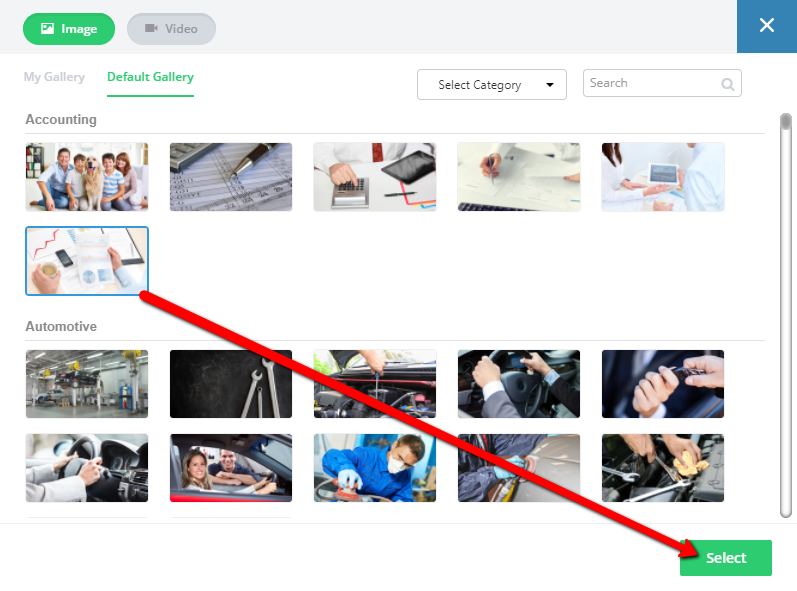
- Upload an image for your first industry image by clicking
 , clicking Gallery, selecting an image, and clicking Select.
💡 You have the option of selecting a video background.
- Adjust the blur and dim of your first industry image as needed.

- Make sure that the audio matches your first tip.

- Type or paste your first tip.

- Modify your first tip as needed.

- Upload an image for your first tip by clicking , clicking Gallery, selecting an image, and clicking Select.
💡 You have the option of selecting a video background.
- Adjust the blur and dim of your first tip's image as needed.

- Change your first tip's color and font if needed.
💡 Applying a shadow helps your first tip stand out.

- Make sure the audio matches your second tip.

- Type or paste your second tip.

- Modify your second tip as needed.

- Upload an image for your second tip by clicking
 , clicking Gallery, selecting an image, and clicking Select.
- Adjust the blur and dim of your second tip's image as needed.

- Change your second tip's color and font if needed.

- Make sure the audio matches your third tip.

- Type or paste your third tip.

- Modify your third tip as needed.

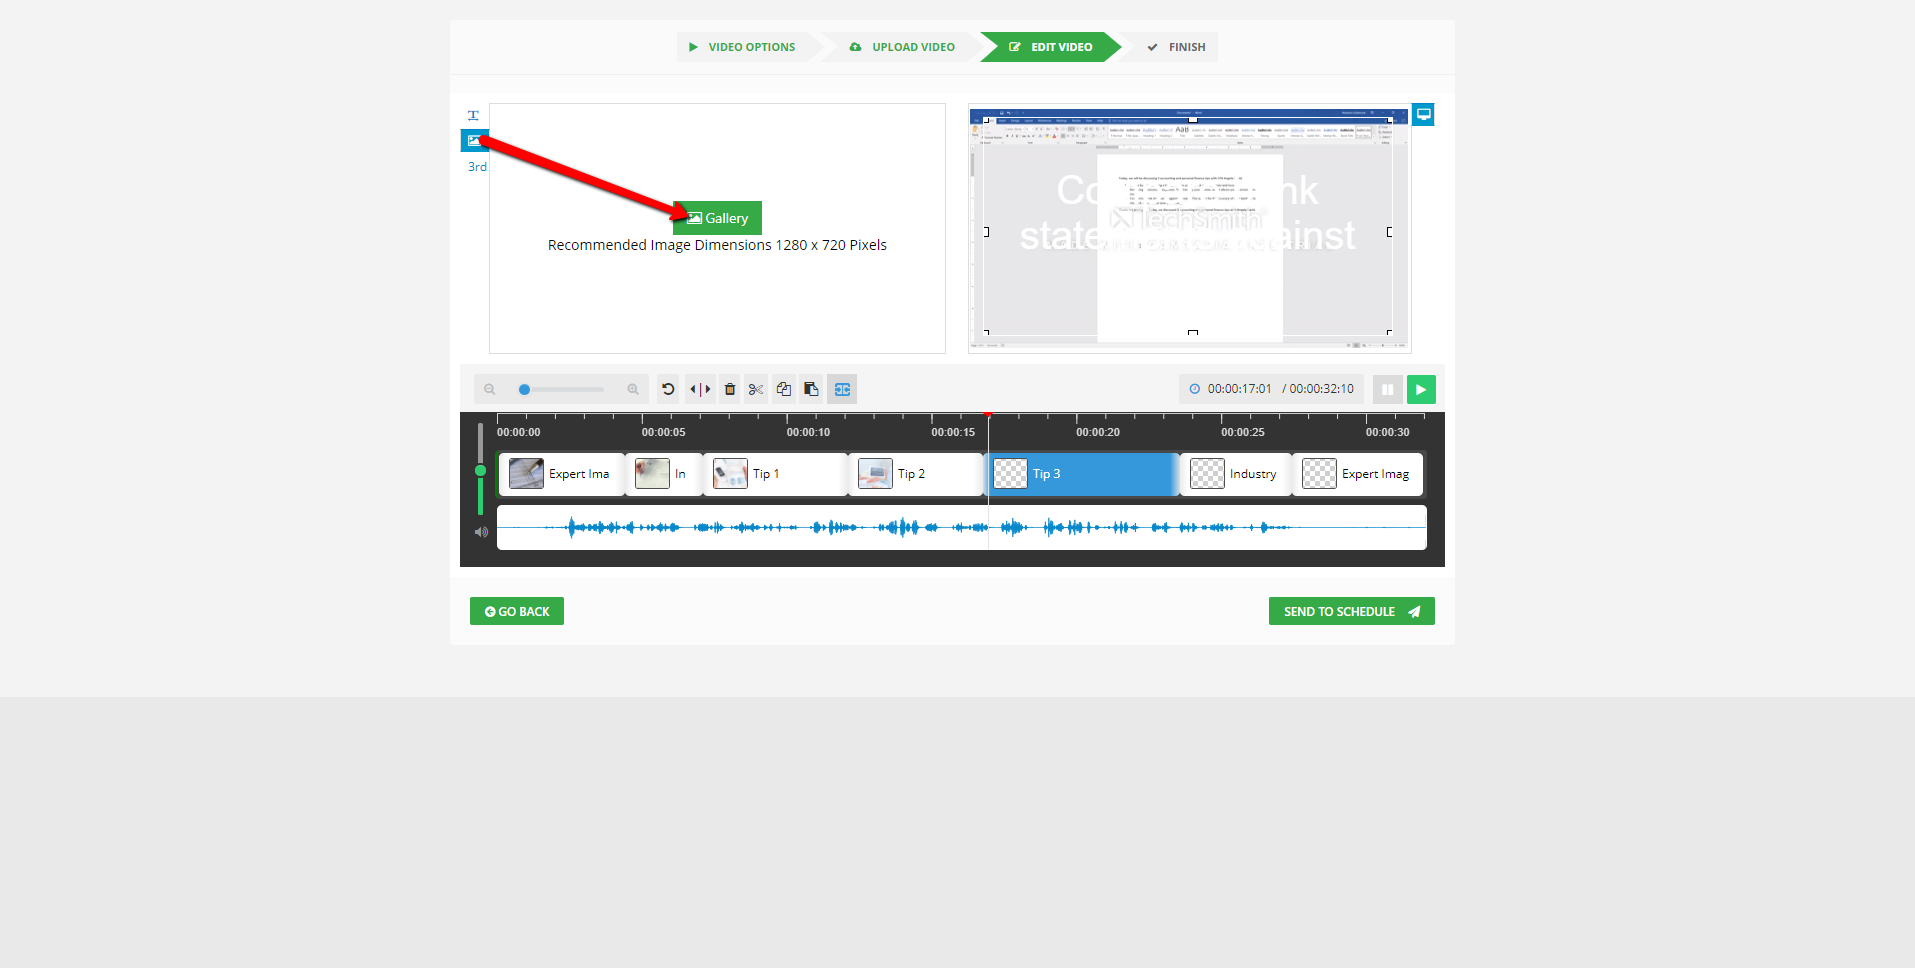
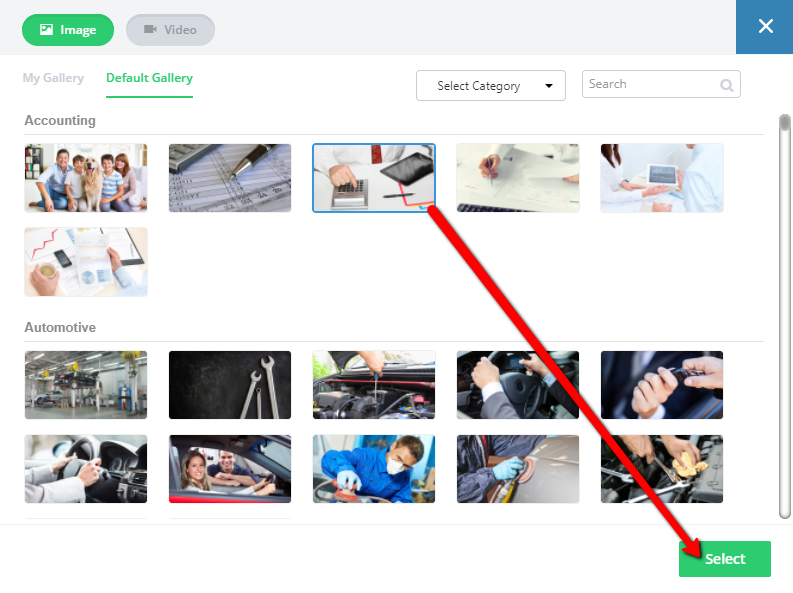
- Upload an image for your third tip by clicking
 , clicking Gallery, selecting an image, and clicking Select.
- Adjust the blur and dim of your third tip's image as needed.

- Change your third tip's color and font if needed.

- Make sure the audio matches your second industry image.

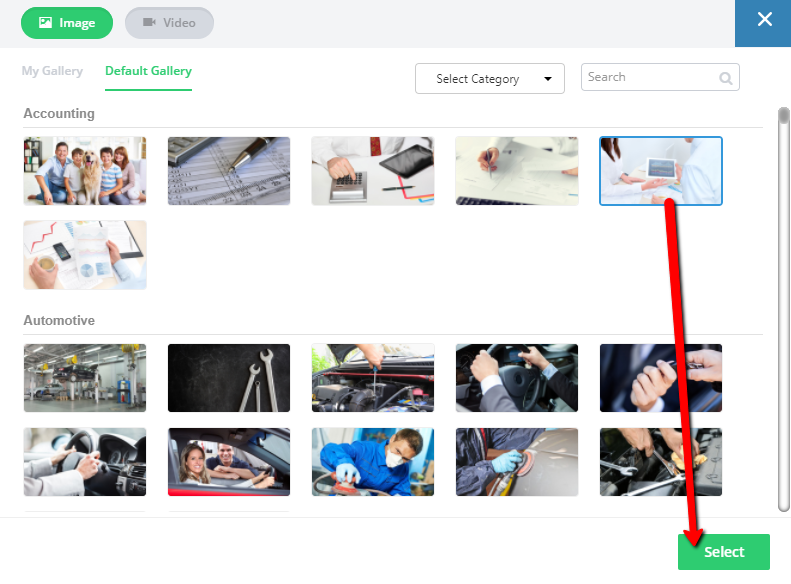
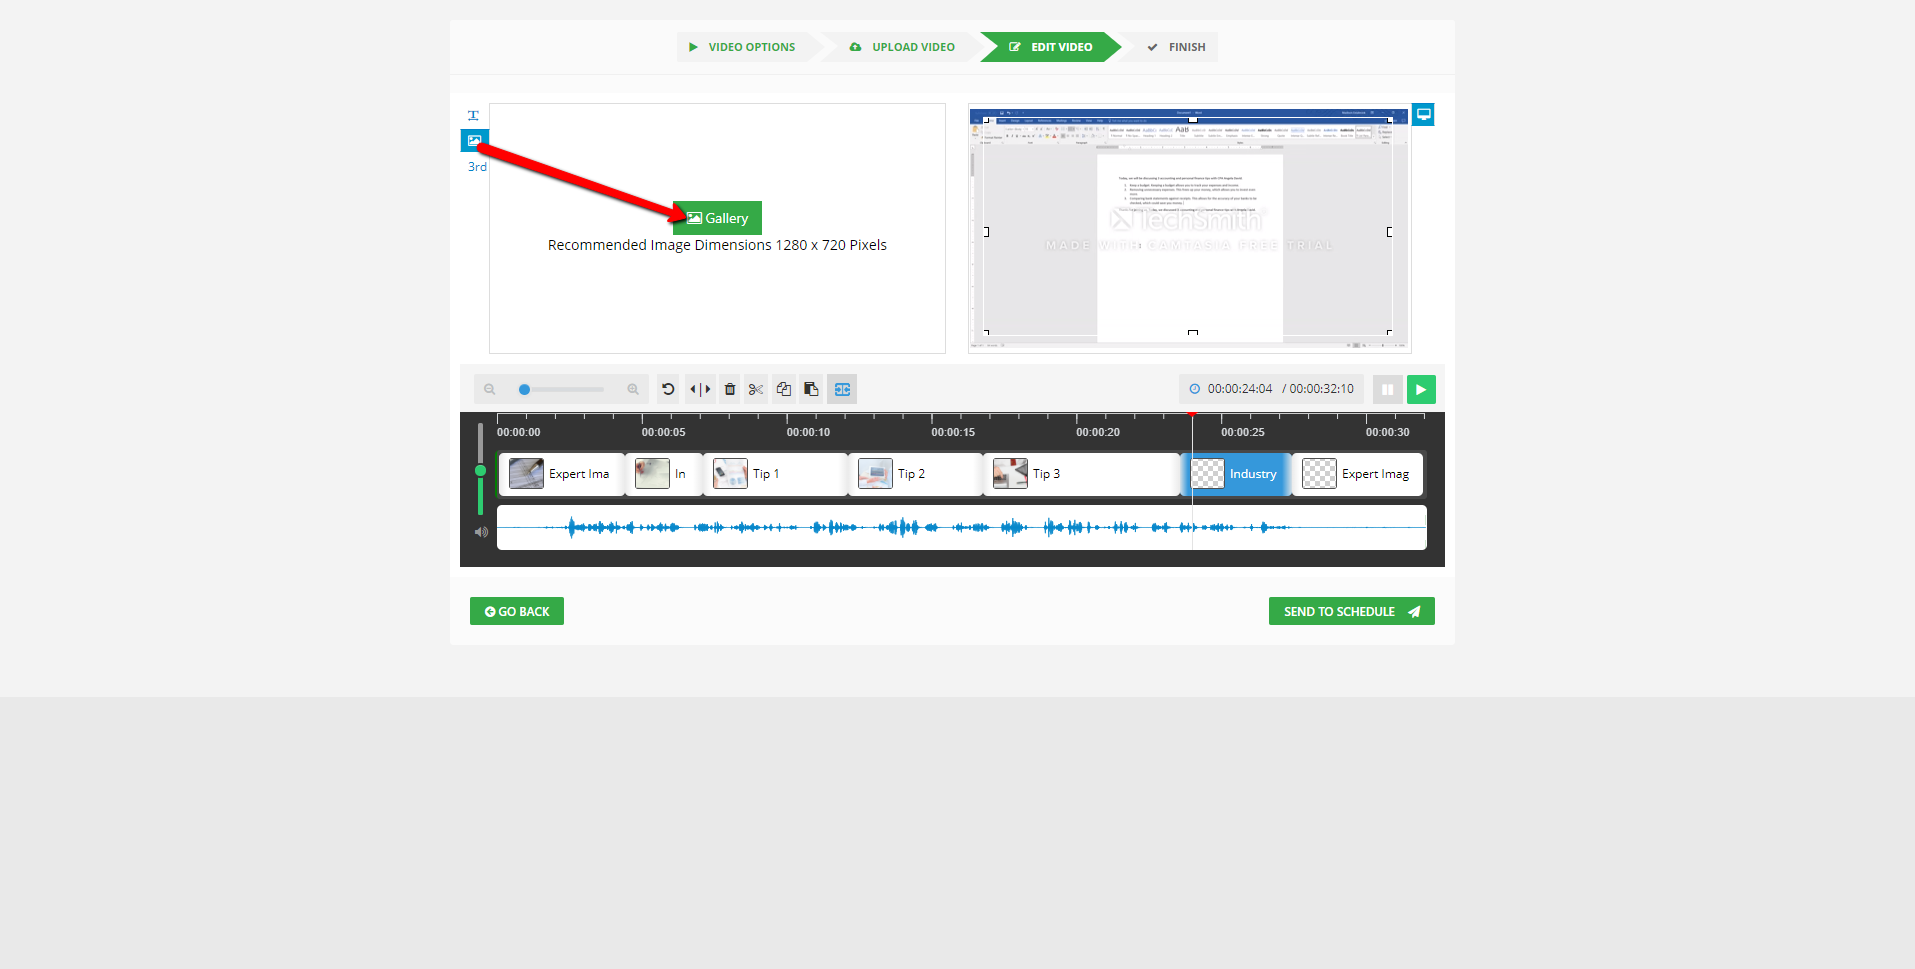
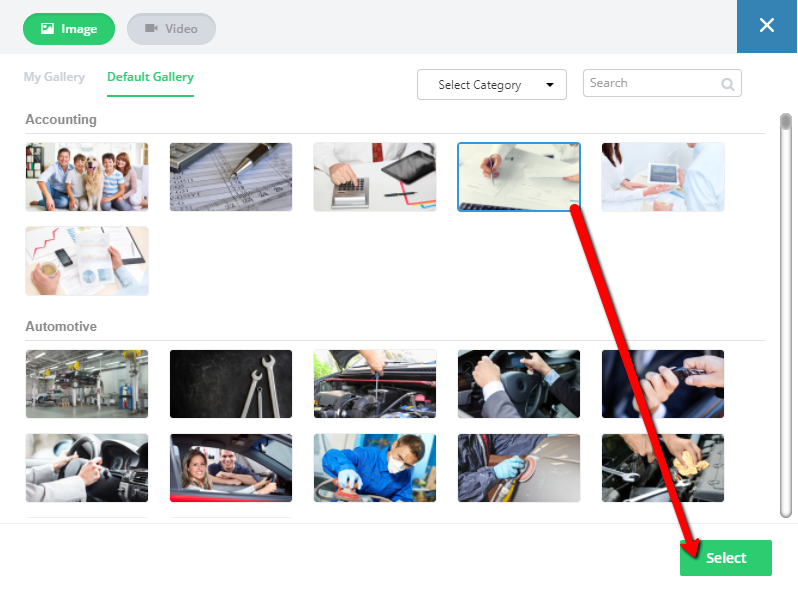
- Upload an image for your second industry image by clicking
 , clicking Gallery, selecting an image, and clicking Select.
- Adjust the blur and dim of your second industry image as needed.

- Choose the menu option for your second expert image.
💡 If you interviewed an expert, we recommend choosing the lower third option, which displays the expert's name and business. We also suggest changing the expert's name to the business's name and the expert's business to the business's website.

- Upload an image for your second expert image by clicking , clicking Gallery, selecting an image, and clicking Select.
- Adjust the blur and dim of your second expert image as needed.

- Preview the video and make any needed changes.

- Click Send to Schedule.

- Click Schedule My Video.

How to Change a Business's Video Options
Complete the following steps to change a business's video options:
- From the main Dashboard, select a business.

- Click the Video Options tab.

- Select a show template.

- Click Save Video Settings.

- Click Ok.