You can easily create multiple client records using Ad Kahuna. With autofill, type the new merchant's name and add other details, such as their Business Address, Website URL (Uniform Resource Locator), and Contact Number.
Complete the following steps to create your first client:
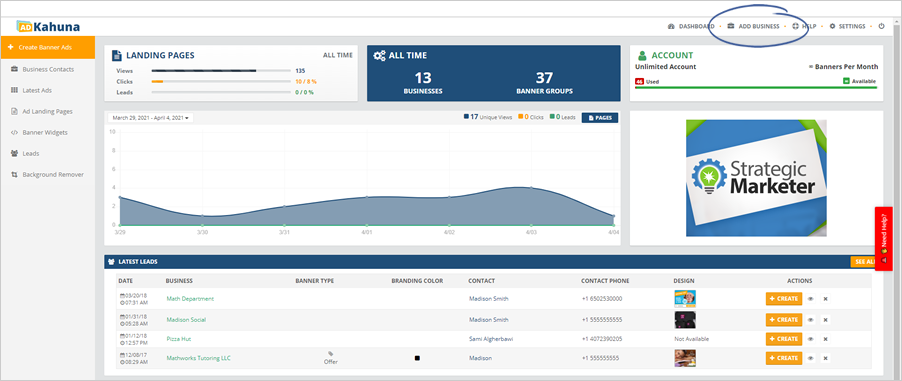
Step 1. Click Add Business from the Main Dashboard.
Step 2. Complete all the required fields.
You have two options under Business Type, which are Local Business and Online Business:
a. Local Businesses are for businesses that have at least one physical location.
b. Online Business includes businesses that do not have any physical locations but have an online presence.
Be sure to type and select the correct information.
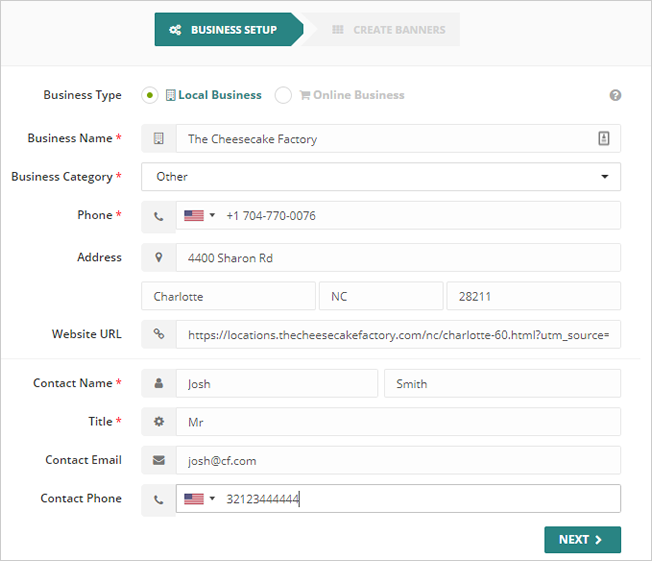
Step 3. Once you are done, click Next.
Step 4. Select a Banner style for this client.
You can only pick one Banner Style per each Register Set. This style will be the template chosen for the first Banner Set that you create.
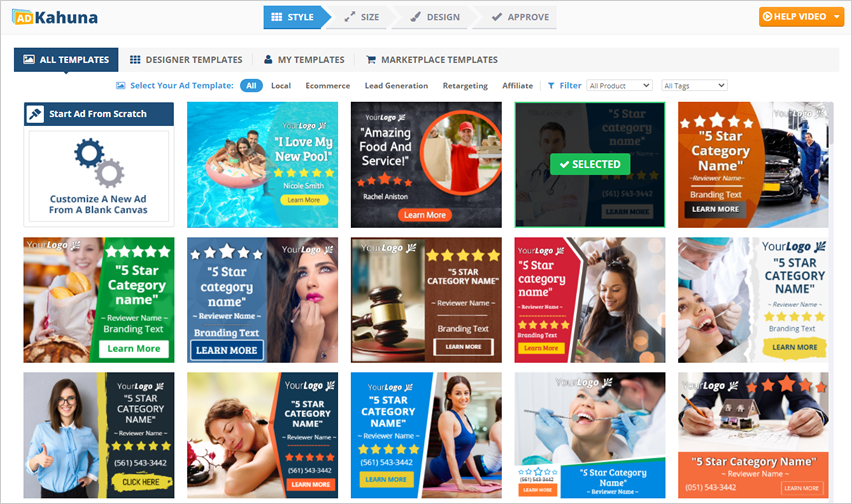
Step 5. Click Next to proceed to the next section.
Step 6. Type in the Campaign Name.
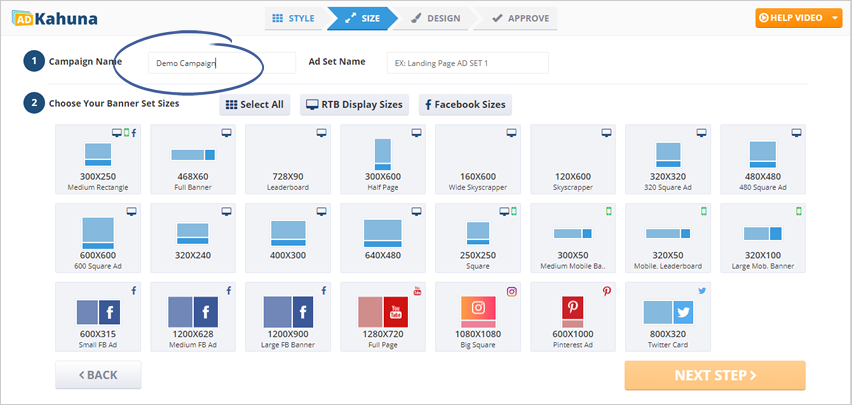
Step 7. Type in the Ad Set name. The Banner Group Set Name helps you organize your Banners.
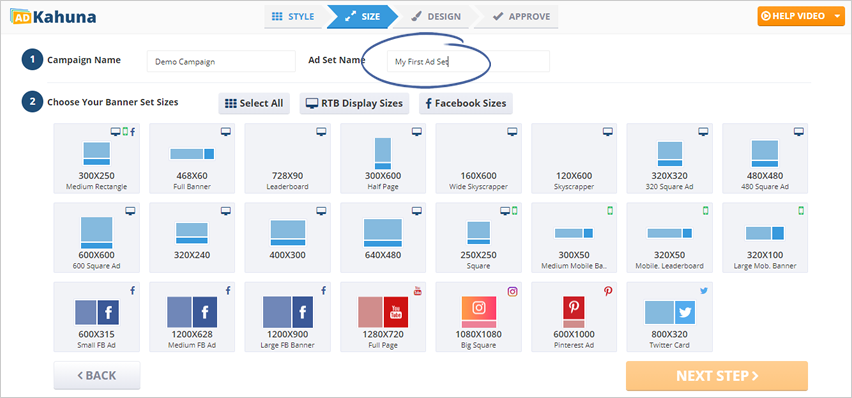
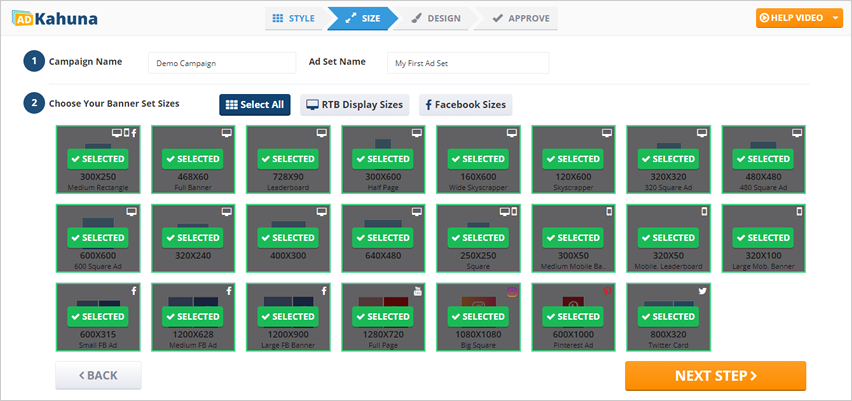
Step 8. Select the sizes that you need. If you need all the Banner sizes, click Select All.
Click Next Step to start designing your Banners.
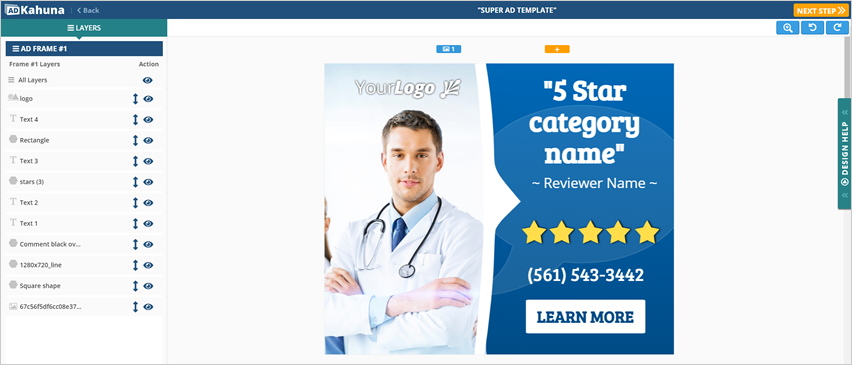
Step 9. Customize your Banners using the Element Controls. Use each Element Control to customize your Banner fully.
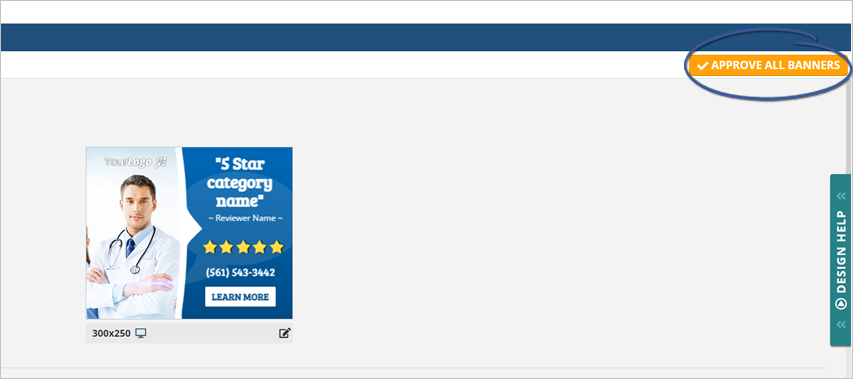
Step 10. If you need to edit an ad, click the edit icon found below the ad that you want to modify.
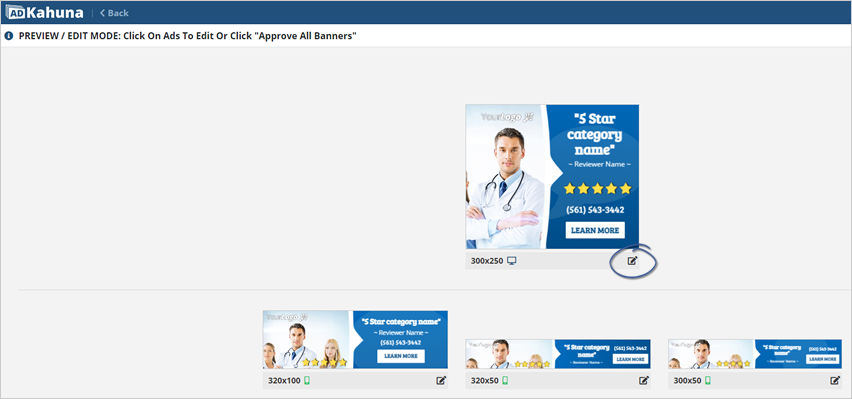
Step 11. To finalize your banner set, click the Approve All Banners button.
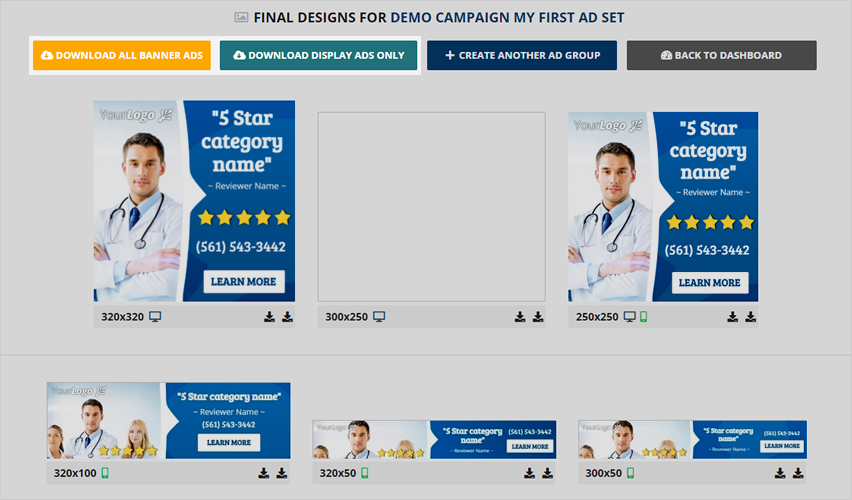
Step 12. You can now download your ads through the provided download buttons.
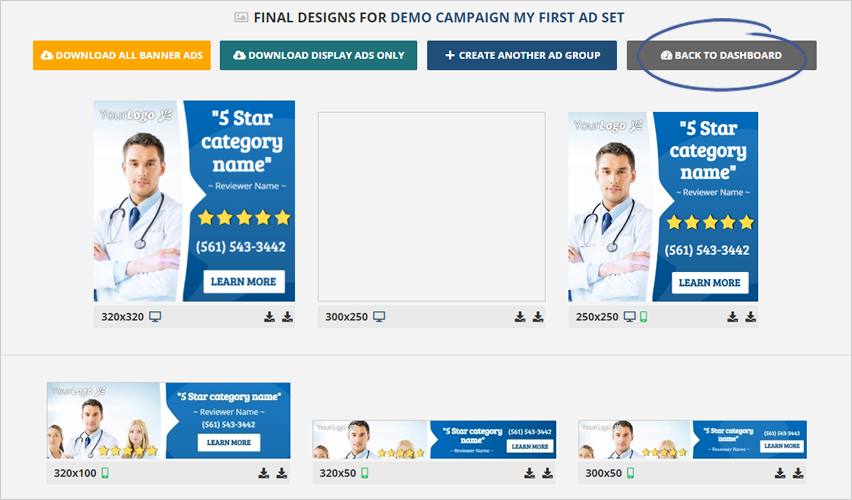
Step 13. Click the Back to Dashboard button to return to the main dashboard.
Step 14. Your banners are now saved to your Banner Gallery!
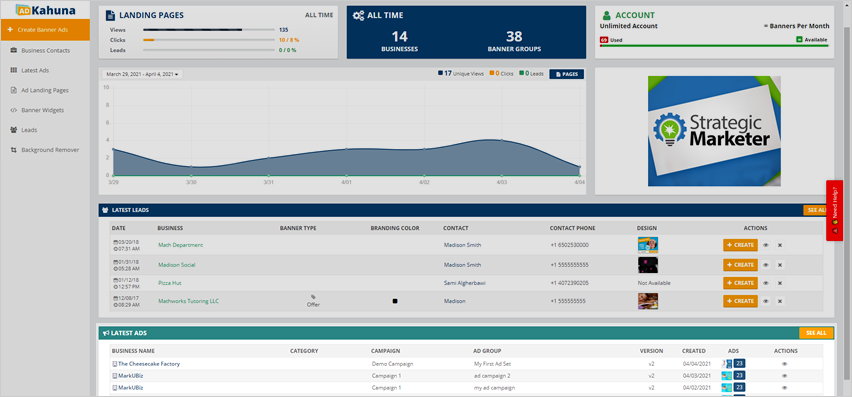
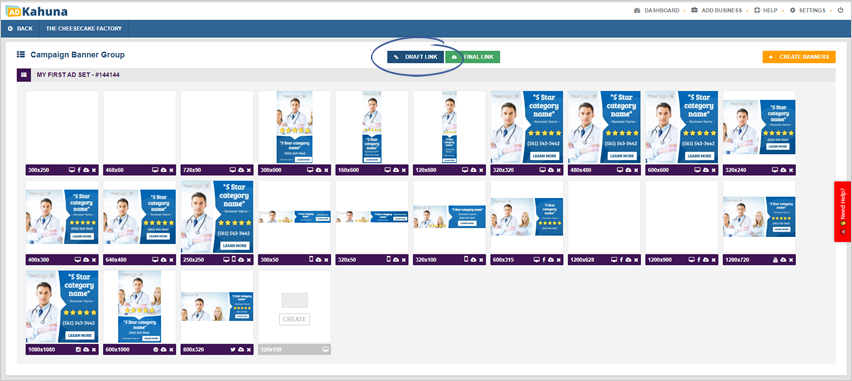
Step 15. Click the ad set that you just created.


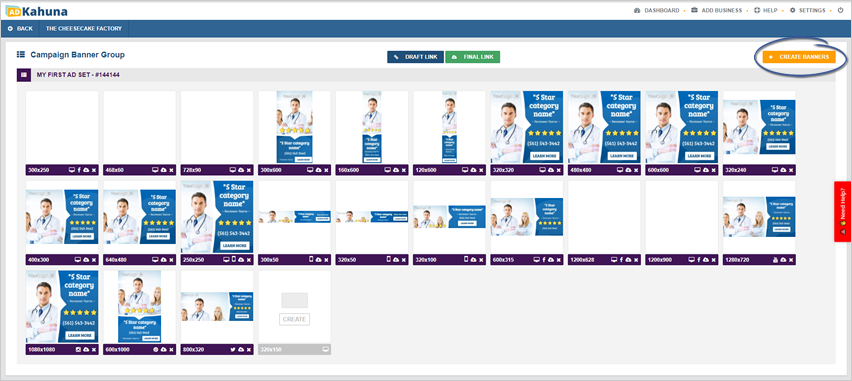
Step 16. (Optional) Click Create Banners if you want to add more banners.
Related Articles:
Account Setup for an Agency in Ad Kahuna
Campaign Automation
The Difference Between Emailing Drafts and Final Previews
Selecting a Template
Super Ad Template