Once you use different elements in your page, some of these elements need configuration.
To start setting up an element, follow these steps:
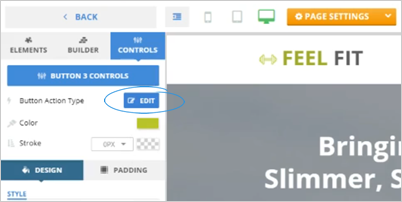
Select the element that you want to configure and click the cog icon.
This will let you work with the specific control for this element.

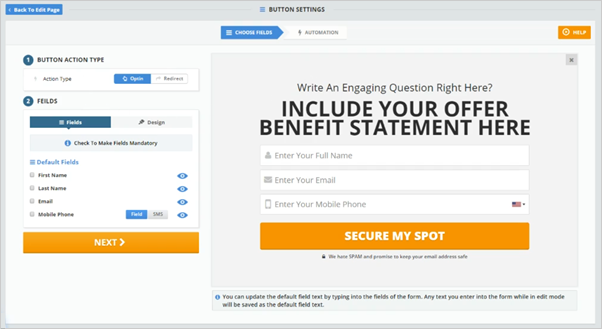
- From this point forward, you can edit your button and set up other pieces of this element.
Click ‘Next’ to set up your automation.

- Set up your Automation and click ‘Save’.

- In some scenarios, you are going to see your button turning green which means that your button is already configured.

- To edit the Action type of a button, click ‘Edit’.
- To change the button’s color, select a color from the Color Picker.

- You may also change the weight of the stroke from the Stroke field. A larger pixel means a thicker button stroke.

- To change your button’s Background Color and Text Color, select the corresponding style property that you want to configure.

- You also have the option to change your Board Styles if necessary.

- To increase or decrease the Padding and the Margin of the button, click ‘Padding’. Every change that you perform can be seen in the preview window and the changes are displayed in real-time.